> ## Documentation Index
> Fetch the complete documentation index at: https://moengage.com/docs/llms.txt
> Use this file to discover all available pages before exploring further.
# Create or Update User
> Zapier の Create or Update User アクションを使用して、Google Forms、HubSpot、Typeform、Google Sheets などのソースから MoEngage のユーザーを追加または更新します。
## はじめに
[Zapier](https://zapier.com/) は、使用しているアプリやサービスを接続してワークフローを自動化できるオンラインプラットフォームです。MoEngage と Zapier の連携を使用すると、Zapier 上の 5,000 以上のアプリを対象としたカスタムワークフローの自動化を作成できます。
「Create or Update User」アクションは、MoEngage にユーザーを追加するのに役立ちます。ユーザーがすでに存在する場合、このアクションはユーザーの属性を更新します。
## ユースケース
このアクションを使用すると、Zapier を使用して複数のソースからほぼリアルタイムでユーザーを作成または更新できます。以下はその一例です。
1. Google Form が送信されたときに、MoEngage のユーザー属性を更新する。
2. Facebook Lead Ad の新しいリードで、MoEngage のユーザーを作成または更新する。
3. HubSpot から MoEngage のユーザーを作成または更新する。
4. Typeform のエントリから MoEngage に新しいユーザーを追加する。
5. Google Sheets の行から MoEngage のユーザーを作成または更新する。
**前提条件**
Zapier アカウントにアクセスでき、そのアカウントが MoEngage アカウントに接続されていることを確認してください。[こちらの手順に従って Zapier を MoEngage に接続](/docs/ja/partner-guide/data-and-analytics/workflow-automation/zapier/overview#connecting-zapier-to-moengage)できます。
## 連携
このアクションは、MoEngage の [User APIs](https://www.moengage.com/docs/api/user/track-user) を使用します。このチュートリアルでは、ユースケース #1「Google Form が送信されたらすぐに MoEngage のユーザー属性を更新する」を取り上げます。[Zapier Dashboard](https://zapier.com/app/dashboard) で、左上の「+ Create Zap」をクリックします。
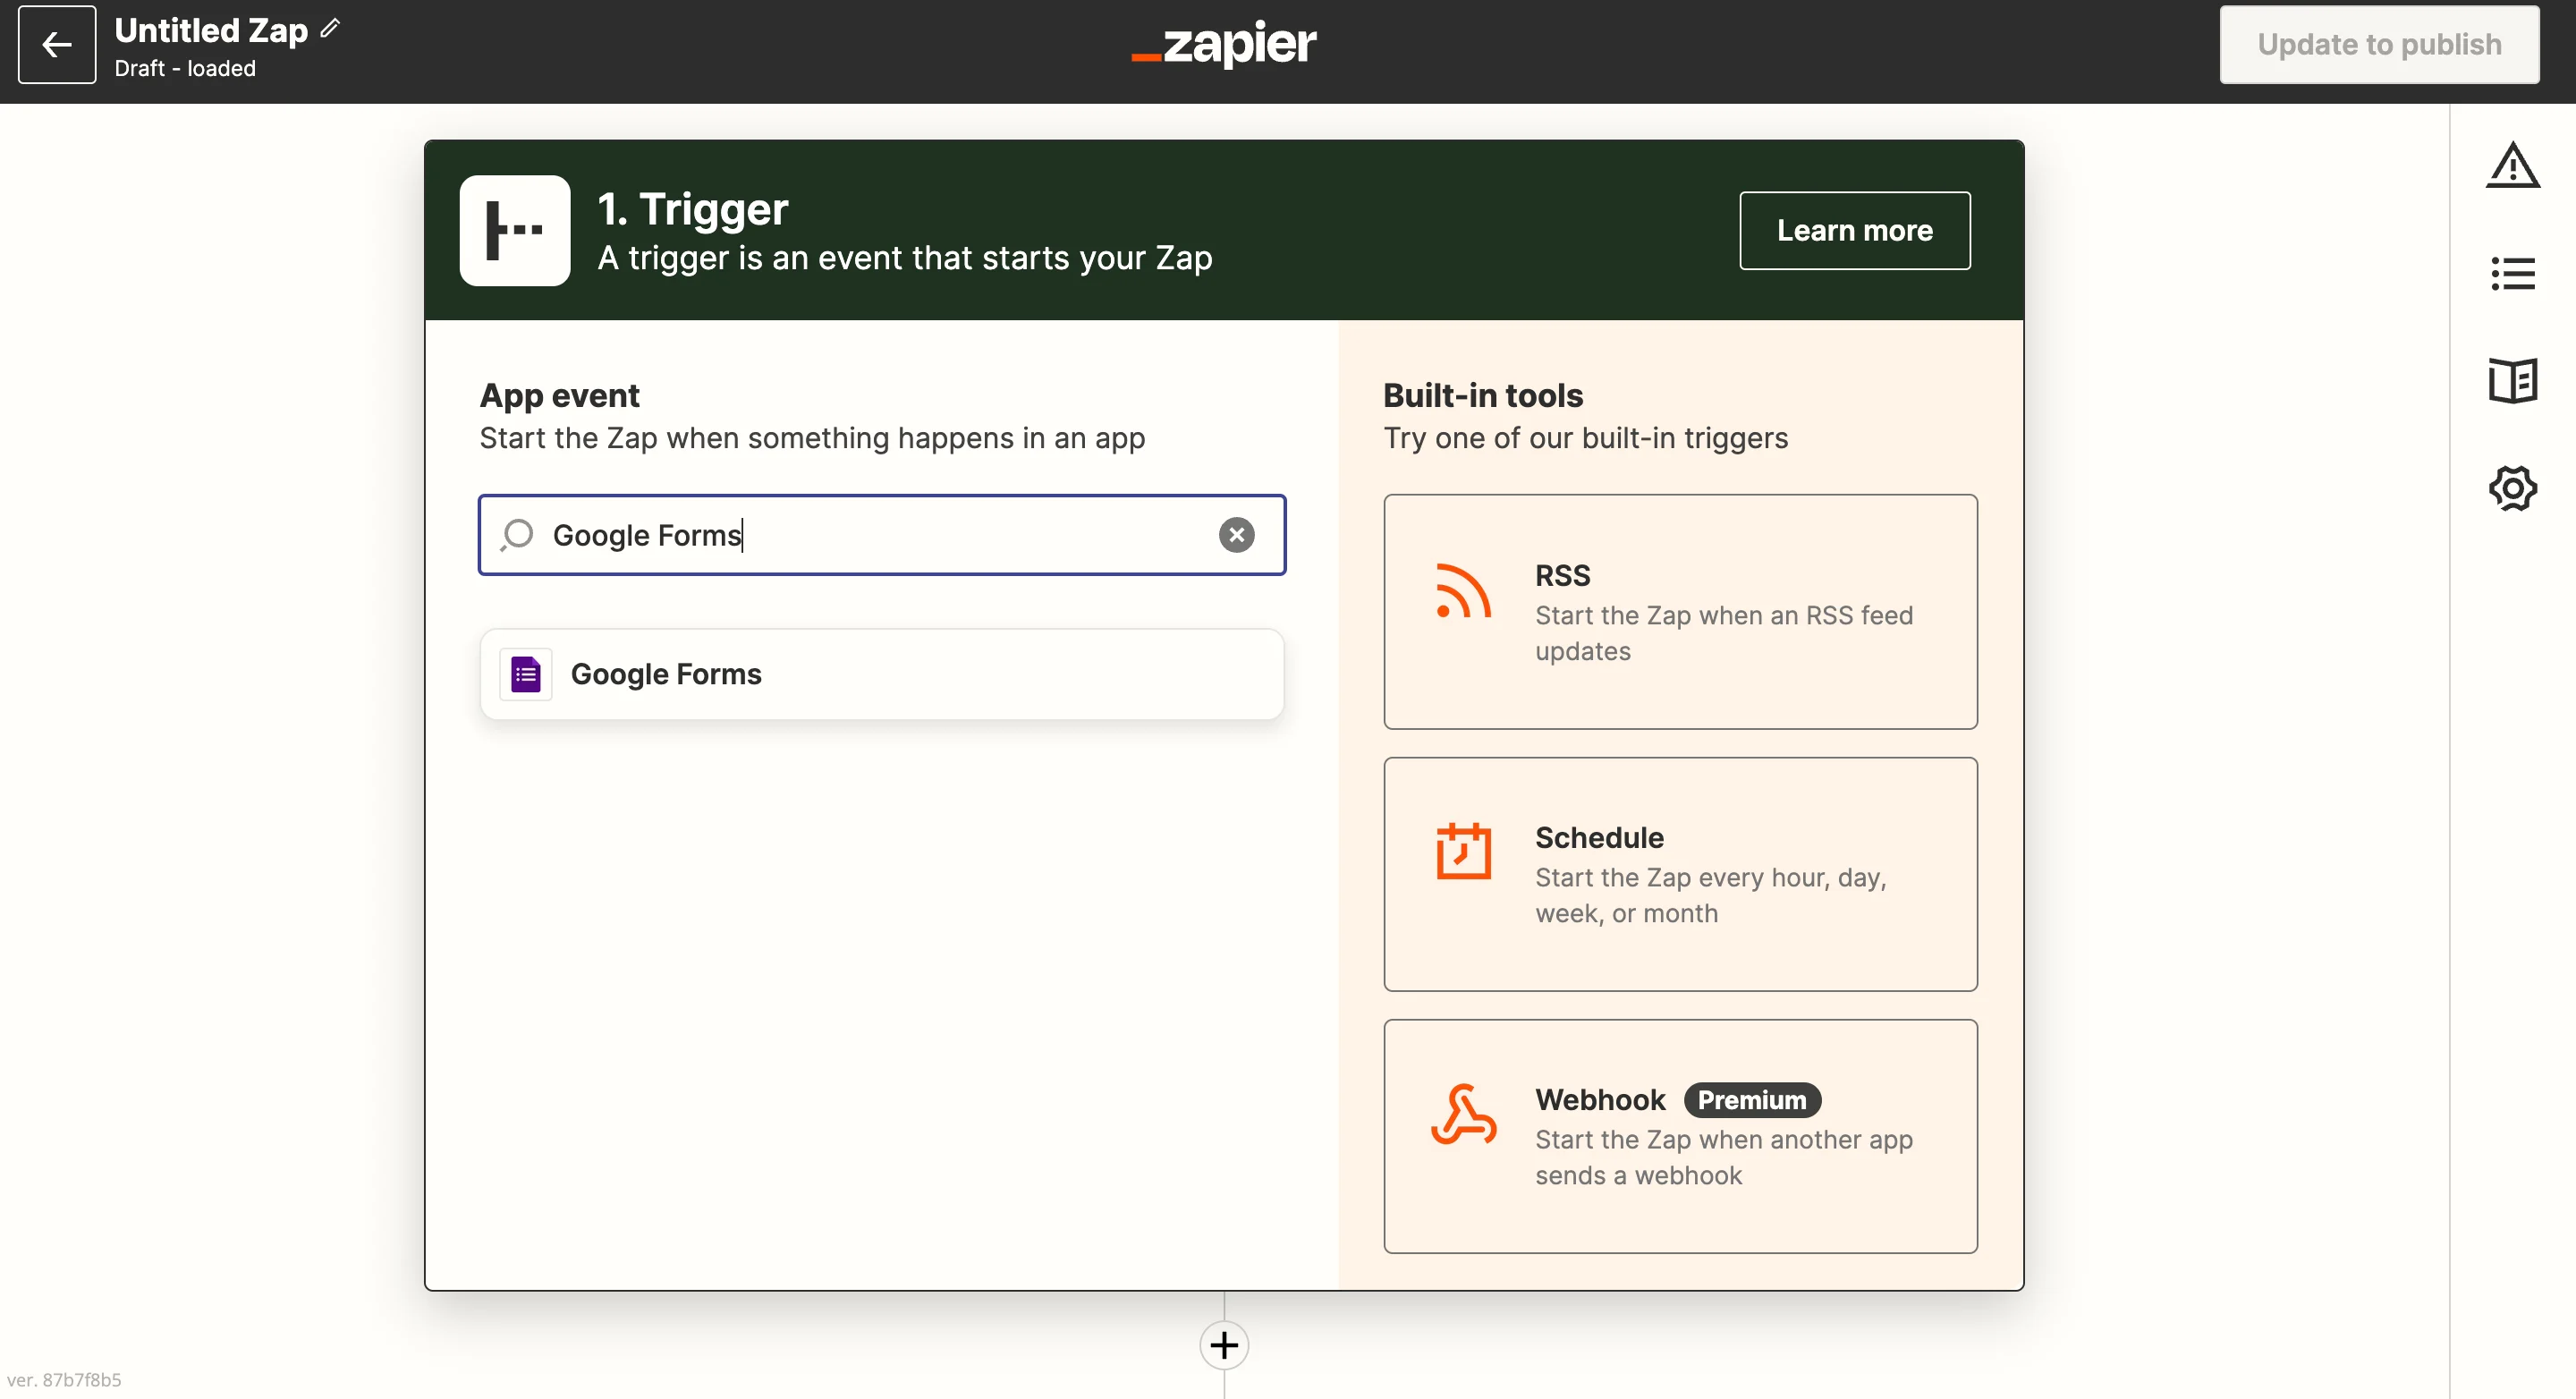
### ステップ 1: トリガーアプリとして Google Forms を選択する
トリガーとして「Google Forms」と入力して選択します。これが Zap を開始するトリガーになります。
 ### ステップ 2: トリガーアプリを設定する
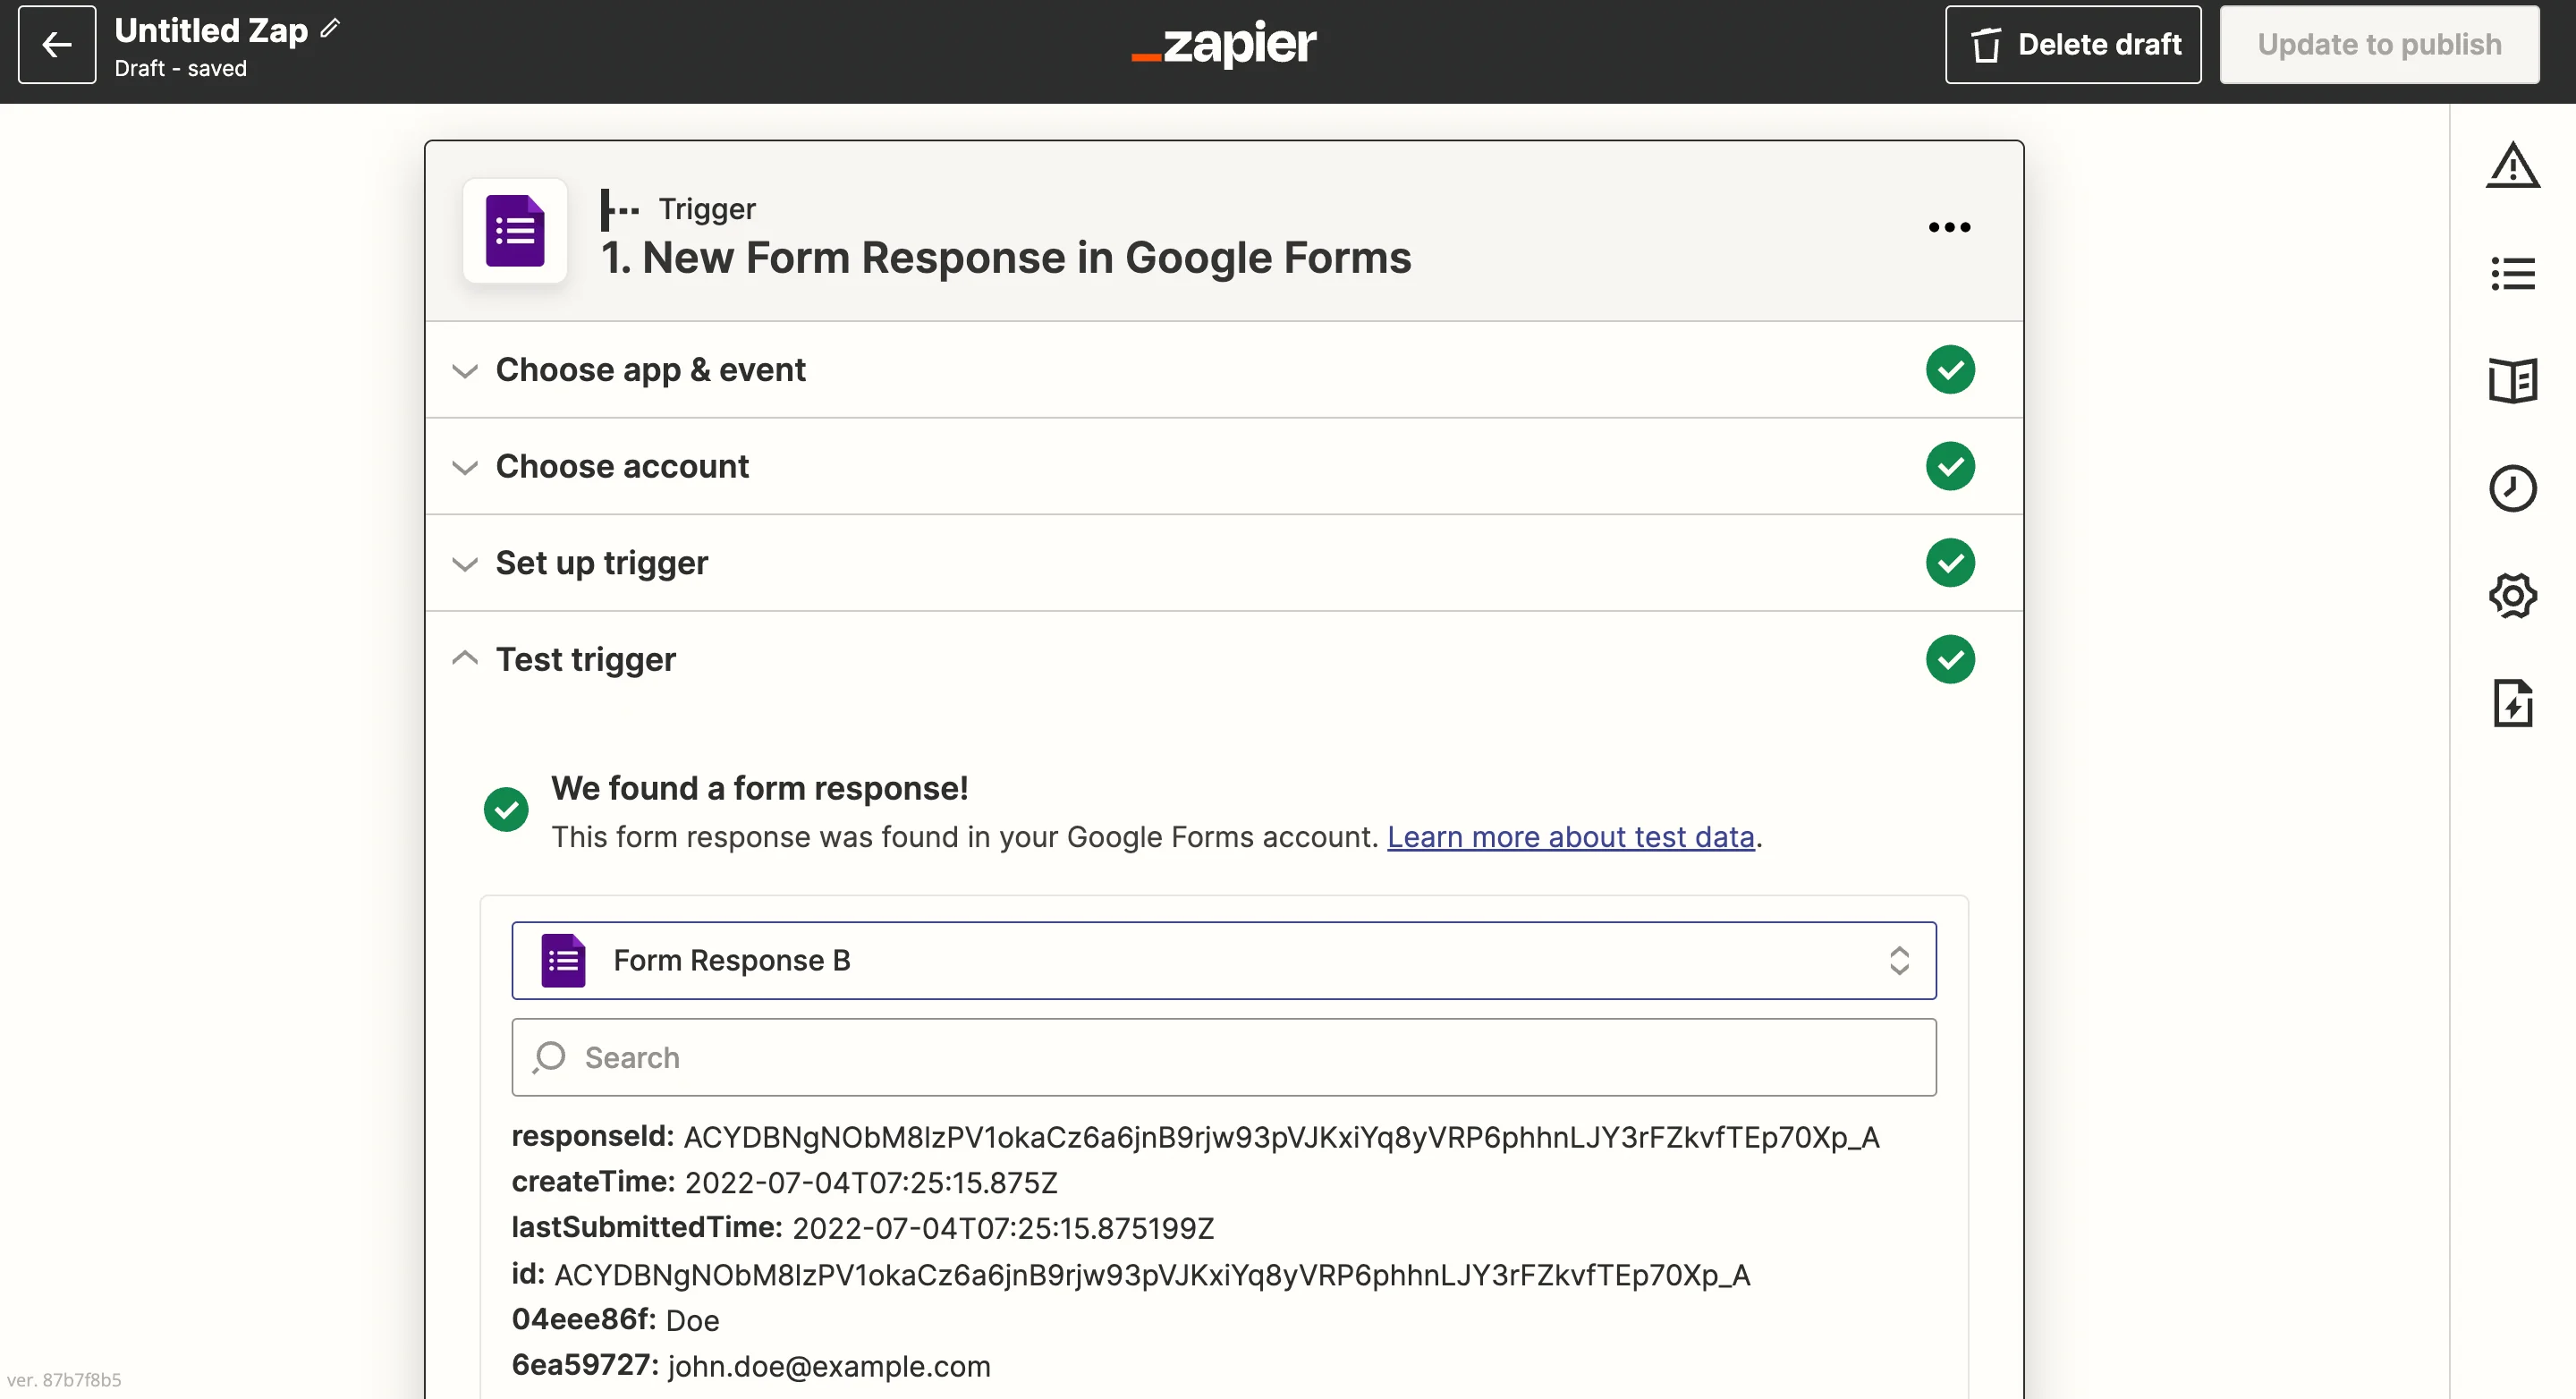
1. ドロップダウンからイベント「New Form Response」を選択します。continue をクリックします。
2. まだ接続していない場合は、Google アカウントを接続します。選択したら continue をクリックします。
3. 「Set up trigger」ステップで、ドロップダウンからフォームを選択します。continue をクリックします。
4. 「Test Trigger」をクリックして、最近のフォーム送信をサンプルデータとして取得します。データがない場合は、自動的に入力されます。
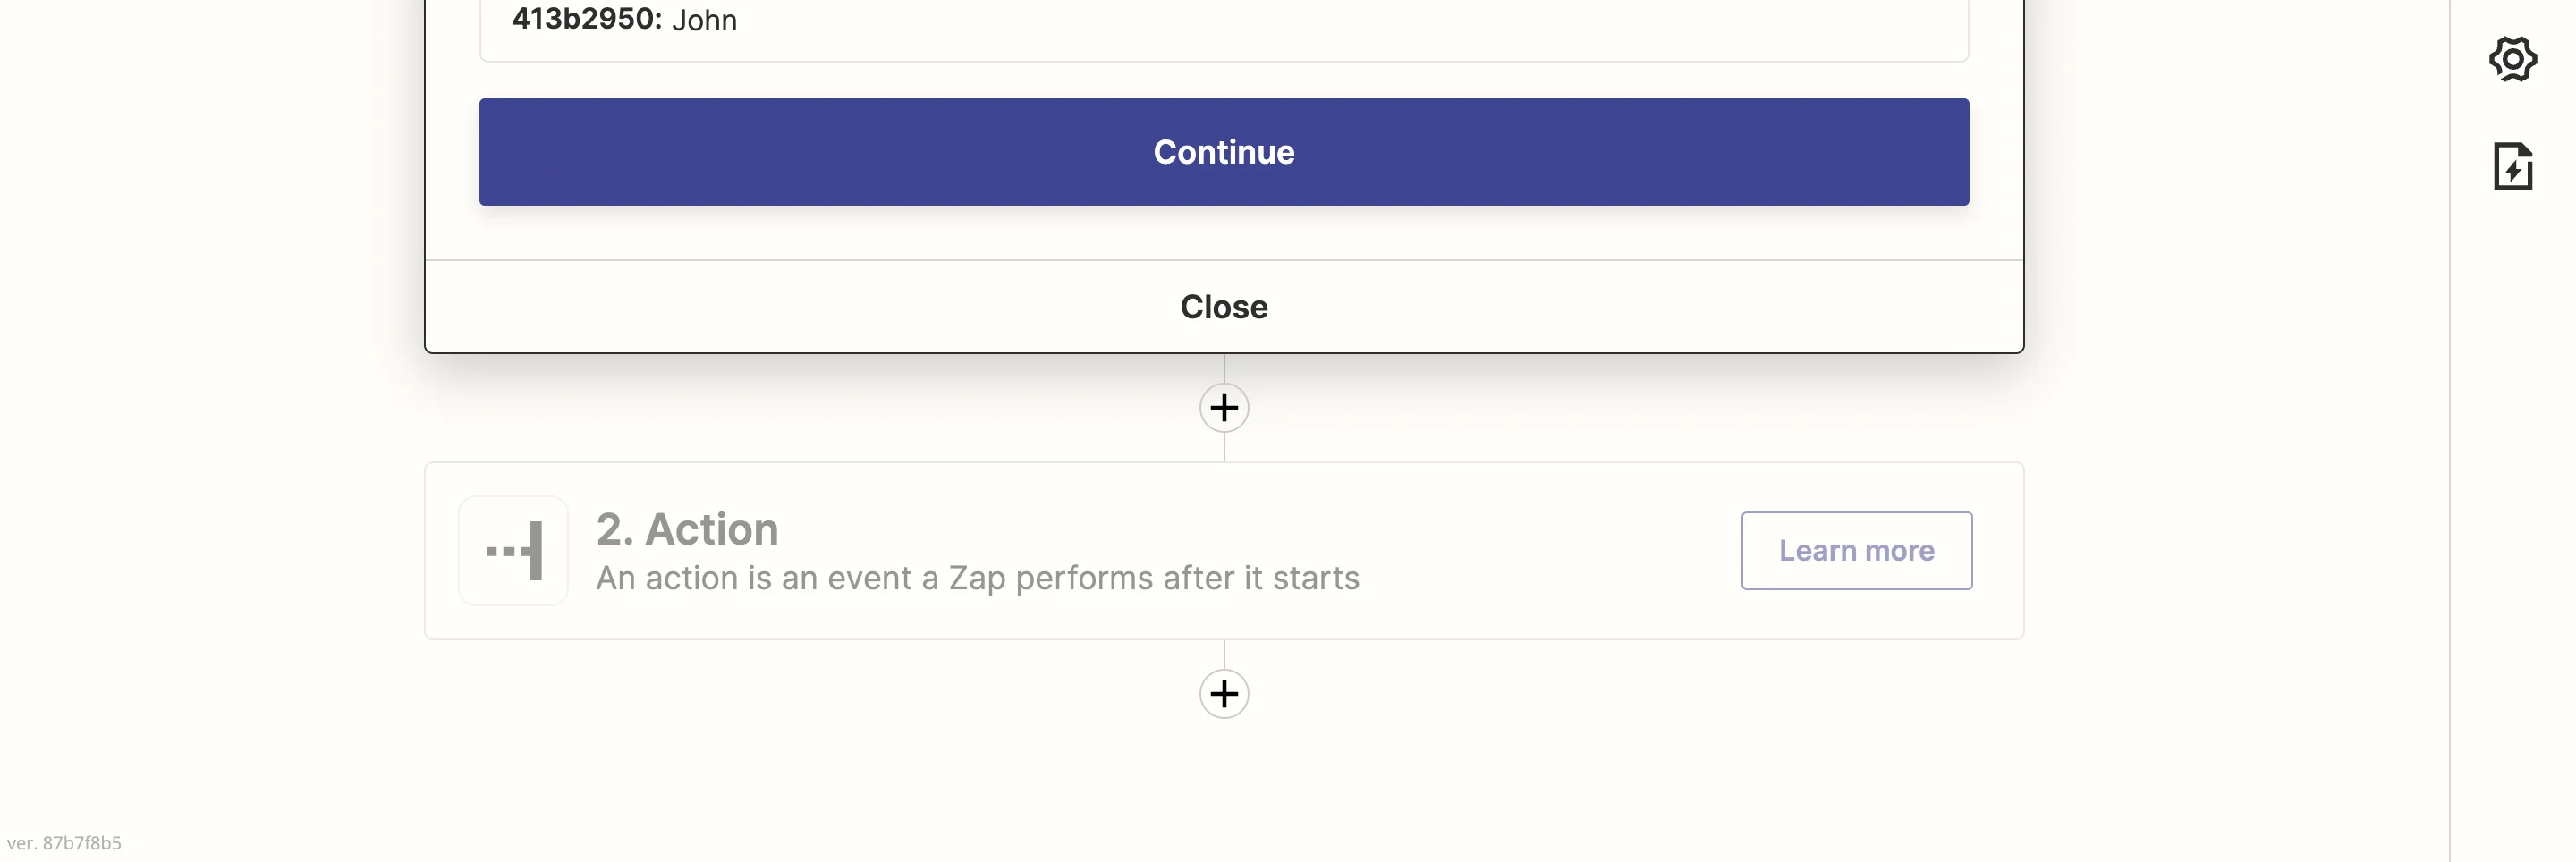
5. このデータに問題がなければ、continue をクリックします。
### ステップ 2: トリガーアプリを設定する
1. ドロップダウンからイベント「New Form Response」を選択します。continue をクリックします。
2. まだ接続していない場合は、Google アカウントを接続します。選択したら continue をクリックします。
3. 「Set up trigger」ステップで、ドロップダウンからフォームを選択します。continue をクリックします。
4. 「Test Trigger」をクリックして、最近のフォーム送信をサンプルデータとして取得します。データがない場合は、自動的に入力されます。
5. このデータに問題がなければ、continue をクリックします。
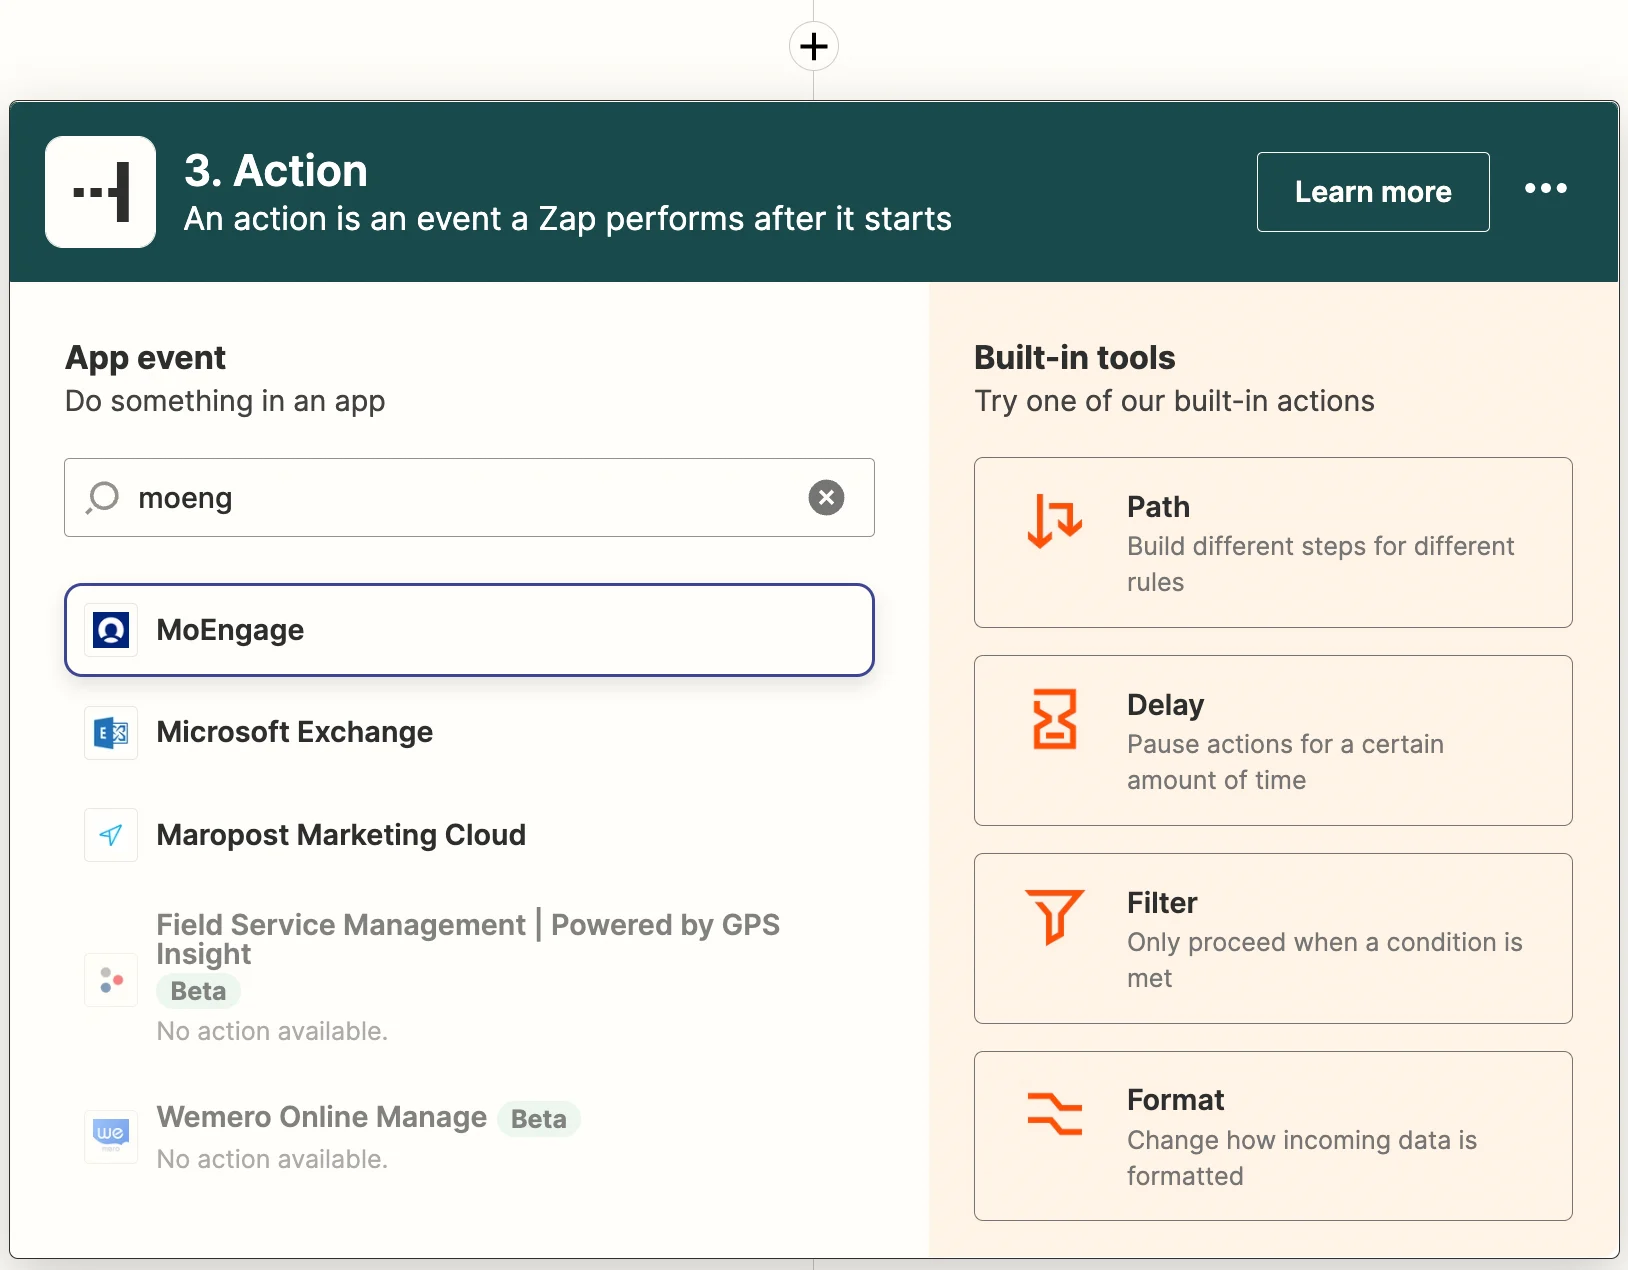
 ### ステップ 3: アクションアプリとして MoEngage を追加する
アプリから「MoEngage」を検索して選択します。
### ステップ 3: アクションアプリとして MoEngage を追加する
アプリから「MoEngage」を検索して選択します。
 ### ステップ 4: MoEngage アクションを設定する
1. イベントのドロップダウンから「Create or Update User」を選択します。continue をクリックします。
2. 前提条件に従っていれば、MoEngage アカウントがすでに一覧に表示されています。そのアカウントを選択するか、新しいアカウントを接続できます。完了したら continue をクリックします。
3. 次のステップ「Set up action」では、入力するか前のステップからマッピングするための属性とユーザープロパティのリストが表示されます。[詳細はこちら](/docs/ja/api/user/track-user)をご覧ください。
### ステップ 4: MoEngage アクションを設定する
1. イベントのドロップダウンから「Create or Update User」を選択します。continue をクリックします。
2. 前提条件に従っていれば、MoEngage アカウントがすでに一覧に表示されています。そのアカウントを選択するか、新しいアカウントを接続できます。完了したら continue をクリックします。
3. 次のステップ「Set up action」では、入力するか前のステップからマッピングするための属性とユーザープロパティのリストが表示されます。[詳細はこちら](/docs/ja/api/user/track-user)をご覧ください。
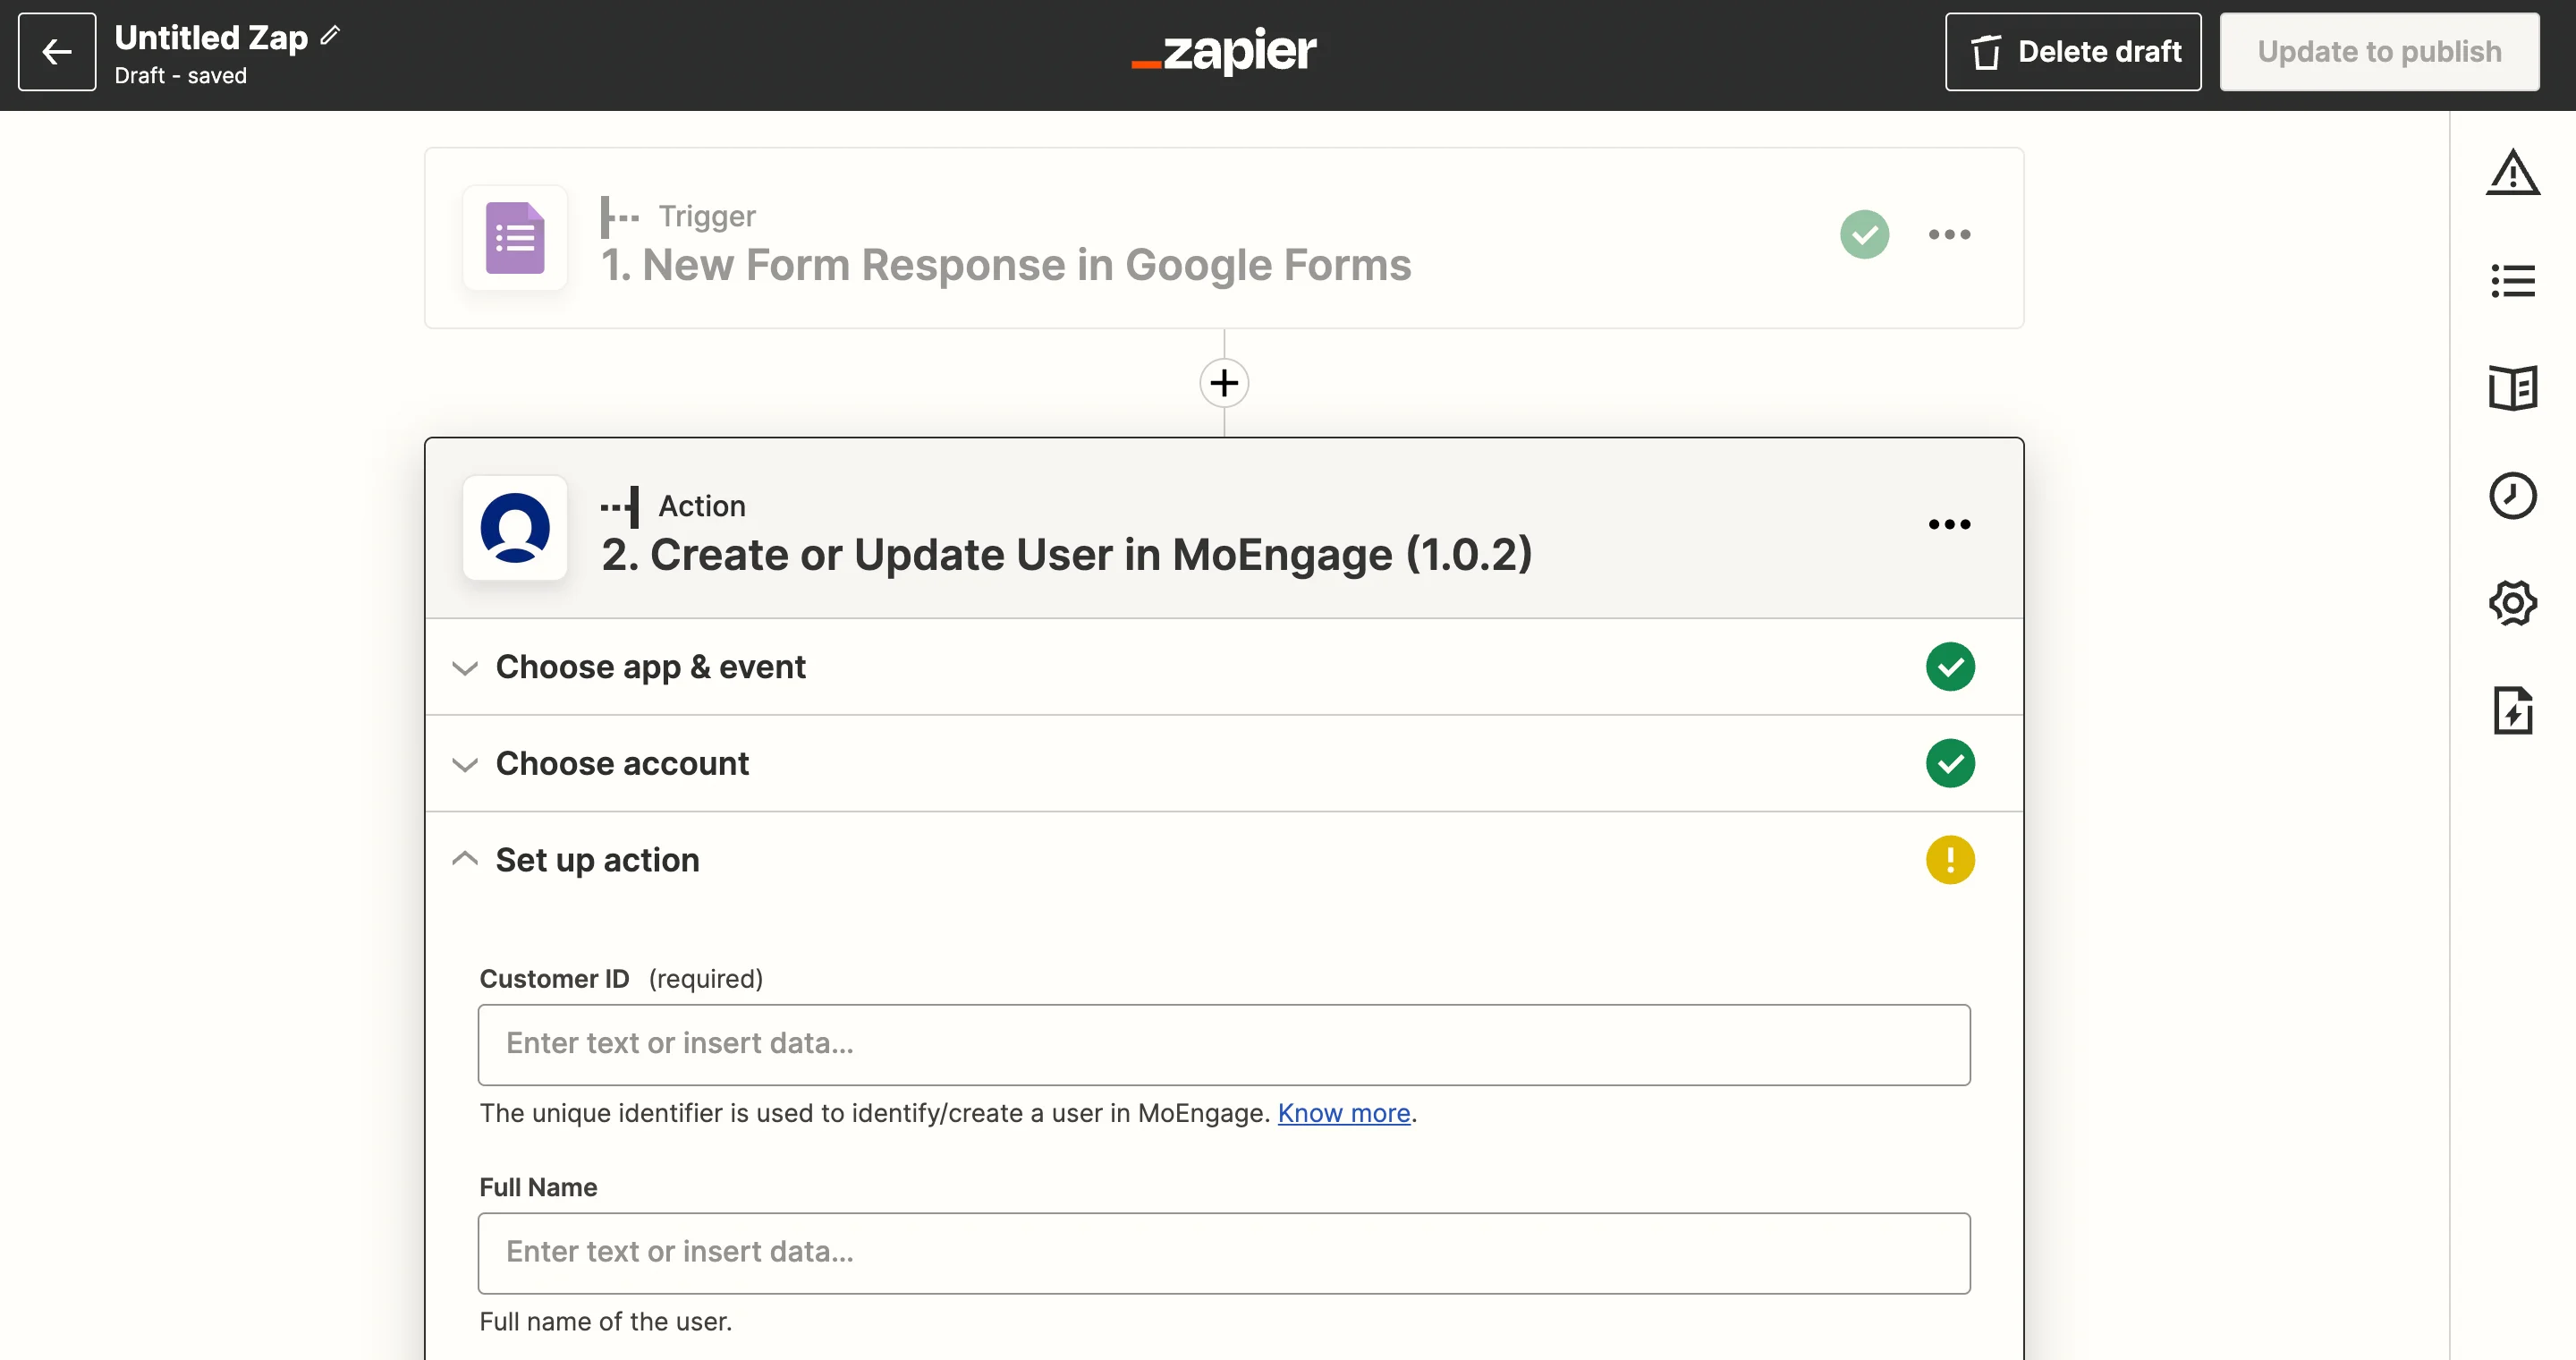
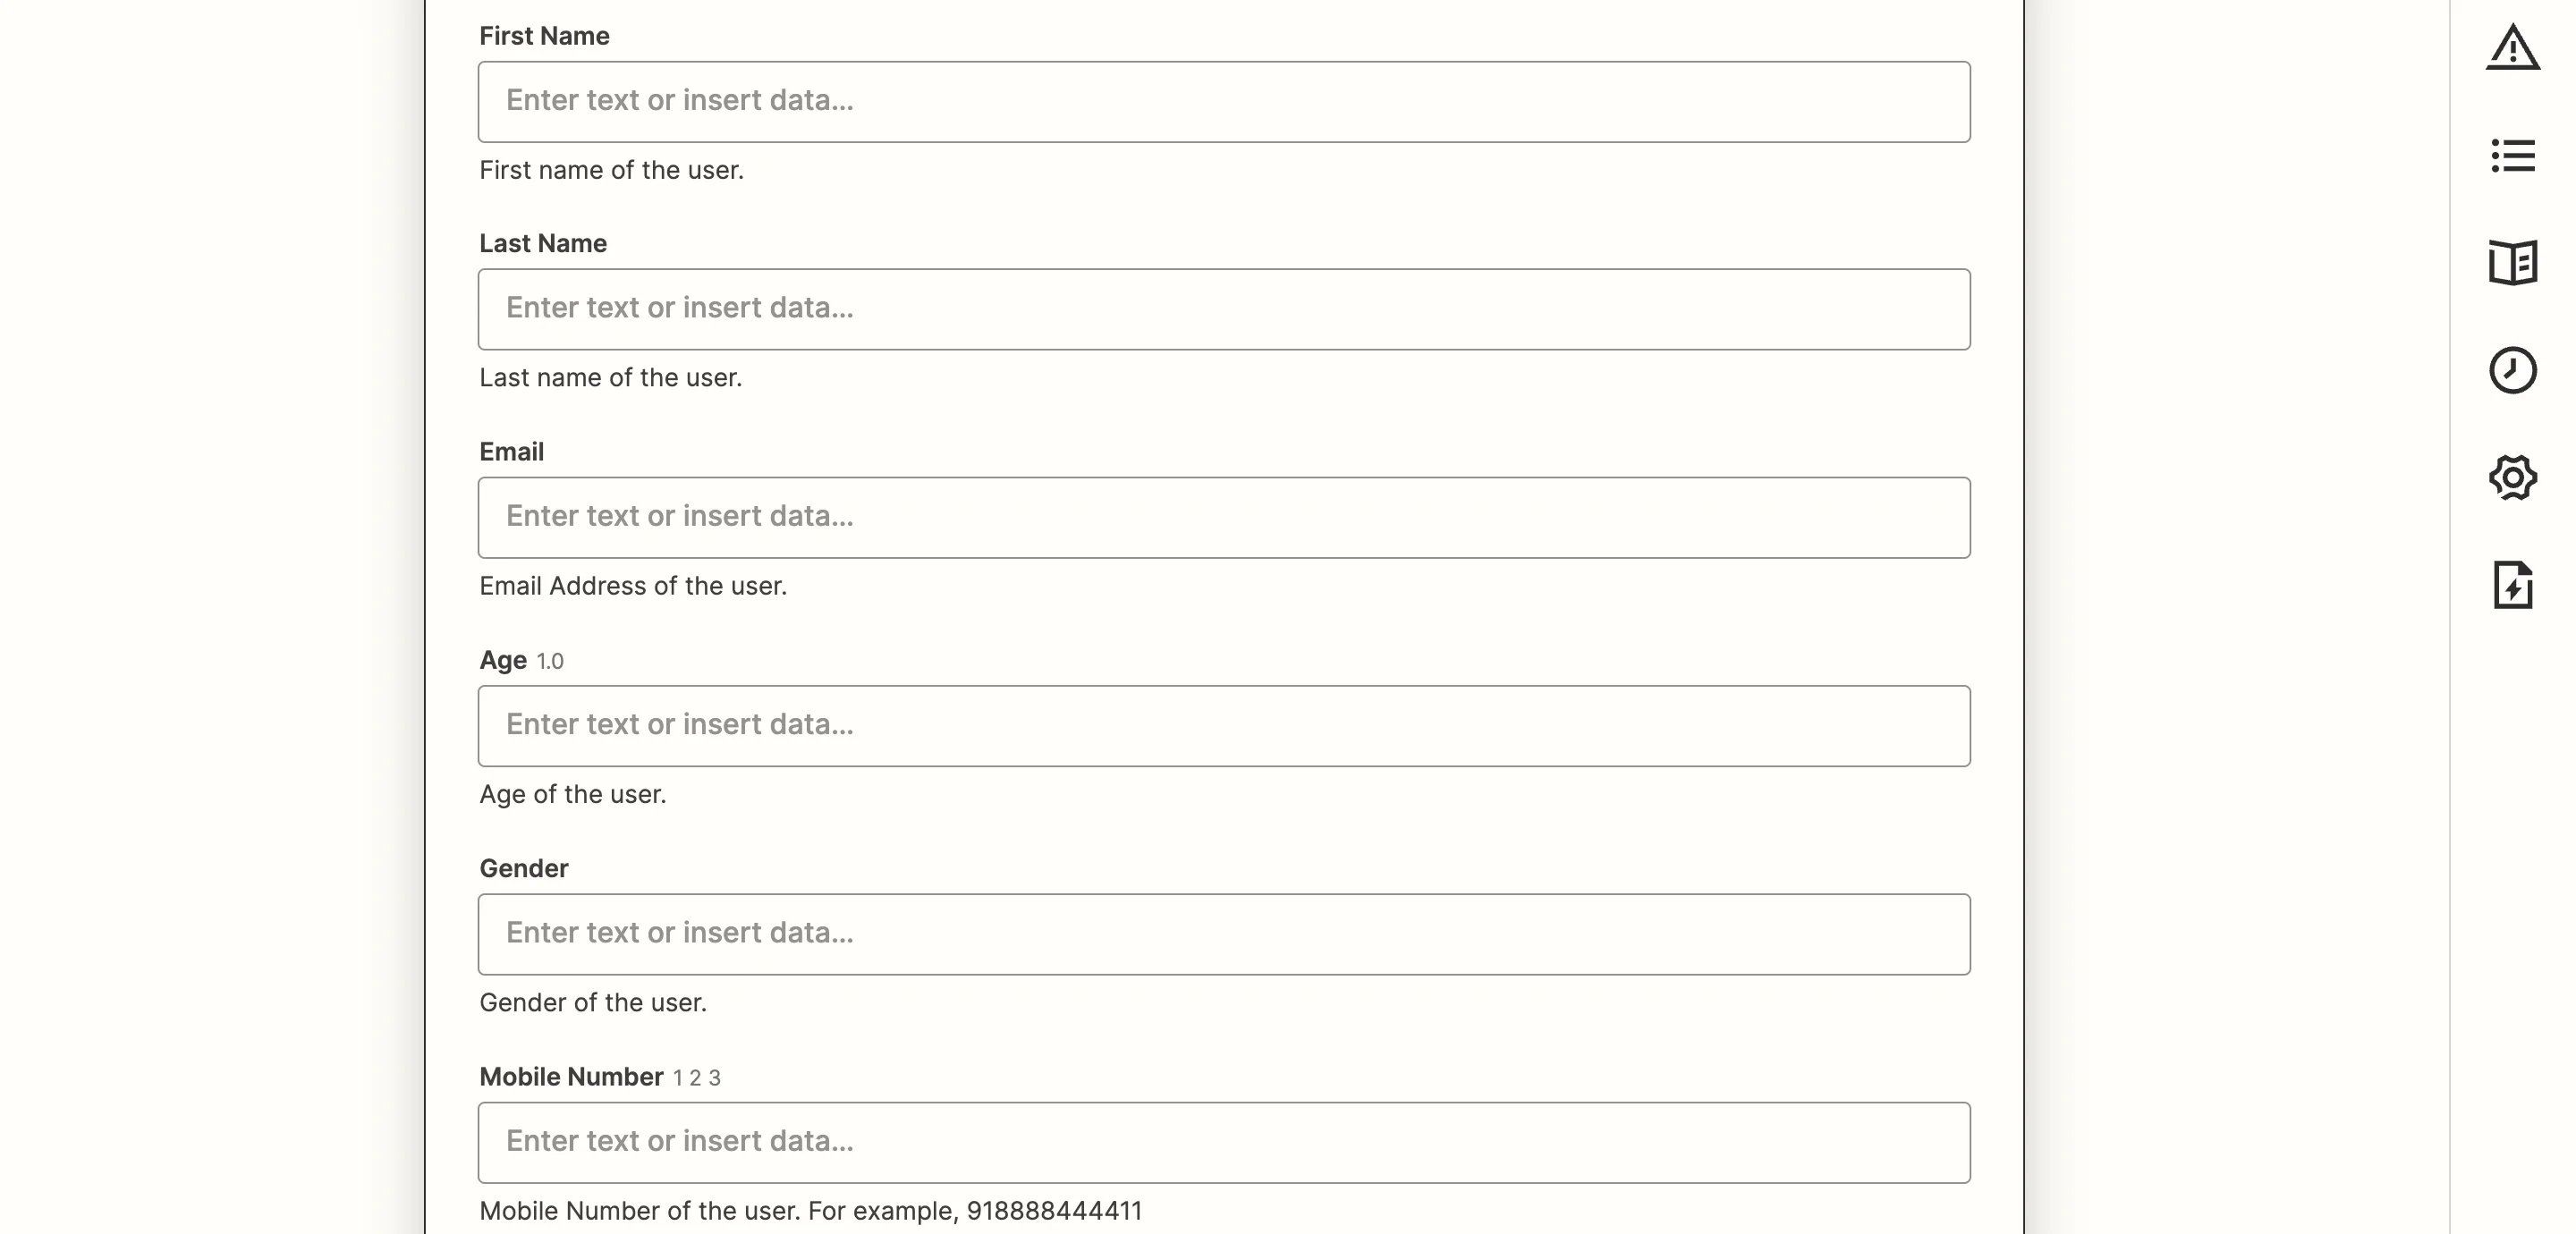
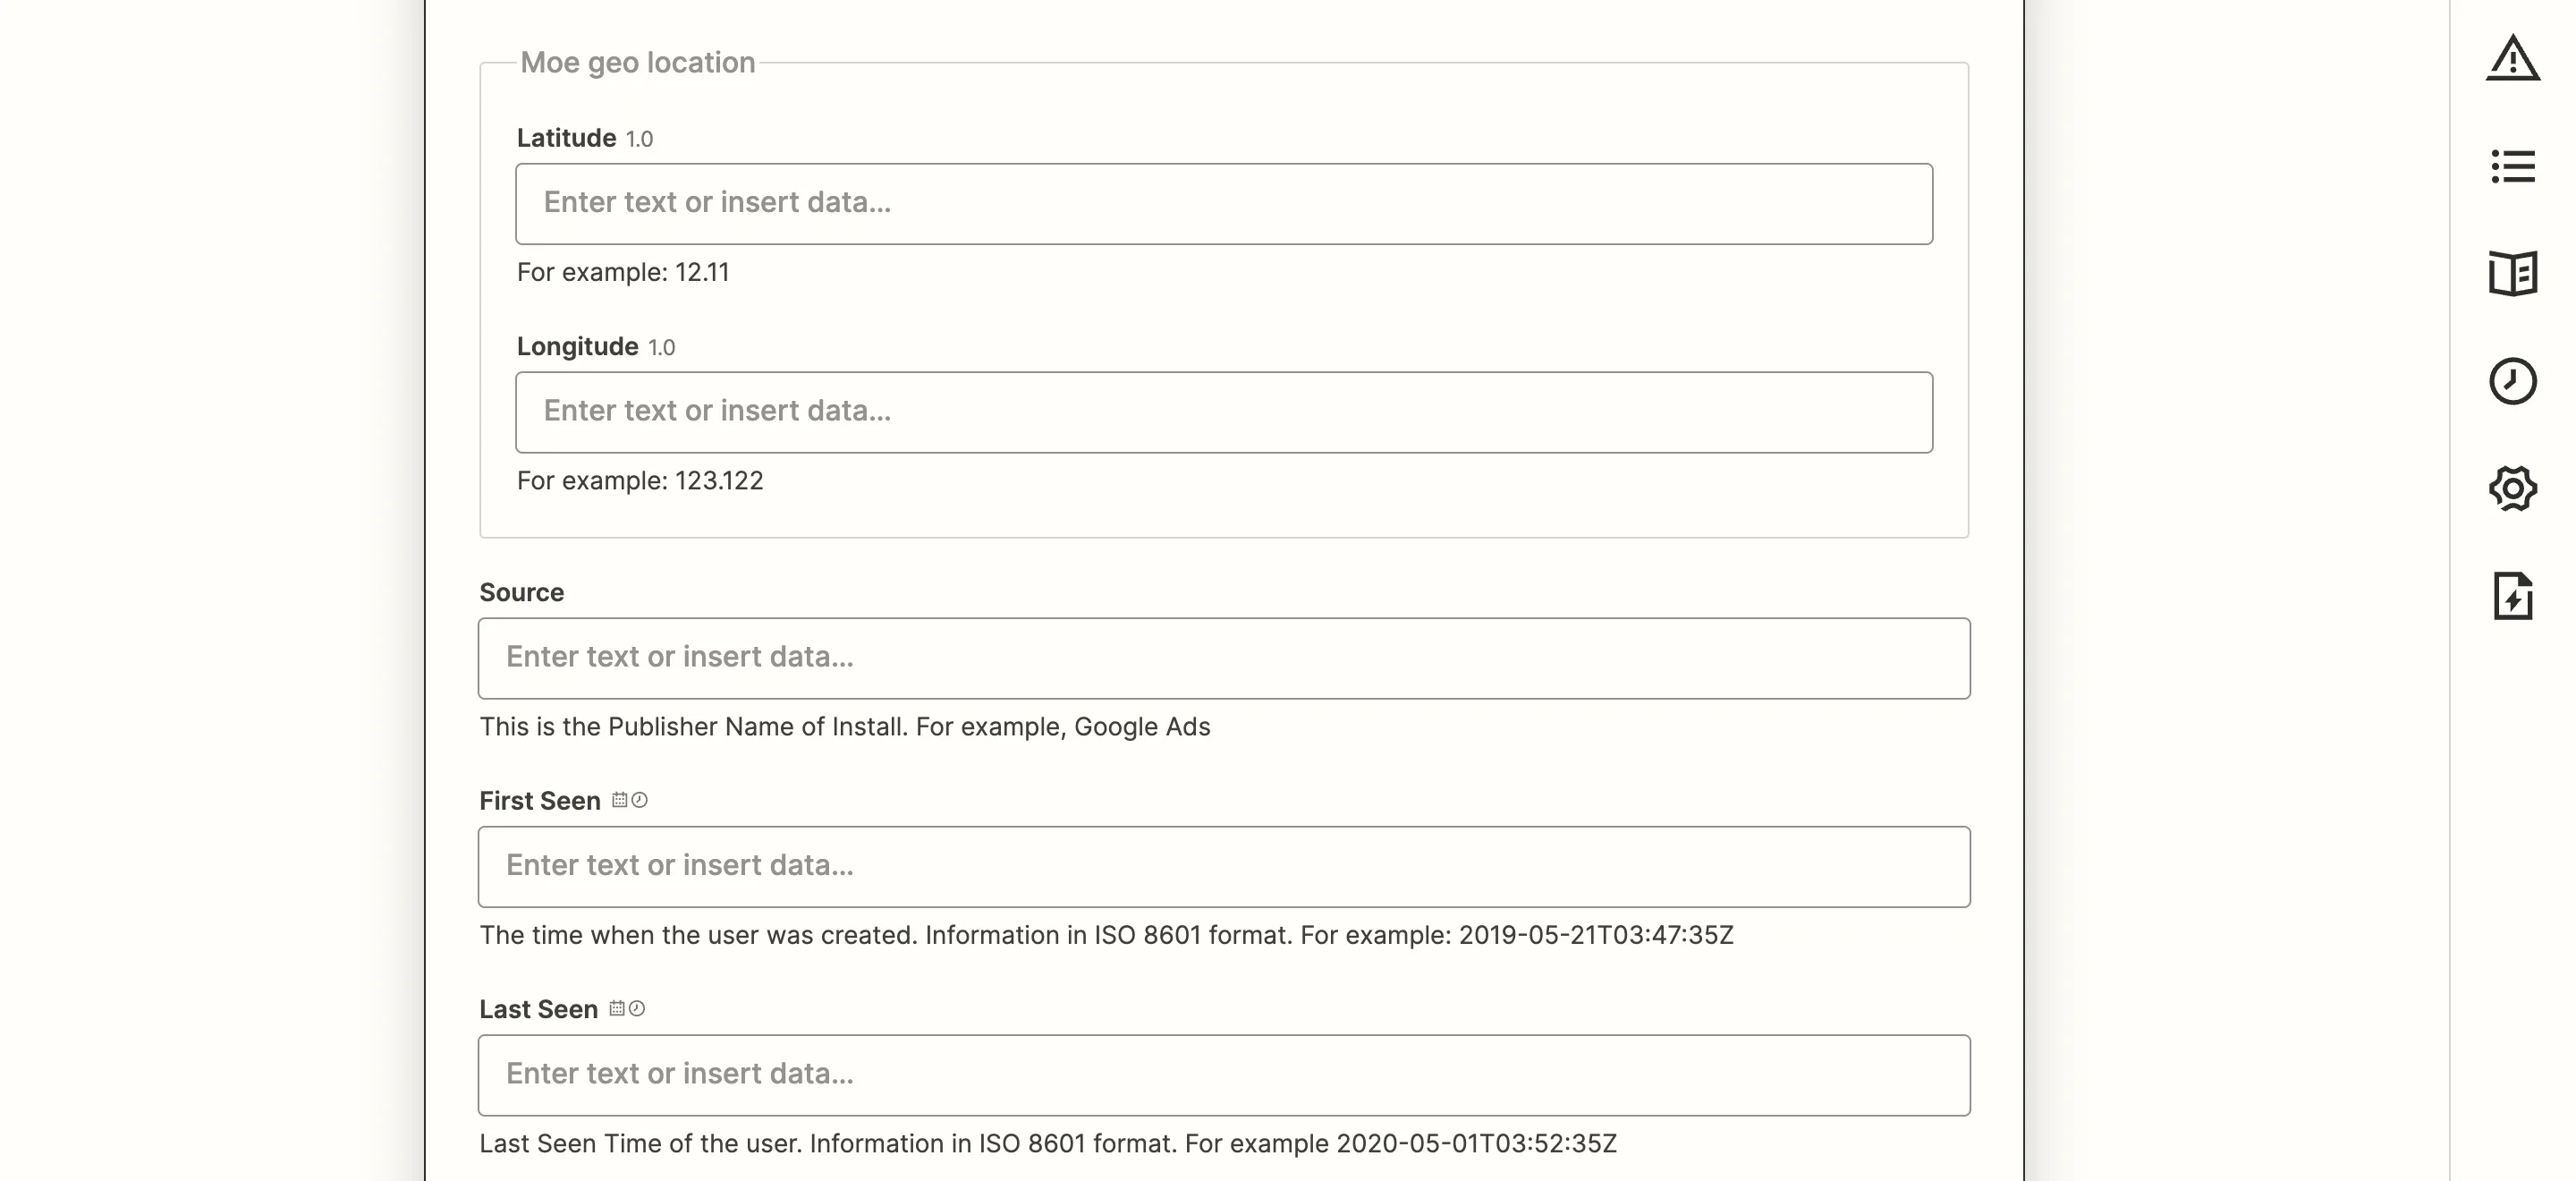
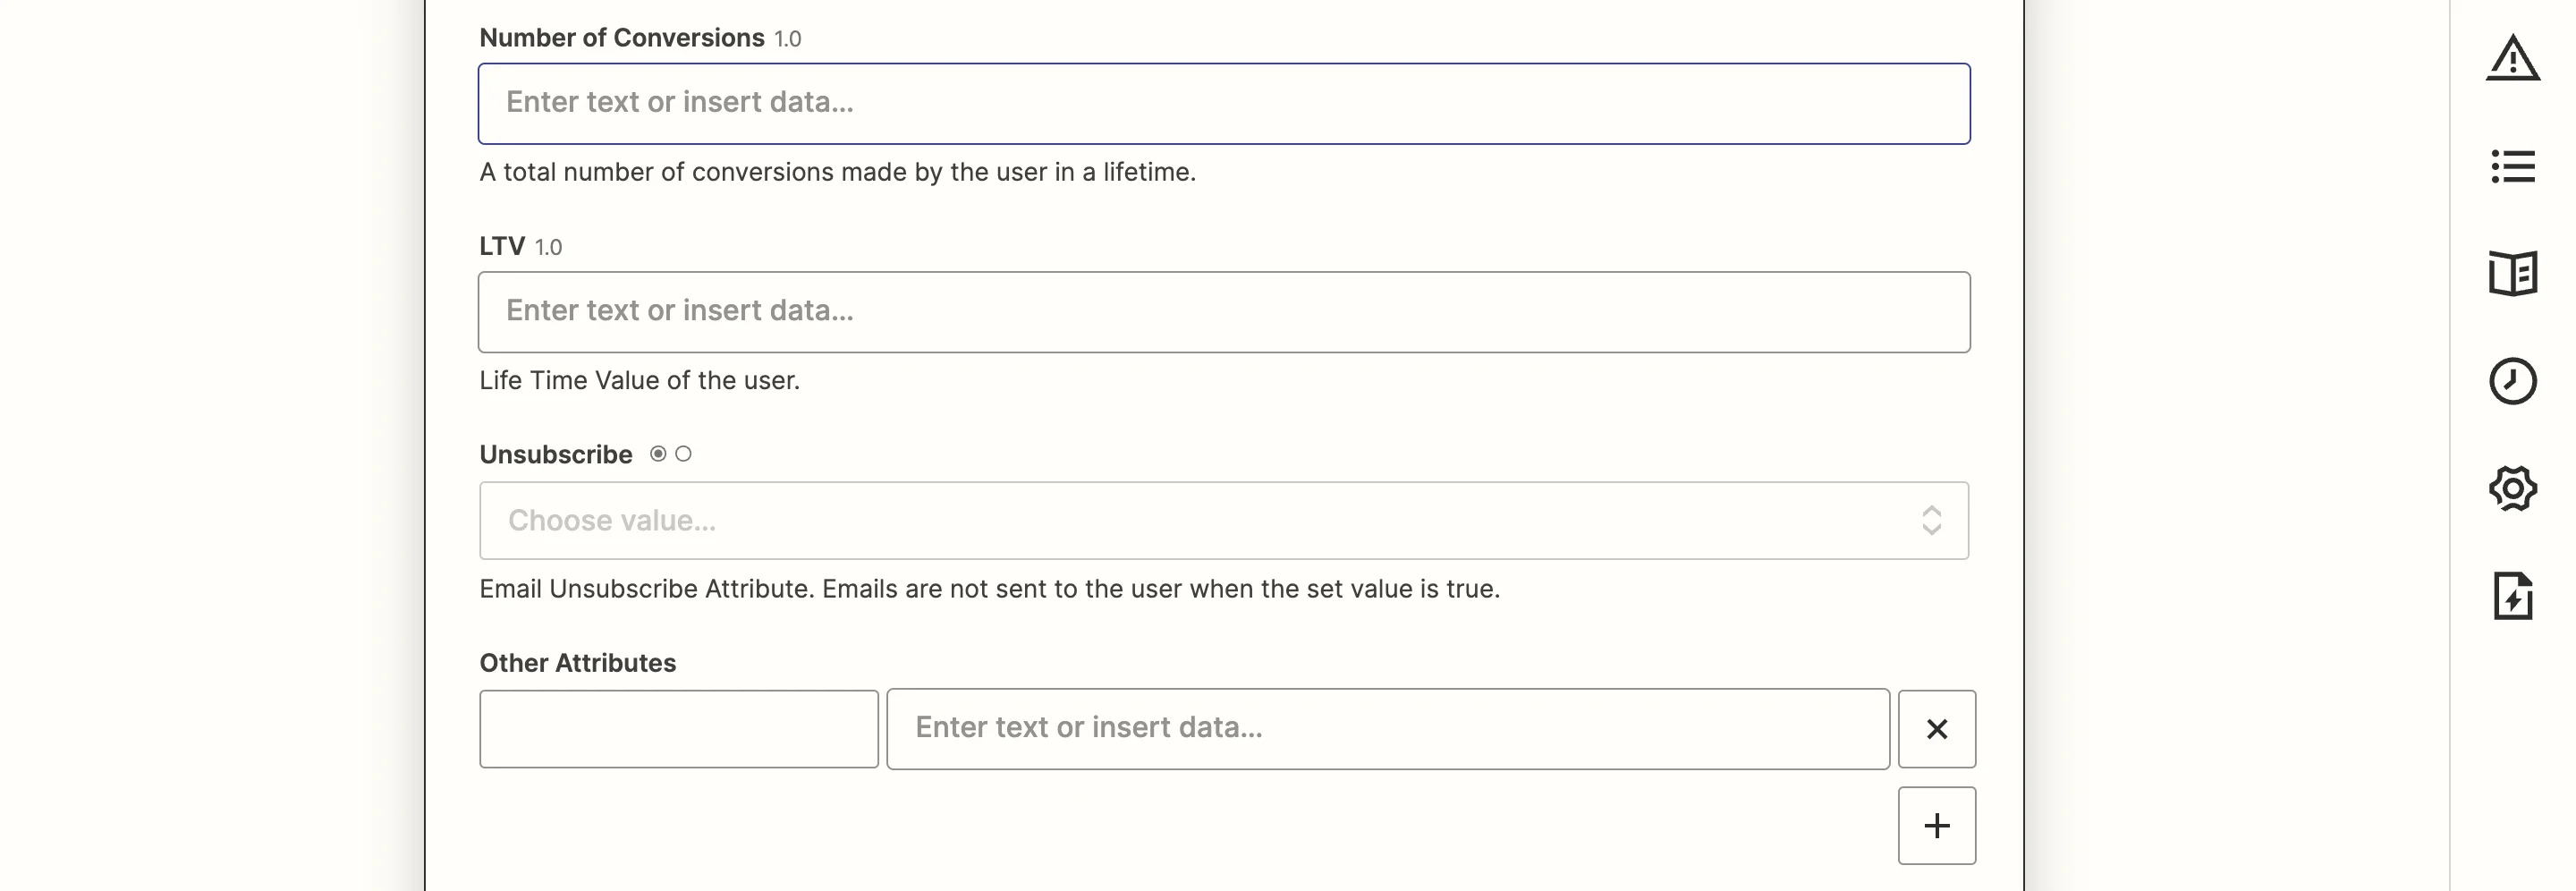
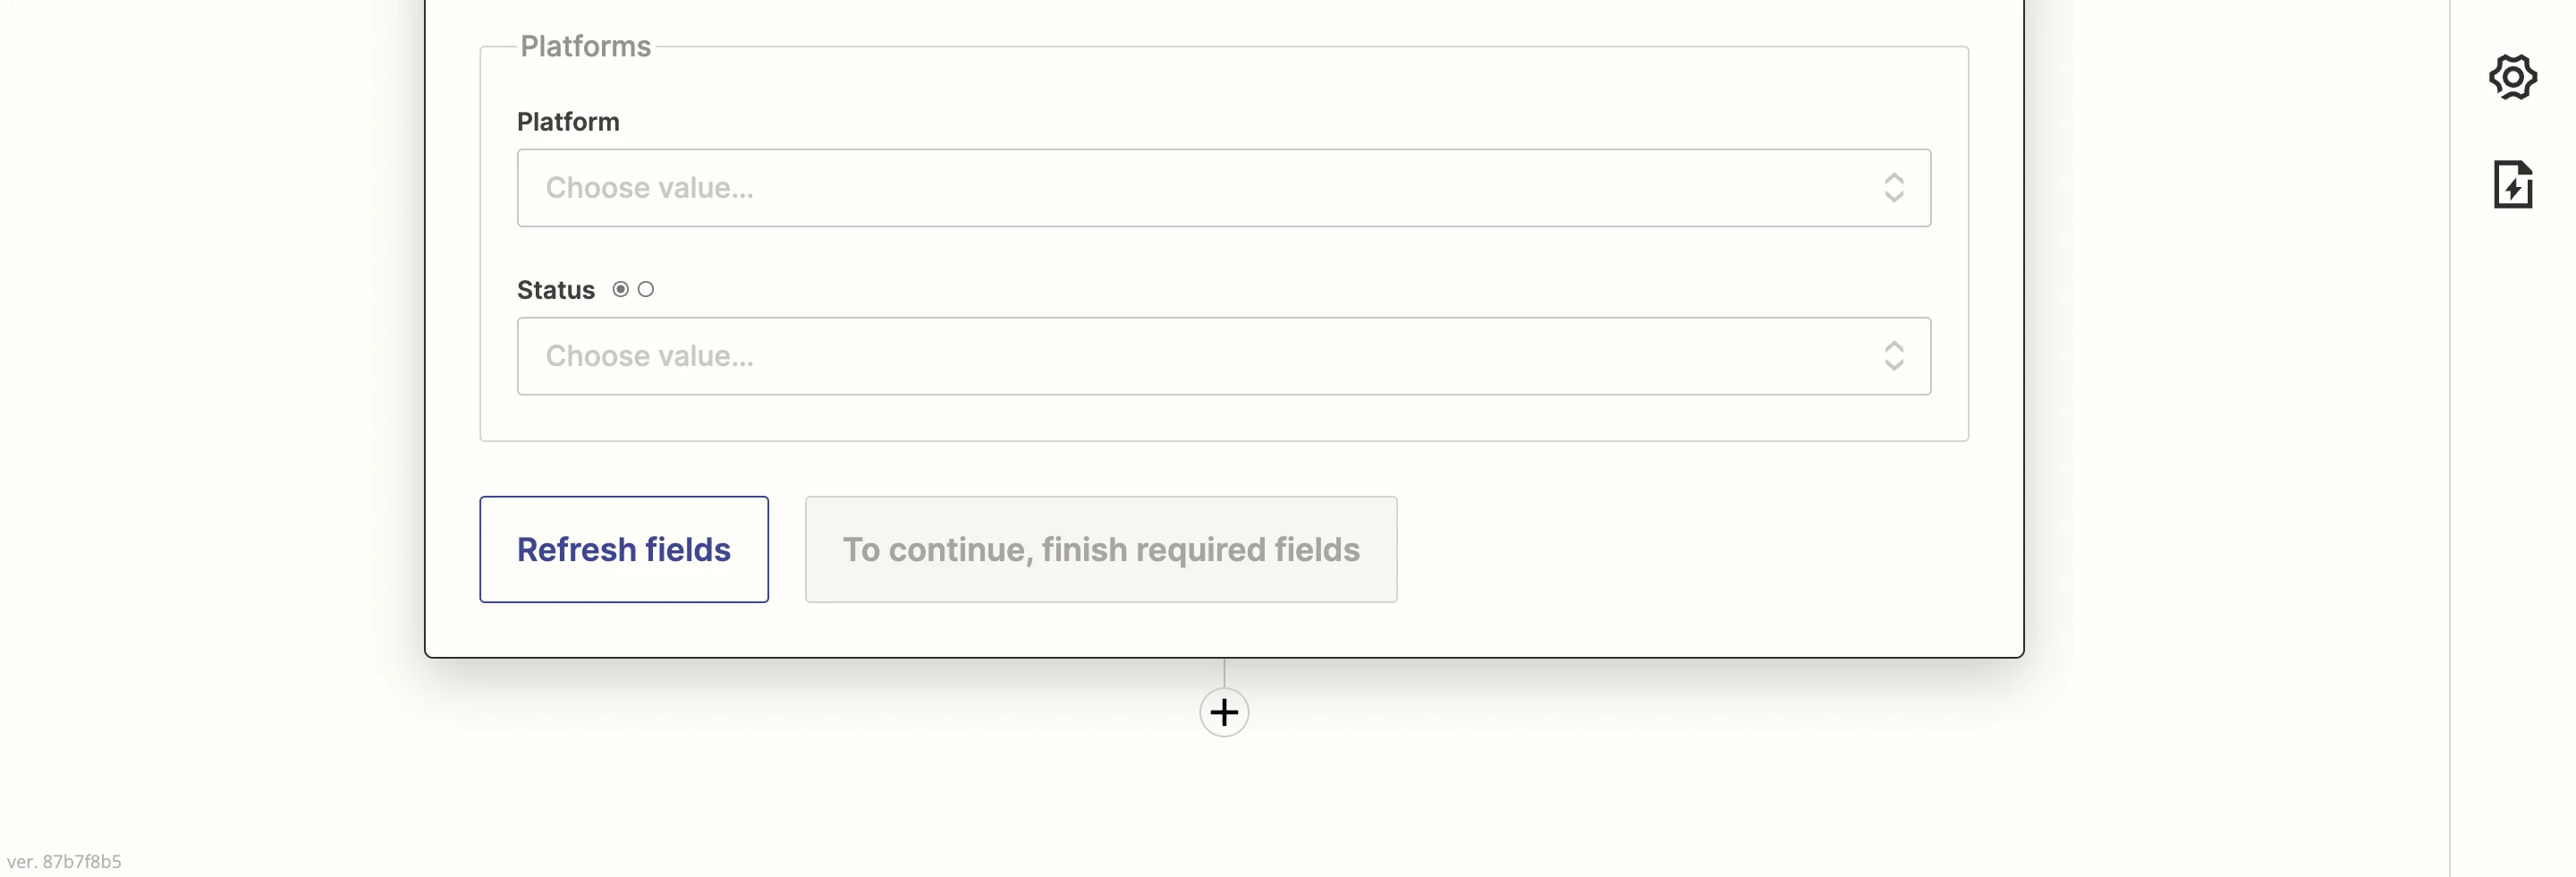 すべての必須フィールドに入力すると、この設定をテストするオプションが表示されます。キーと値のペアの形式でカスタム属性を追加し、前のトリガーアプリの入力にマッピングすることもできます。
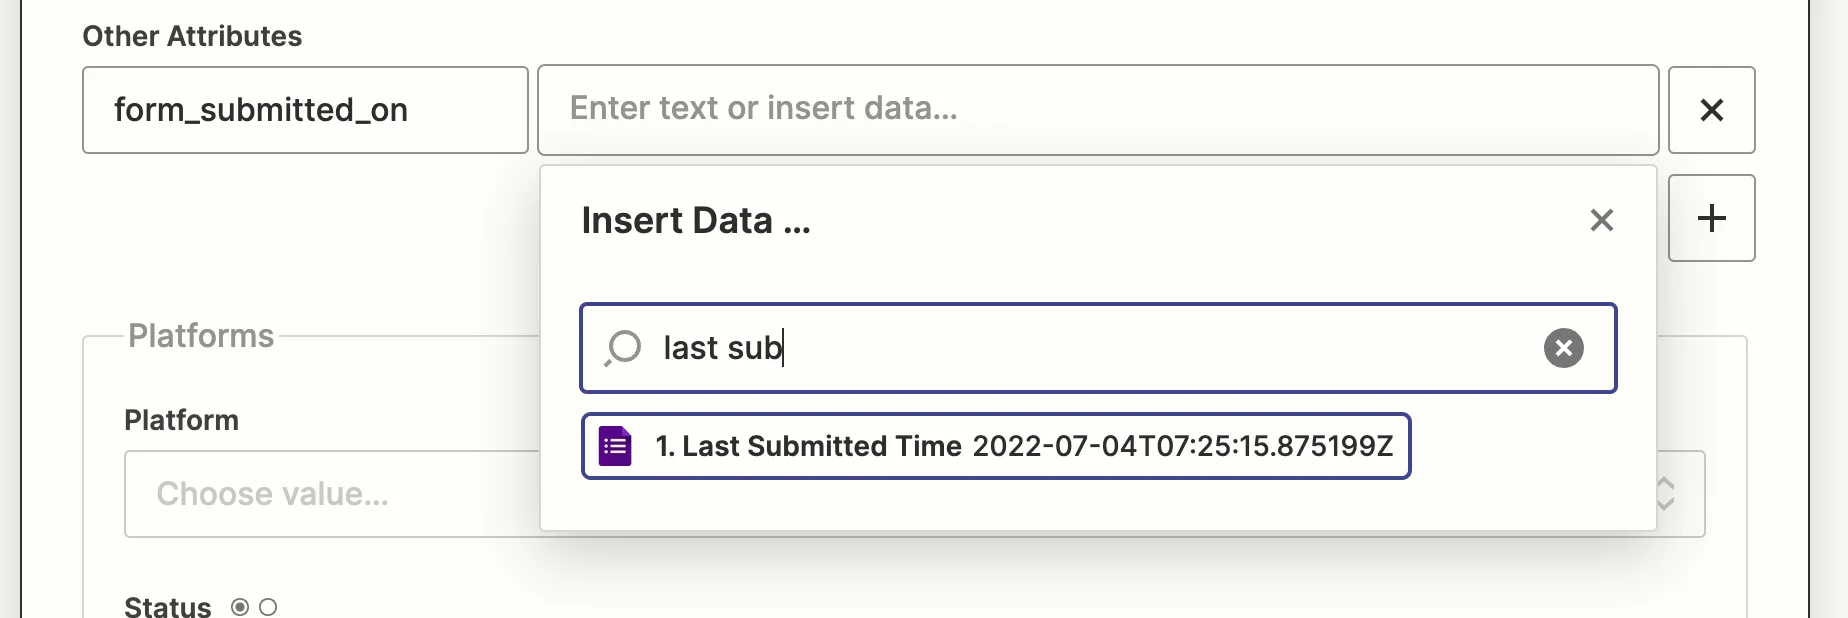 前のステップからマッピングデータを選択すると、次のようになります。
 4. この設定では、次のようにリンクしています。
1. `Customer ID` → `Google Forms (Email Address)`
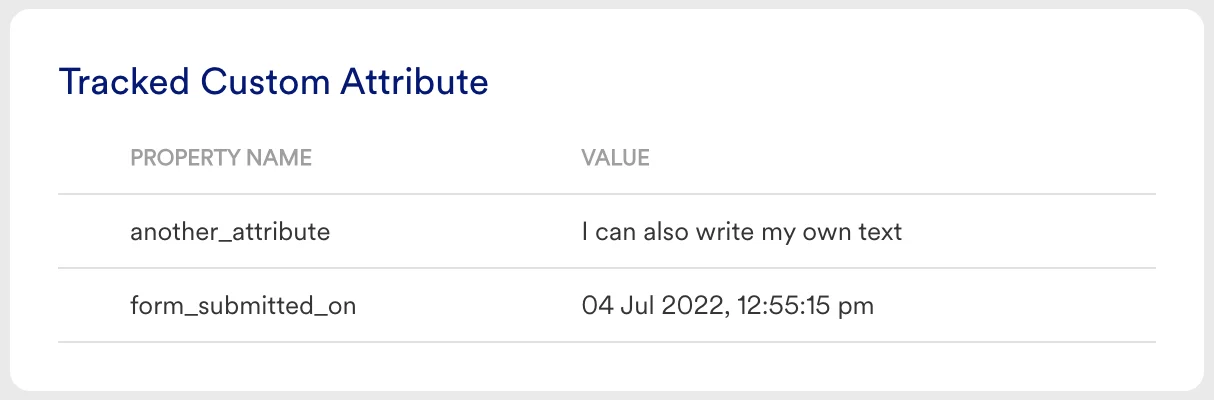
2. `Other Attributes` → `form_submitted_on` → `Google Forms (Last Submitted Time)`
3. `Other Attributes` → `another_attribute` → `"I can also write my own text"`
4. マッピングに問題がなければ、「Continue」をクリックします。
5. この設定をテストするオプションが表示されます。
4. この設定では、次のようにリンクしています。
1. `Customer ID` → `Google Forms (Email Address)`
2. `Other Attributes` → `form_submitted_on` → `Google Forms (Last Submitted Time)`
3. `Other Attributes` → `another_attribute` → `"I can also write my own text"`
4. マッピングに問題がなければ、「Continue」をクリックします。
5. この設定をテストするオプションが表示されます。
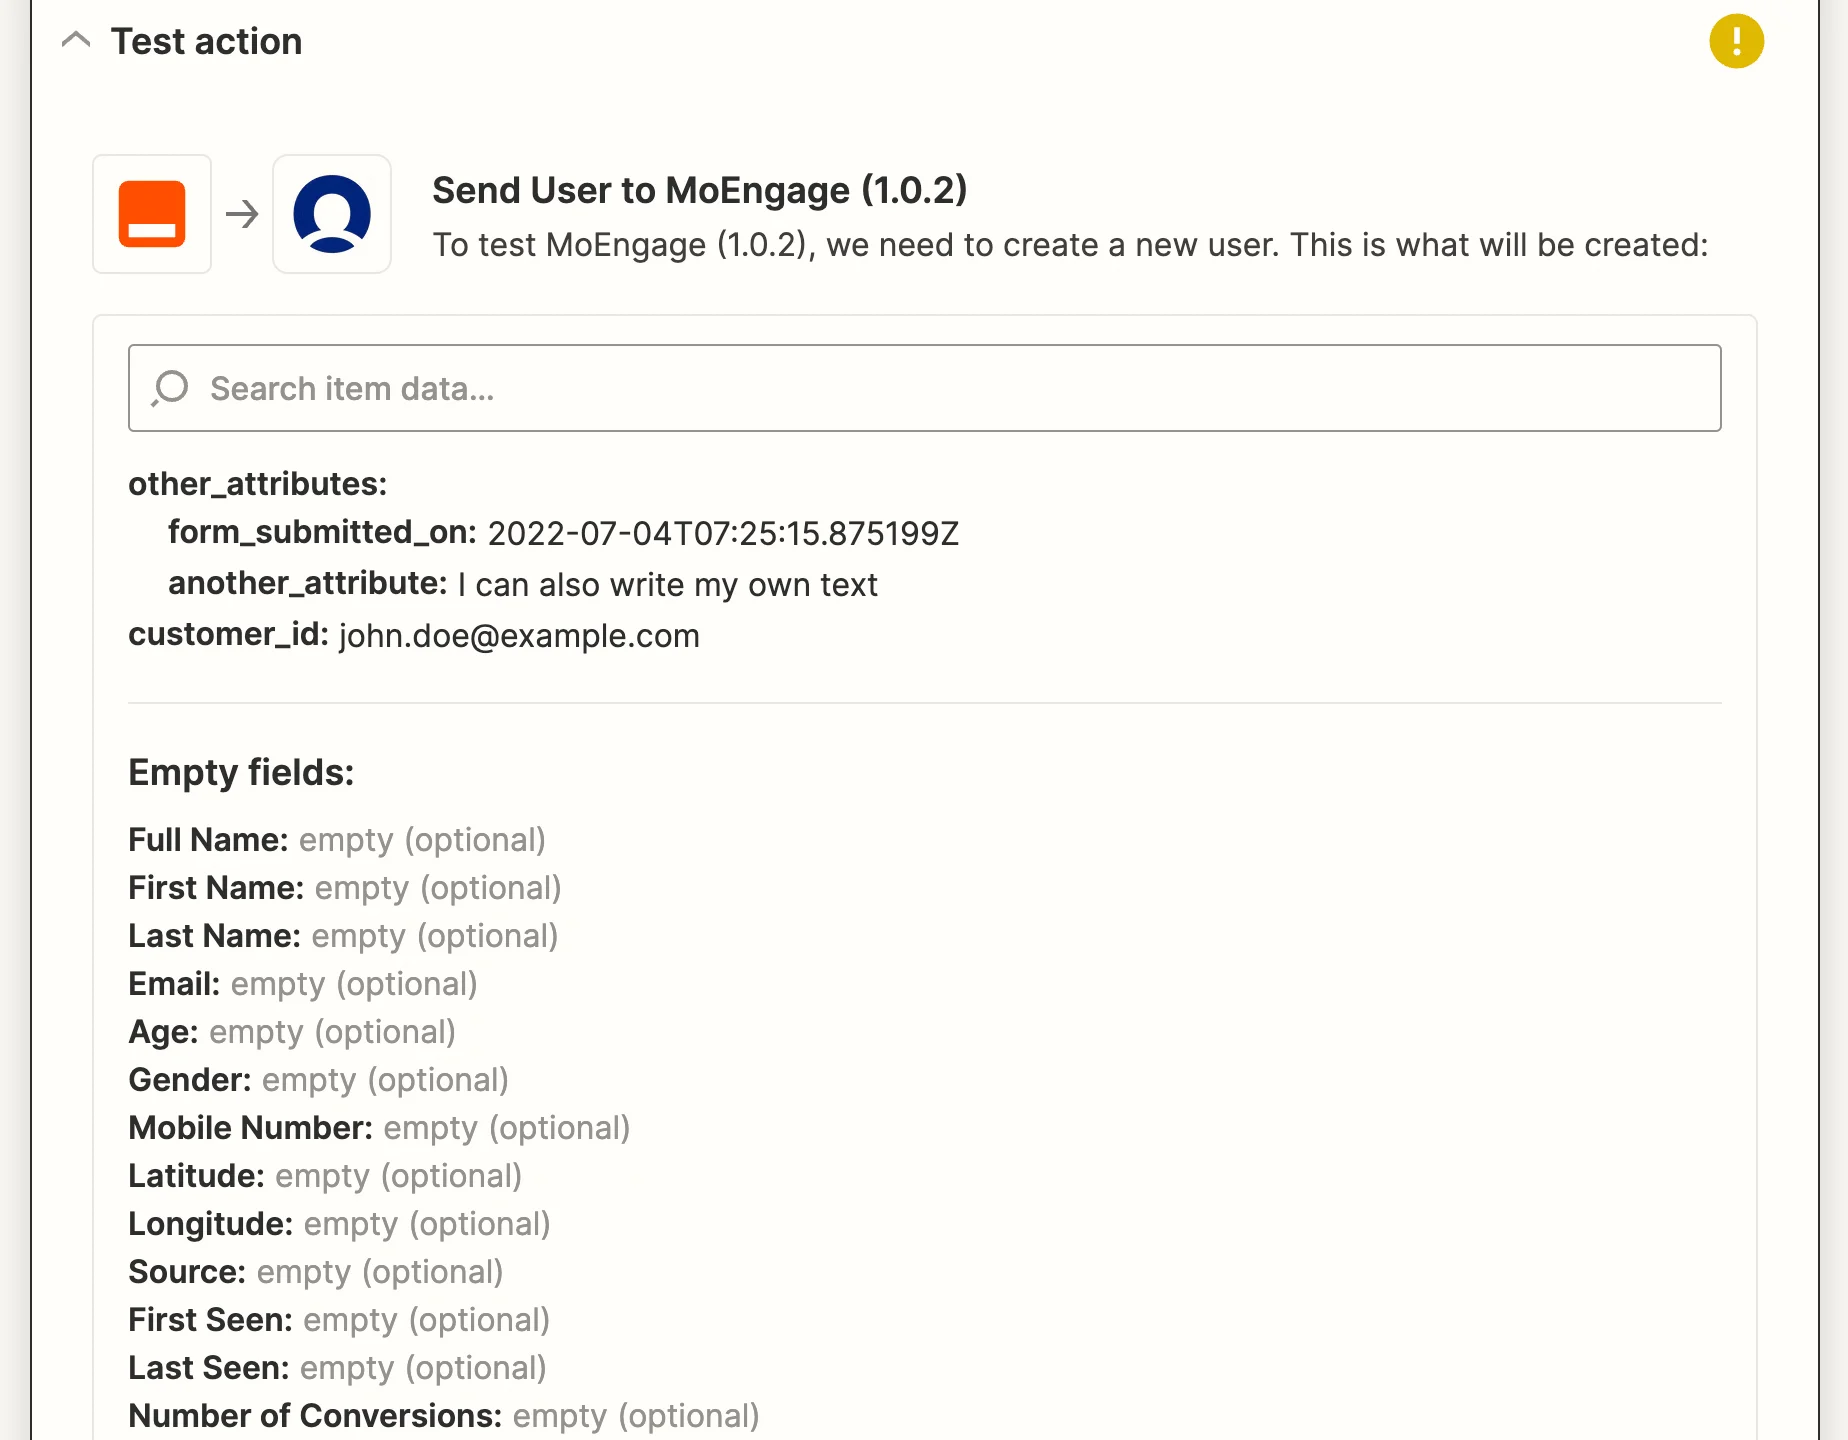
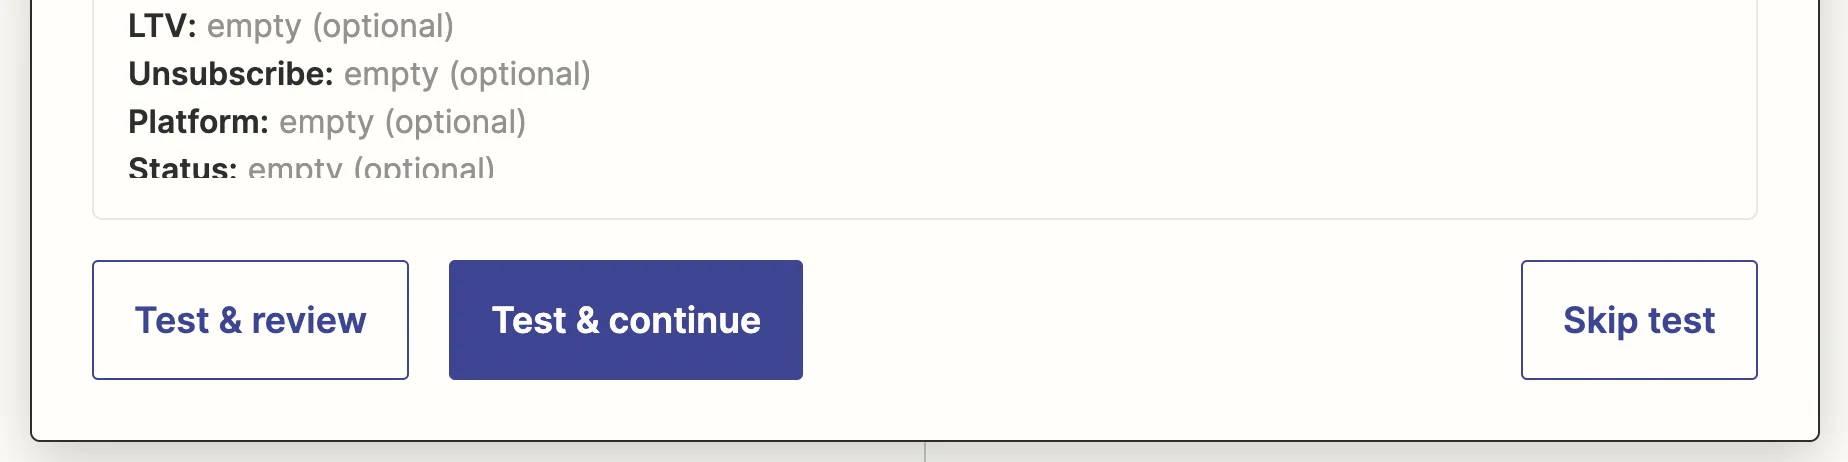 6. 「Test & continue」をクリックして、この設定をテストします。
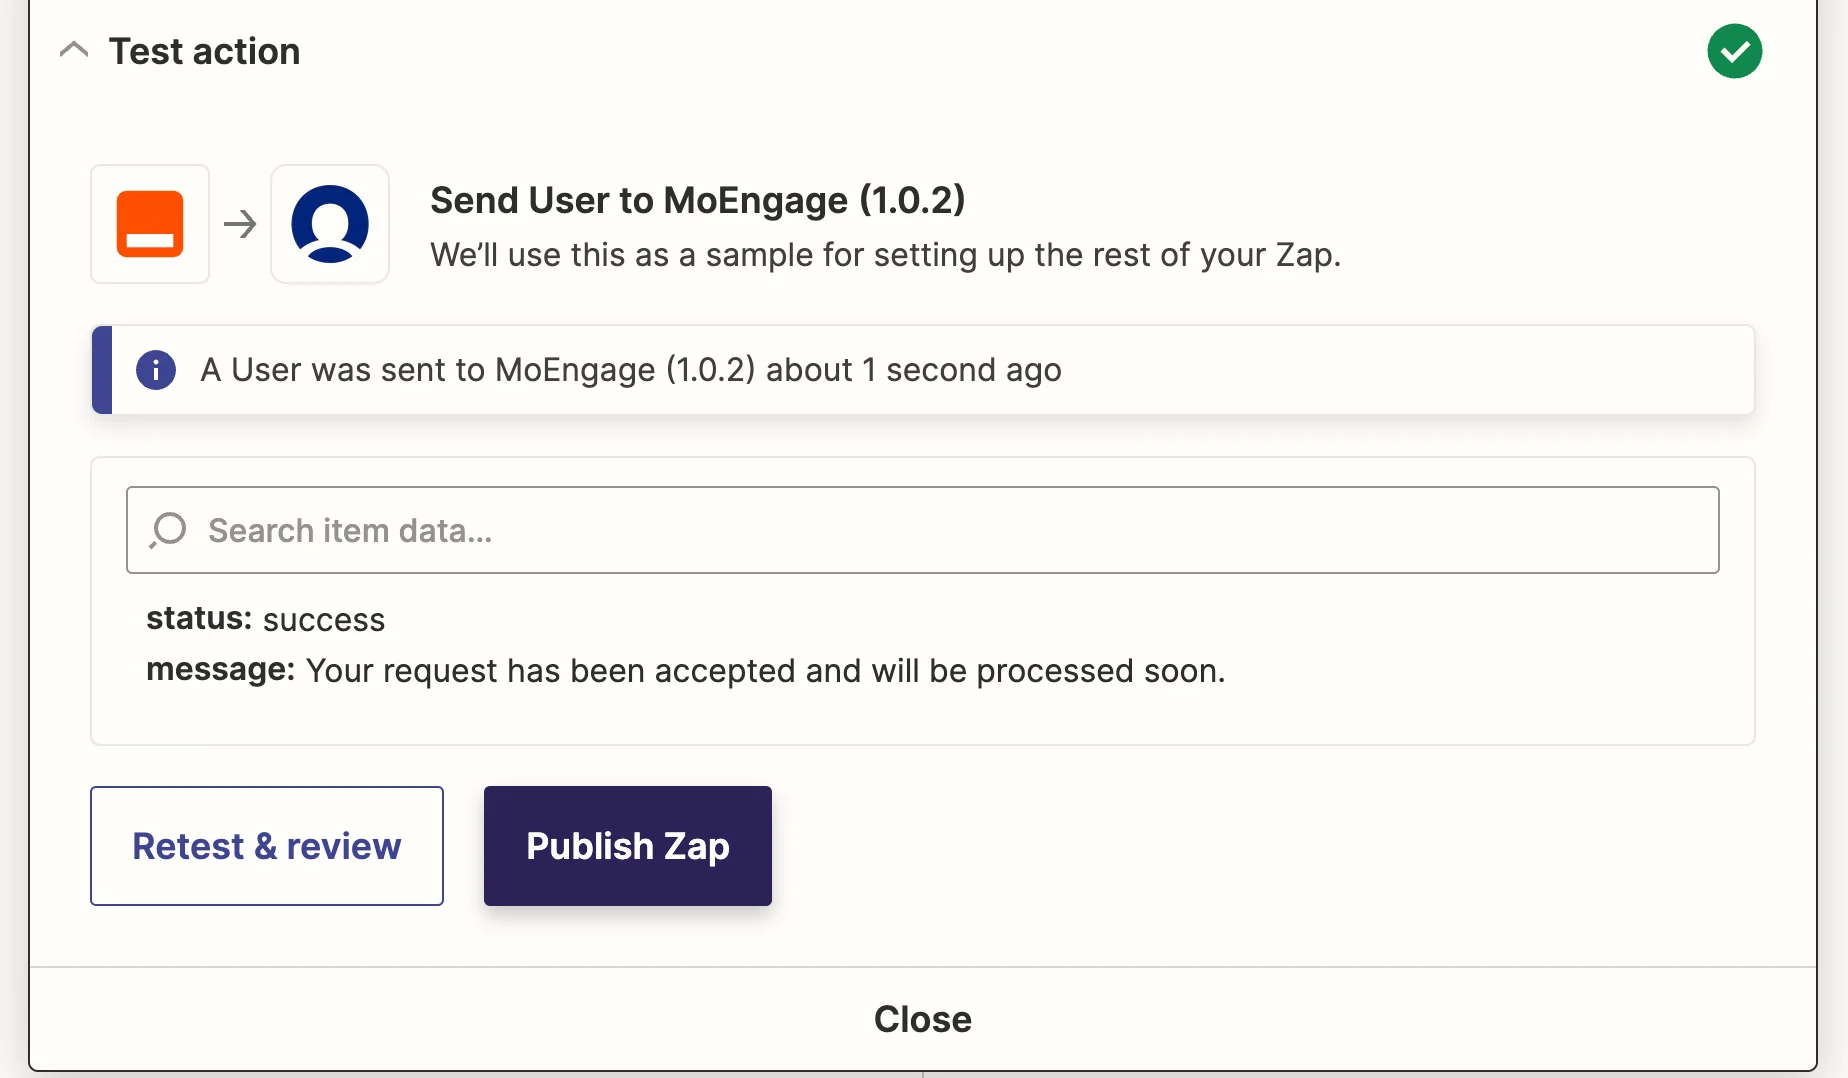
7. API 呼び出しが成功すると、「success」が返されます。
6. 「Test & continue」をクリックして、この設定をテストします。
7. API 呼び出しが成功すると、「success」が返されます。
 MoEngage ダッシュボードで確認することもできます。テストユーザーのプロファイルに移動し、カスタム属性を確認します。
 8. すべてが正常に動作することを確認したら、「Publish Zap」をクリックします。Google Form に新しい回答が追加されるたびに Zap が実行されます。