> ## Documentation Index
> Fetch the complete documentation index at: https://moengage.com/docs/llms.txt
> Use this file to discover all available pages before exploring further.
# Livingdocs
## はじめに
[Livingdocs](https://livingdocs.io/) は、さまざまなメディア企業で使用されている最新のデジタルコンテンツ作成・公開システムです。
## MoEngage と Livingdocs
MoEngage と Livingdocs の統合により、すべてのテンプレートを Livingdocs 内で編集・管理し、それらを MoEngage キャンペーンに動的に取り込んで、最新の記事を顧客に送信できます。
## 統合
**前提条件**
* Livingdocs の [アクセストークン](https://docs.livingdocs.io/reference/public-api/get-started/#authorization)。
### MoEngage キャンペーン内に Livingdocs テンプレートを埋め込む
MoEngage の Content API を使用すると、Livingdocs からテンプレートの最新版を動的に取得して顧客に送信できます。
#### ステップ 1: MoEngage Content API を設定する
1. **Settings** > **Advanced settings** > **Content API** に移動します。Content API 画面の右上にある **+ Add content API** をクリックします。 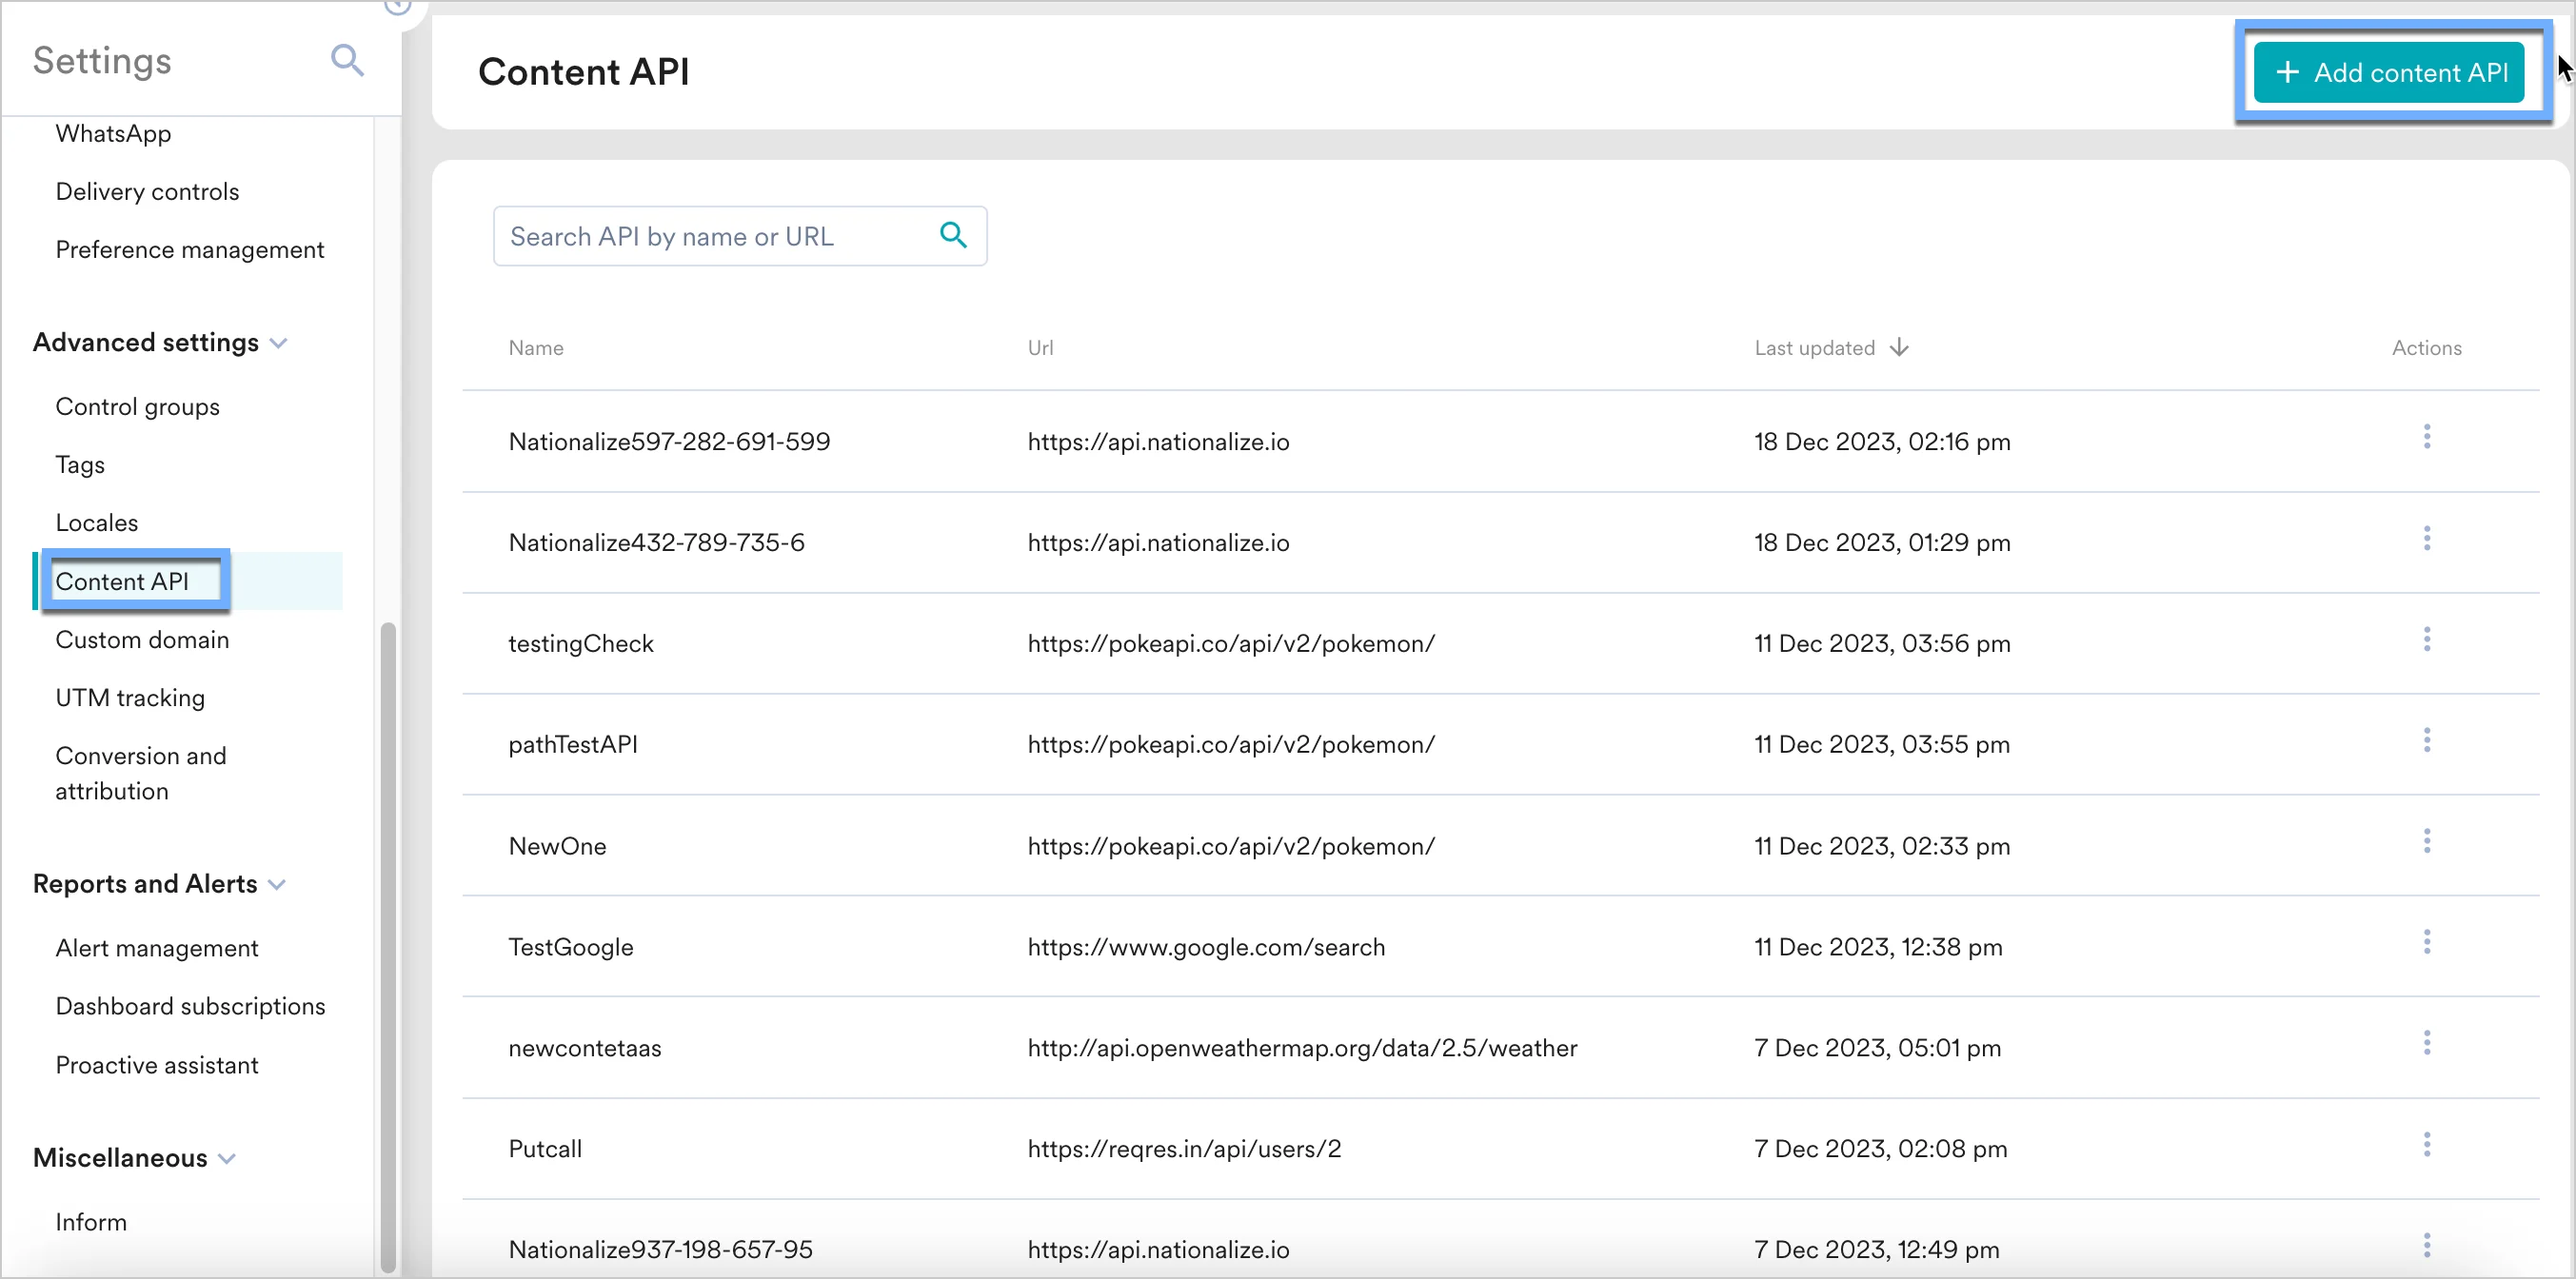 2. エンドポイント URL に Livingdocs API を追加します。エンドポイントはユースケースによって異なります。
  テンプレートの HTML コンテンツの取得には、Livingdocs の [Composition API](https://docs.livingdocs.io/reference/public-api/composition-api/) を使用します。
3. 次の URL を挿入します。
```text theme={null}
https://server.livingdocs.io/api/beta/composition/
```
4. ドキュメント ID を確認するには、Livingdocs でドキュメントを開き、URL を確認します。
テンプレートの HTML コンテンツの取得には、Livingdocs の [Composition API](https://docs.livingdocs.io/reference/public-api/composition-api/) を使用します。
3. 次の URL を挿入します。
```text theme={null}
https://server.livingdocs.io/api/beta/composition/
```
4. ドキュメント ID を確認するには、Livingdocs でドキュメントを開き、URL を確認します。  **Headers** に次を追加します。
* `Authorization`: `Bearer `
* `Content-Type`: `application/json; charset=utf-8`
* `Accept`: `application/json`
5. **Method** を `POST` に設定します。
6. **Body** に次を入力します。
```json JSON theme={null}
{
"fields": [
"systemdata",
"content",
"metadata",
"includes",
"html"
],
"resolveIncludes": true
}
```
7. **Save** をクリックし、成功のレスポンスが表示されたら **Done** をクリックします。
キャンペーンで使用する前に、Content API の **Test** をクリックしてレスポンスを検証してください。
#### ステップ 2: MoEngage キャンペーン内にテンプレートを表示する
MoEngage キャンペーンでこの Content API を使用するには、次の手順を実行します。
1. キャンペーン作成のステップ 2 で、`@` と入力します。
2. パーソナライゼーションのポップアップで、ステップ 1 で設定した Livingdocs Content API を選択します。
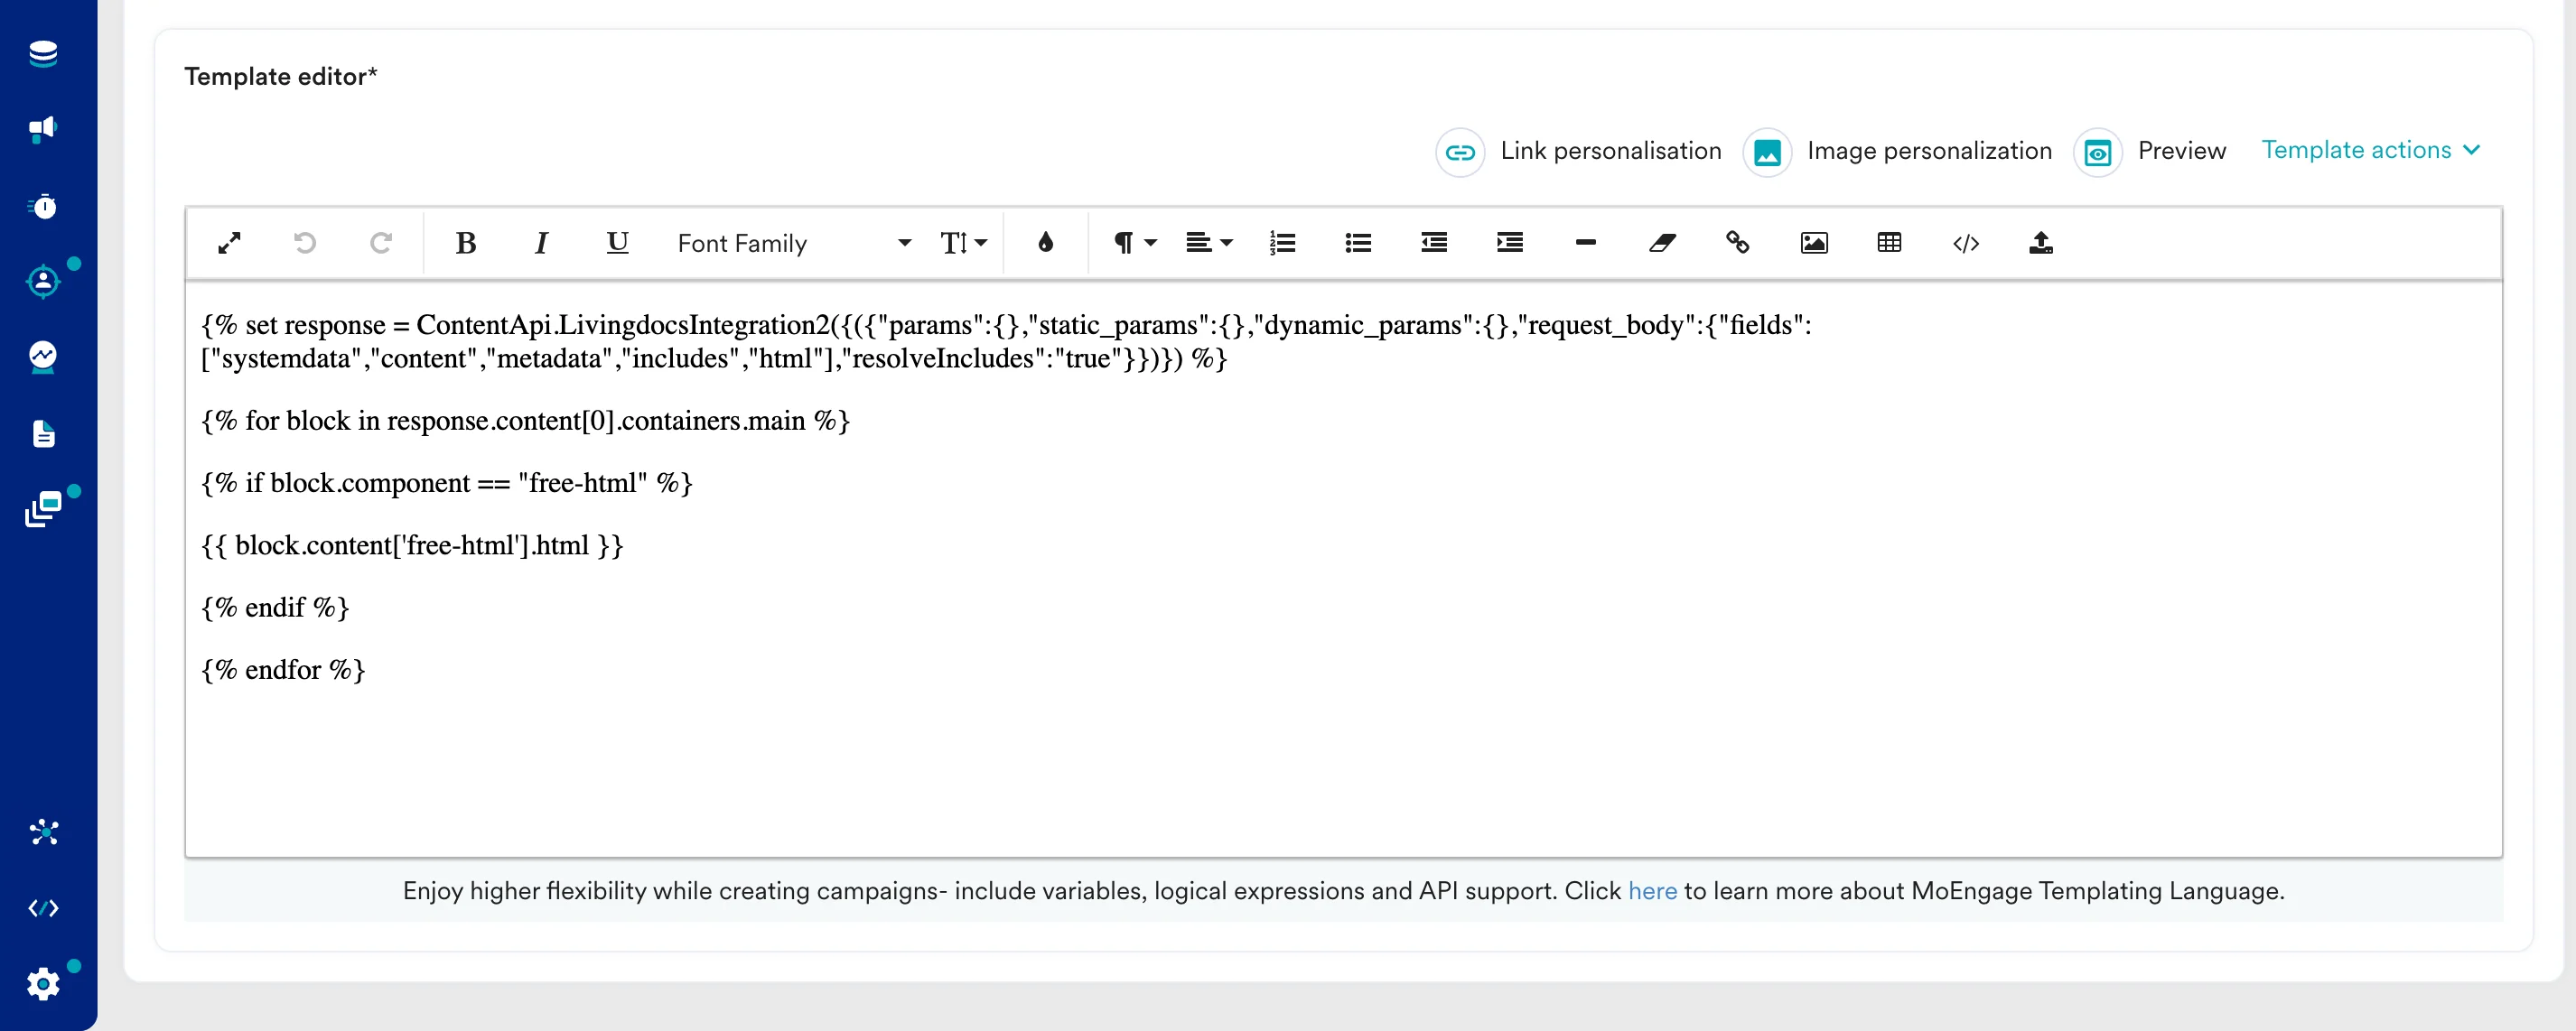
3. [MoEngage Templating Language](https://www.moengage.com/docs/user-guide/campaigns-and-channels/getting-started/message-personalization/jinja-templating-language) を使用して API レスポンスを解析し、そのコンテンツをキャンペーンで使用します。
```jinja JINJA wrap theme={null}
{% set response = ContentApi.LivingdocsIntegration2({("params":{},"static_params":{},"dynamic_params":{},"request_body":{"fields":["systemdata","content","metadata","includes","html"],"resolveIncludes":"true"}})}) %}
{% for block in response.content[0].containers.main %}
{% if block.component == "free-html" %}
{{ block.content['free-html'].html }}
{% endif %}
{% endfor %}
```
**Headers** に次を追加します。
* `Authorization`: `Bearer `
* `Content-Type`: `application/json; charset=utf-8`
* `Accept`: `application/json`
5. **Method** を `POST` に設定します。
6. **Body** に次を入力します。
```json JSON theme={null}
{
"fields": [
"systemdata",
"content",
"metadata",
"includes",
"html"
],
"resolveIncludes": true
}
```
7. **Save** をクリックし、成功のレスポンスが表示されたら **Done** をクリックします。
キャンペーンで使用する前に、Content API の **Test** をクリックしてレスポンスを検証してください。
#### ステップ 2: MoEngage キャンペーン内にテンプレートを表示する
MoEngage キャンペーンでこの Content API を使用するには、次の手順を実行します。
1. キャンペーン作成のステップ 2 で、`@` と入力します。
2. パーソナライゼーションのポップアップで、ステップ 1 で設定した Livingdocs Content API を選択します。
3. [MoEngage Templating Language](https://www.moengage.com/docs/user-guide/campaigns-and-channels/getting-started/message-personalization/jinja-templating-language) を使用して API レスポンスを解析し、そのコンテンツをキャンペーンで使用します。
```jinja JINJA wrap theme={null}
{% set response = ContentApi.LivingdocsIntegration2({("params":{},"static_params":{},"dynamic_params":{},"request_body":{"fields":["systemdata","content","metadata","includes","html"],"resolveIncludes":"true"}})}) %}
{% for block in response.content[0].containers.main %}
{% if block.component == "free-html" %}
{{ block.content['free-html'].html }}
{% endif %}
{% endfor %}
```
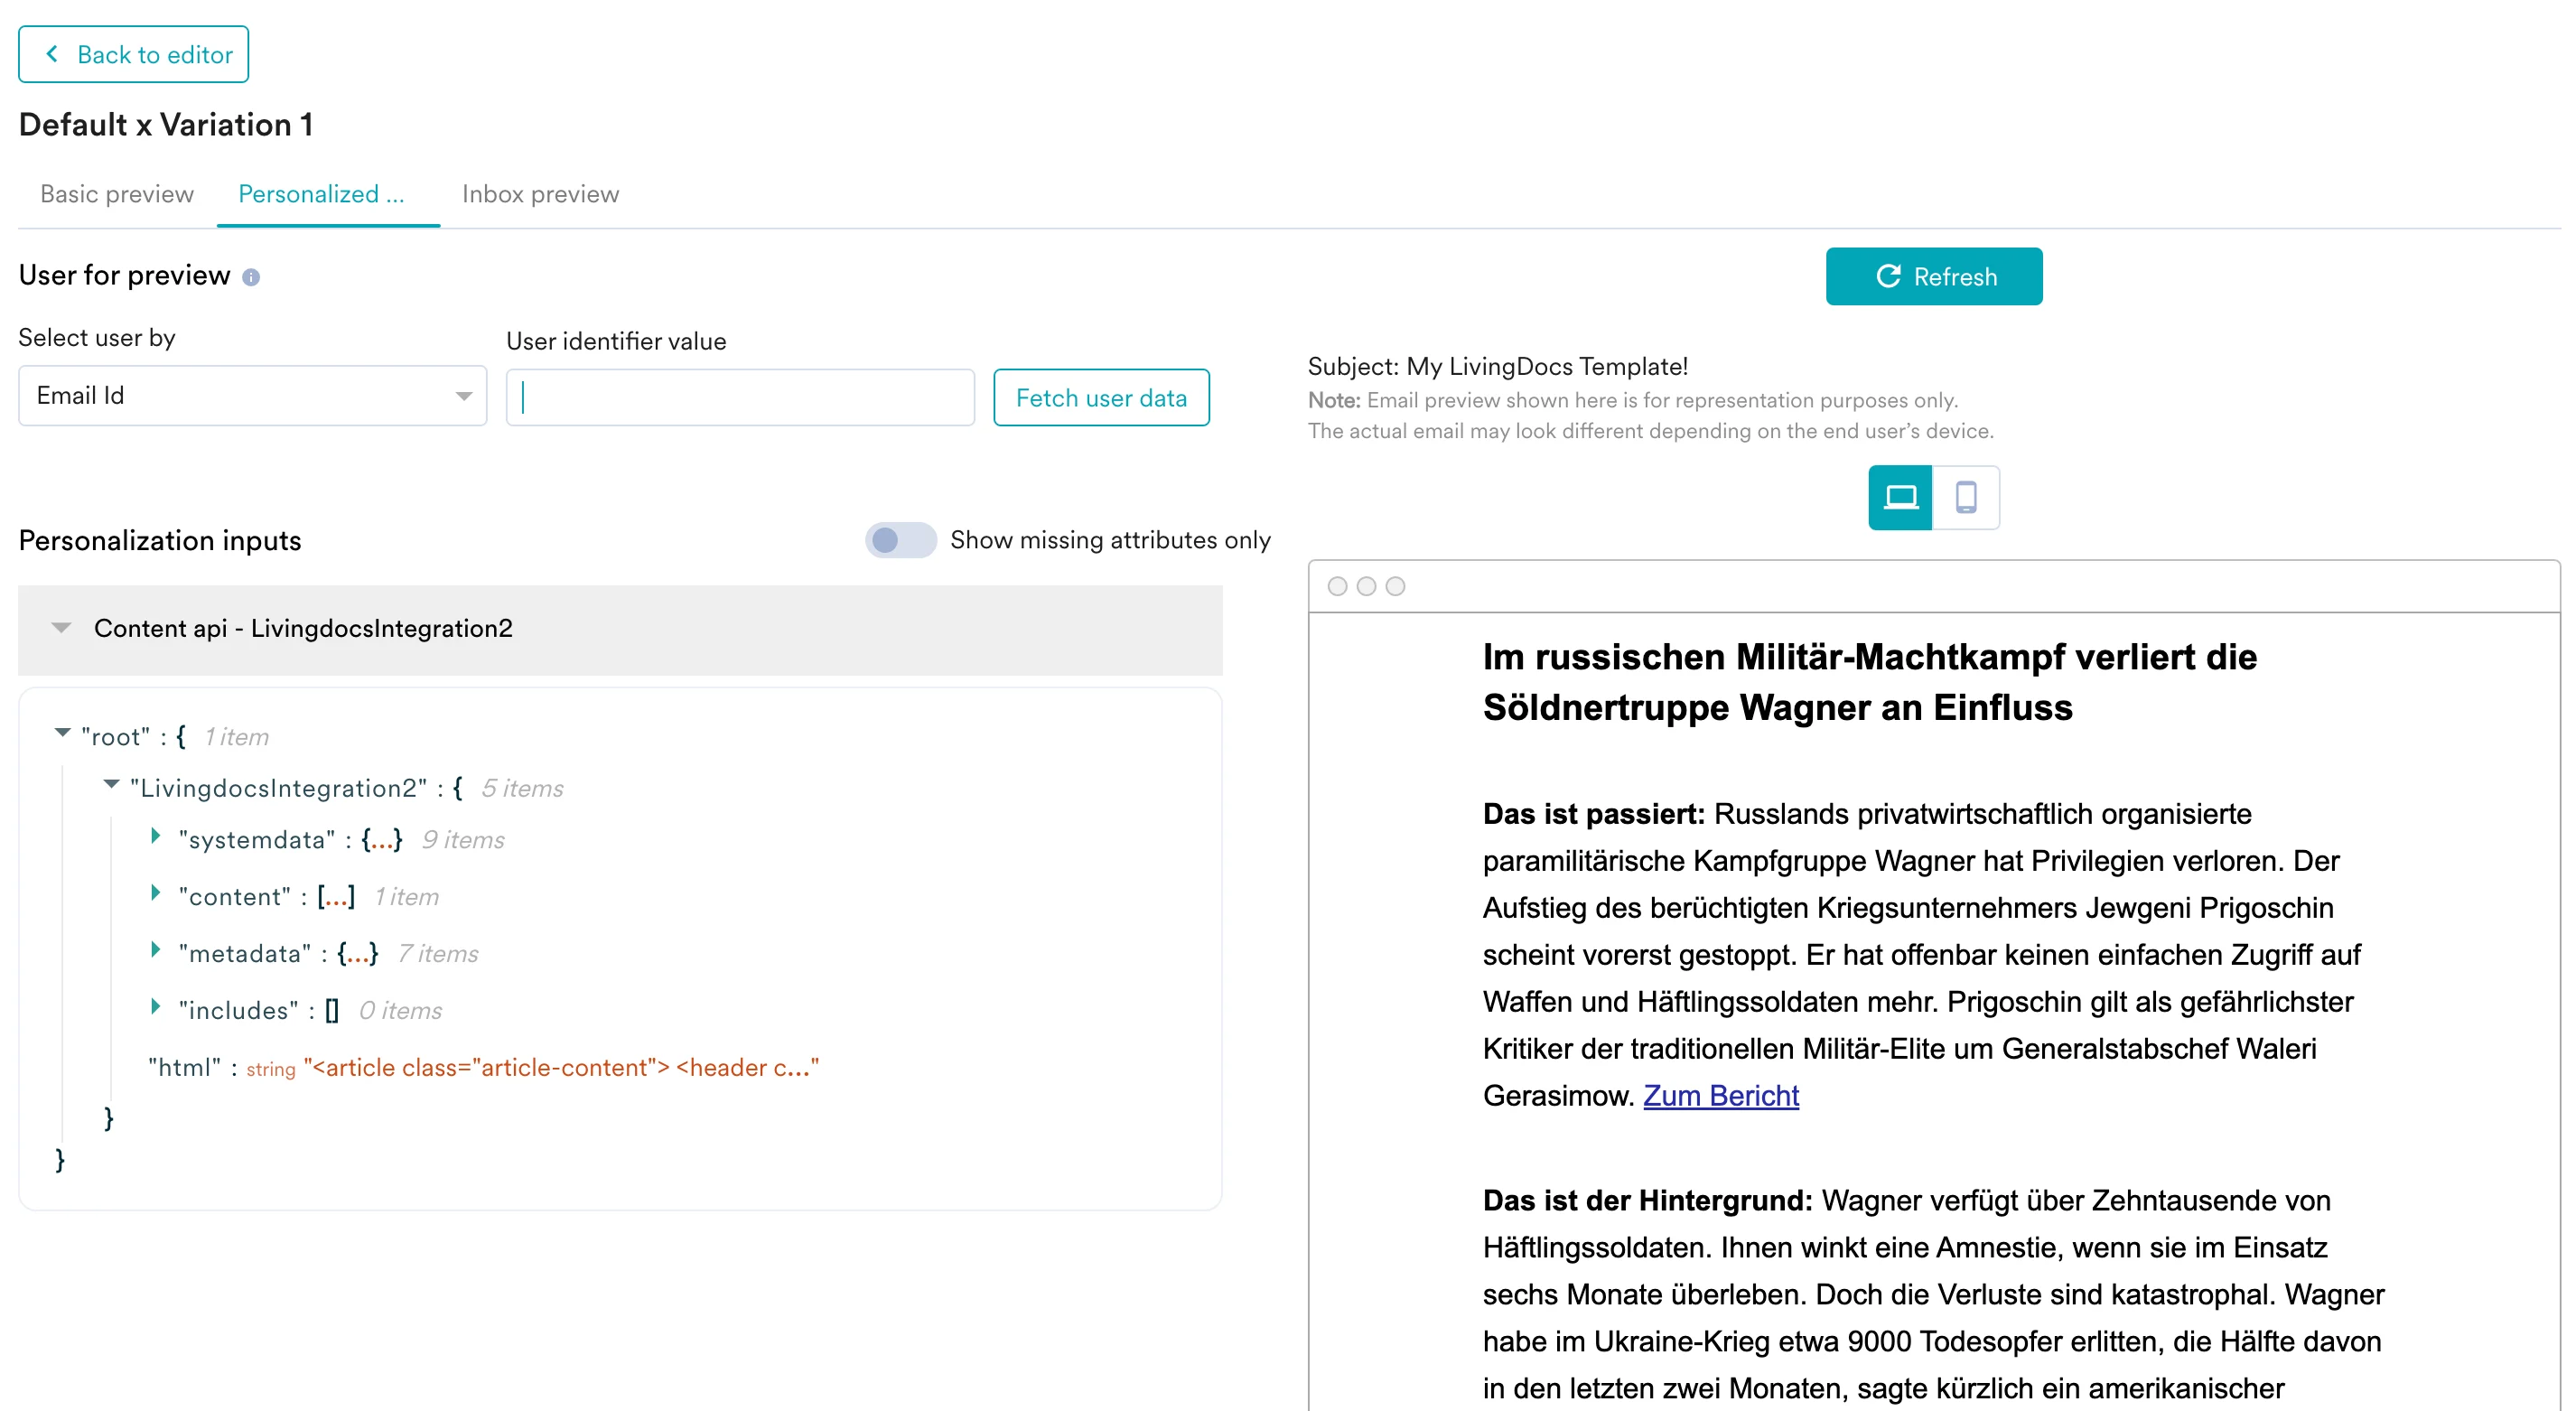
 4. **Preview** タブをクリックすると、リアルタイムのパーソナライゼーションが適用されたキャンペーンを確認できます。
  ### MoEngage キャンペーン内で動的ブロックを使用する
動的なコードの一部を、複数の MoEngage キャンペーンやテンプレートで再利用したい場合があります。これは MoEngage のコンテンツブロックで実現できます。
1. MoEngage ダッシュボードのサイドナビゲーションで、**Content** > **Content Blocks** に移動します。
2. **Create content block** をクリックします。
3. コンテンツブロックを作成します。Plain text または HTML のいずれかを使用できます。
### MoEngage キャンペーン内で動的ブロックを使用する
動的なコードの一部を、複数の MoEngage キャンペーンやテンプレートで再利用したい場合があります。これは MoEngage のコンテンツブロックで実現できます。
1. MoEngage ダッシュボードのサイドナビゲーションで、**Content** > **Content Blocks** に移動します。
2. **Create content block** をクリックします。
3. コンテンツブロックを作成します。Plain text または HTML のいずれかを使用できます。 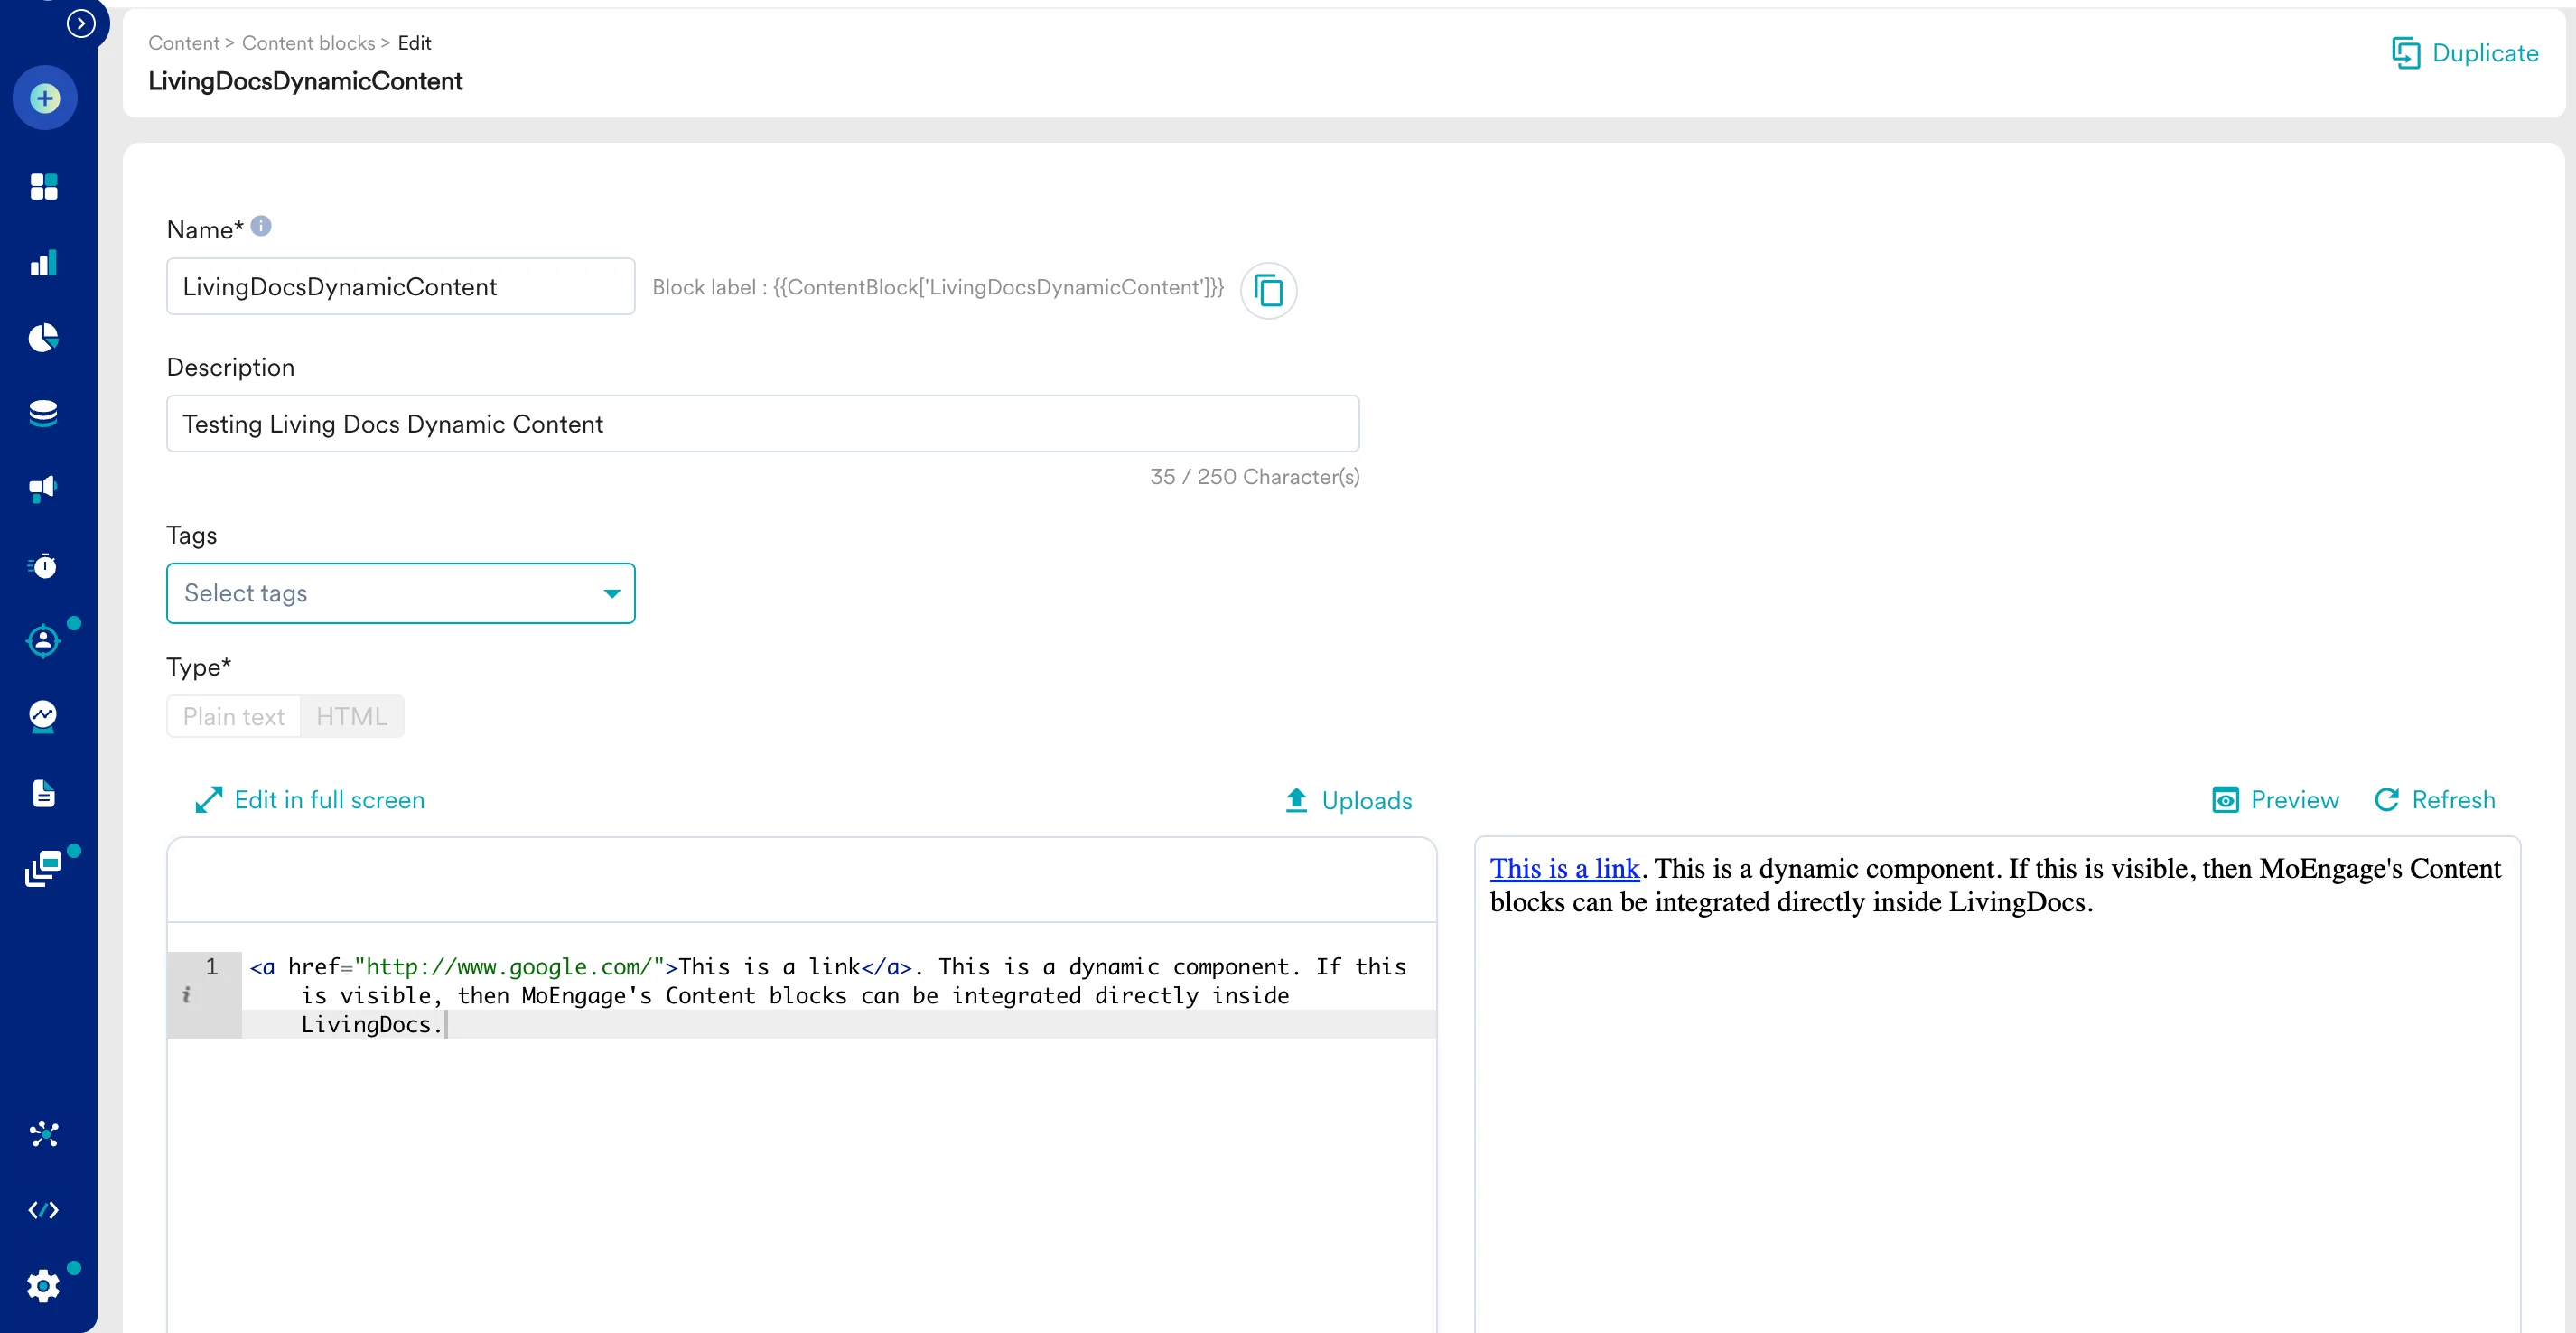 4. 準備ができたら、ブロックのラベルをコピーします。これを Livingdocs のテンプレートエディター内に貼り付けます。
次に、Livingdocs のテンプレートエディターに移動し、ブロックコードを貼り付けます。
4. 準備ができたら、ブロックのラベルをコピーします。これを Livingdocs のテンプレートエディター内に貼り付けます。
次に、Livingdocs のテンプレートエディターに移動し、ブロックコードを貼り付けます。
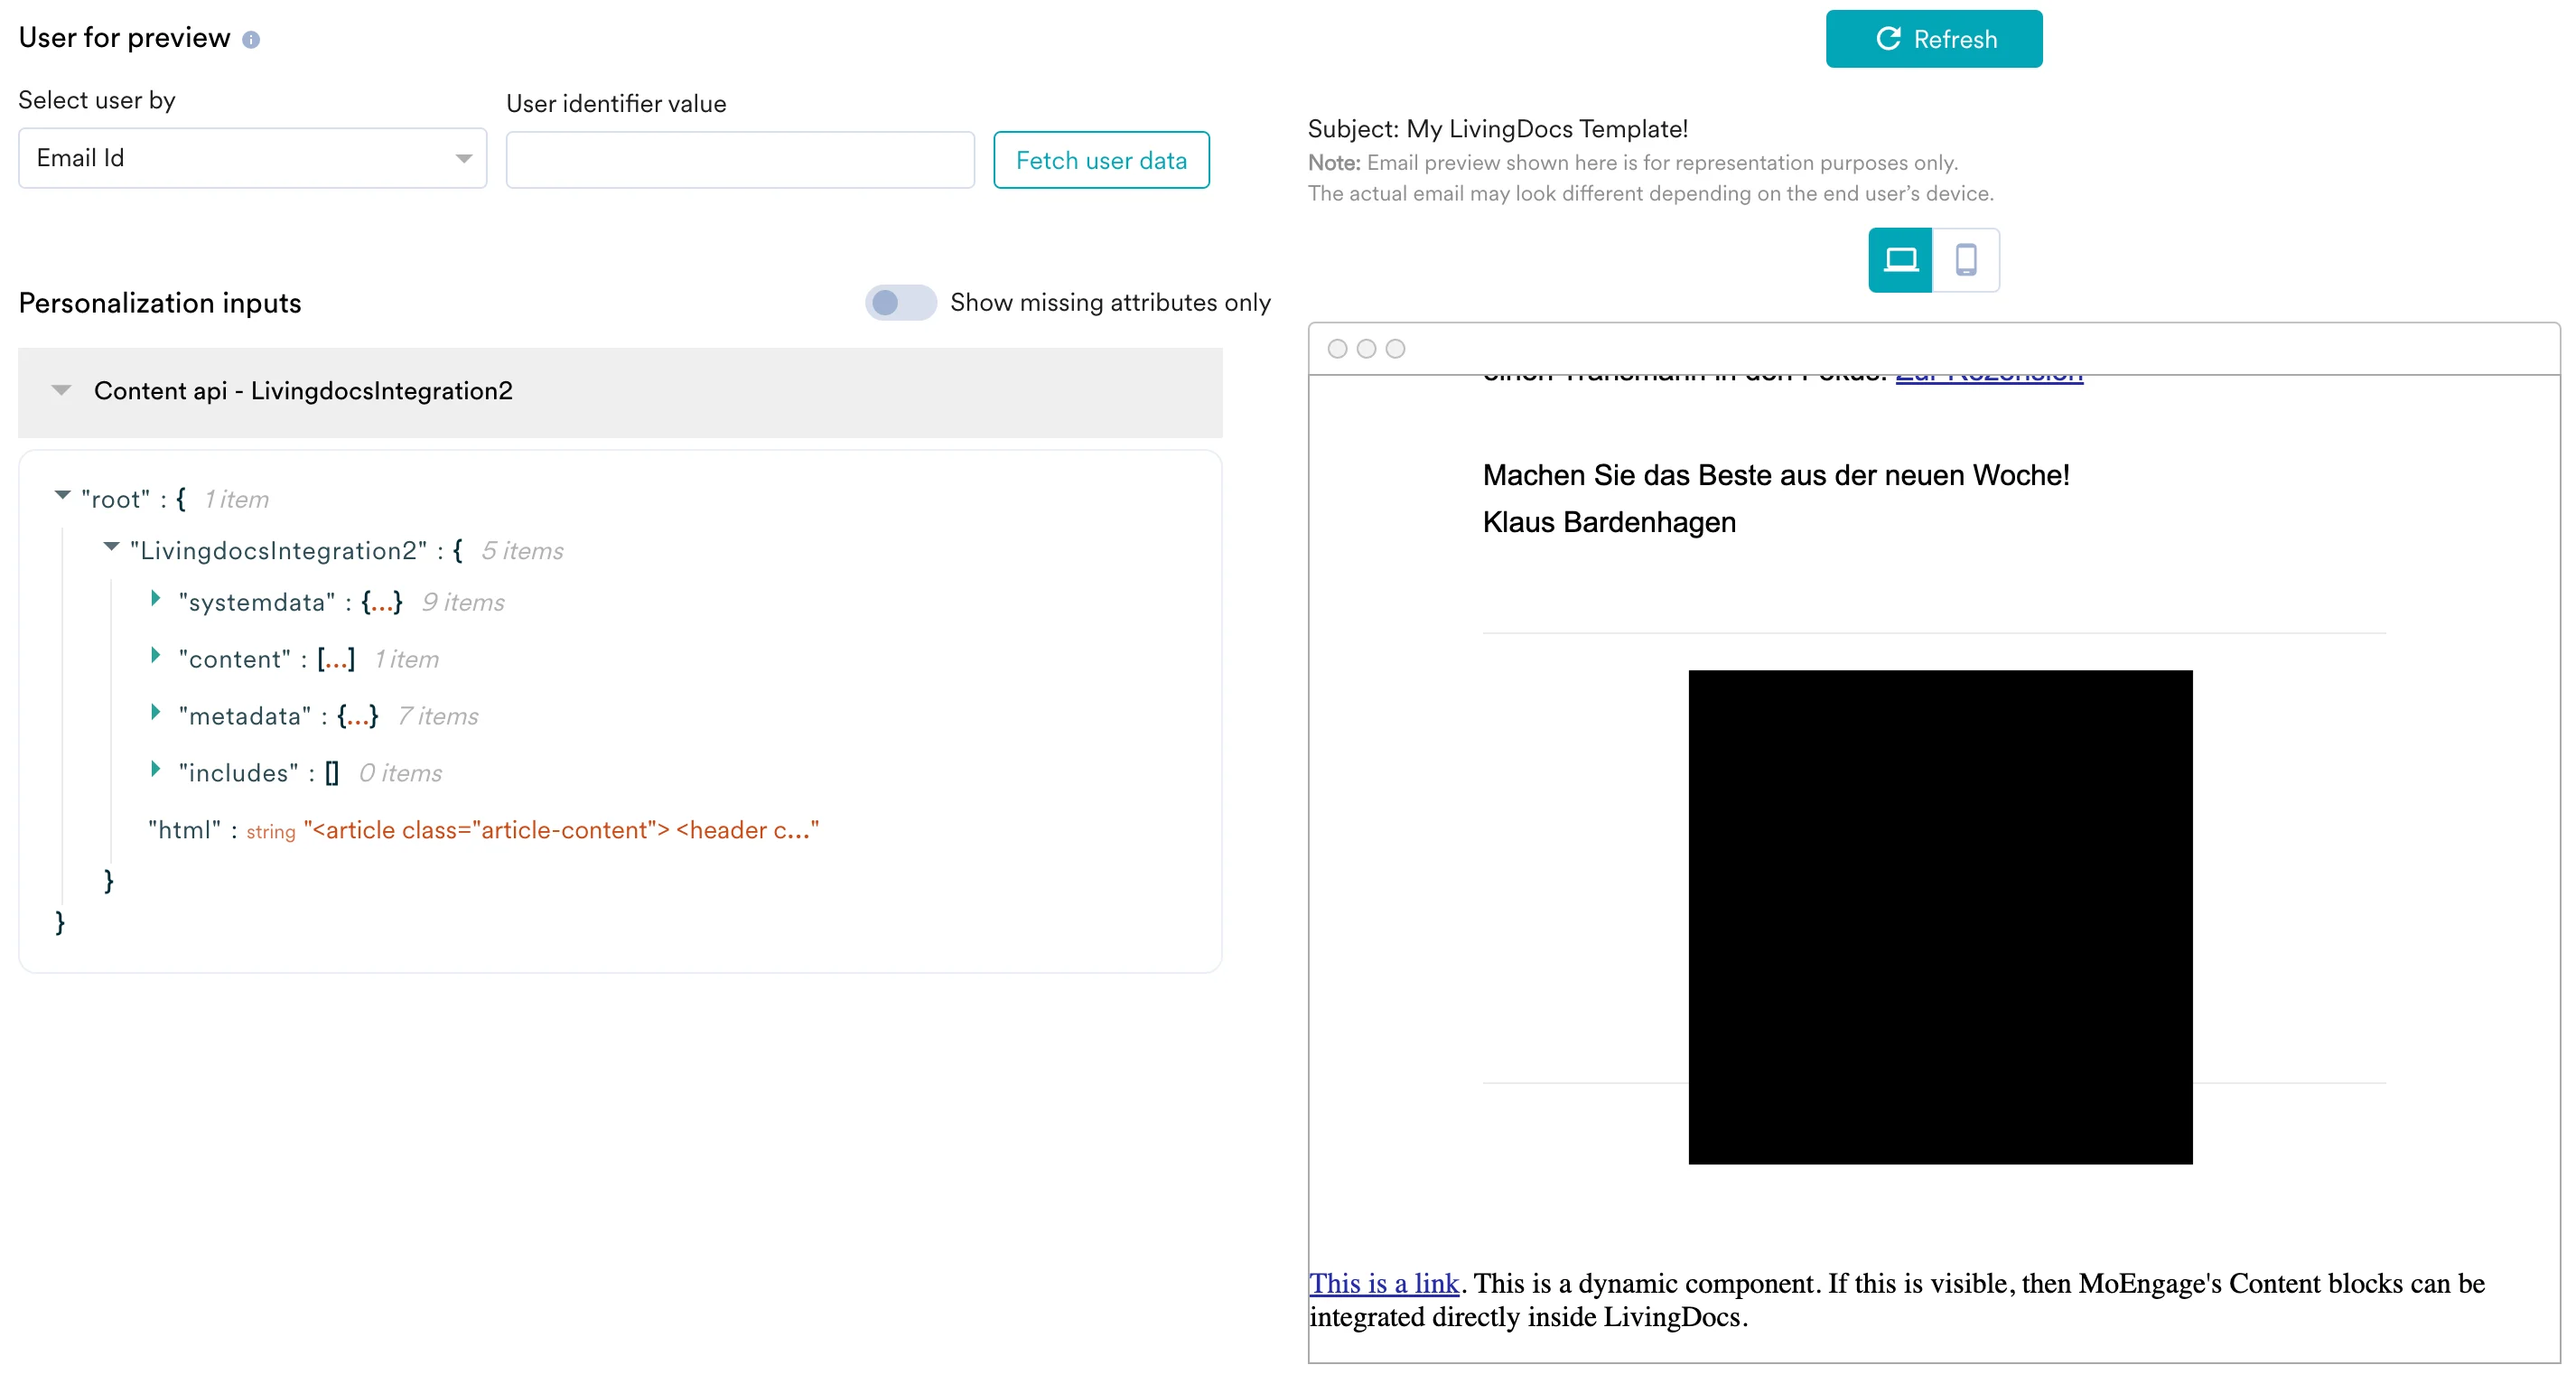
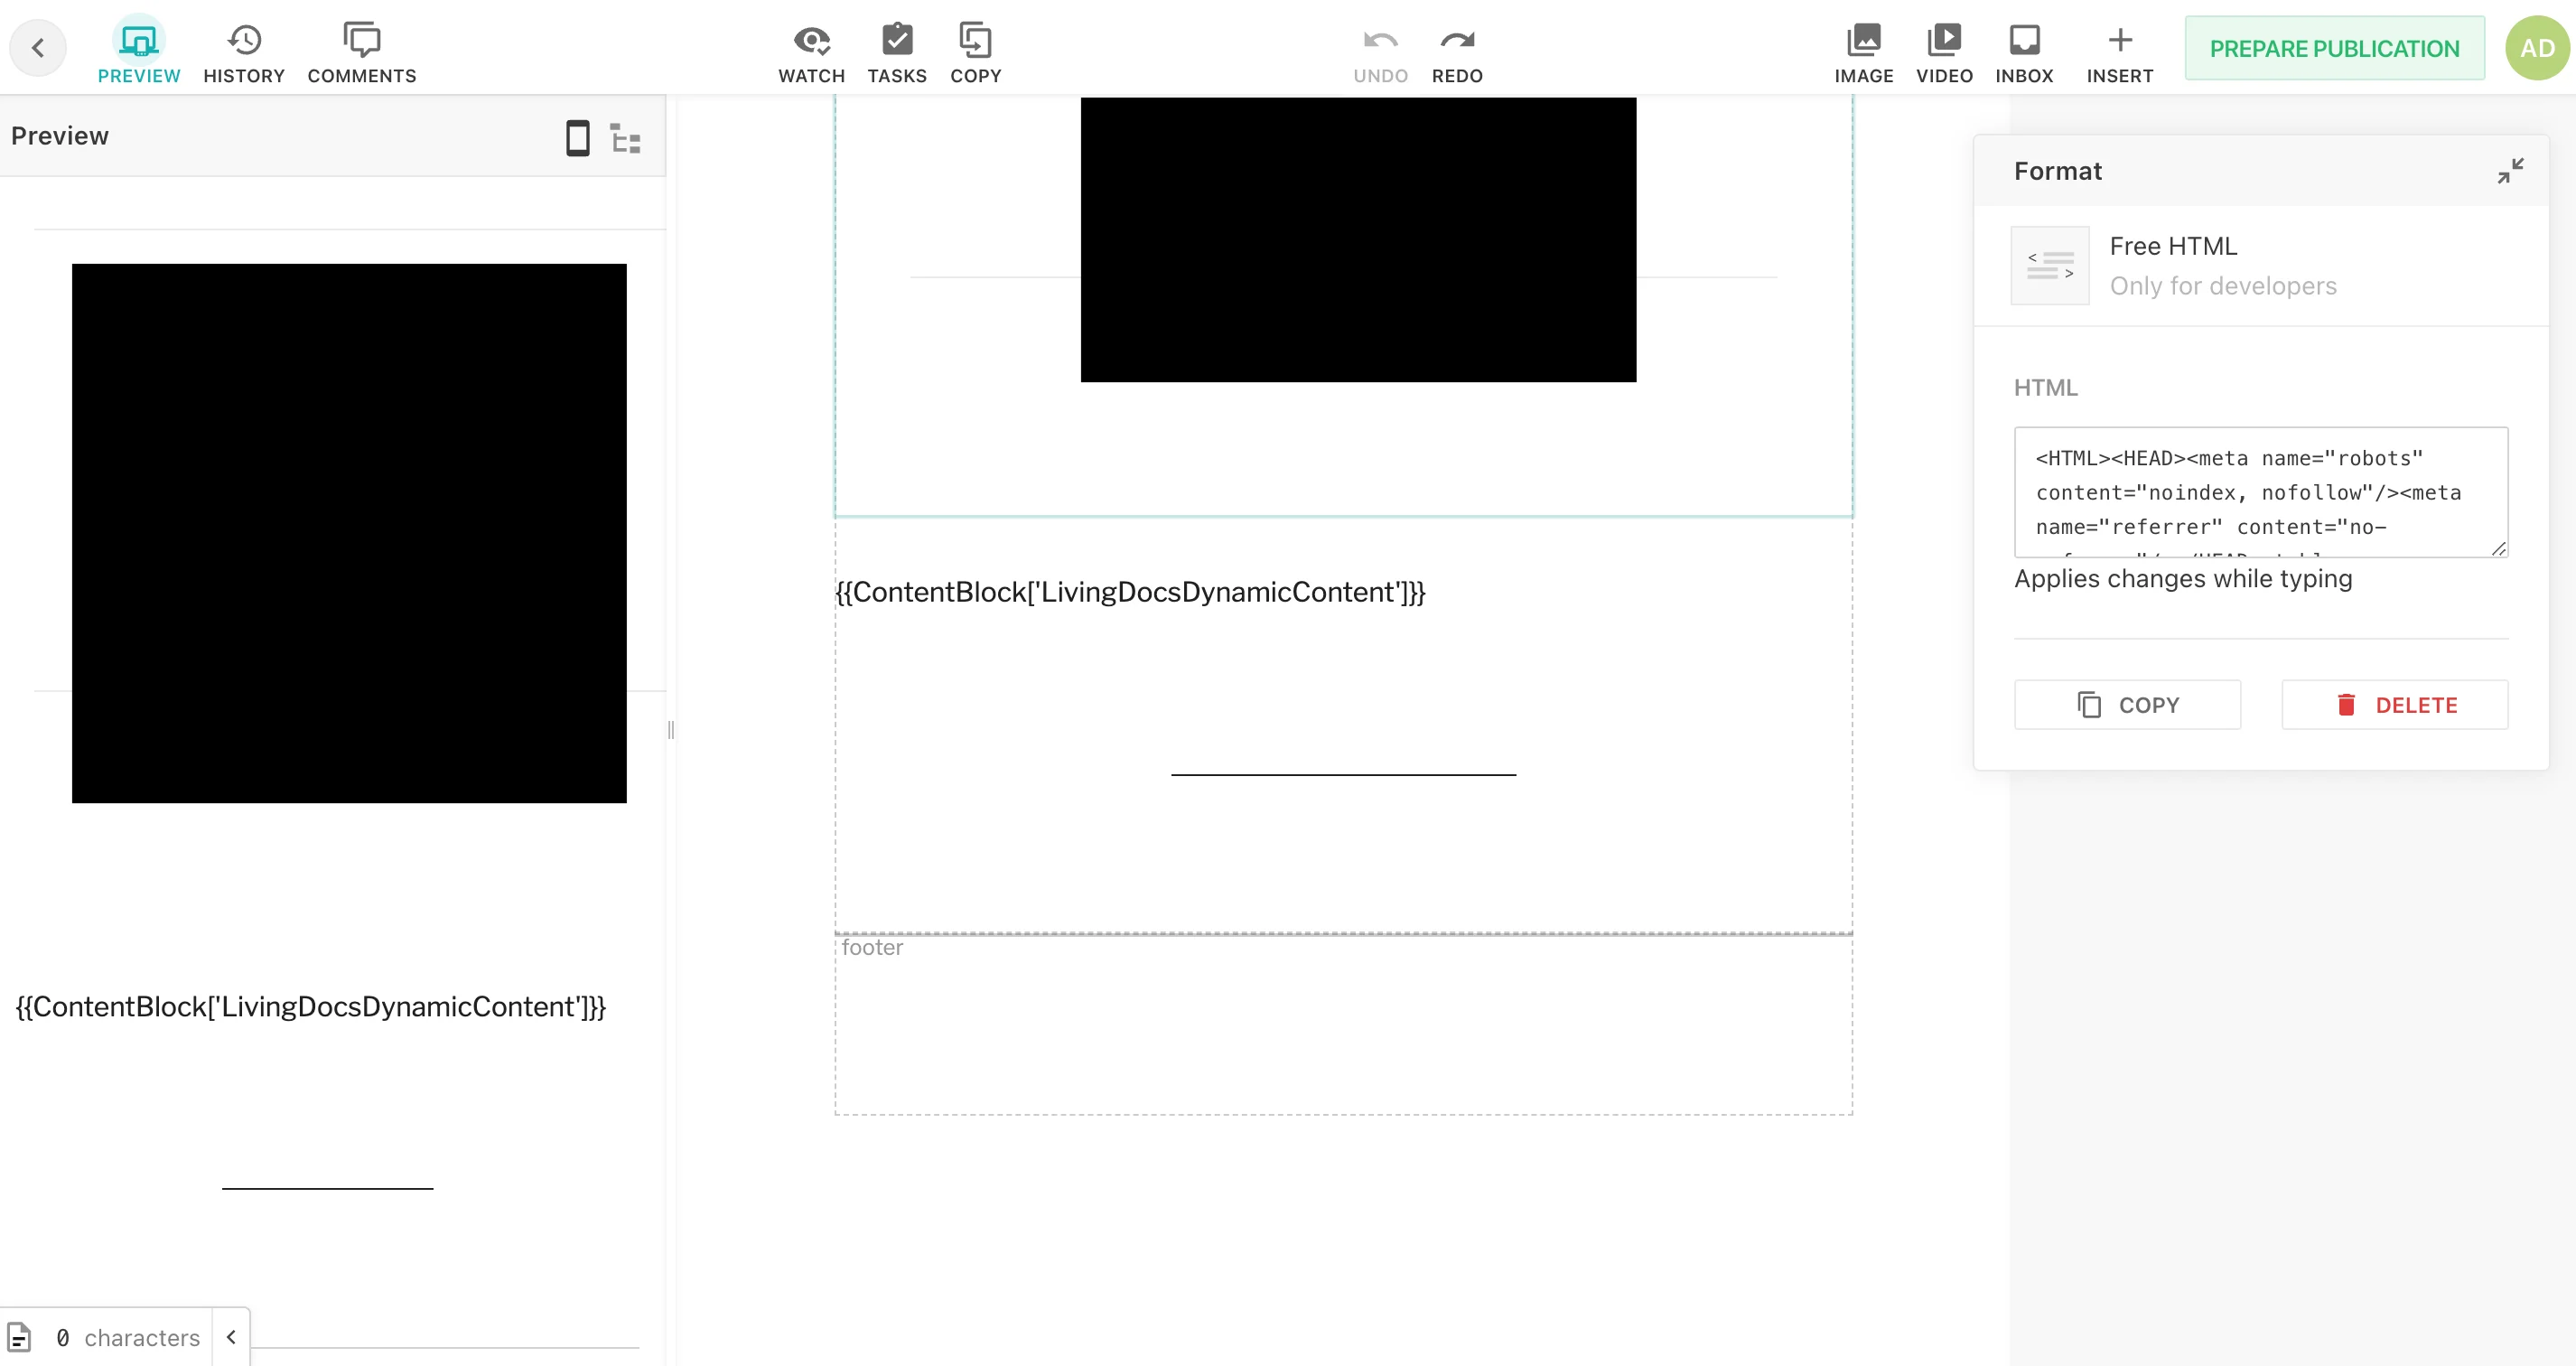 以上で完了です。コンテンツブロックは、コードの位置でテンプレートに自動的に挿入されます。