> ## Documentation Index
> Fetch the complete documentation index at: https://moengage.com/docs/llms.txt
> Use this file to discover all available pages before exploring further.
# Google Tag Manager (GTM) Server Side
## Introduction
[Google Tag Manager](https://tagmanager.google.com/) is a free tool that enables marketers to install, store, and manage marketing tags without modifying website code, and instantly deploy tags on your website or mobile app from an easy-to-use web-based interface.
## MoEngage × Google Tag Manager
With the MoEngage and Google Tag Manager integration, you can forward the events captured on your GTM server to MoEngage without writing any code on your website.
## Integration via GTM Server Side
**Prerequisites**
Ensure you have a Google Tag Manager account with permission to import templates and add new tags.
With the Google Tag Manager template built by MoEngage, you can forward your events from GTM to MoEngage.
### Step 1: Download and import the MoEngage Tag
 1. Download the [MoEngage](https://raw.githubusercontent.com/moengage/snowplow-gtm-server-side-moengage-tag/master/template.tpl) tag (right-click and Save).
2. To import the tag into your GTM workspace, go to the **Templates** screen from the left side menu.
1. Download the [MoEngage](https://raw.githubusercontent.com/moengage/snowplow-gtm-server-side-moengage-tag/master/template.tpl) tag (right-click and Save).
2. To import the tag into your GTM workspace, go to the **Templates** screen from the left side menu.
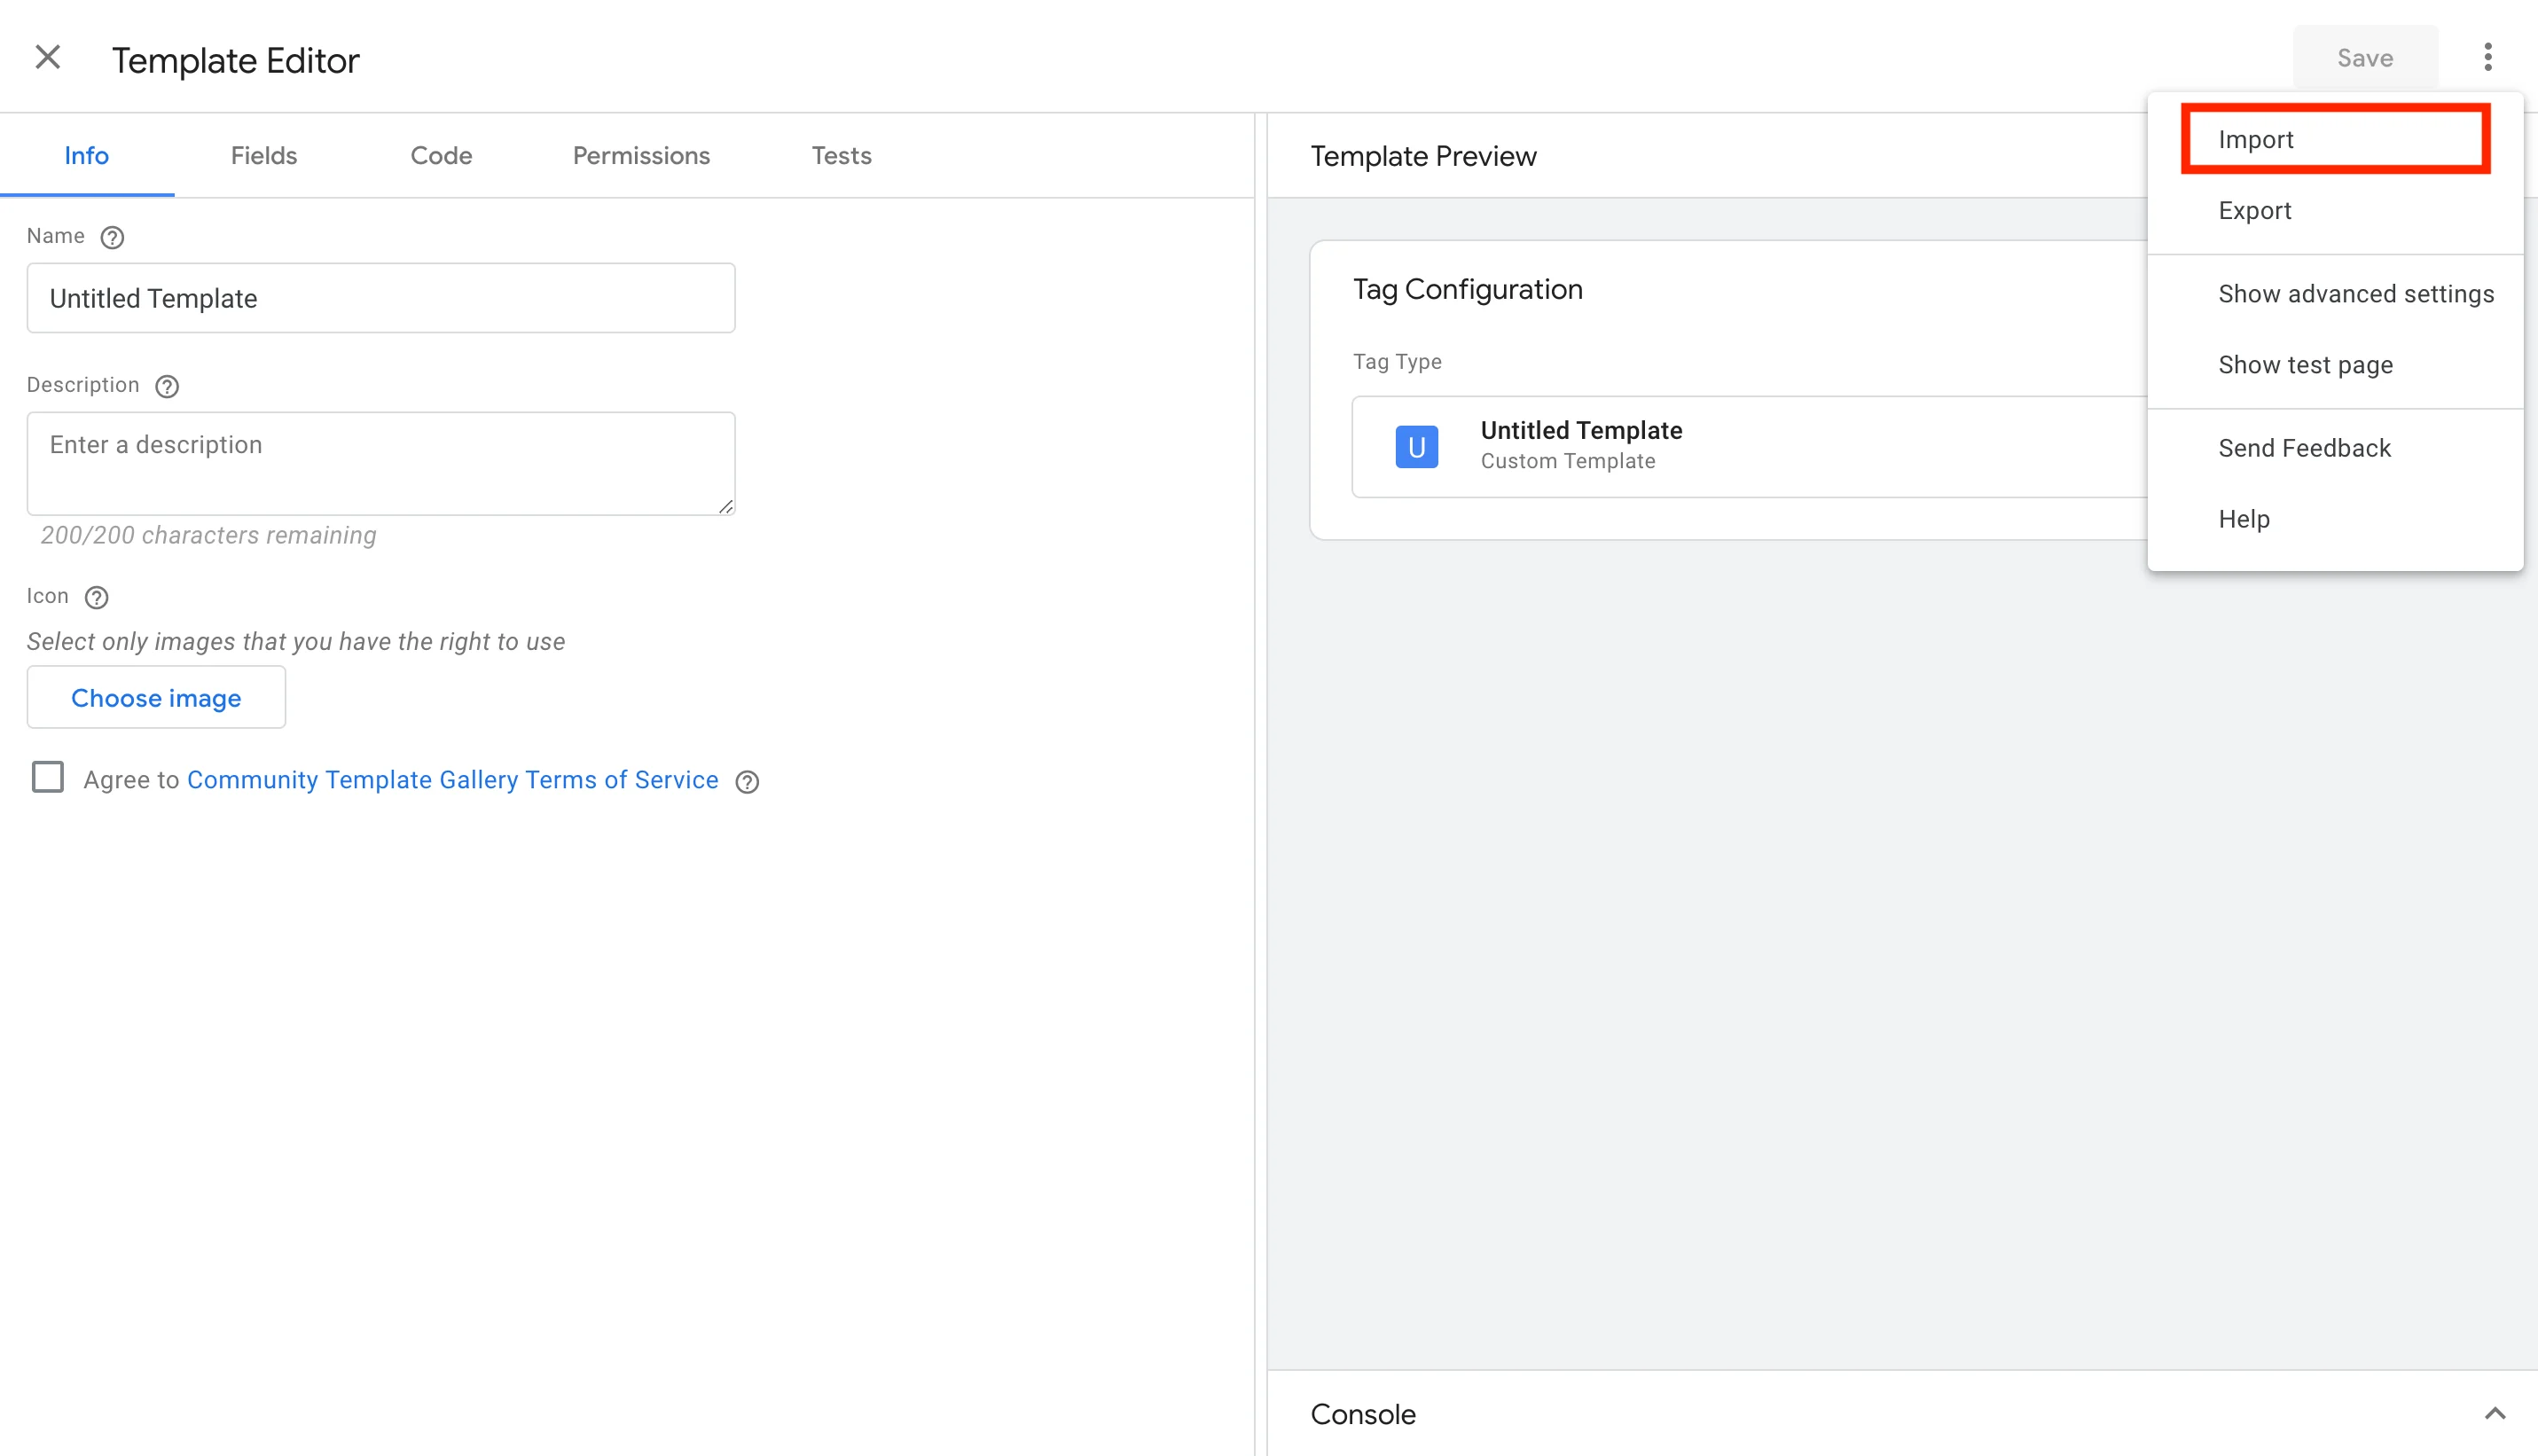
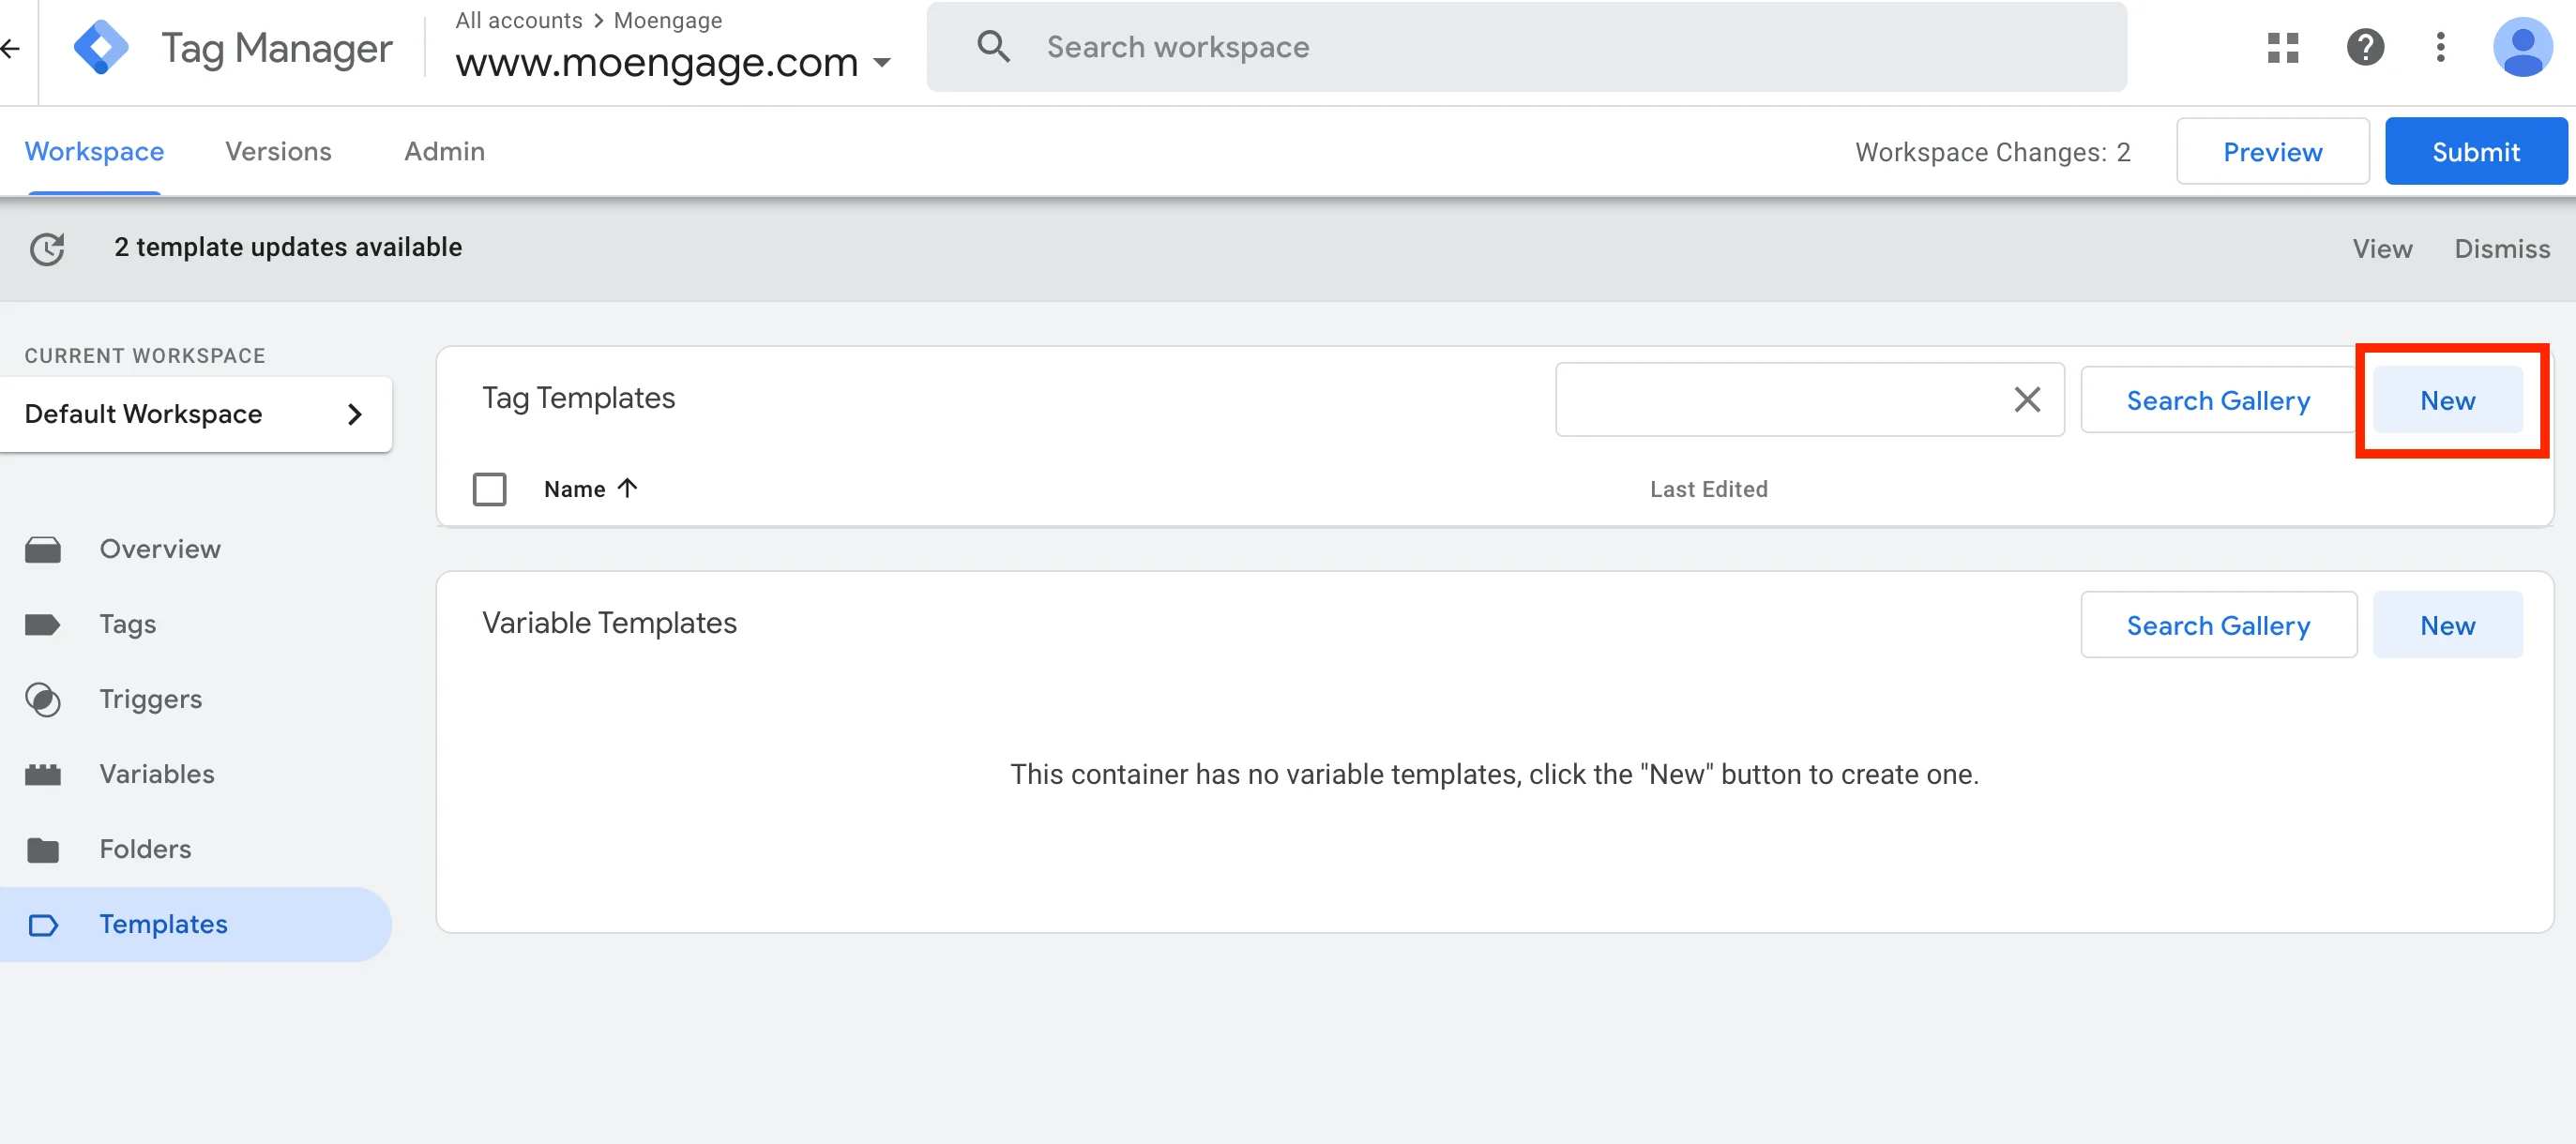 3. Under **Tag Templates**, click the **New** button > **Actions** menu (top-right) > **Import**. Select the MoEngage tag file you just downloaded.
4. Click **Save** when you see the MoEngage logo on the left.
### Step 2: Select and configure the MoEngage Tag
The MoEngage Tag template lets you forward GTM events, update custom as well as standard user attributes inside MoEngage.
1. On your GTM dashboard, click **Tags** > **New**.
2. Click **Tag Configuration**, and under **Custom** look for the **MoEngage Tag**.
3. Setup the tag according to your needs.
3. Under **Tag Templates**, click the **New** button > **Actions** menu (top-right) > **Import**. Select the MoEngage tag file you just downloaded.
4. Click **Save** when you see the MoEngage logo on the left.
### Step 2: Select and configure the MoEngage Tag
The MoEngage Tag template lets you forward GTM events, update custom as well as standard user attributes inside MoEngage.
1. On your GTM dashboard, click **Tags** > **New**.
2. Click **Tag Configuration**, and under **Custom** look for the **MoEngage Tag**.
3. Setup the tag according to your needs.
 | Property | Value |
| ---------------------- | --------------------------------------------------------------------------------------------------------------------------------------------------------------------------------------------------------------------------------------- |
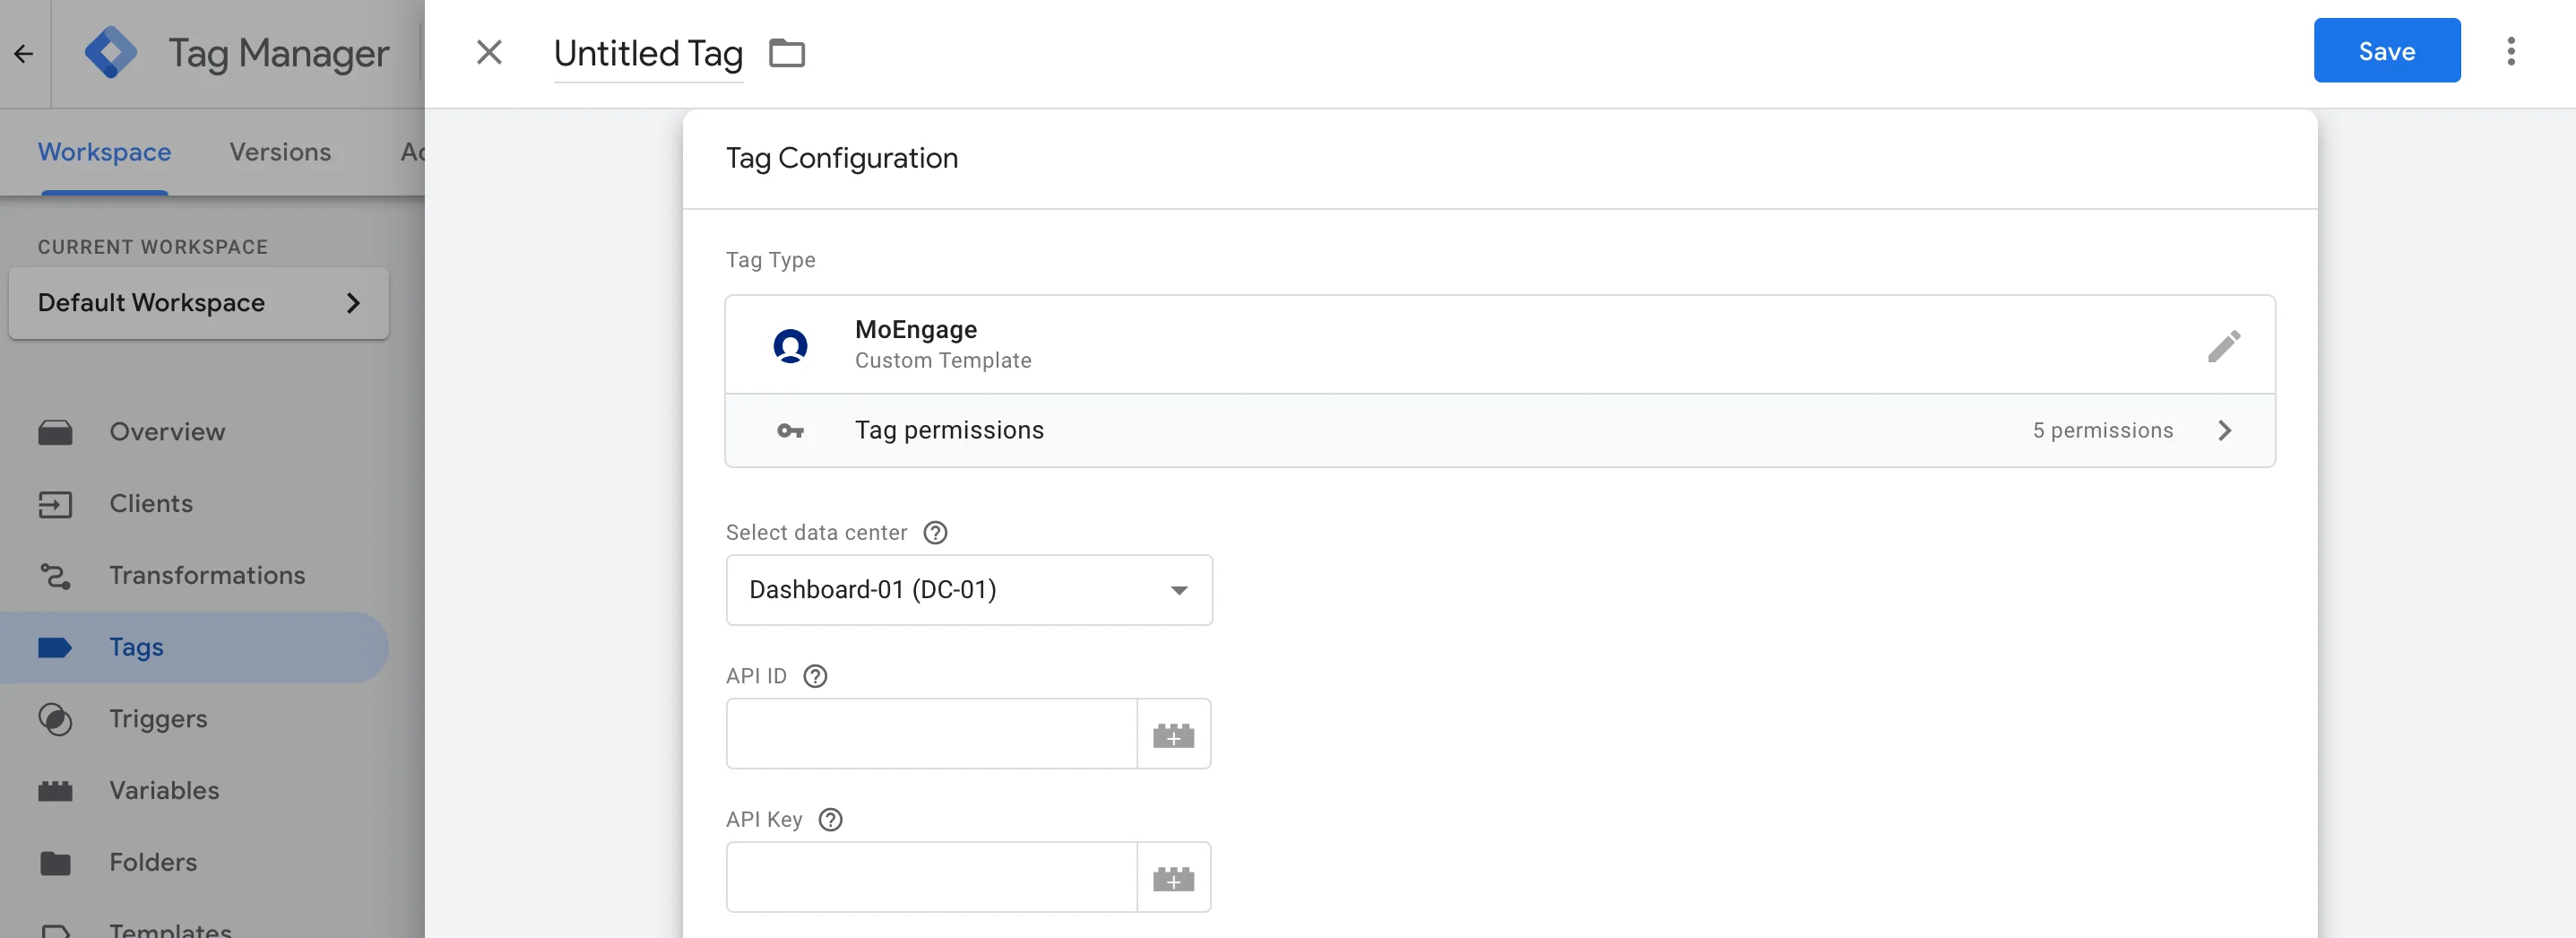
| **Select data center** | Your MoEngage Data Center region (**DC\_X**):
| Property | Value |
| ---------------------- | --------------------------------------------------------------------------------------------------------------------------------------------------------------------------------------------------------------------------------------- |
| **Select data center** | Your MoEngage Data Center region (**DC\_X**): - Dashboard-01 (DC-01)
- Dashboard-02 (DC-02)
- Dashboard-03 (DC-03)
- Dashboard-04 (DC-04)
|
| **API ID** | API ID is the Workspace ID.
The Workspace ID of your MoEngage account is available at **Settings** > **Account** > **APIs** > **Workspace ID**.
The Data API ID and the Workspace ID of your MoEngage account are the same. |
| **API Key** | API Key is the Data API Key.
The Data API key of your MoEngage account is available at **Settings** > **Account** > **APIs** > **API keys** > **Data** API settings. |
#### User Identifier
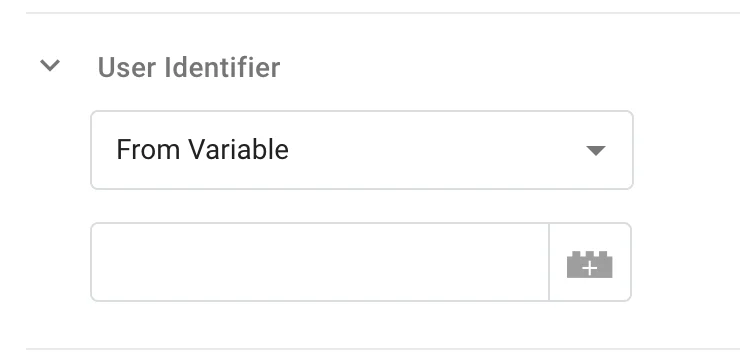 Here you need to map the user identifier to identify the user in MoEngage. You can map this value using multiple ways:
* **From Variable**: Select this option if you want to use a GTM Variable as the user identifier value.
* **From Event Property**: Select this option if you want to extract the user identifier from an event property. Enter the attribute key here, for example, `user_id`. Note that we can only pick values only from the root level keys. If you want to extract values of nested keys, please use GTM Variables and then select "From Variable" option.
#### Snowplow Event Mapping Options
You can leave this section as it is. If you're using a Snowplow client, we have additional options that you can use to ingest Snowplow events into MoEngage. Read more about this in our [Snowplow integration guide](/partner-guide/data-and-infrastructure/analytics/snowplow).
#### Additional Event Mapping Options
Here you need to map the user identifier to identify the user in MoEngage. You can map this value using multiple ways:
* **From Variable**: Select this option if you want to use a GTM Variable as the user identifier value.
* **From Event Property**: Select this option if you want to extract the user identifier from an event property. Enter the attribute key here, for example, `user_id`. Note that we can only pick values only from the root level keys. If you want to extract values of nested keys, please use GTM Variables and then select "From Variable" option.
#### Snowplow Event Mapping Options
You can leave this section as it is. If you're using a Snowplow client, we have additional options that you can use to ingest Snowplow events into MoEngage. Read more about this in our [Snowplow integration guide](/partner-guide/data-and-infrastructure/analytics/snowplow).
#### Additional Event Mapping Options
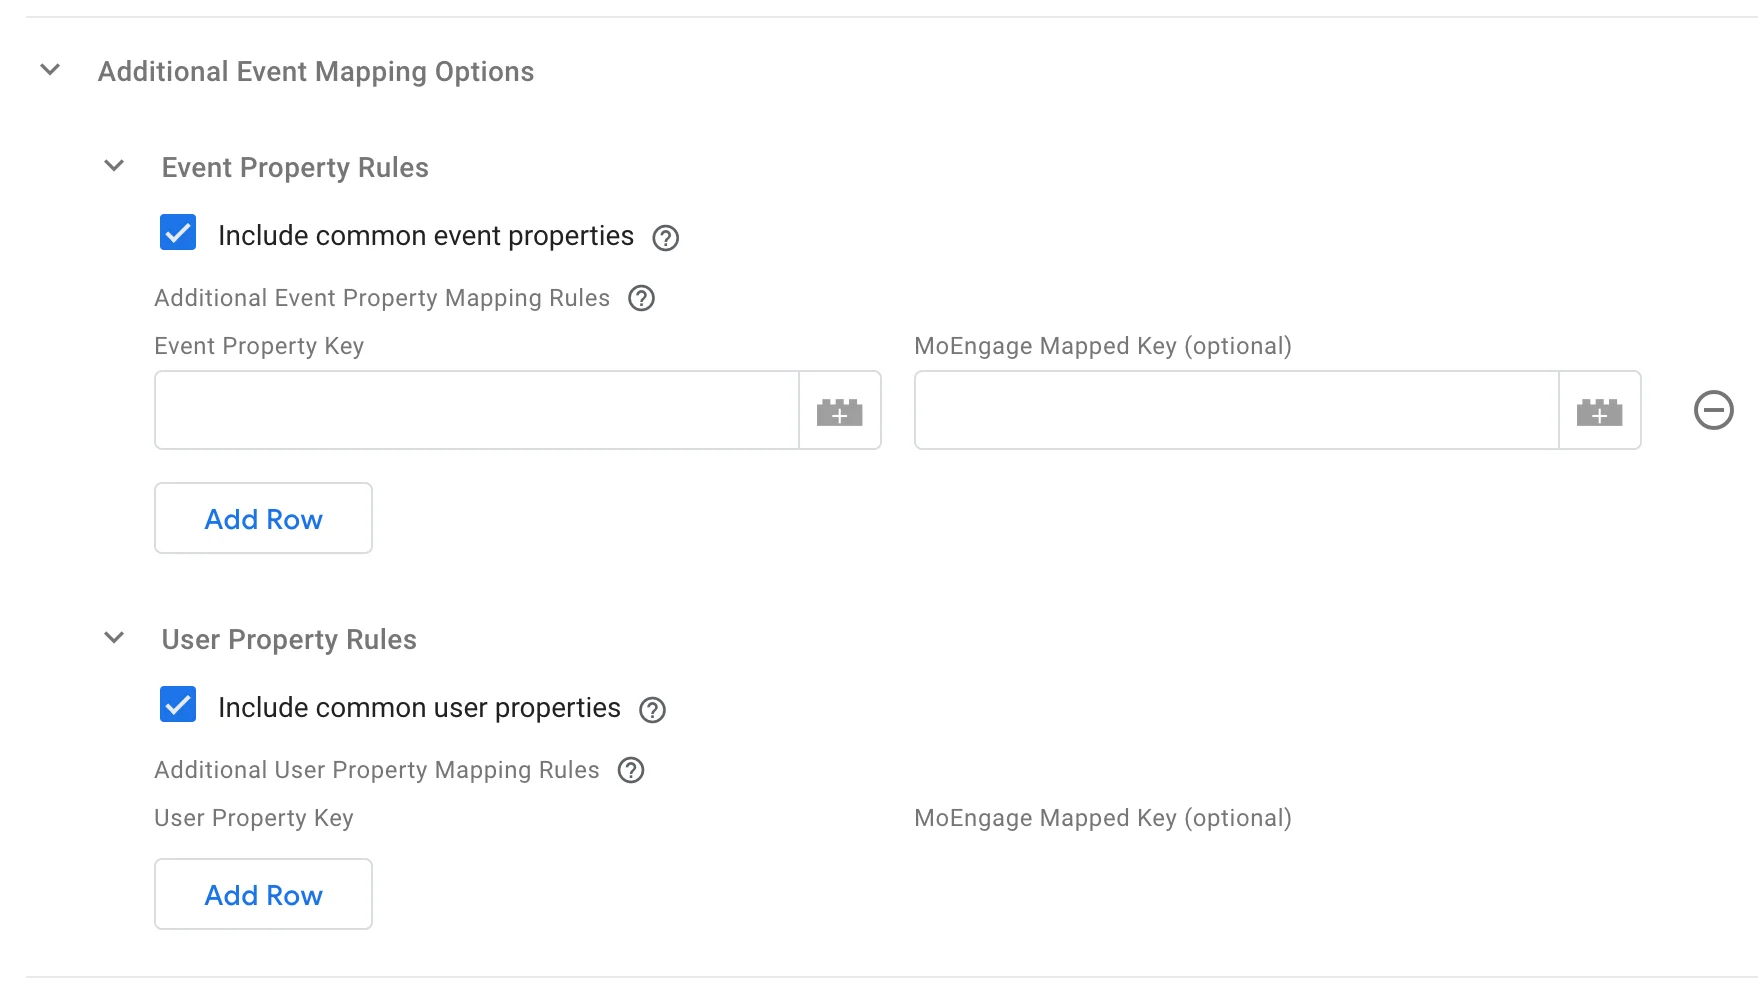 | Property | Value |
| ------------------------------------------- | ------------------------------------------------------------------------------------------------------------------------------------------------------------------------------------------------------------------------------------------------------------------------------------------------------------------------------------------------------------------------------------------------------------------------------------------------------ |
| **Include common event properties** | Select this option if you want to automatically include the event properties from the [common event data](https://developers.google.com/tag-platform/tag-manager/server-side/common-event-data) in GTM as event properties to MoEngage. |
| **Additional Event Property Mapping Rules** | You can select the keys you want to map as event properties inside MoEngage. Click **Add Row** to add a new key mapping.
| Property | Value |
| ------------------------------------------- | ------------------------------------------------------------------------------------------------------------------------------------------------------------------------------------------------------------------------------------------------------------------------------------------------------------------------------------------------------------------------------------------------------------------------------------------------------ |
| **Include common event properties** | Select this option if you want to automatically include the event properties from the [common event data](https://developers.google.com/tag-platform/tag-manager/server-side/common-event-data) in GTM as event properties to MoEngage. |
| **Additional Event Property Mapping Rules** | You can select the keys you want to map as event properties inside MoEngage. Click **Add Row** to add a new key mapping.
Specify the property key from your event data object in **Event Property Key** and provide the name you would like to map it to under **MoEngage Mapped Key**. If you leave the **MoEngage Mapped Key** field blank, we will not rename the key.
These properties will be stored as event properties in MoEngage. |
| **Include common user properties** | Select this option if you want to automatically include the "user\_data" properties from the [common event data](https://developers.google.com/tag-platform/tag-manager/server-side/common-event-data) in GTM as user attributes to MoEngage. |
| **Additional User Property Mapping Rules** | You can select the keys you want to map as user attributes inside MoEngage. Click **Add Row** to add a new key mapping.
Specify the property key from your event data object in **User Property Key** and provide the name you would like to map it to under **MoEngage Mapped Key**. If you leave the **MoEngage Mapped Key** field blank, we will not rename the key.
These attributes will update the user's attributes in MoEngage. |
#### Additional Event Data
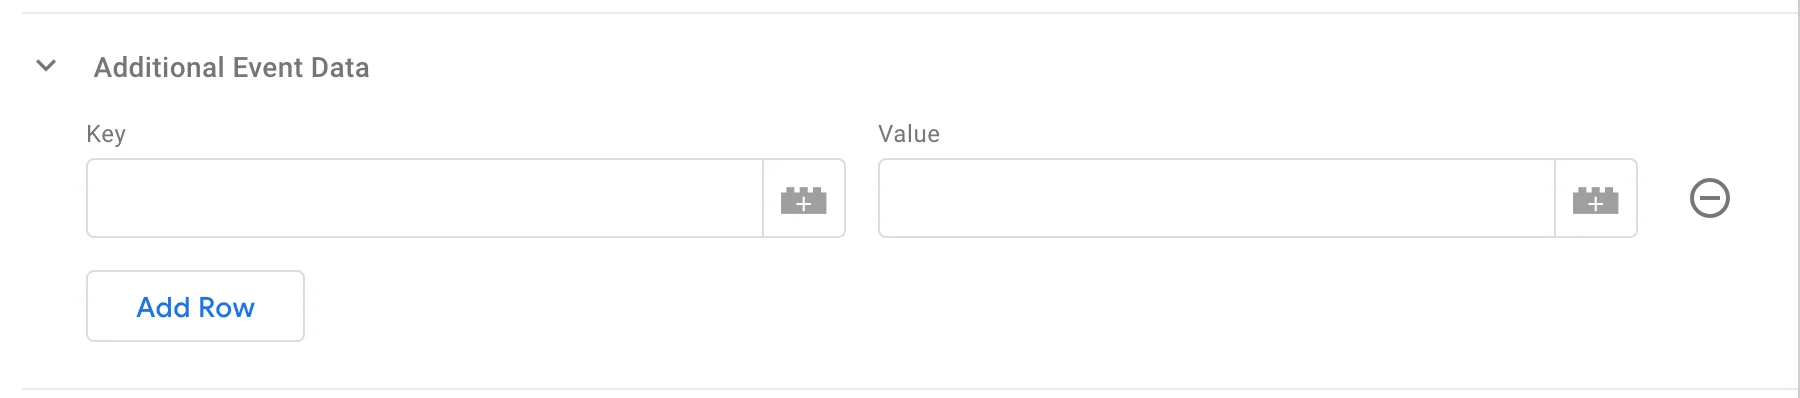 If you want to extract values from nested objects or arrays, you can create GTM Variables for the same and use this section to directly use the variable as an event attribute. Click **Add Row** to add a new event attribute.
| Property | Value |
| --------- | --------------------------------------------------------------------------------------- |
| **Key** | Specify the key you want to add to your event attributes. |
| **Value** | Here you can either enter a direct value of this event attribute or use a GTM Variable. |
#### Additional User Data
If you want to extract values from nested objects or arrays, you can create GTM Variables for the same and use this section to directly use the variable as an event attribute. Click **Add Row** to add a new event attribute.
| Property | Value |
| --------- | --------------------------------------------------------------------------------------- |
| **Key** | Specify the key you want to add to your event attributes. |
| **Value** | Here you can either enter a direct value of this event attribute or use a GTM Variable. |
#### Additional User Data
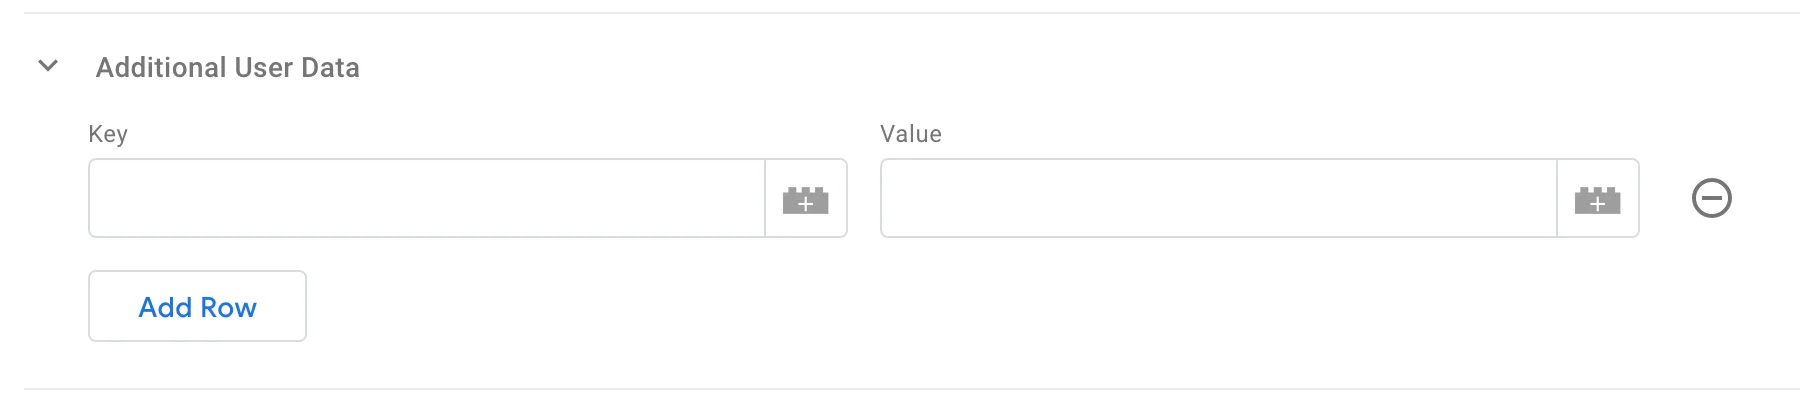 You can also use the above method to extract values from nested objects or arrays and use this section to directly use the variable as a user attribute. Click **Add Row** to add a new user attribute.
| Property | Value |
| --------- | -------------------------------------------------------------------------------------- |
| **Key** | Specify the key you want to add to your user attributes. |
| **Value** | Here you can either enter a direct value of this user attribute or use a GTM Variable. |
#### Advanced Event Settings
You can also use the above method to extract values from nested objects or arrays and use this section to directly use the variable as a user attribute. Click **Add Row** to add a new user attribute.
| Property | Value |
| --------- | -------------------------------------------------------------------------------------- |
| **Key** | Specify the key you want to add to your user attributes. |
| **Value** | Here you can either enter a direct value of this user attribute or use a GTM Variable. |
#### Advanced Event Settings
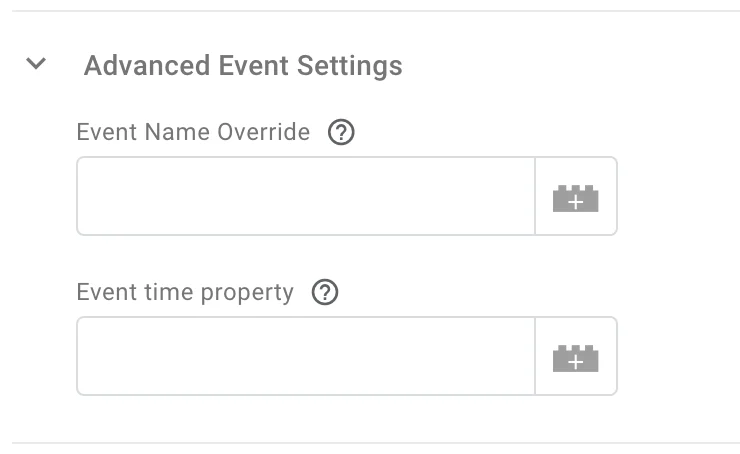 You can use this section to rename your event or change your event time.
| Property | Value |
| ----------------------- | ---------------------------------------------------------------------------------------------------------------------------------------------------------------------------------- |
| **Event Name Override** | If you want to rename the event that is ingested in MoEngage, type the new event name here. If you leave this blank, we will take the event name from the common event properties. |
| **Event time property** | Specify the client event property to populate the event time (in ISO-8601 format) or leave it empty to use the current time. |
### Step 3: Select the trigger condition
You can use this section to rename your event or change your event time.
| Property | Value |
| ----------------------- | ---------------------------------------------------------------------------------------------------------------------------------------------------------------------------------- |
| **Event Name Override** | If you want to rename the event that is ingested in MoEngage, type the new event name here. If you leave this blank, we will take the event name from the common event properties. |
| **Event time property** | Specify the client event property to populate the event time (in ISO-8601 format) or leave it empty to use the current time. |
### Step 3: Select the trigger condition
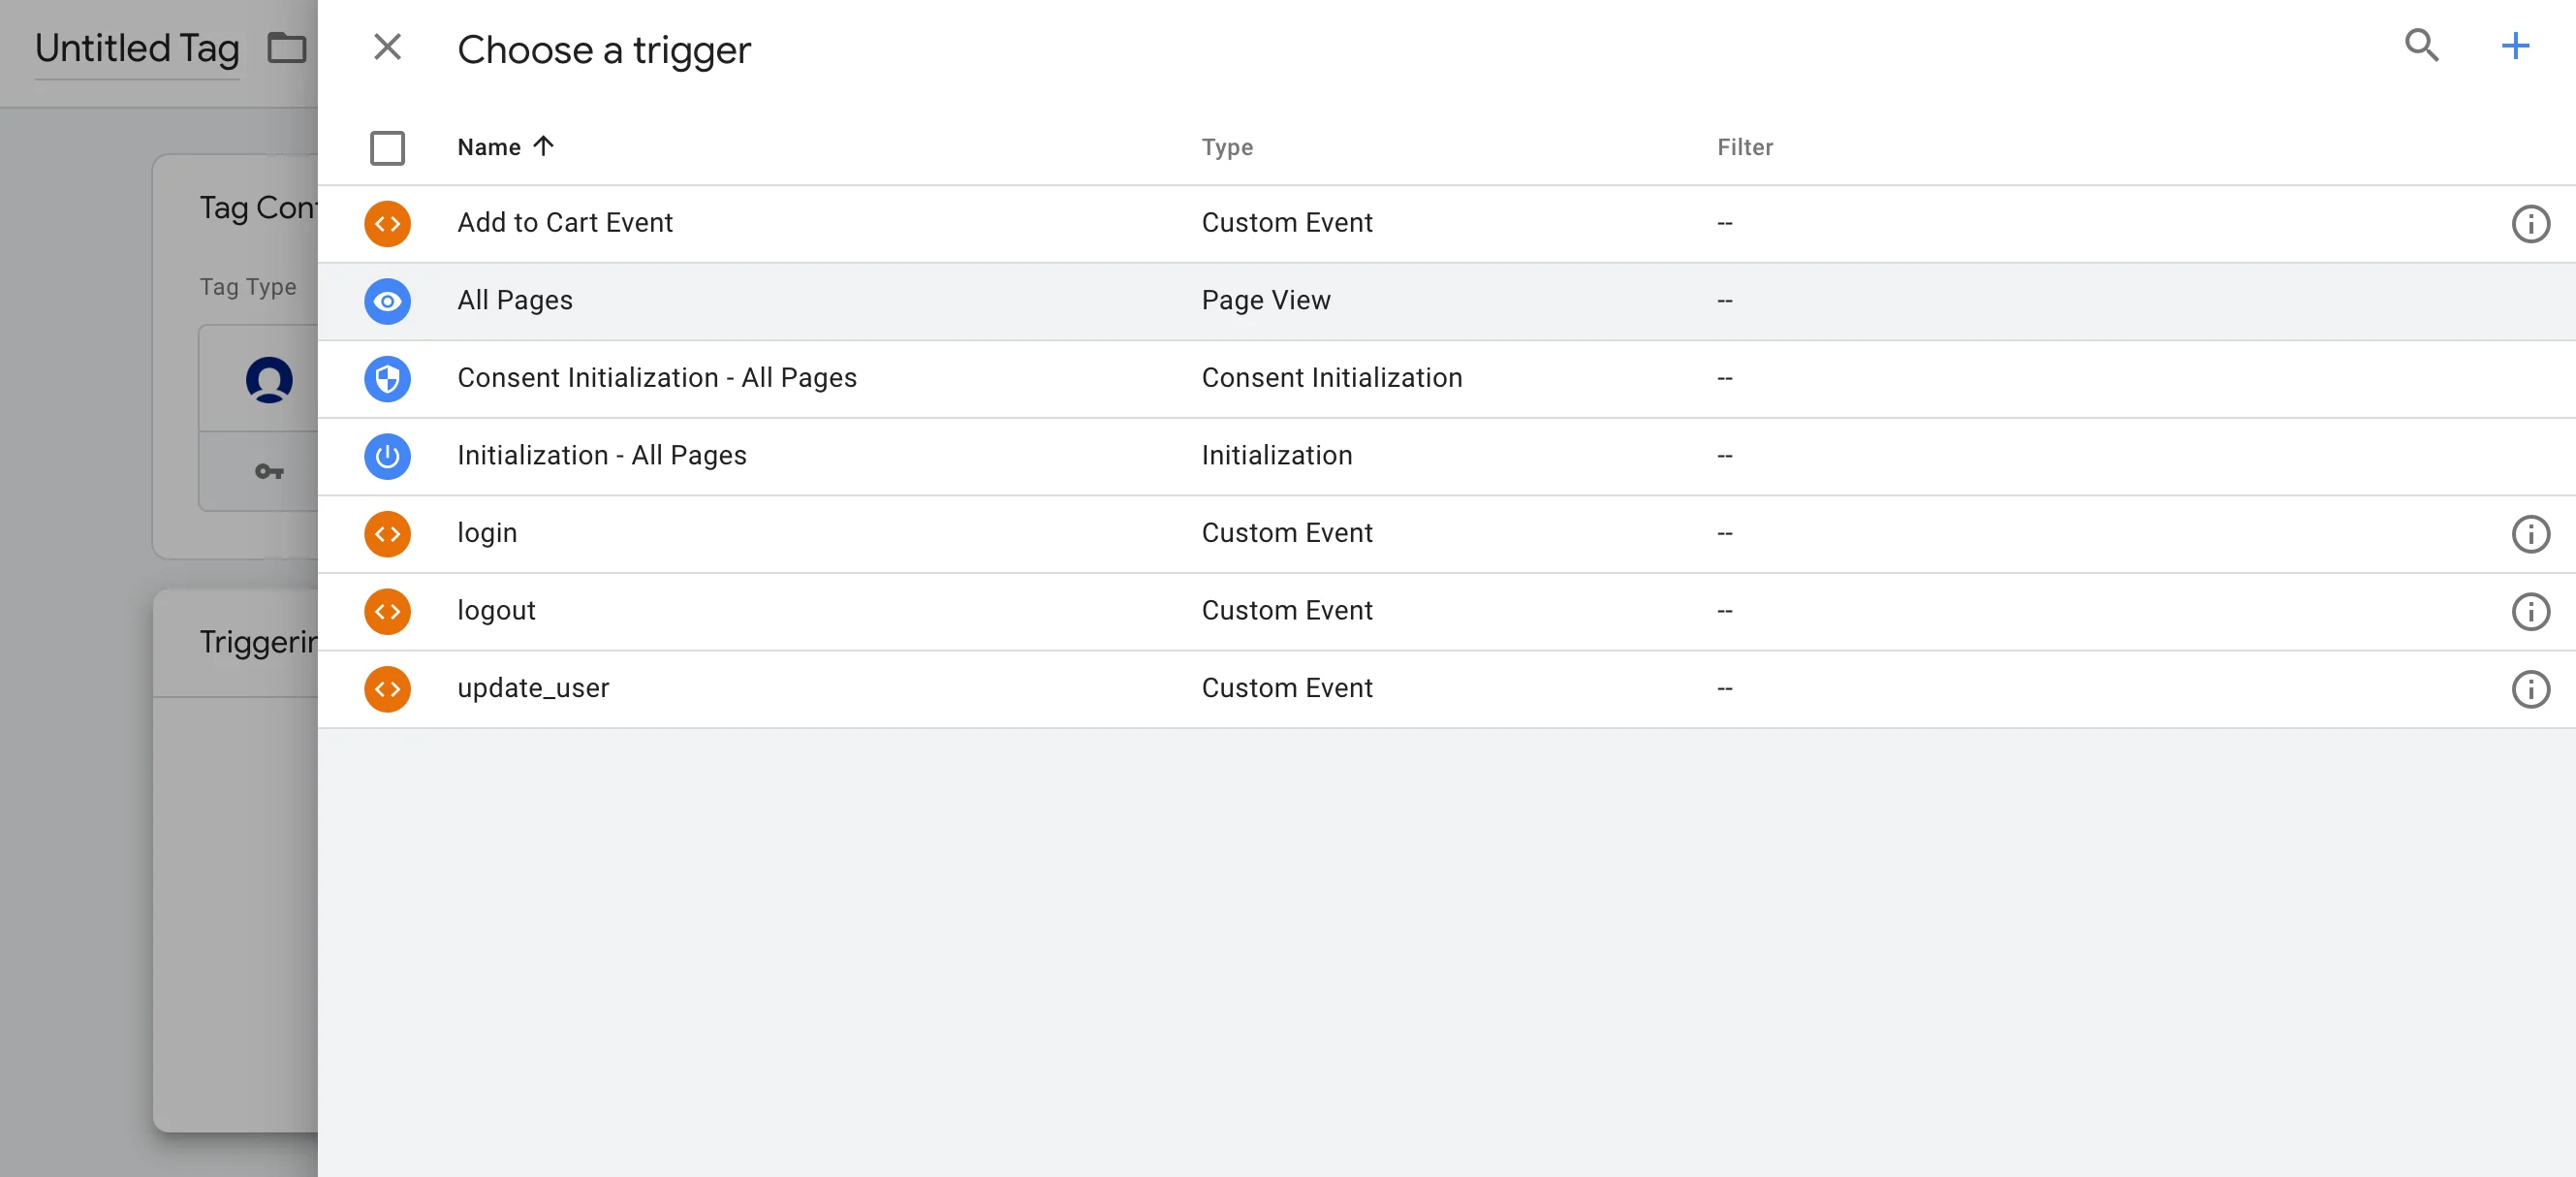 Under the **Triggering** section, you can select an event as a trigger or create a new trigger as per your requirements.
Click **Save** when you're done with the tag configuration. You can preview the tag and verify if all your expected events are being ingested in MoEngage as per your configuration.
## Integration via Web SDK
You can deploy the MoEngage Web SDK and leverage all its capabilities without writing any code on your website. Read more about setting up MoEngage Web SDK using MoEngage Templates on our [help docs](https://www.moengage.com/docs/developer-guide/web-sdk/other-supported-web-sdk-integration/google-tag-manager-gtm-templates).
Under the **Triggering** section, you can select an event as a trigger or create a new trigger as per your requirements.
Click **Save** when you're done with the tag configuration. You can preview the tag and verify if all your expected events are being ingested in MoEngage as per your configuration.
## Integration via Web SDK
You can deploy the MoEngage Web SDK and leverage all its capabilities without writing any code on your website. Read more about setting up MoEngage Web SDK using MoEngage Templates on our [help docs](https://www.moengage.com/docs/developer-guide/web-sdk/other-supported-web-sdk-integration/google-tag-manager-gtm-templates).