> ## Documentation Index
> Fetch the complete documentation index at: https://moengage.com/docs/llms.txt
> Use this file to discover all available pages before exploring further.
# mParticle Audience
> Import mParticle audiences into MoEngage as custom segments for retargeting and engagement campaigns.
# Introduction
The mParticle integration does not currently support [Unified Identity (Identity Resolution)](https://www.moengage.com/docs/user-guide/data/user-data/unified-identity-identity-resolution) or [Portfolio](https://www.moengage.com/docs/user-guide/settings/account/portfolio/portfolio).
[mParticle audience](https://www.mparticle.com/platform/detail/audiences/) allows you to import your mParticle audiences directly as MoEngage Segments for retargeting and engagement.
# Integration
## Step 1. Setup MoEngage as output on mParticle
On mParticle dashboard,
1. Navigate to *Setup > Output*
2. Go to the *Audience* tab. Click *Add audience output* on top right. 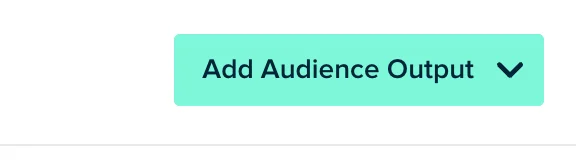 3. Search for MoEngage.
4. In the pop up, provide the details of your MoEngage app.
3. Search for MoEngage.
4. In the pop up, provide the details of your MoEngage app. 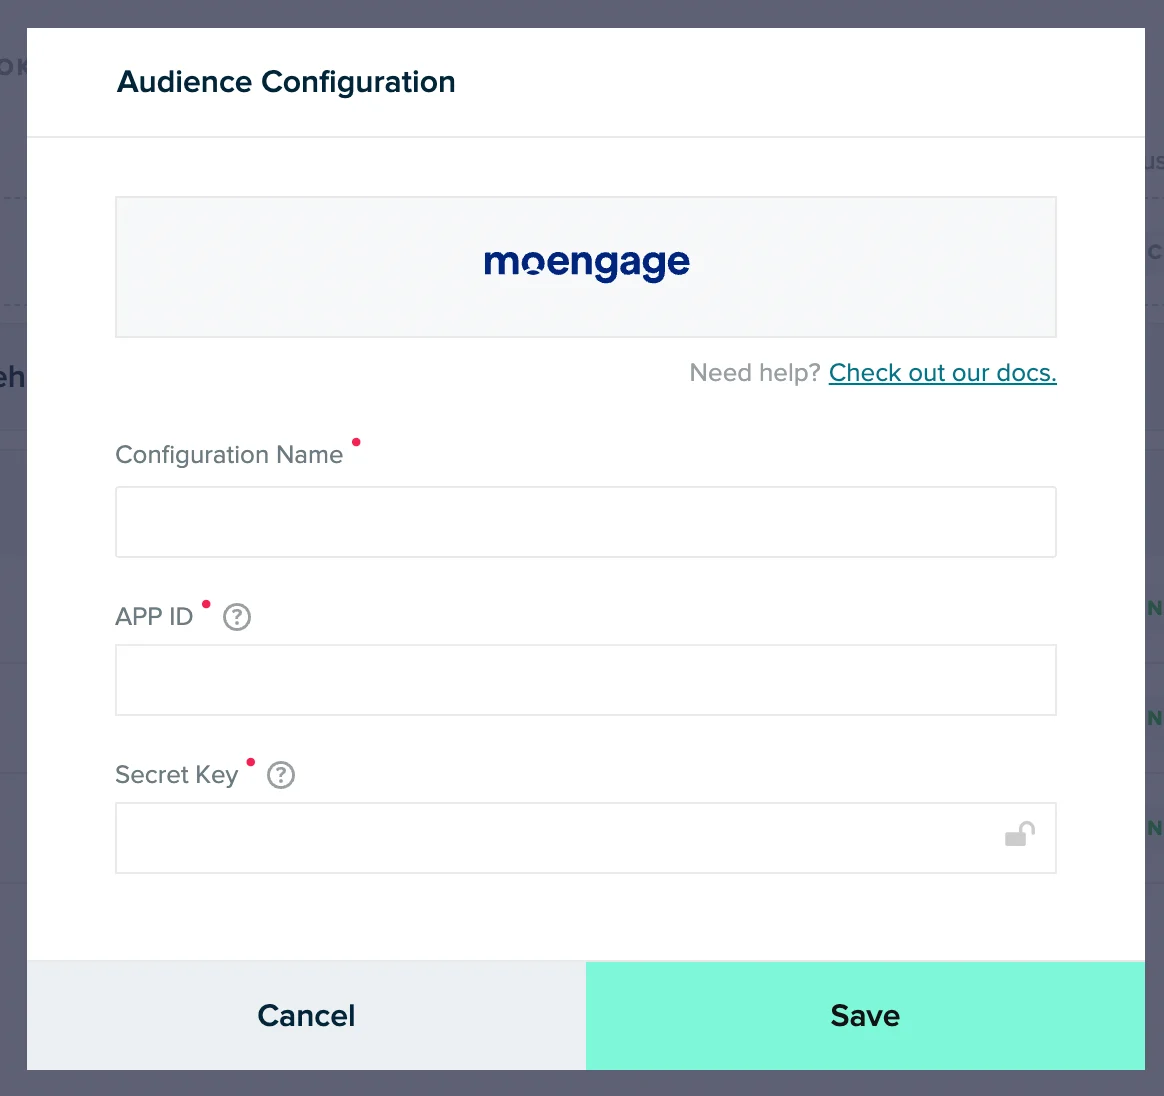 | Field | Details |
| ------------------ | -------------------------------------------------------------------------------------------------------------------------------------------------------------------------------------- |
| Configuration name | You can give any name to your configuration - eg. "MoEngage Prod" |
| Workspace ID | The Workspace ID of your MoEngage account is available at **Settings - > Account -> APIs ->Workspace ID**. The Data API ID and the Workspace ID of your MoEngage account are the same. |
| Secret key | Secret key is the Data API key of your MoEngage account, which is available at **Settings - > App Settings -> APIs -> API Keys -> Data**. |
## Step 2: Create an audience in mParticle
On your mParticle dashboard,
1. Navigate to Audiences >> + New Audience
2. Fill the details on Audience name, and select your desired input source
| Field | Details |
| ------------------ | -------------------------------------------------------------------------------------------------------------------------------------------------------------------------------------- |
| Configuration name | You can give any name to your configuration - eg. "MoEngage Prod" |
| Workspace ID | The Workspace ID of your MoEngage account is available at **Settings - > Account -> APIs ->Workspace ID**. The Data API ID and the Workspace ID of your MoEngage account are the same. |
| Secret key | Secret key is the Data API key of your MoEngage account, which is available at **Settings - > App Settings -> APIs -> API Keys -> Data**. |
## Step 2: Create an audience in mParticle
On your mParticle dashboard,
1. Navigate to Audiences >> + New Audience
2. Fill the details on Audience name, and select your desired input source 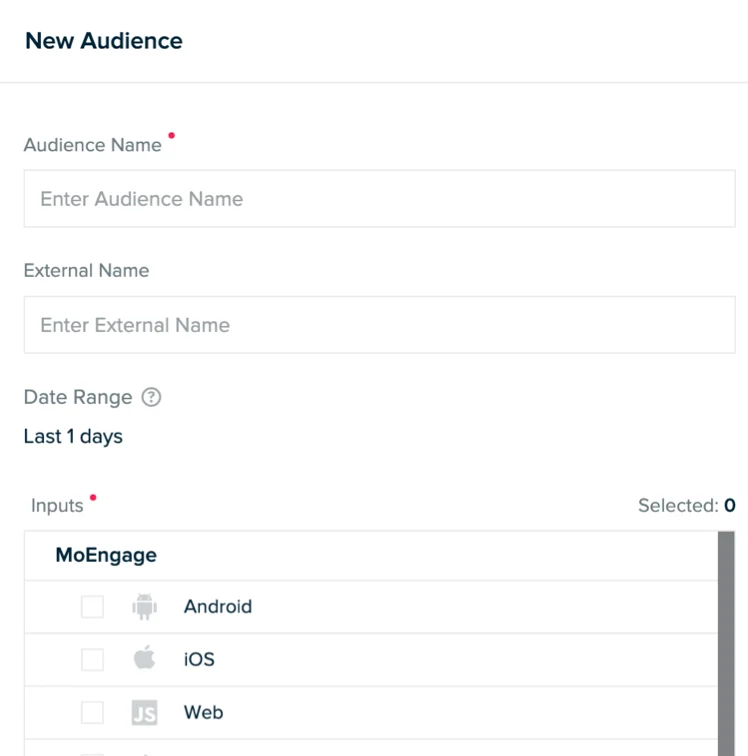 3. Click *Create*. Now, you can define our audience. [Read more about creating Audiences in mParticle here](https://docs.mparticle.com/guides/getting-started/create-an-audience/). Click *Activate*.
## Step 3: Connect the audience to MoEngage
1. Click on your audience and go to the *Connect* tab.
2. Select your MoEngage account here. This is the one that you had configured in Step 1.
3. Click *Create*. Now, you can define our audience. [Read more about creating Audiences in mParticle here](https://docs.mparticle.com/guides/getting-started/create-an-audience/). Click *Activate*.
## Step 3: Connect the audience to MoEngage
1. Click on your audience and go to the *Connect* tab.
2. Select your MoEngage account here. This is the one that you had configured in Step 1. 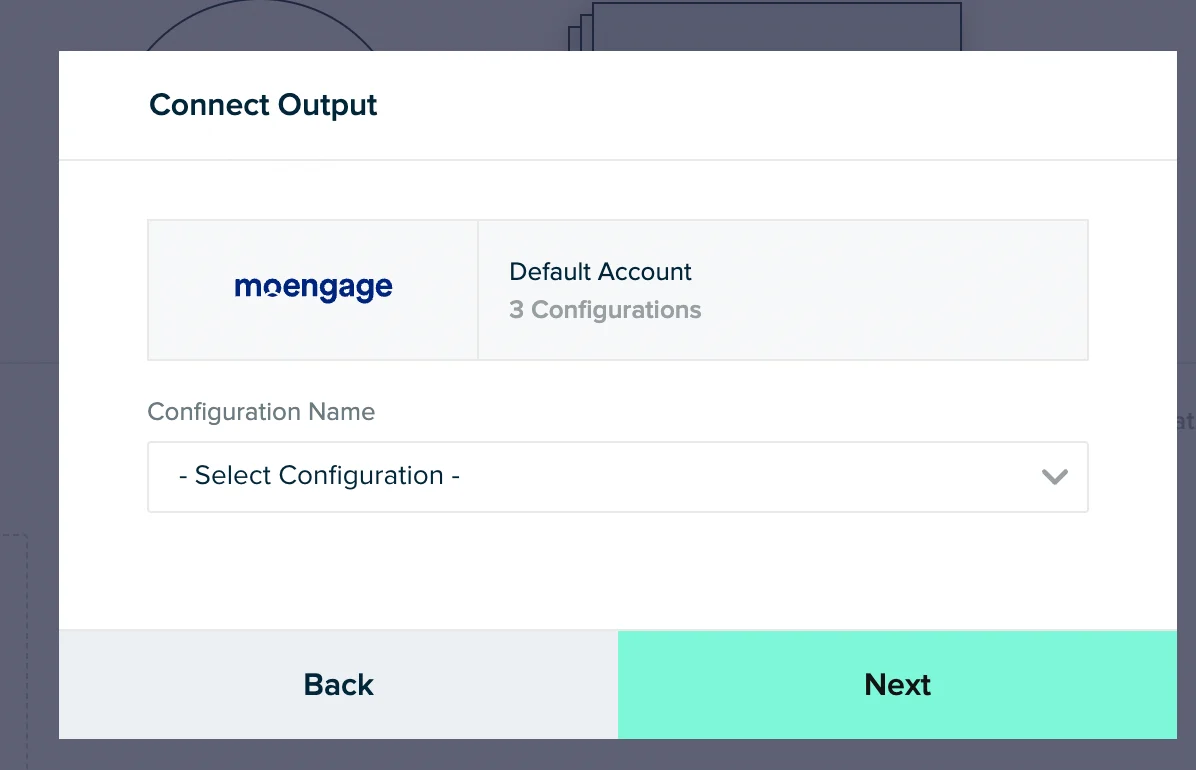 3. Turn on the *active* toggle and click *Add Connection*.
After the sync, the audience will available as a custom segment in MoEngage.
3. Turn on the *active* toggle and click *Add Connection*.
After the sync, the audience will available as a custom segment in MoEngage.  On your MoEngage dashboard, navigate to *Segment >> Custom segment* and search for your audience here. [Read more about customer segments in MoEngage. ](https://www.moengage.com/docs/user-guide/segment/segment-operations/custom-segments)
Note that:
1. MoEngage does not create new users on the fly. MoEngage Segment will only comprise of the users (with one of the supported identities) that are already present in the MoEngage system. However, if you have already set up [mParticle outbound integration](/partner-guide/data-and-infrastructure/cdps/mparticle/getting-started/outbound-user-and-event-forwarding), this should not be a problem.
2. mParticle sends Customer ID as the default identity to MoEngage. Other supported identities are Email Address and MPID.
3. Ensure your cohort name starts with a period (`.`) and does not contain the restricted characters `|`, `*`, `?`, `\`, `:`, `<`, `>`, `=`, `$`, `"`.
4. There are no specific size or volume limits imposed on the data accepted from mParticle into MoEngage.
If you want to use any other identity than Customer ID, please reach out to your MoEngage CSM or MoEngage support team.
On your MoEngage dashboard, navigate to *Segment >> Custom segment* and search for your audience here. [Read more about customer segments in MoEngage. ](https://www.moengage.com/docs/user-guide/segment/segment-operations/custom-segments)
Note that:
1. MoEngage does not create new users on the fly. MoEngage Segment will only comprise of the users (with one of the supported identities) that are already present in the MoEngage system. However, if you have already set up [mParticle outbound integration](/partner-guide/data-and-infrastructure/cdps/mparticle/getting-started/outbound-user-and-event-forwarding), this should not be a problem.
2. mParticle sends Customer ID as the default identity to MoEngage. Other supported identities are Email Address and MPID.
3. Ensure your cohort name starts with a period (`.`) and does not contain the restricted characters `|`, `*`, `?`, `\`, `:`, `<`, `>`, `=`, `$`, `"`.
4. There are no specific size or volume limits imposed on the data accepted from mParticle into MoEngage.
If you want to use any other identity than Customer ID, please reach out to your MoEngage CSM or MoEngage support team.