Introduction
Sheetdb turns a Google Spreadsheet into a JSON API. It allows you to connect your sheets to CRM, API, Website, any application or tool.MoEngage and Sheetdb
The MoEngage and Sheetdb integration allows you to read and write data to your Google spreadsheet.Use cases
- You have a spreadsheet with different campaign messages for different users with slight tweaks. You can want to send the exact message (from this spreadsheet) to your users. Using the integration, you can reference the spreadsheet from the MoEngage campaigns to send right messages to your users.
- You have some attributes that are very specific to a campaign that needs to be sent out. This is just a one-time campaign, so you don’t want to store these details on MoEngage. You can simply add these attributes to a Google spreadsheet. Now reference the sheet using MoEngage Content APIs.
- You want to keep updating (in near real time) a spreadsheet to keep track of users who perform a specific action on MoEngage. Using the integration, you can set up your Sheetdb spreadsheet endpoints in a MoEngage Connector Campaign.
Integration
Prerequisites
- Ensure you have access to your Sheetdb account.
- Fetch details from a spreadsheet at the run time and use them in your MoEngage campaigns using Content APIs.
- Update a spreadsheet in near real-time with the details for a specific user segment or as soon as the user performs a specific event.
A) Use data from a spreadsheet in MoEngage campaigns
Let’s say your file has detail on the Message title, message and button name for your users.
Step 1: Upload a sheet on Sheetdb
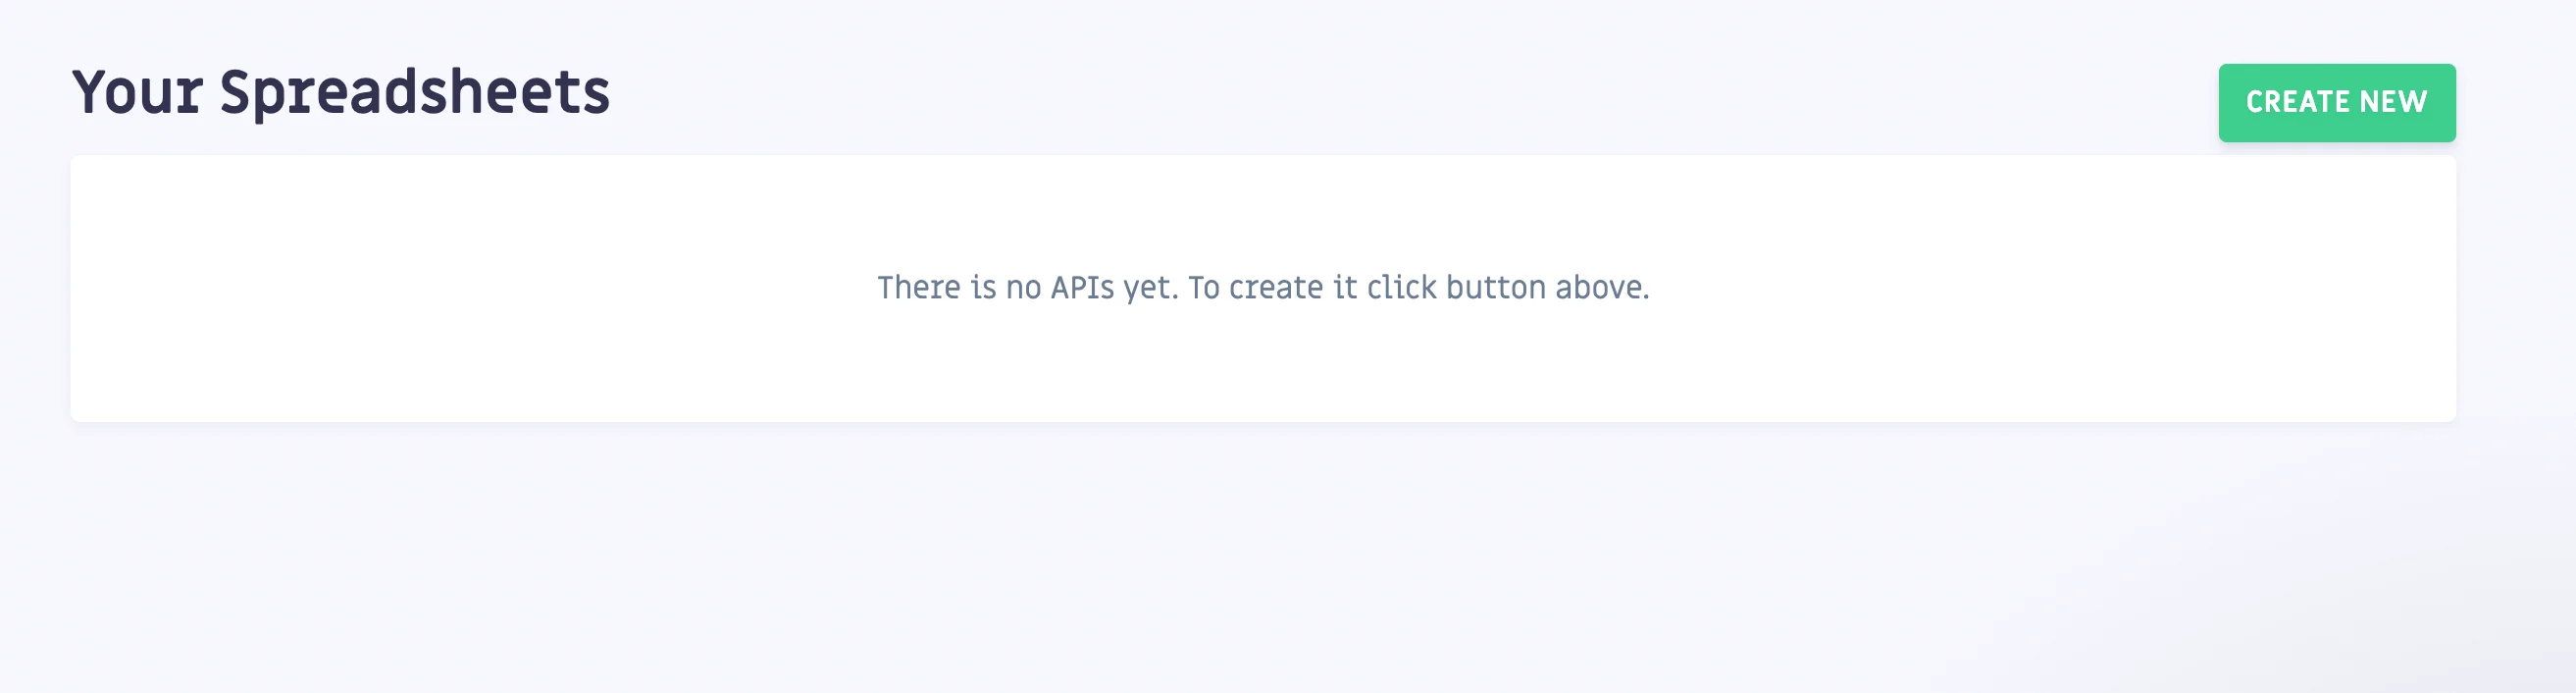
On your Sheetdb dashboard homepage:- Click Create new on top right.
- Add your spreadsheet URL.
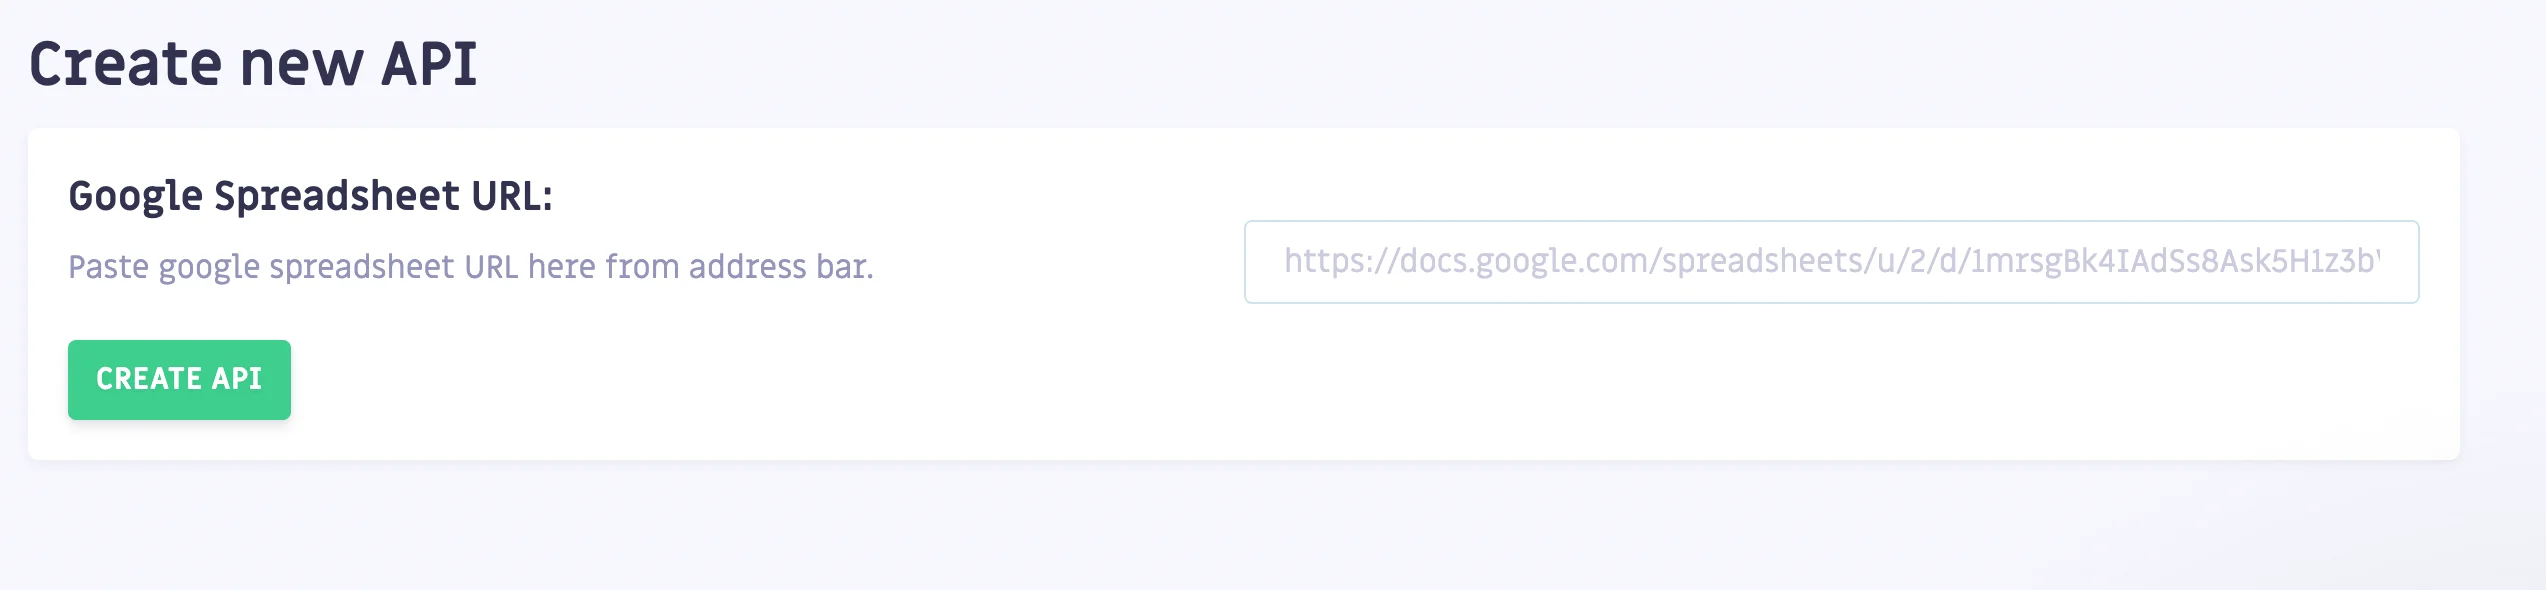
- Click Create API.
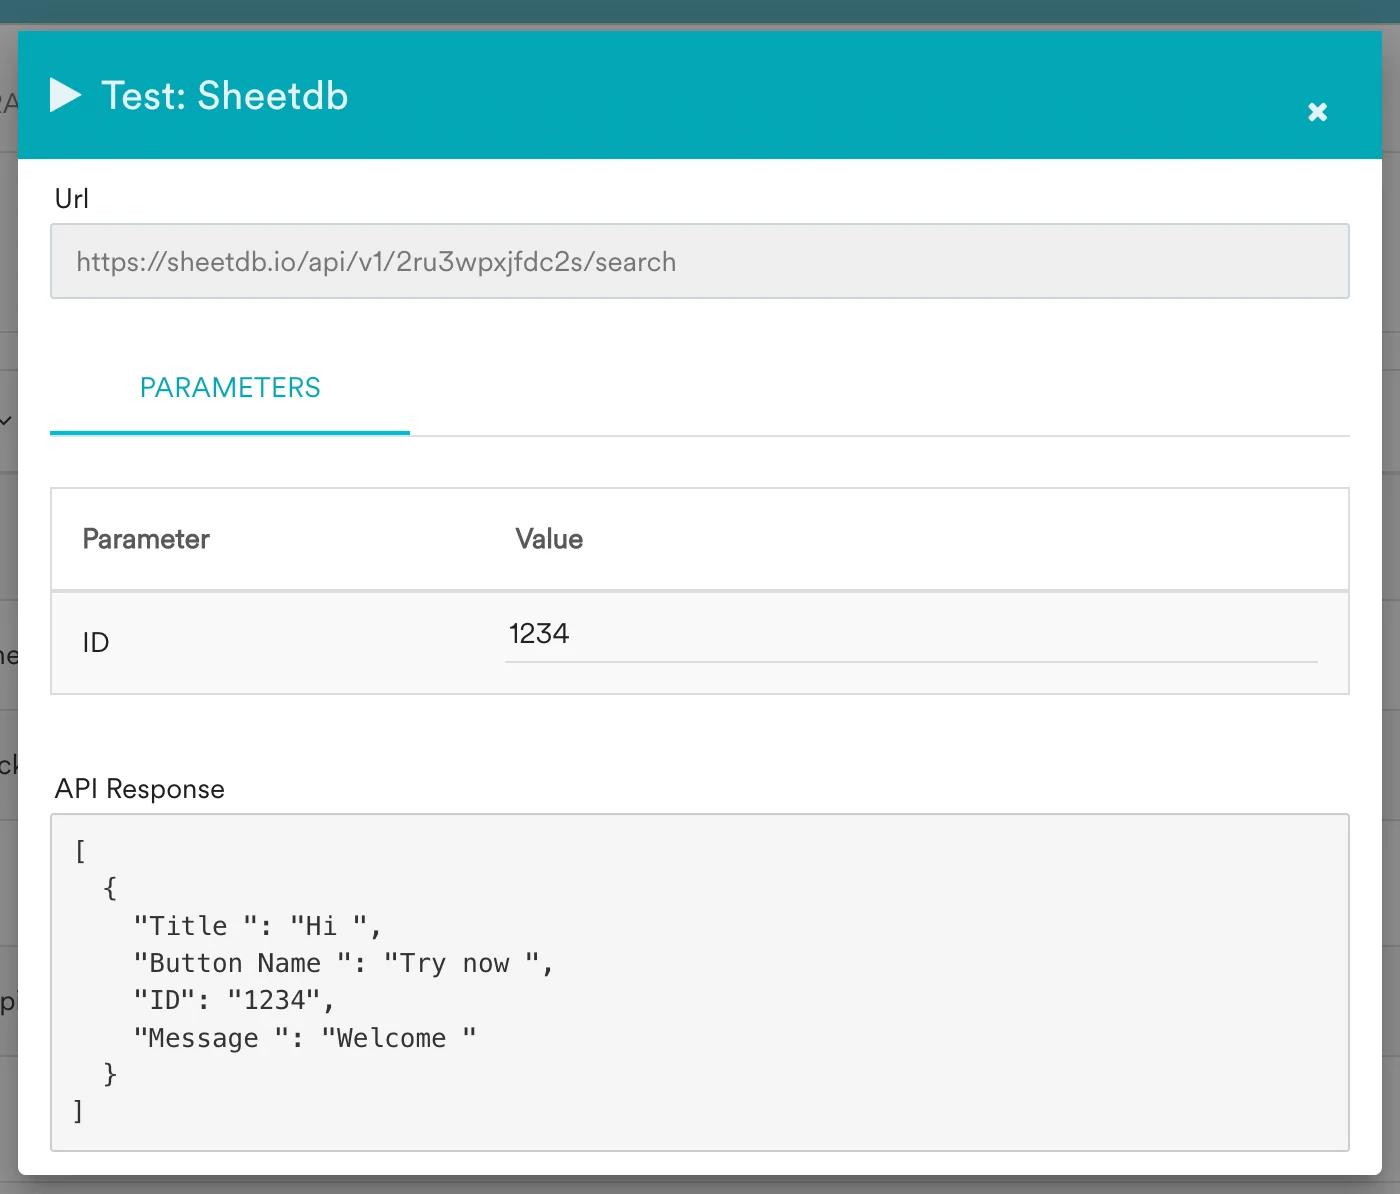
- You can now test if your API is working fine by clicking on Go to API URL.
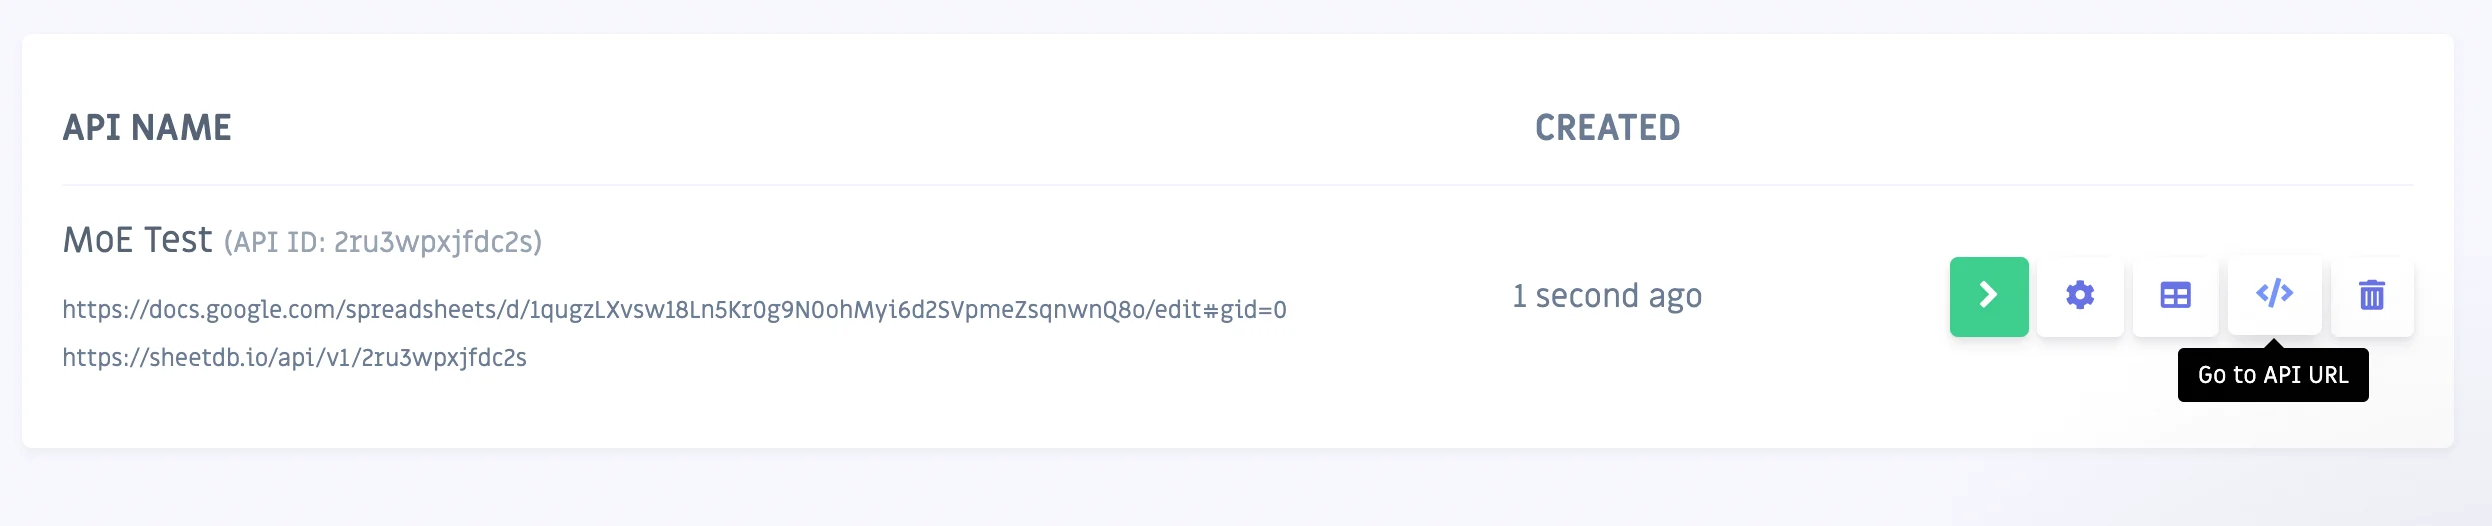
- Copy your sheets API URL. It should look like this:
Step 2: Add Sheetdb as Content API on MoEngage
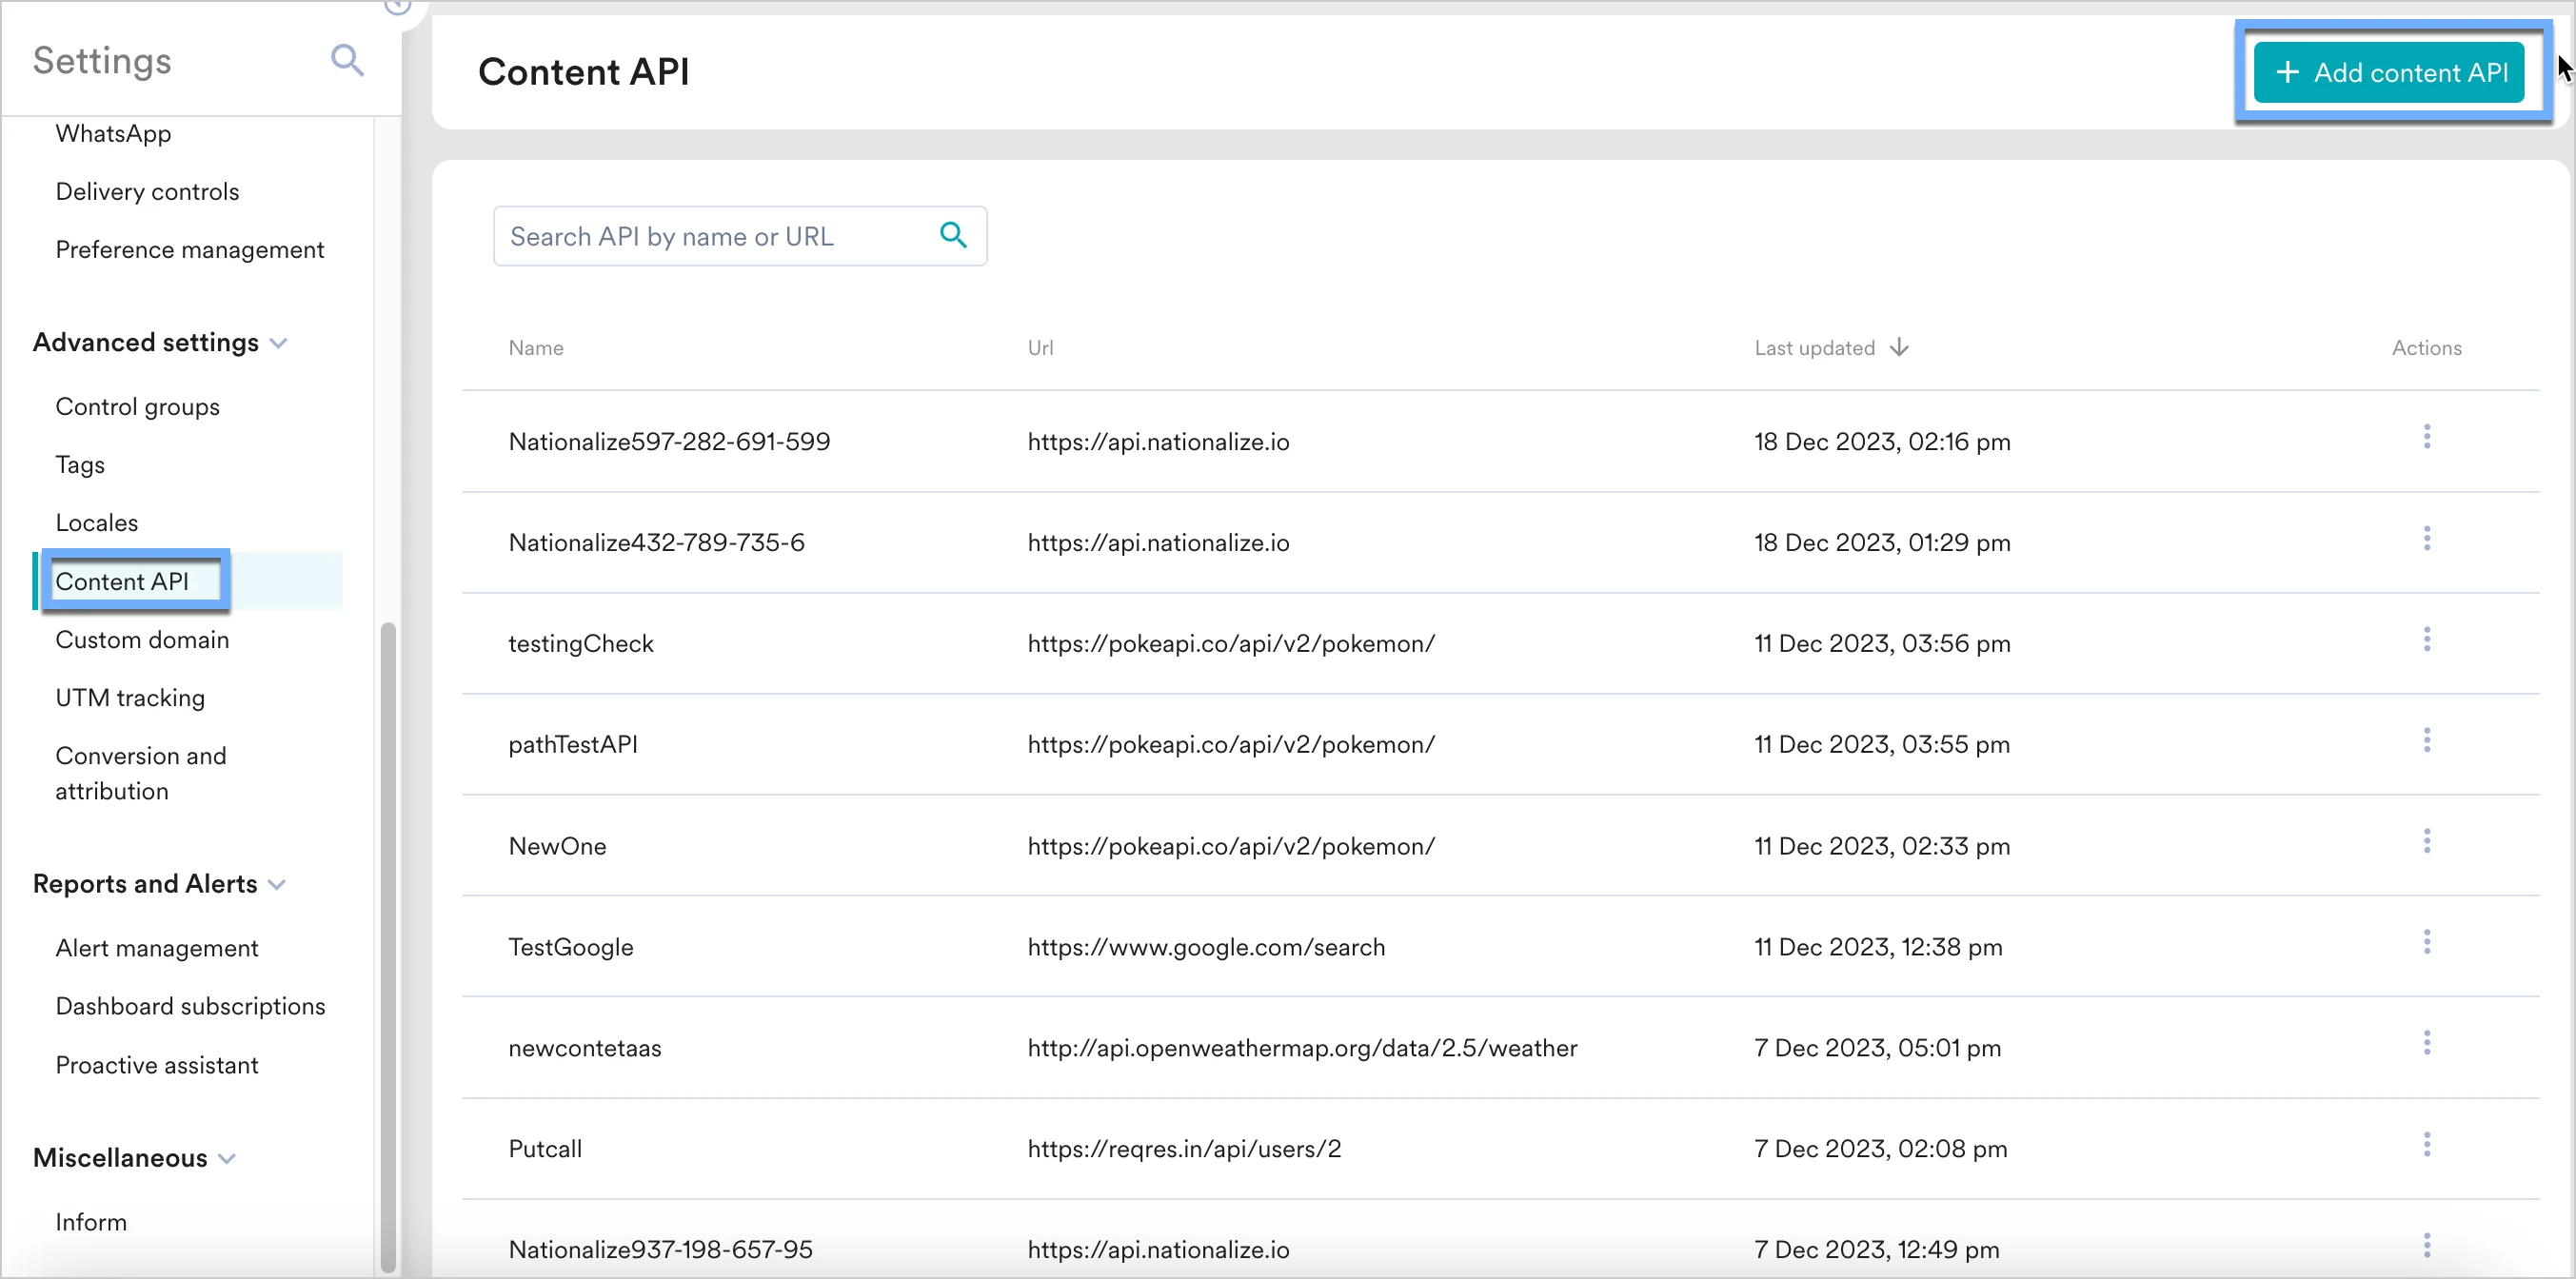
Perform the following steps:- Navigate to Settings > Advanced settings > Content API. Click + Add content API at the top right corner of the Content API screen.
- Add your Sheetdb name and API URL.
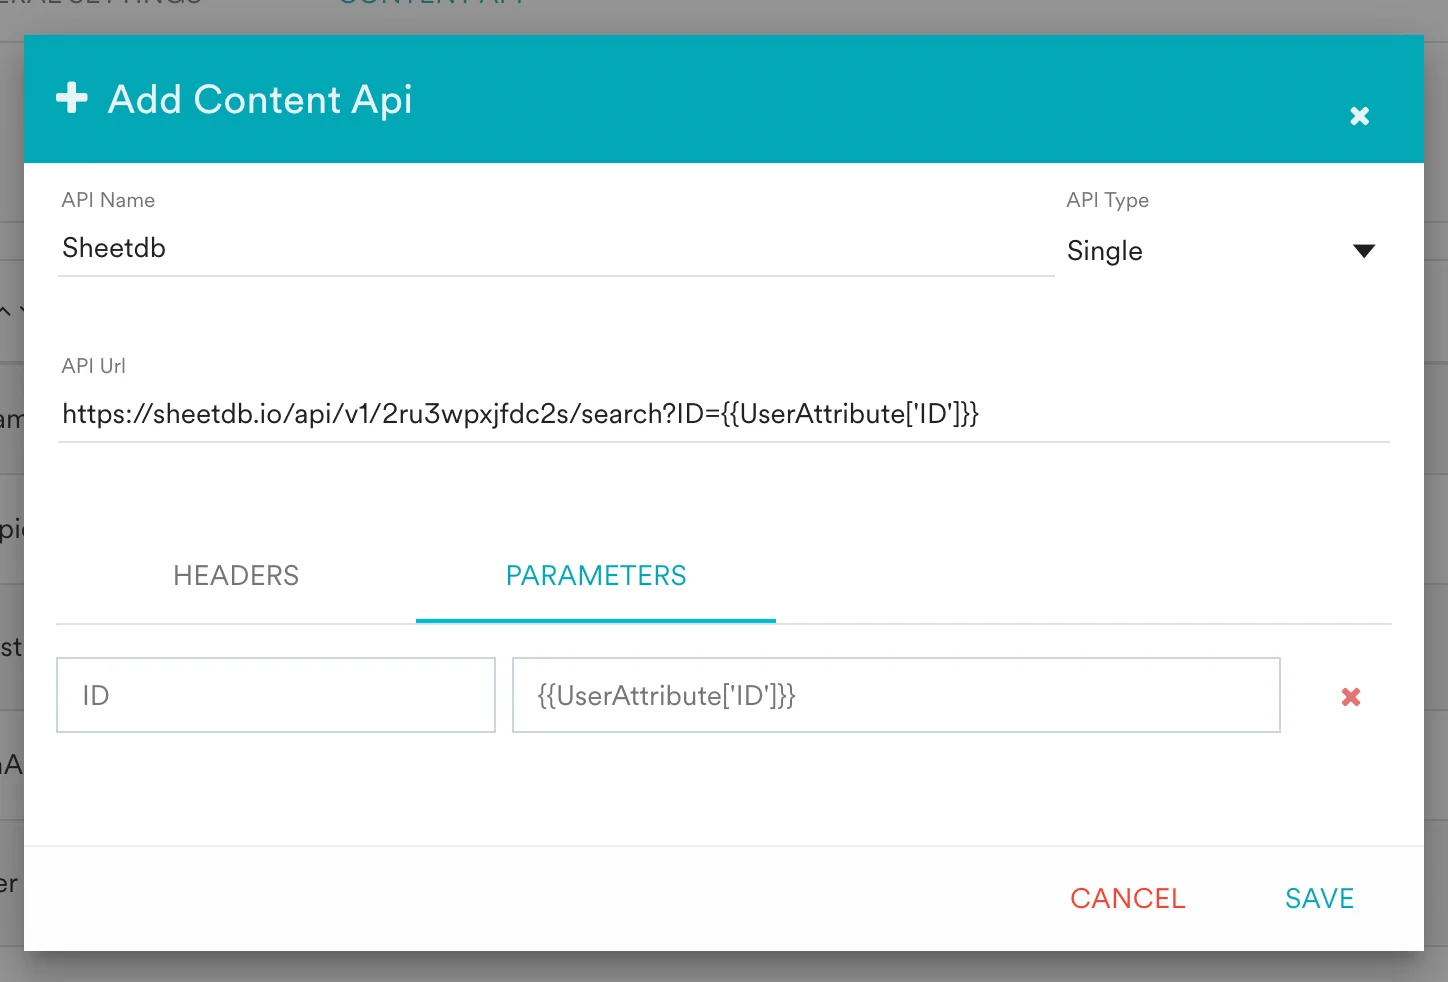
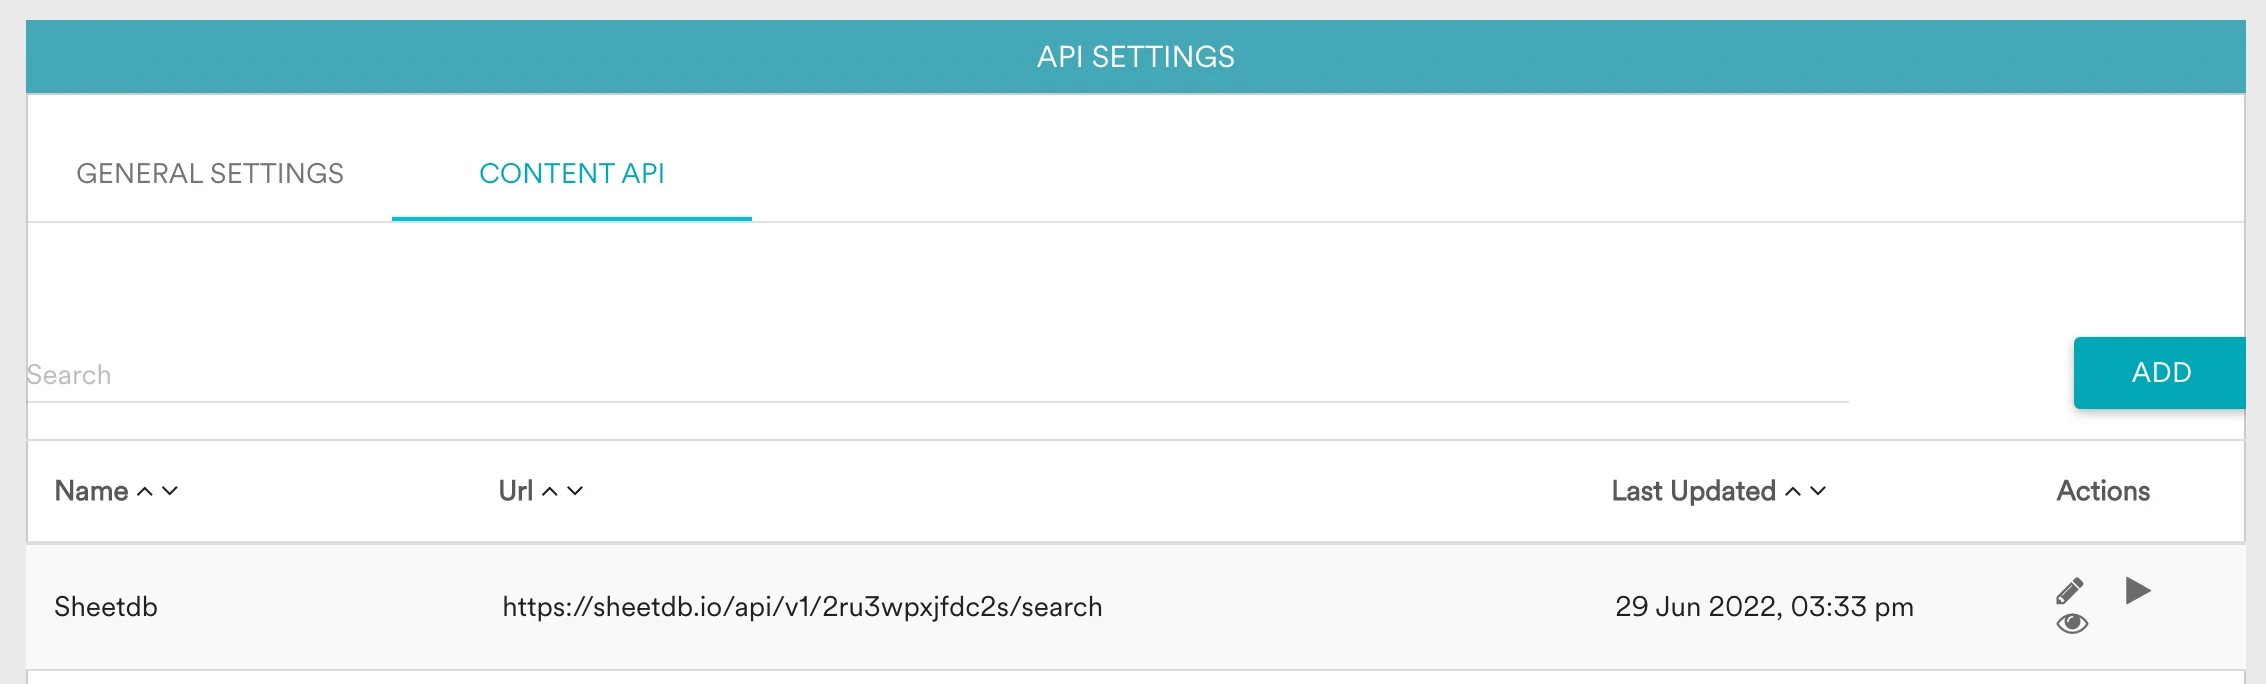
- Click Save. You will see your Sheetdb API added in MoEngage.
Step 3: Use Content API’s data in MoEngage campaigns
You can now use these content APIs in your campaigns. Read here to know more about Content APIs.- On step 2 on your campaign creation, enter @.
- In the pop up, you can select the Sheetdb Content API configured in Step 2.
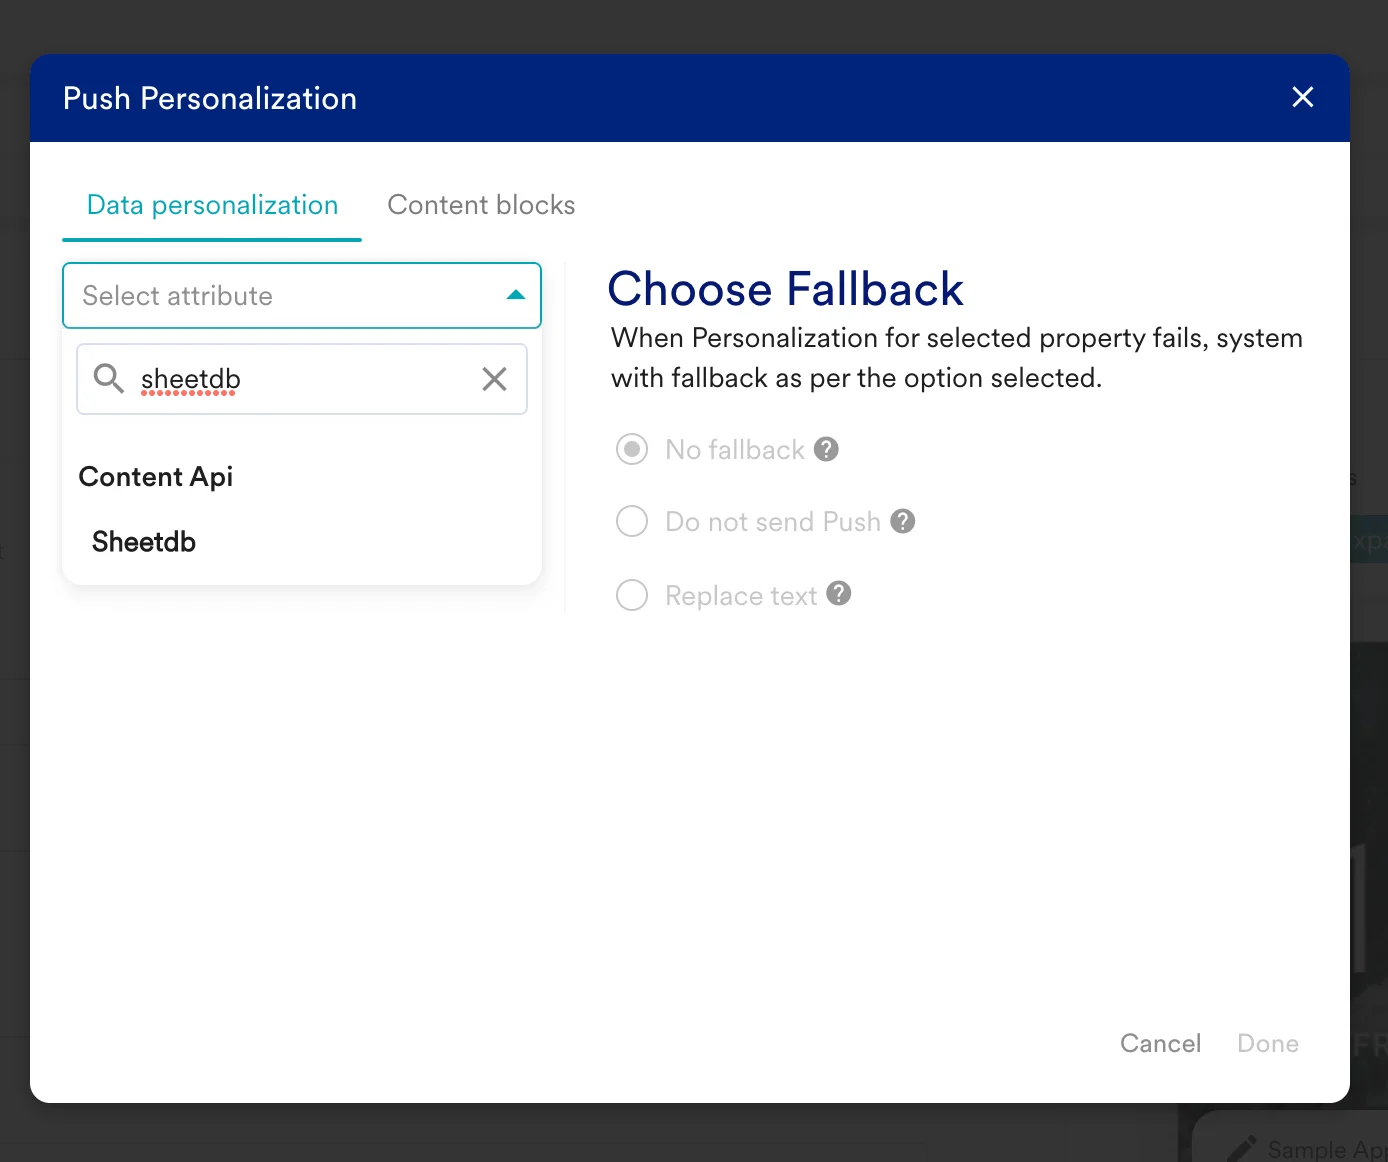
- Click done to include the response in your campaigns.
- You can use MoEngage templating language to parse through the API response and use the content in your campaigns.
B) Write data to spreadsheet using MoEngage Connectors
Step 1: Upload a sheet on Sheetdb
Make your sheet available for Sheetdb APIs. You can follow the same steps as in A. Step 1 in the previous example.Step 2: Add your Sheetdb endpoint in MoEngage Connector Campaigns
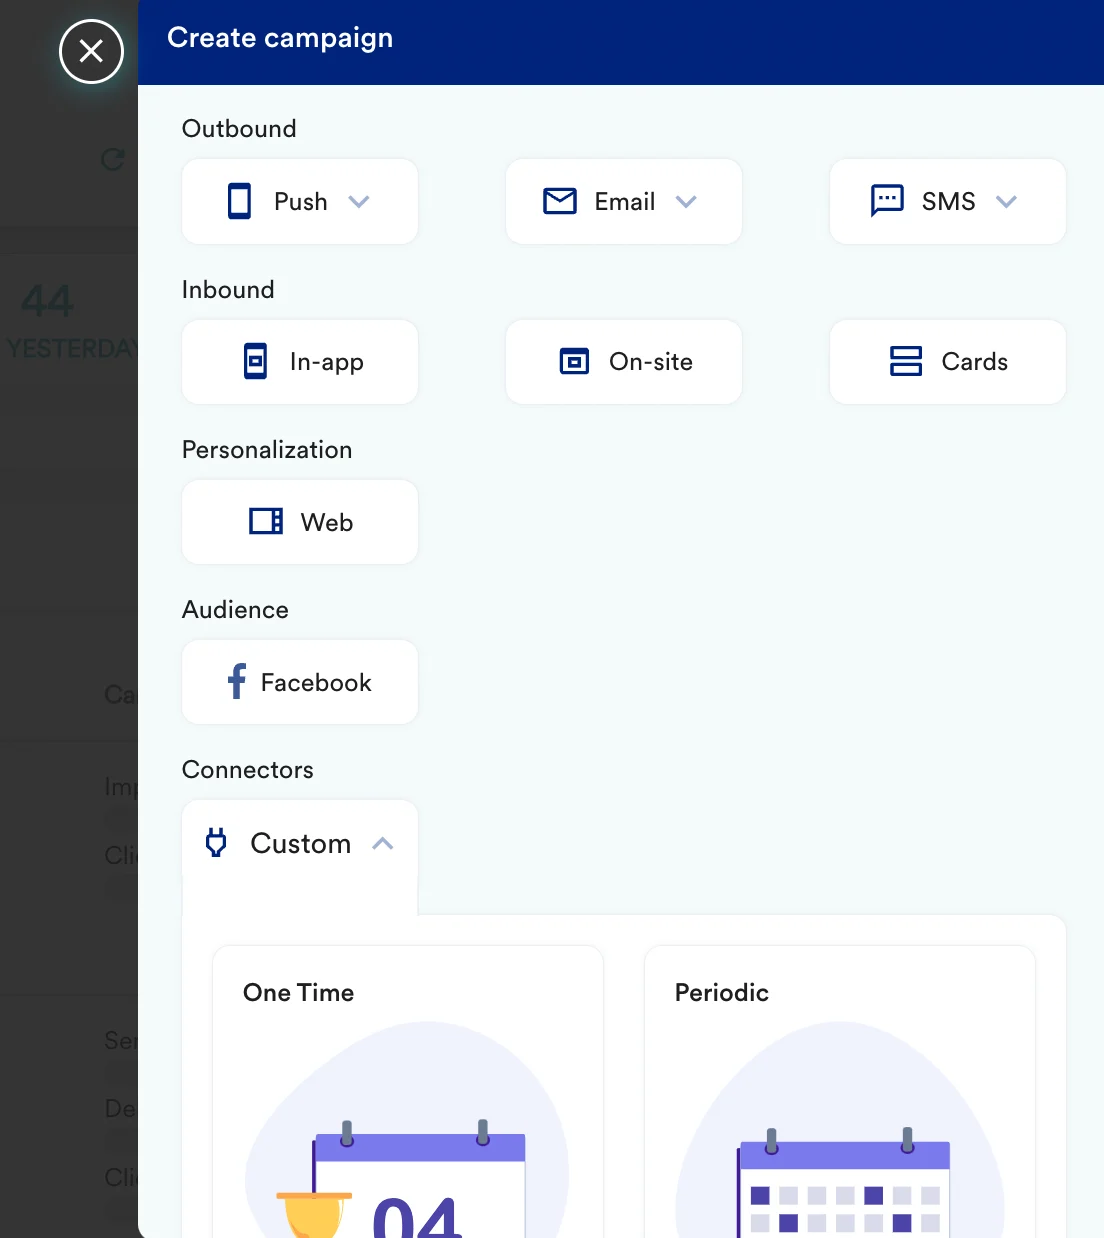
To create a connector campaign on MoEngage:- Navigate to Create Campaign > Connectors > Custom and choose delivery type most suitable to your needs.
- On step 2 of the campaign:
- Select method as
POST. - Add Webhook URL as:
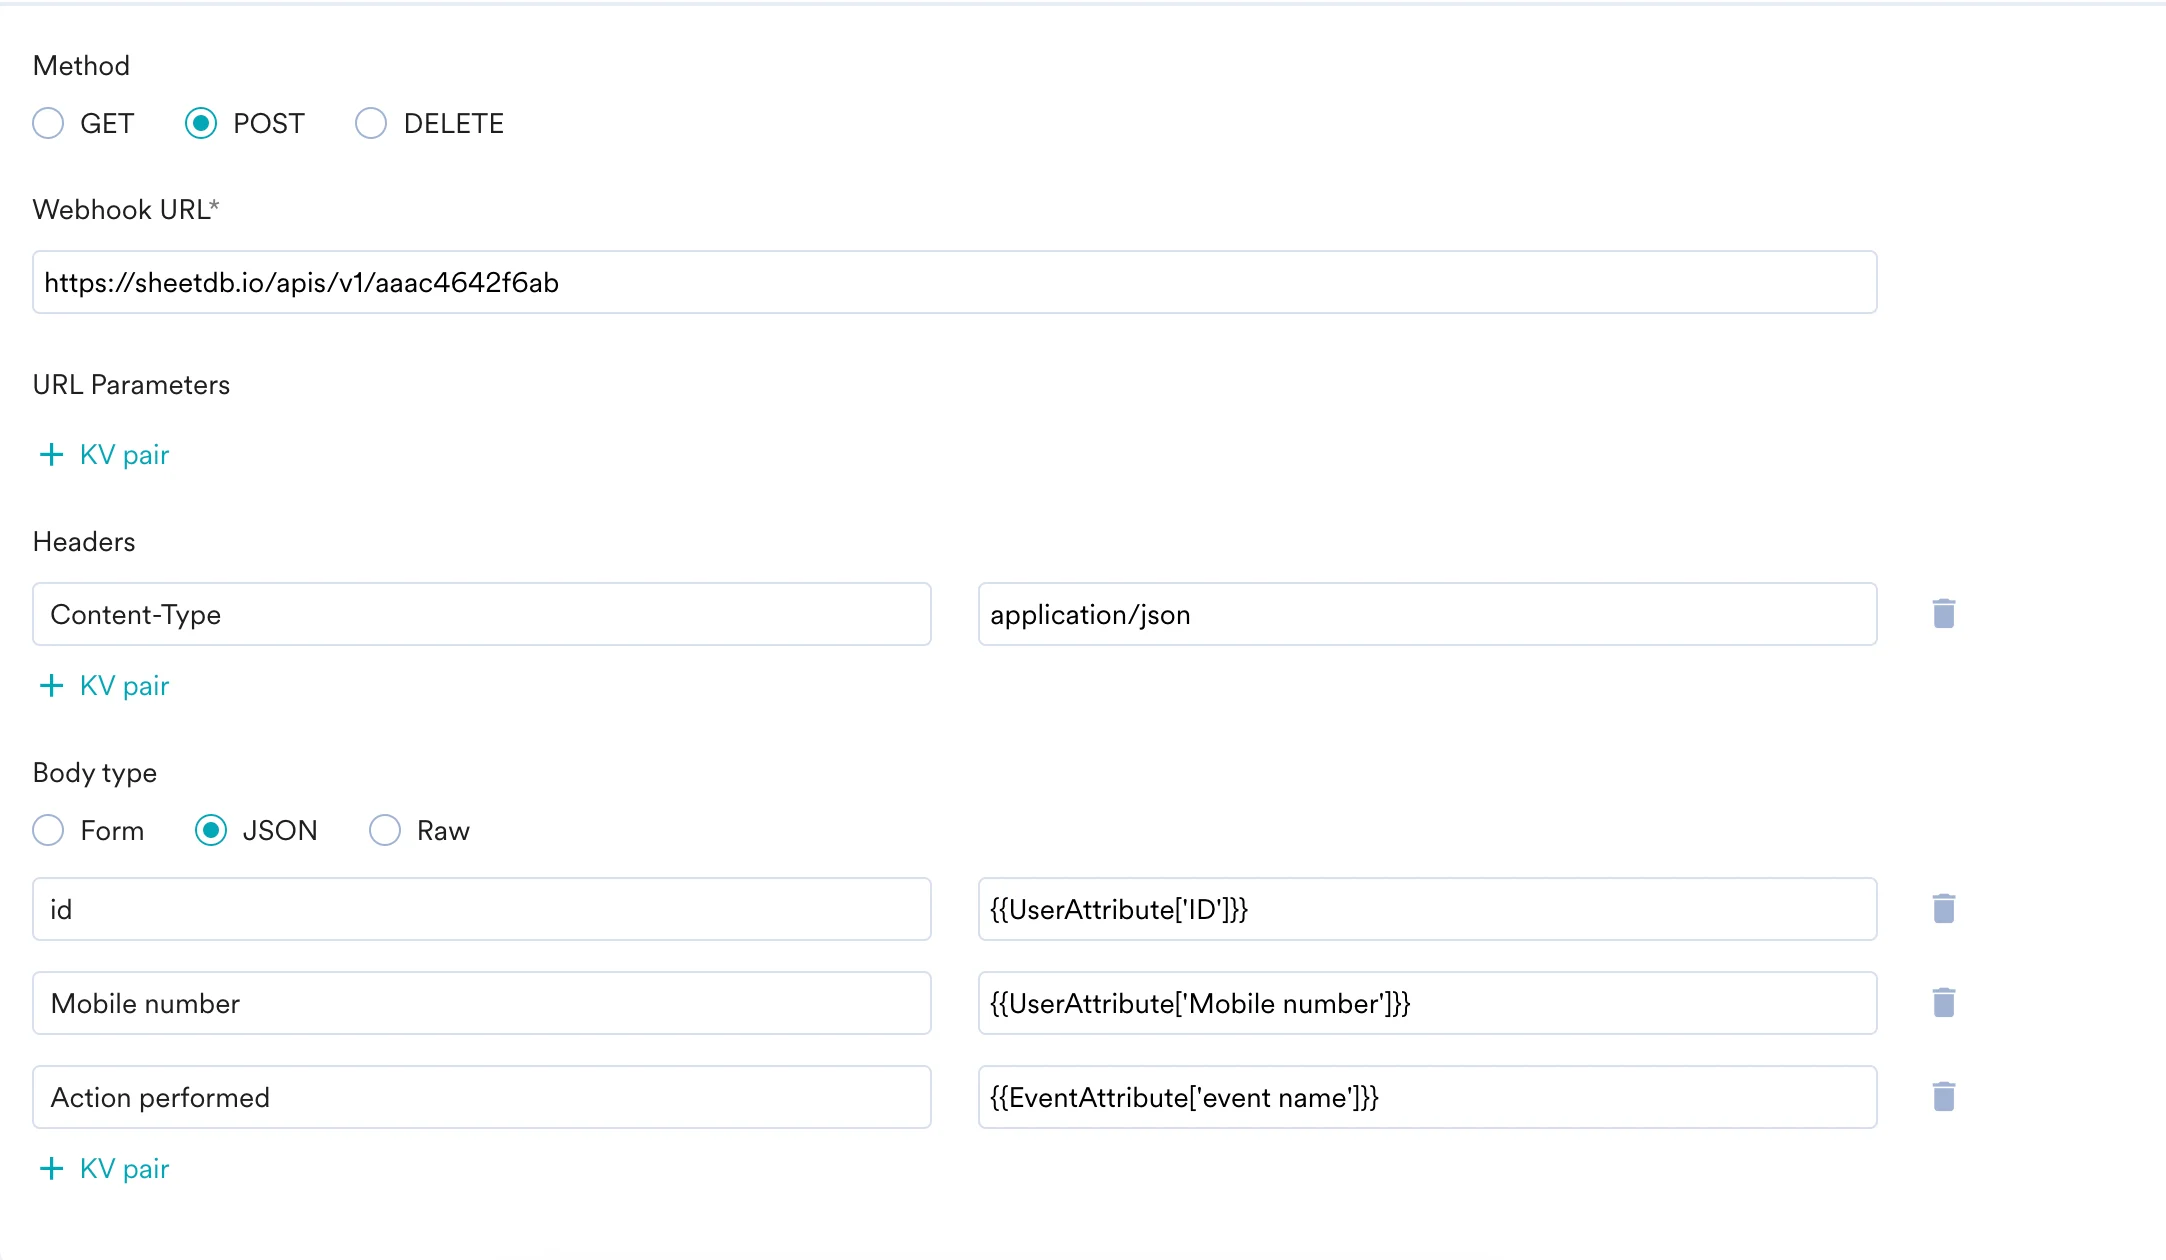
- In Body, define the keys in your spreadsheet and the values that you want to send out.
- Select method as
- At this point, your campaign should be ready to test and send. You can also test your connector configuration using the Test functionality available on Step 2 of Create Connector Campaign.
