> ## Documentation Index
> Fetch the complete documentation index at: https://moengage.com/docs/llms.txt
> Use this file to discover all available pages before exploring further.
# Karix
# Introduction
Karix is a mobile engagement and communications provider enabling enterprises to intelligently personalize their two-way marketing and customer care interactions across multiple channels.
**Prerequisites** Ensure you have access to your Karix Dashboard and have the API key for your Karix account.
# Configure Karix as a Custom SMS Connector (Service Provider)
This article will help you set Karix as a Custom Connector on the MoEngage dashboard.
Log in to the MoEngage Dashboard and follow these steps:
1. Navigate to **Settings** > **Channel** > **SMS** > **Sender Configuration**.
2. Click **+Add Service Provider** at the top right corner.
3. Add the following details in the **Sender Details** screen. **Mark as default** Turn on this toggle to mark the sender as the default sender for the service provider being configured. If marked as default, this sender would be used for sending all SMS campaigns from MoEngage unless you select a different sender while creating the campaign.
| Field | Description |
| ------------------------- | --------------------------------------------------------------------------------------------------------------------------------------------------------------------------------------------------------------------------------------------------------------------------------------------------------------------------------------------------------------------------------------------------------------------------------------------------- |
| **Service provider name** | This field identifies the service provider you are configuring on the MoEngage Dashboard and has to be unique. Type the name of the service provider here. |
| **Sender name** | This field identifies the readable sender name that can be used while creating a campaign or alert. |
| **Sender type** | The Sender type can either be **Promotional** or **Transactional**. Choose the Sender type as Promotional when you would be using the Sender for sending information about your brand, promoting deals, or engaging with users. Choose the Sender type as Transactional when you would be using the Sender for sending alerts about transactions, OTPs, security information, or any information that can be classified as transactional in nature. |
4. Configure the Webhook by adding the following details:
| Field | Description |
| ------------------ | --------------------------------------------------------------------------------------------------------------------------------------------------------------------------------------------------------------------------------------------------------------------------------------------------------------------------------------------------------- |
| **API URL** | This field contains information about the URL that should be used to send an API request to the Sender. You can get this information from the API Documentation of the Sender. Type the API Endpoint of the sender here. The API URL for Karix is: [http://japi.instaalerts.zone/httpapi/JsonReceiver](http://japi.instaalerts.zone/httpapi/JsonReceiver) |
| **Method** | Select **POST** as the HTTP method. |
| **URL Parameters** | Add the URL Parameters to be passed to the API as Key-Value pairs using this option. You can get this information from the API Documentation of the Sender. For example, if the API URL call uses the GET method, all the parameters, such as API Key, Authorization, and so on, are passed as URL Parameters. |
| **Headers** | Add the Request Headers to be passed to the API as Key-Value pairs using this option. You can get this information from the API Documentation of the Sender. Add the Authorization Header. |
5. Choose the **Body Type** as JSON and add the following details:
```json JSON theme={null}
{
“messages”: [
{
“text”: “Moesms_message”,
“dest”: [Moesms_destination],
“send”: “SENDER_ID”
}
],
“key”: “API_KEY”,
“ver”: “1.0”
]/pre
```
Change value for these keys:
SENDER\_ID and API\_KEY - Set as per the Karix account credentials
(If the API key has '=' at the end, add the '=' in the Key Value Pair section explicitly)
6. **Send a test SMS** to verify your configuration.
7. Click **Save** to save the Sender Configuration.
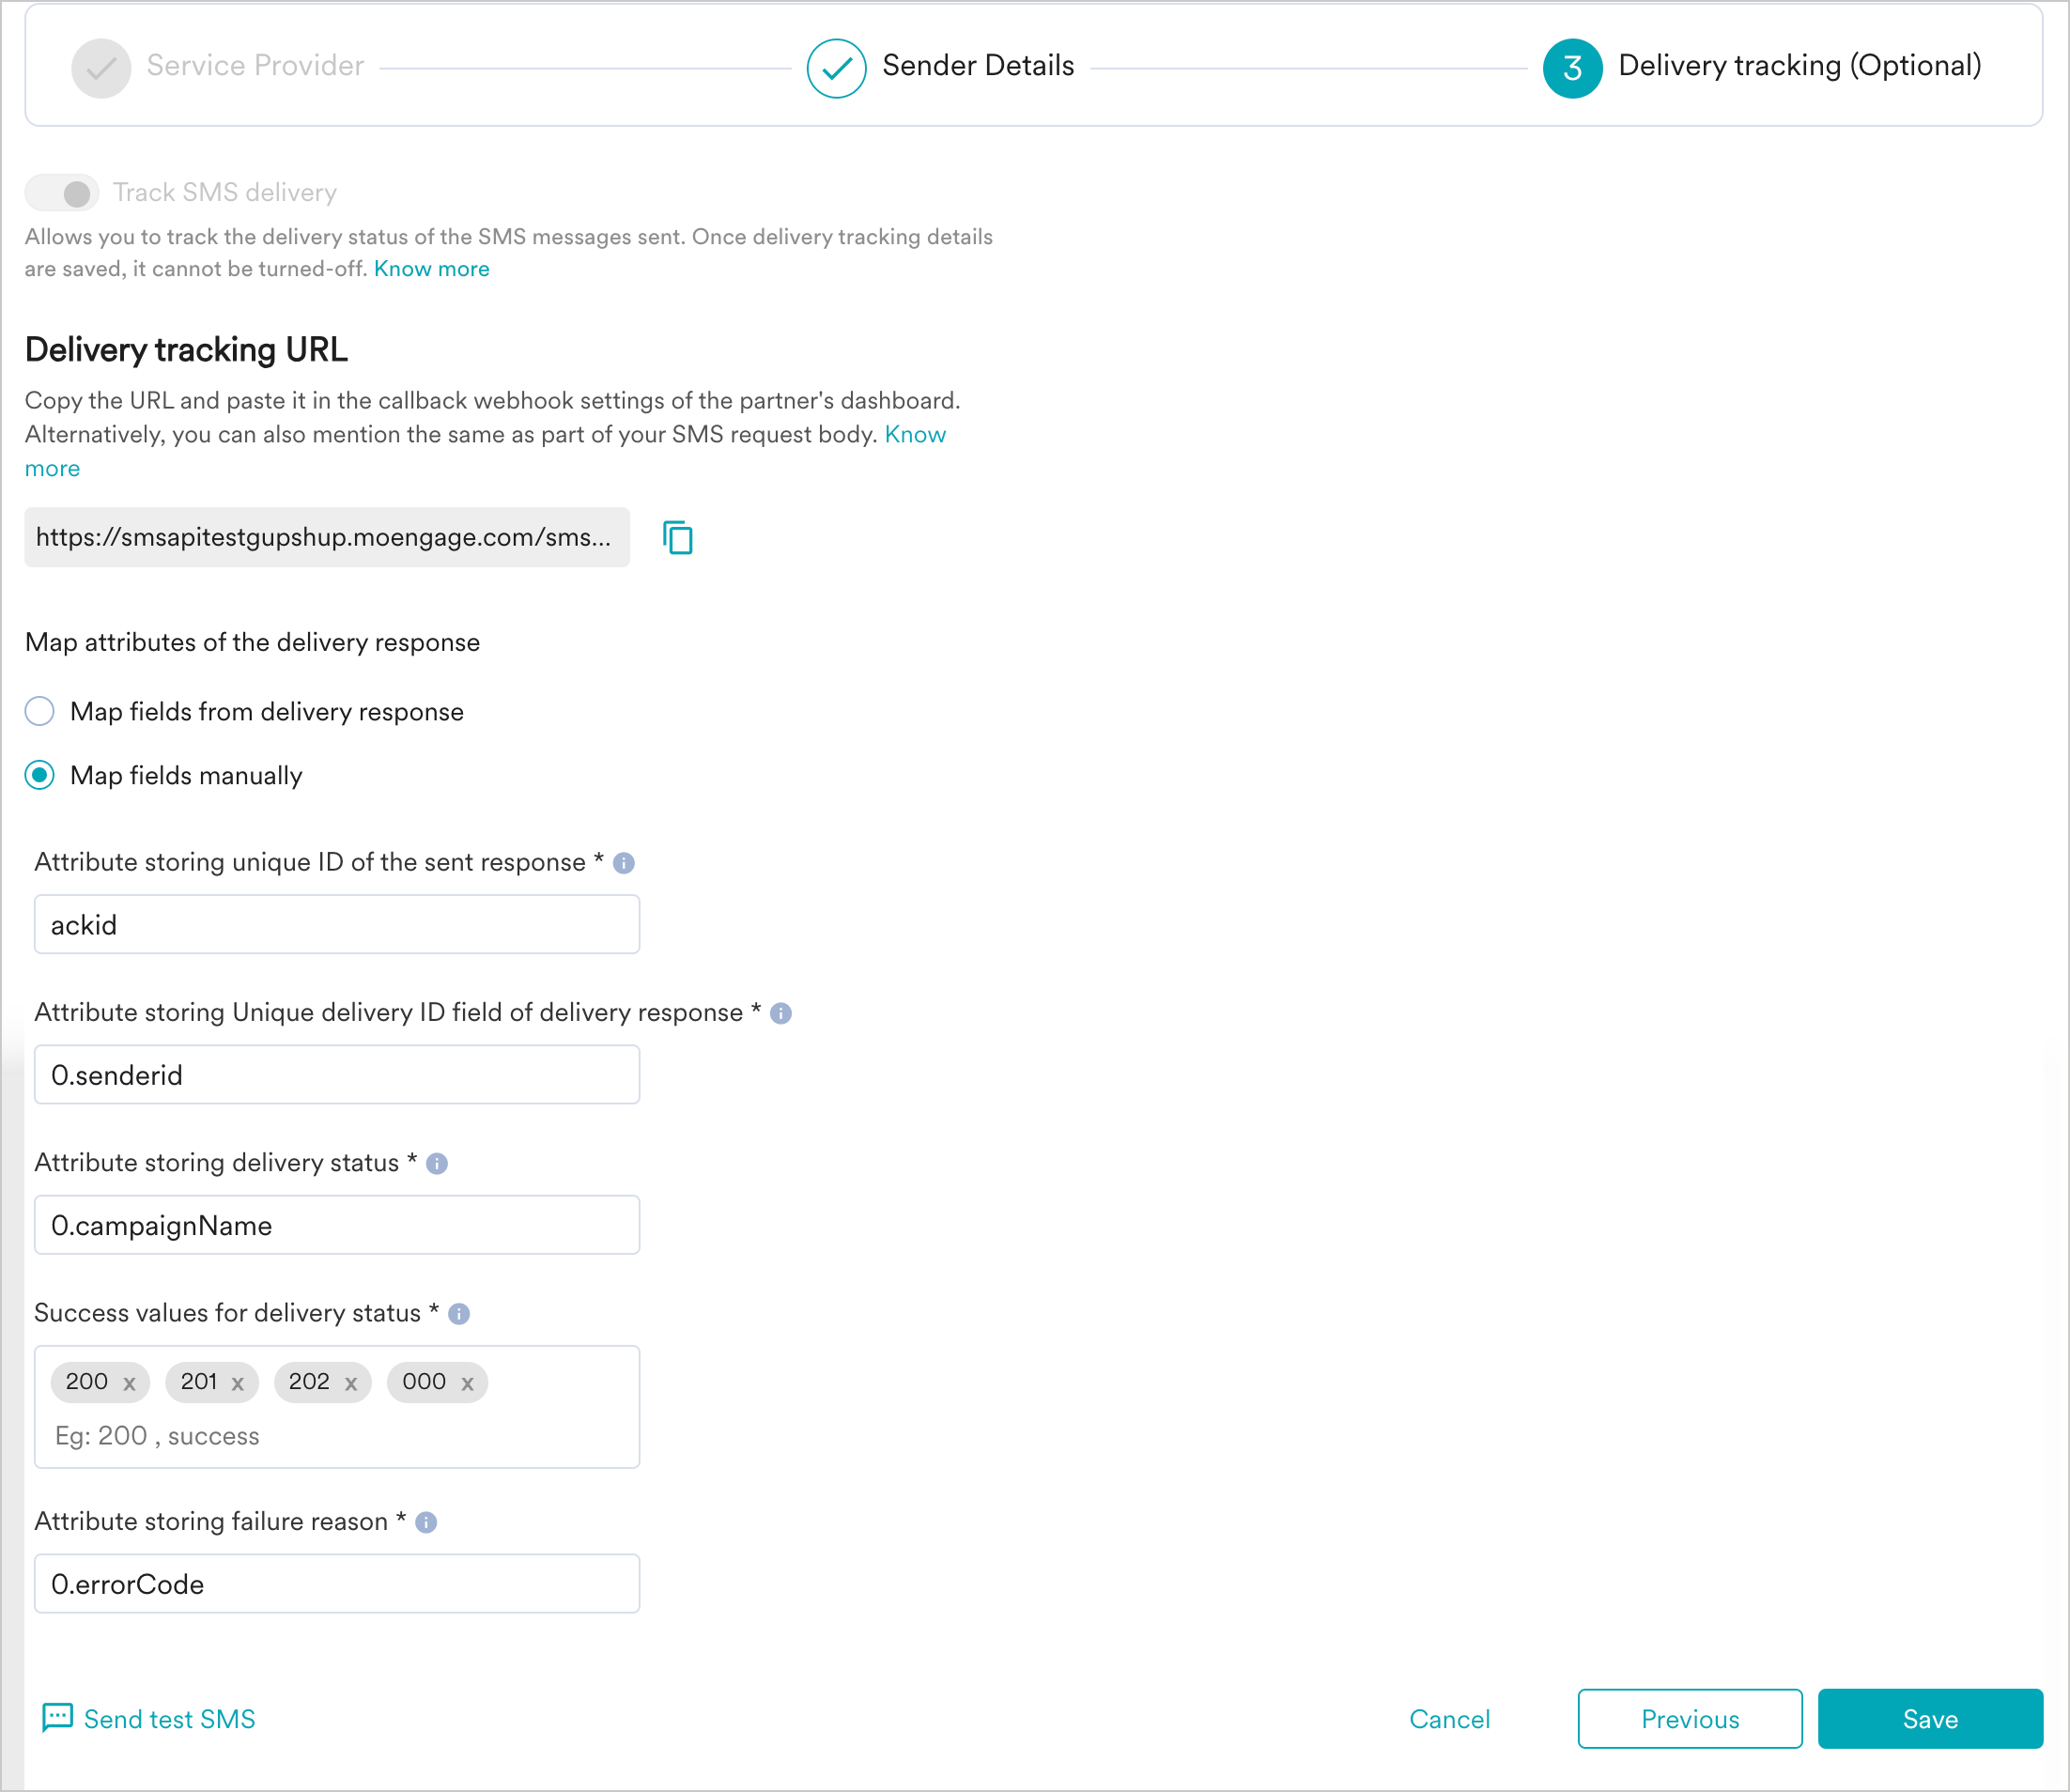
8. You can configure delivery tracking after creating the sender in the MoEngage Dashboard. For information about Delivery Tracking, refer to [Delivery Tracking for Custom Connectors](/user-guide/campaigns-and-channels/sms-mms-and-rcs/sms/getting-started-with-sms/configure-custom-connector-for-sms).
9. You can map the attributes of the delivery tracking response manually or automatically.
 # Next Steps
* Create an SMS campaign using the [Getting Started for creating SMS campaign](/user-guide/campaigns-and-channels/sms-mms-and-rcs/sms/create-an-sms-campaign).
* Set the [Frequency Capping for SMS](/user-guide/settings/channels/delivery-controls/frequency-capping).
* Set the [Current Service Provider](/user-guide/campaigns-and-channels/sms-mms-and-rcs/sms/getting-started-with-sms/configure-an-sms-sender).
* [Read more about campaign analytics.](/user-guide/campaigns-and-channels/connectors/analyze/connector-campaign-analytics)
# Next Steps
* Create an SMS campaign using the [Getting Started for creating SMS campaign](/user-guide/campaigns-and-channels/sms-mms-and-rcs/sms/create-an-sms-campaign).
* Set the [Frequency Capping for SMS](/user-guide/settings/channels/delivery-controls/frequency-capping).
* Set the [Current Service Provider](/user-guide/campaigns-and-channels/sms-mms-and-rcs/sms/getting-started-with-sms/configure-an-sms-sender).
* [Read more about campaign analytics.](/user-guide/campaigns-and-channels/connectors/analyze/connector-campaign-analytics)