> ## Documentation Index
> Fetch the complete documentation index at: https://moengage.com/docs/llms.txt
> Use this file to discover all available pages before exploring further.
# How to Create a Pop-Up for Landscape View Using HTML In-App
# Introduction
Orientation compatibility ensures a consistent user experience across various device displays. For an engaging user interaction, it’s important to design UI components that adapt seamlessly to portrait and landscape modes.
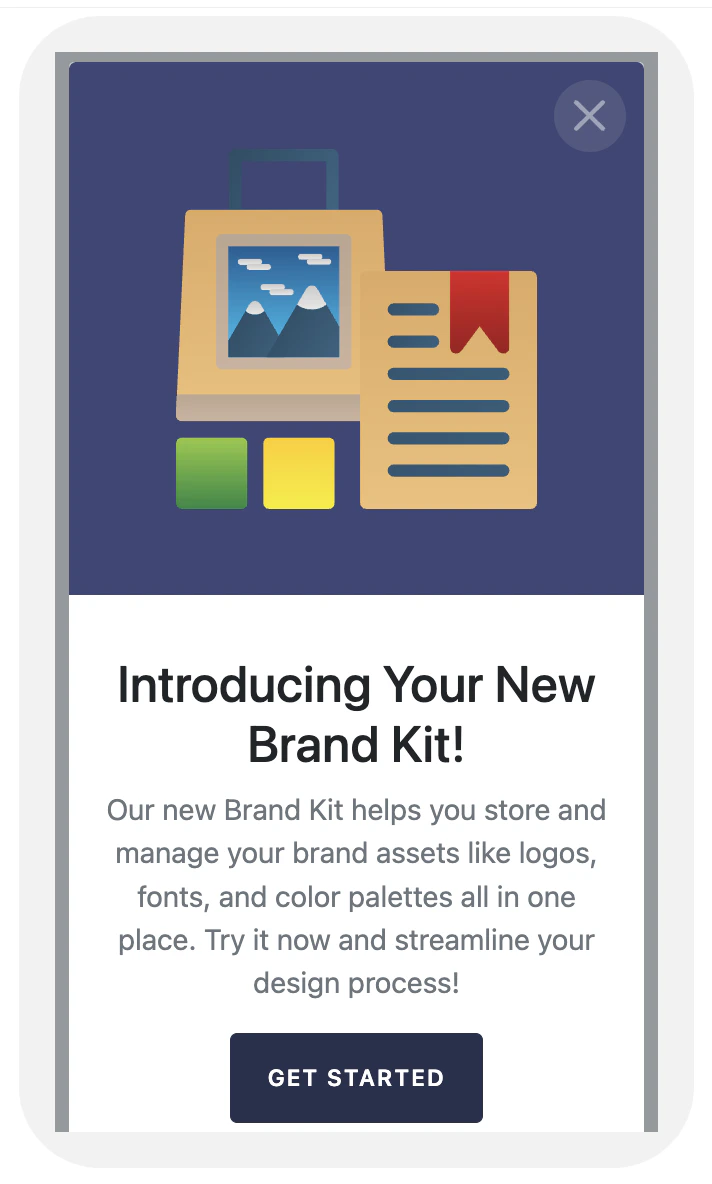
In this article, we will create an in-app HTML pop-up to introduce the new *Brand Kit* feature in a design app. This pop-up will automatically adjust to landscape and portrait orientations, offering a visually appealing experience regardless of how the user holds their device.
# Expected Result
Users will see a well-designed pop-up in both landscape and portrait views that provides relevant information or promotional content, increasing awareness and usage of the promoted feature.
Integration of the MoEngage Android SDK or iOS SDK with your app. For more information, refer to the [Developer Guide](/developer-guide/introduction).
# Create an In-App Campaign
In this section, let us create an In-app HTML pop-up that automatically adjusts to landscape and portrait orientations.
## Step 1: Target users
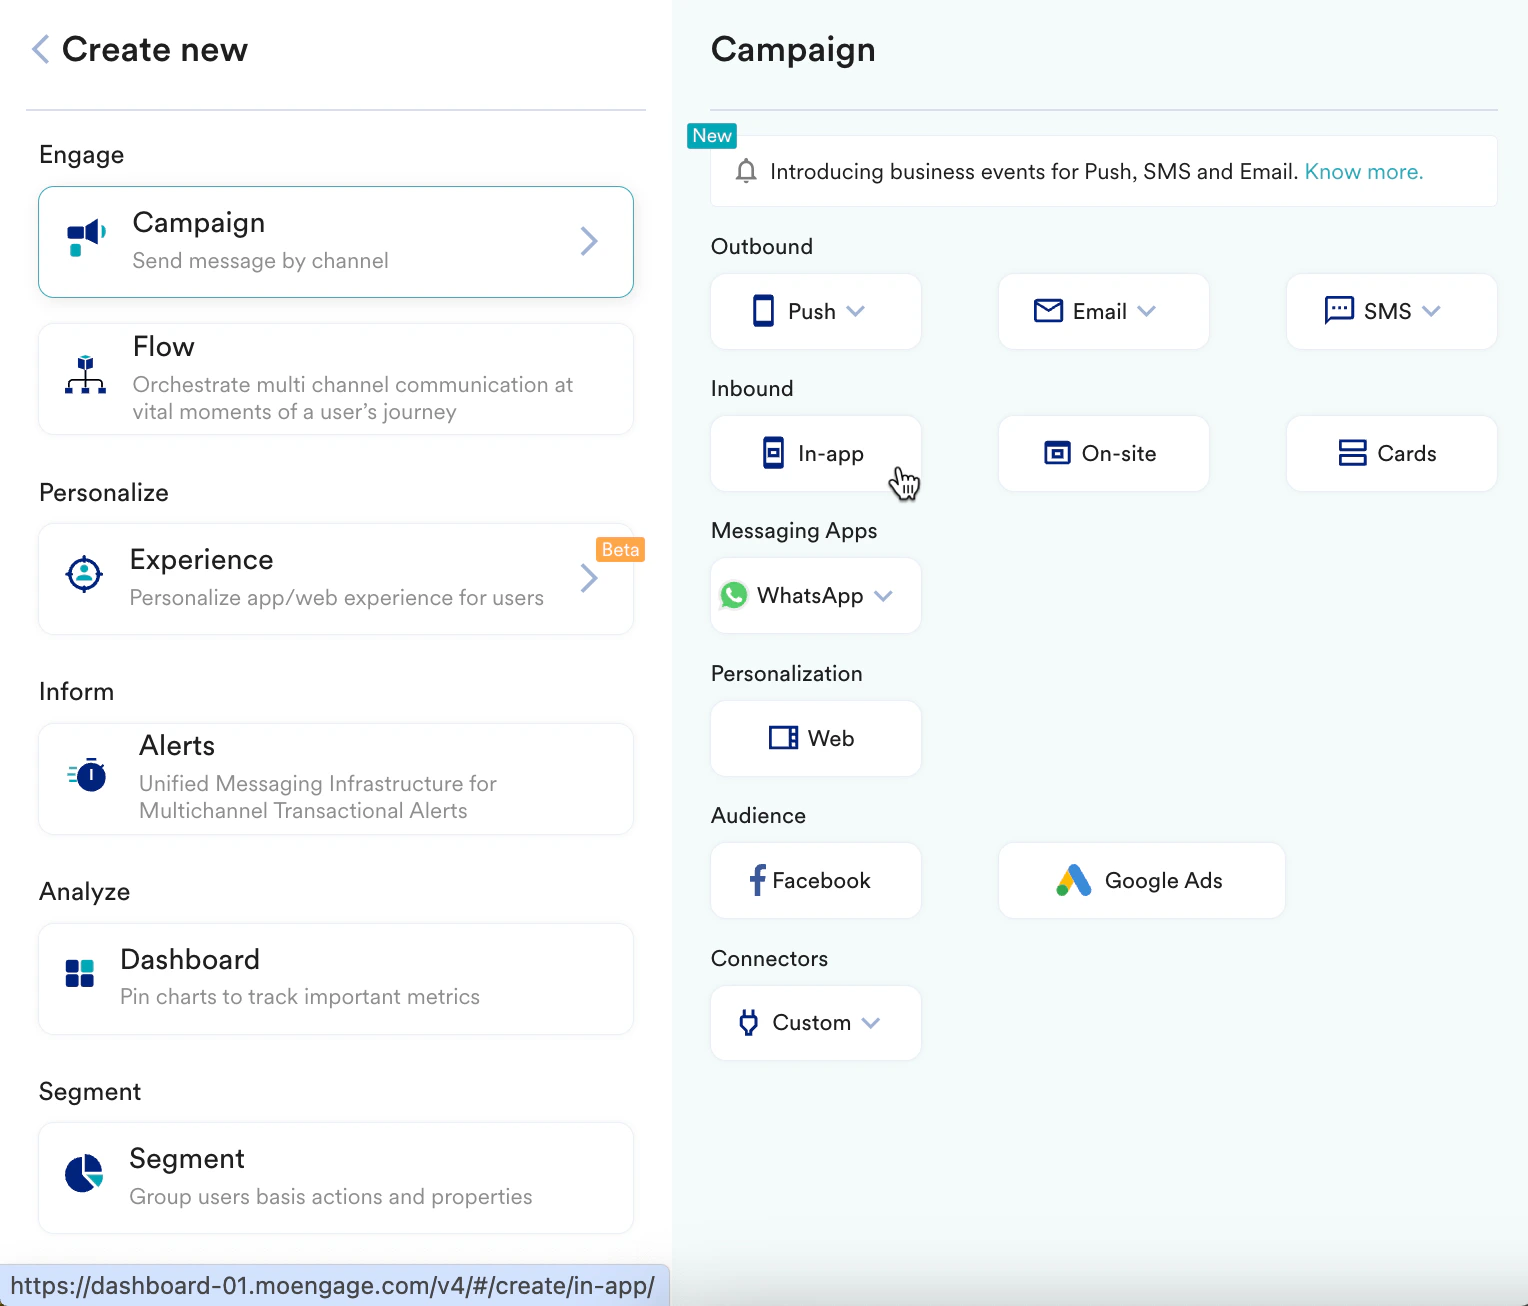
1. Navigate to the sidebar on the left and click **Engage** > **Campaigns** and click **+ Create campaign**, or click **+ Create new**> **Campaign**.
2. Under **Inbound**, click **In-app**. You are taken to the first step "Target users" of defining your campaign.
3. Enter the following details:
* **Campaign name**: Enter a name for the campaign. For example, "HTML In-app campaign."
* **Campaign tags**: Select the relevant campaign tags.
4. In the **Target Platforms** section, select **iOS**.
5. In the **Trigger Criteria** section, select **On app open**.
6. In the **Select trigger time** section, select **Immediately** to send the message.
7. In the **Target audience** section, select **Filter users by** to specifically target only those users who have not yet used the new feature and exclude users who have opted out of Push notifications on their devices or who have already adopted the new feature.
8. Click **Next** to move to the second step, "Content," where you can define the content that will go into your campaign.
## Step 2: Content
MoEngage In-app campaign offers a variety of templates for all your use cases. It also provides the option to start from scratch.
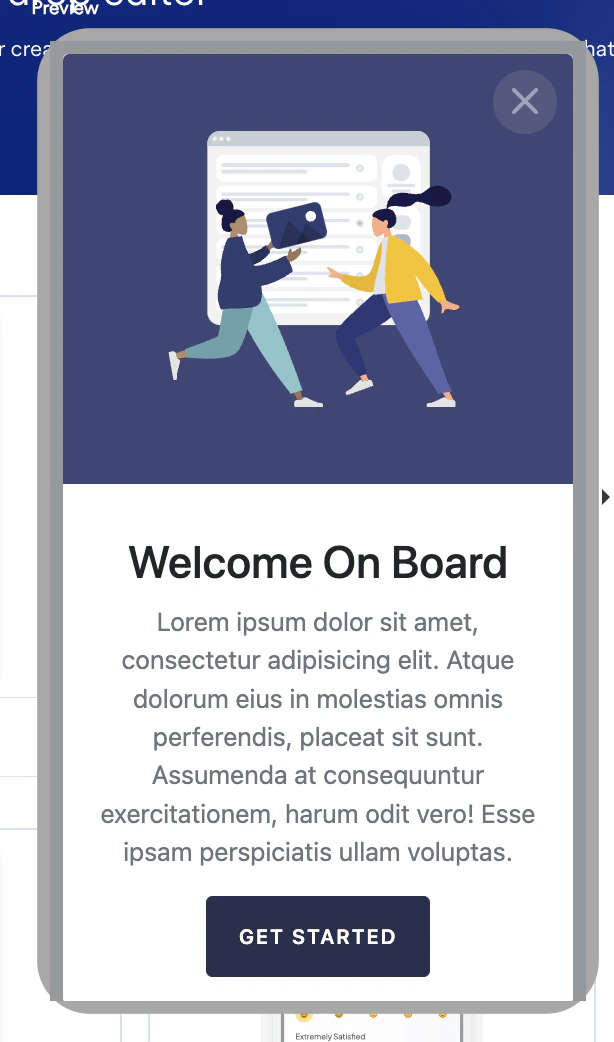
1. Select the template you want to show the user. You can select any HTML In-app message template to design the pop-up. For this use case, we will select the **Popup—Promotional** template. You can customize it on the **Template Settings** page.
2. Design the pop-up message by performing the following steps:
* **Update the title**: "Introducing Brand Kit!"
* **Style**: Use a bold and attractive font to grab attention.
* **Include a Description**: Provide a brief overview of what the feature does and how it benefits the user.
* **Text**: "Our new Brand Kit helps you store and manage your brand assets like logos, fonts, and color palettes all in one place. Try it now and streamline your design process!"
* **Style**: Ensure the text is concise and easy to read.
* **Add Visual Elements**: Include relevant images, icons, or animations that visually explain the feature.
* Example: Use an image of the app interface showing the Brand Kit with logos, fonts, and color palettes.
* Upload the file and then use the relative path in the HTML code, as shown in the video below.
* **Include a Call-to-Action (CTA) Button**: "Get started"
* Link: Direct the button to the section of the app where the feature can be accessed or to a tutorial.
* Style: Make the button stand out with a vibrant color and clear font.\\
* **View the template in both landscape and portrait mode**: Click **View portrait and landscape** to view the pop-up in landscape view.
3. Click **Next** to move to the third step, "Schedule and goals," where you can define your campaign's schedule and goals.
## Step 3: Schedule and goals
Here, you can select the campaign schedule, add the conversion goal, choose the campaign's priority, and define custom delivery controls.
1. In the **Send campaign** section, define when you want to start and end your In-app message with the frequency and limits.
2. In the **Conversion Goals** section, add conversion goals that you would like to track.
3. In the **Campaign priority** section, assign a priority to this campaign. Assigning a priority helps you decide which In-app message to show to a user when they are eligible for more than one message at a specific time. For example, selecting **Critical** ensures that the users will always see this even when there are other campaigns for which they are eligible.
4. In the **Delivery Controls** section, define the controls based on your requirements. For more information, refer to [Create In-app Campaign](/user-guide/campaigns-and-channels/in-app-message/create/create-in-app-campaign).
5. Click **Publish**.
# Conclusion
In this use case, we created an In-app campaign to ensure a consistent user experience across various device displays.
This automated campaign will help you enhance user experience by leveraging orientation compatibility and our exceptional UI components, which adapt seamlessly to portrait and landscape modes.
Now that we have published the campaign, we can track our CTR and conversions (if defined) to understand how well it is performing. For more information, refer to [In-App Campaign Analytics](/user-guide/campaigns-and-channels/in-app-message/analyze/analyze-in-app-campaigns).
 You are taken to the first step "Target users" of defining your campaign.
3. Enter the following details:
* **Campaign name**: Enter a name for the campaign. For example, "HTML In-app campaign."
* **Campaign tags**: Select the relevant campaign tags.
4. In the **Target Platforms** section, select **iOS**.
5. In the **Trigger Criteria** section, select **On app open**.
You are taken to the first step "Target users" of defining your campaign.
3. Enter the following details:
* **Campaign name**: Enter a name for the campaign. For example, "HTML In-app campaign."
* **Campaign tags**: Select the relevant campaign tags.
4. In the **Target Platforms** section, select **iOS**.
5. In the **Trigger Criteria** section, select **On app open**. 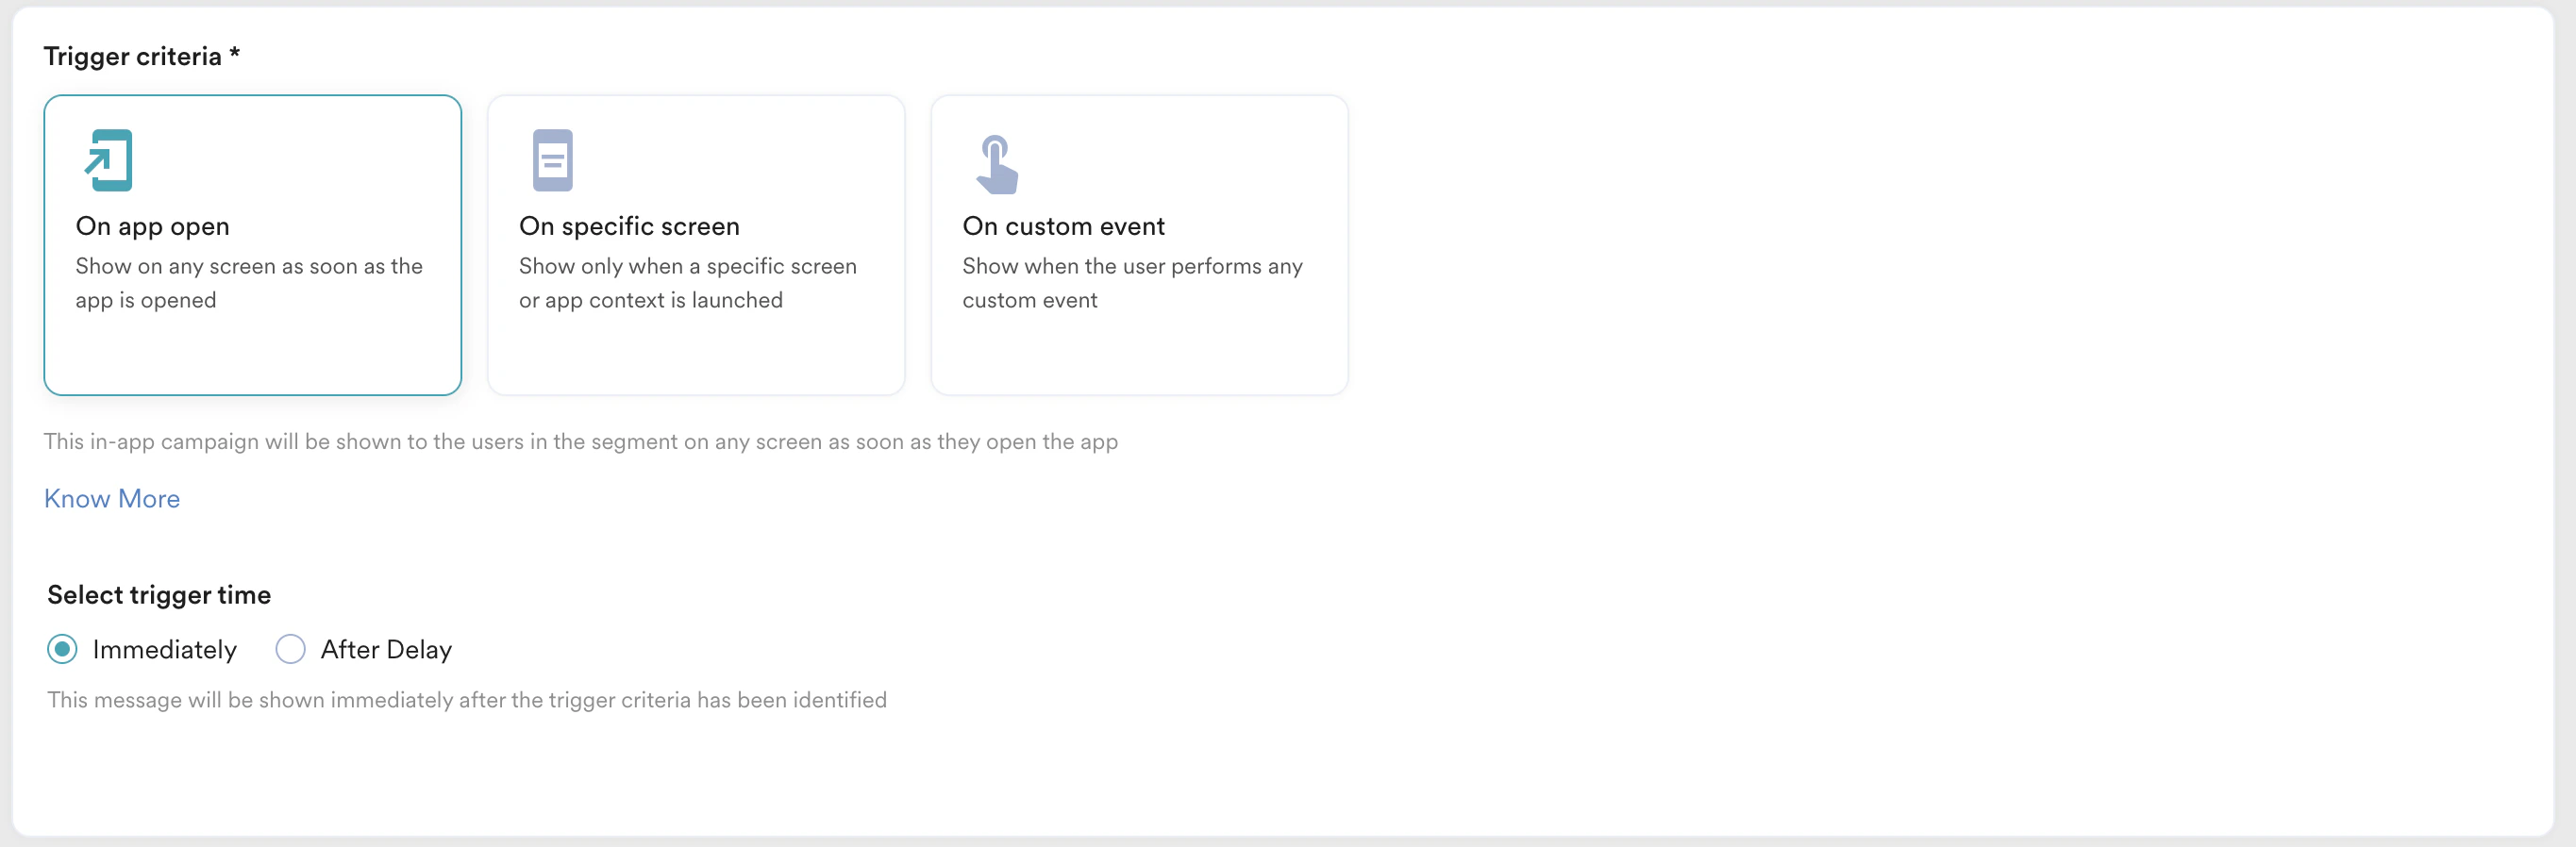 6. In the **Select trigger time** section, select **Immediately** to send the message.
7. In the **Target audience** section, select **Filter users by** to specifically target only those users who have not yet used the new feature and exclude users who have opted out of Push notifications on their devices or who have already adopted the new feature.
8. Click **Next** to move to the second step, "Content," where you can define the content that will go into your campaign.
## Step 2: Content
MoEngage In-app campaign offers a variety of templates for all your use cases. It also provides the option to start from scratch.
1. Select the template you want to show the user. You can select any HTML In-app message template to design the pop-up. For this use case, we will select the **Popup—Promotional** template. You can customize it on the **Template Settings** page.
6. In the **Select trigger time** section, select **Immediately** to send the message.
7. In the **Target audience** section, select **Filter users by** to specifically target only those users who have not yet used the new feature and exclude users who have opted out of Push notifications on their devices or who have already adopted the new feature.
8. Click **Next** to move to the second step, "Content," where you can define the content that will go into your campaign.
## Step 2: Content
MoEngage In-app campaign offers a variety of templates for all your use cases. It also provides the option to start from scratch.
1. Select the template you want to show the user. You can select any HTML In-app message template to design the pop-up. For this use case, we will select the **Popup—Promotional** template. You can customize it on the **Template Settings** page.
 2. Design the pop-up message by performing the following steps:
* **Update the title**: "Introducing Brand Kit!"
* **Style**: Use a bold and attractive font to grab attention.
2. Design the pop-up message by performing the following steps:
* **Update the title**: "Introducing Brand Kit!"
* **Style**: Use a bold and attractive font to grab attention. 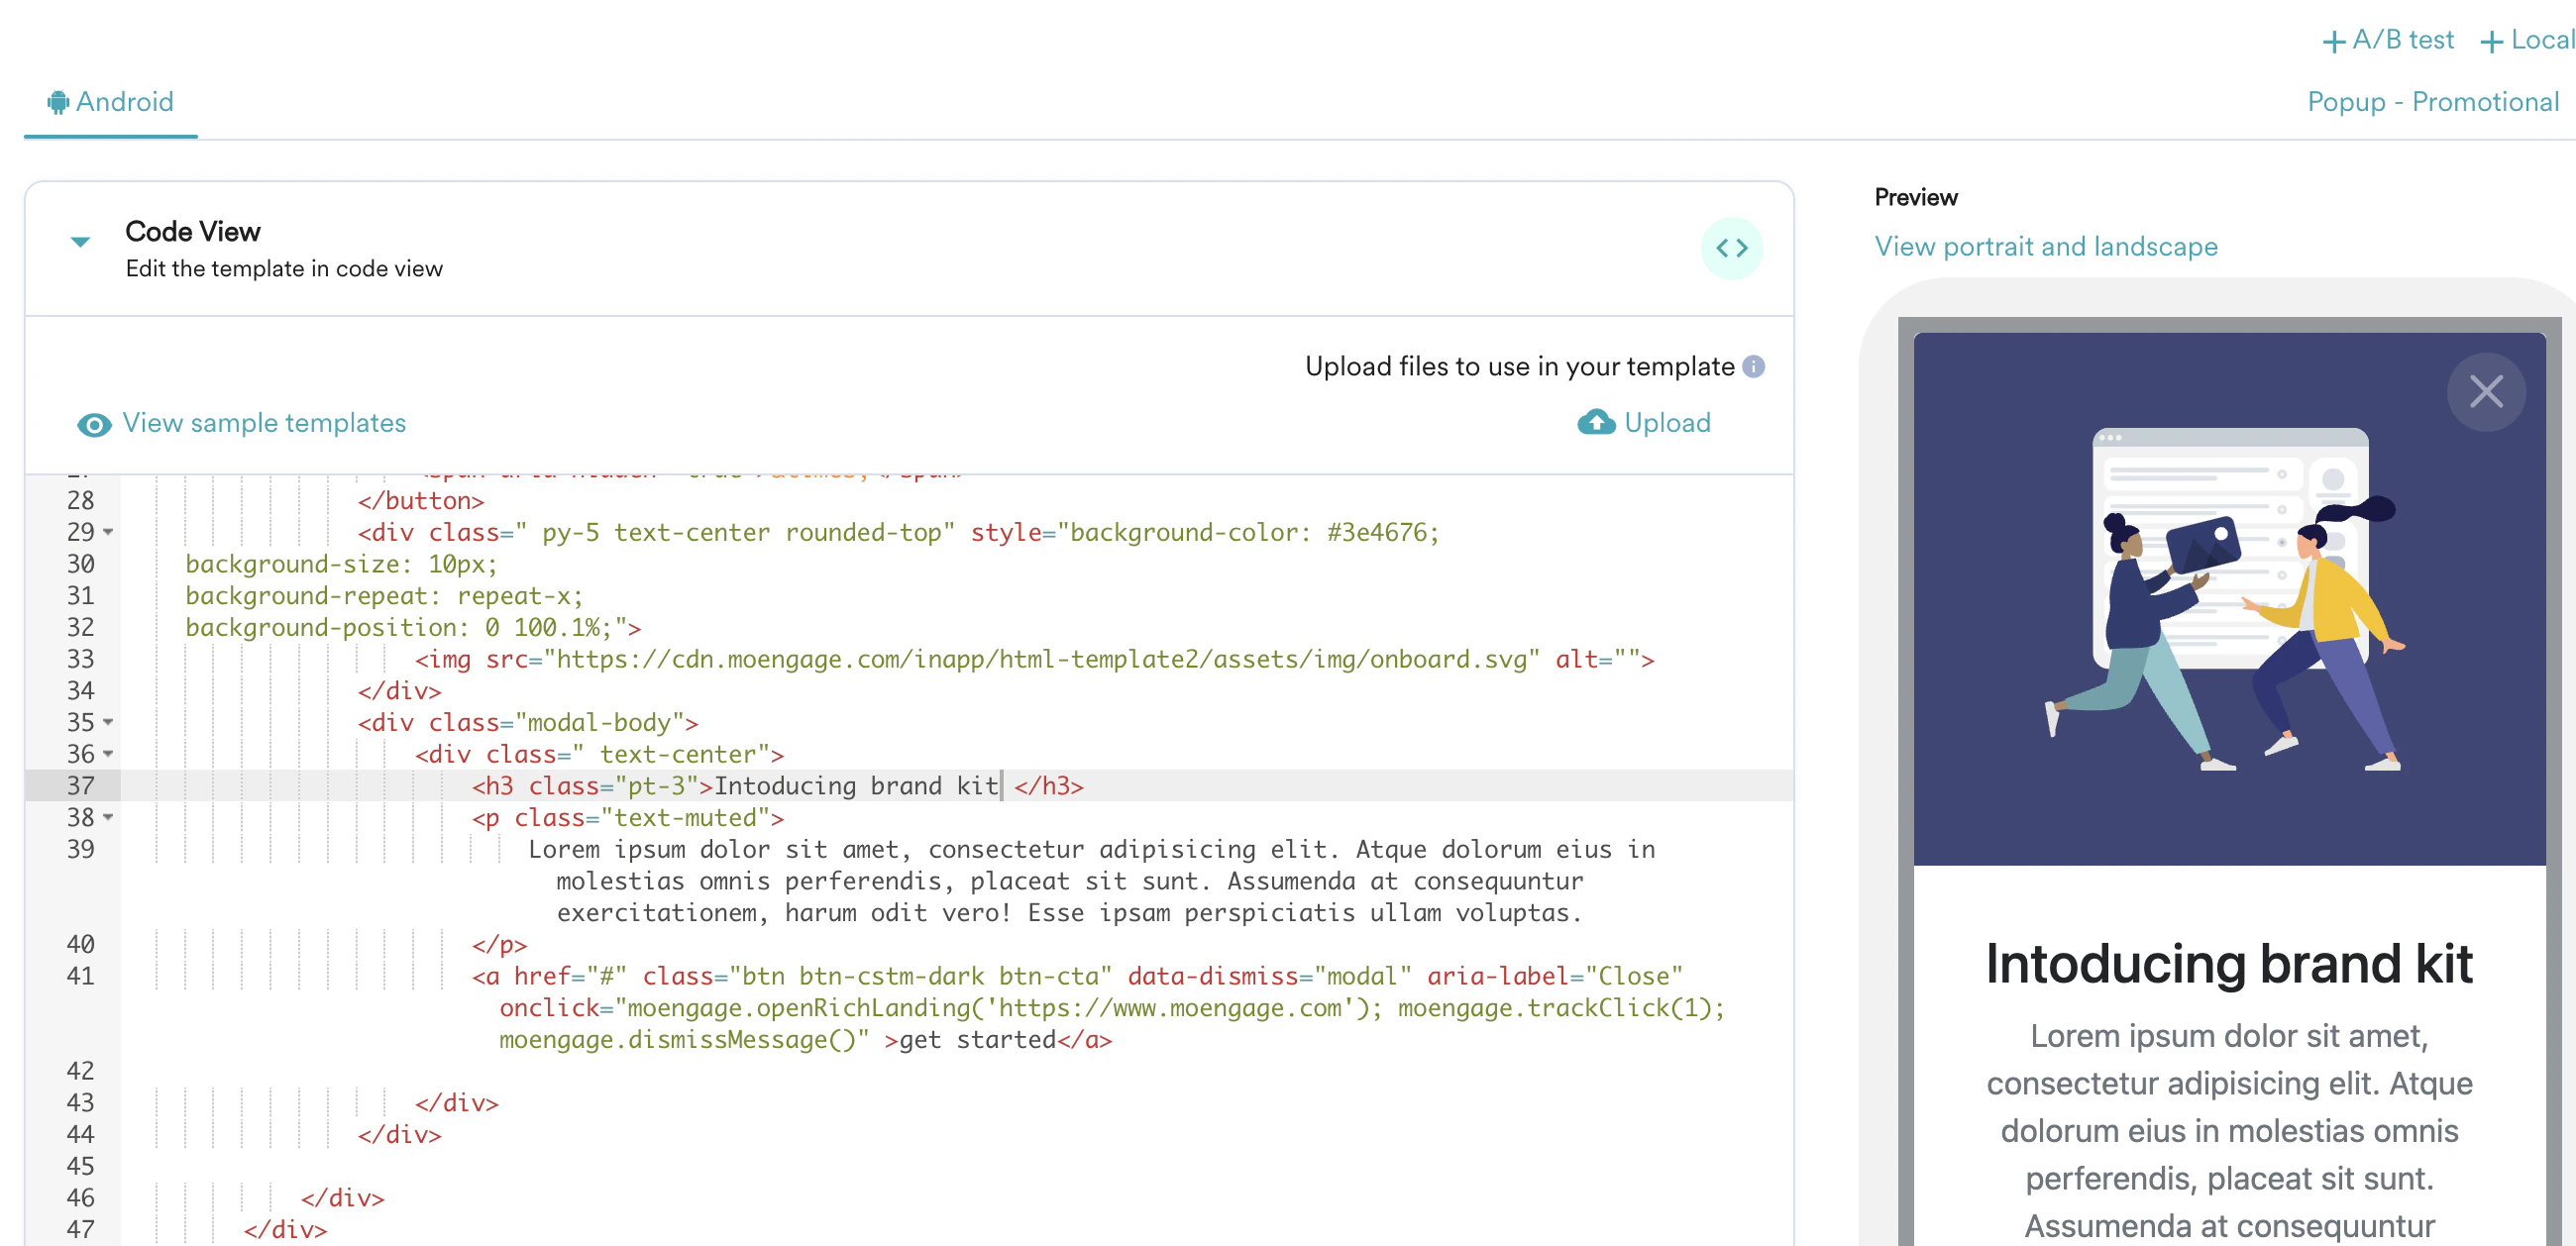 * **Include a Description**: Provide a brief overview of what the feature does and how it benefits the user.
* **Text**: "Our new Brand Kit helps you store and manage your brand assets like logos, fonts, and color palettes all in one place. Try it now and streamline your design process!"
* **Style**: Ensure the text is concise and easy to read.
* **Include a Description**: Provide a brief overview of what the feature does and how it benefits the user.
* **Text**: "Our new Brand Kit helps you store and manage your brand assets like logos, fonts, and color palettes all in one place. Try it now and streamline your design process!"
* **Style**: Ensure the text is concise and easy to read. 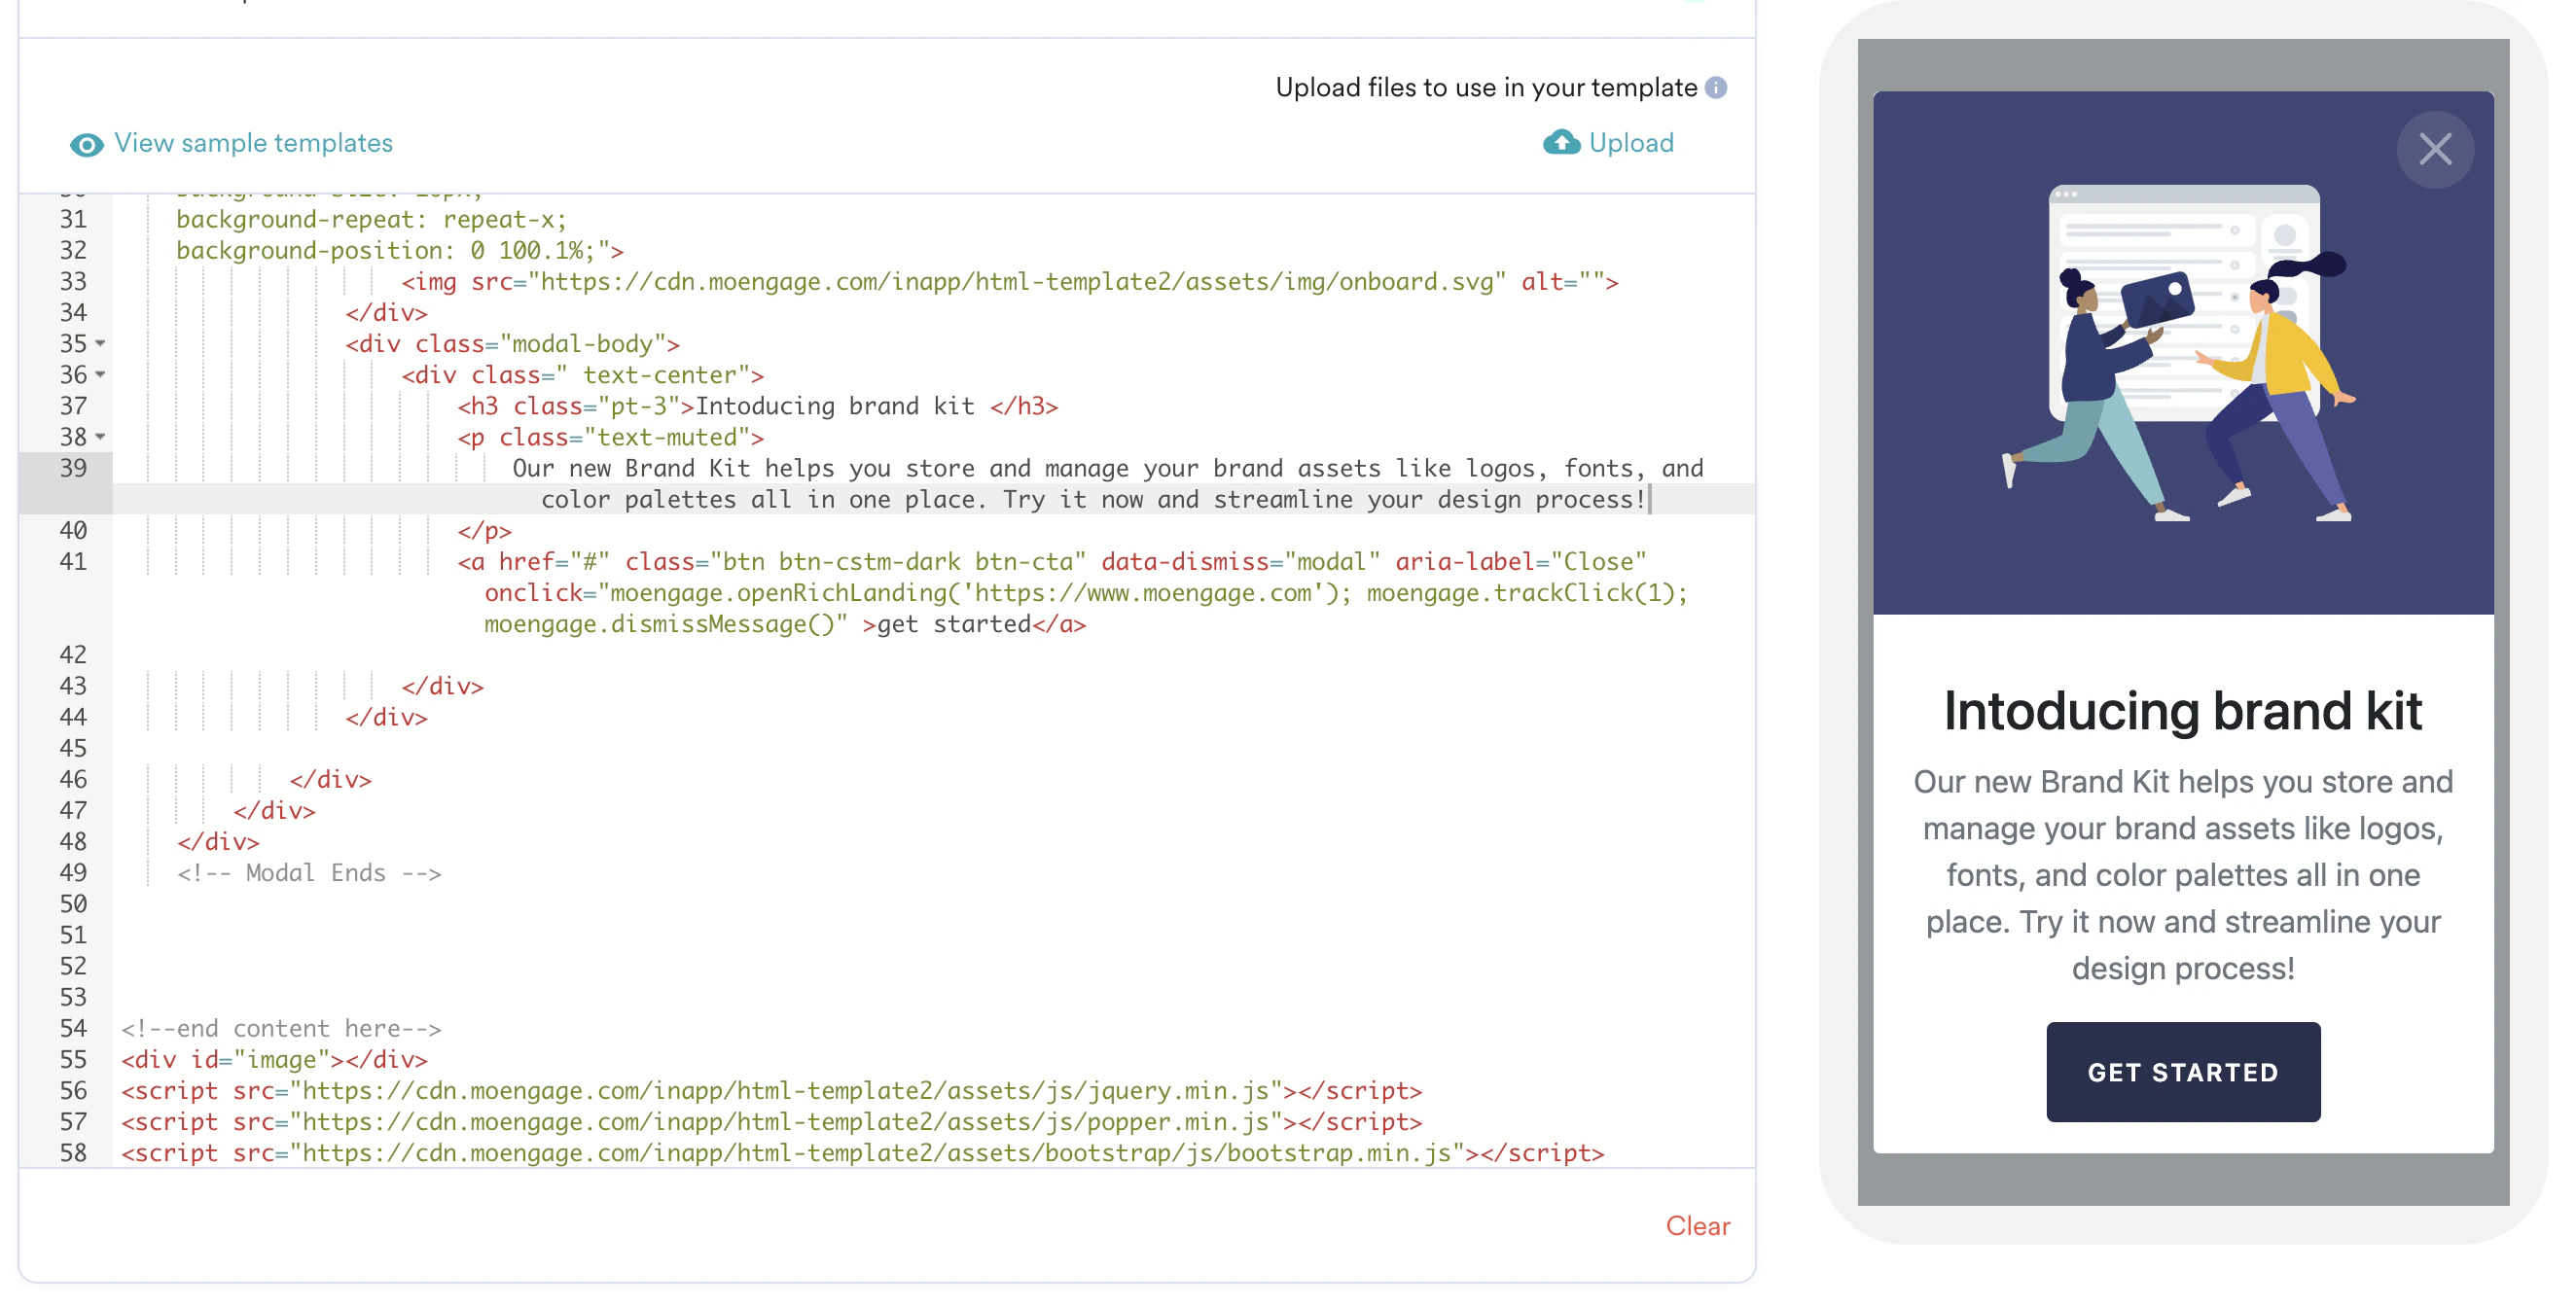 * **Add Visual Elements**: Include relevant images, icons, or animations that visually explain the feature.
* Example: Use an image of the app interface showing the Brand Kit with logos, fonts, and color palettes.
* Upload the file and then use the relative path in the HTML code, as shown in the video below.
* **Include a Call-to-Action (CTA) Button**: "Get started"
* Link: Direct the button to the section of the app where the feature can be accessed or to a tutorial.
* Style: Make the button stand out with a vibrant color and clear font.\\
* **View the template in both landscape and portrait mode**: Click **View portrait and landscape** to view the pop-up in landscape view.
* **Add Visual Elements**: Include relevant images, icons, or animations that visually explain the feature.
* Example: Use an image of the app interface showing the Brand Kit with logos, fonts, and color palettes.
* Upload the file and then use the relative path in the HTML code, as shown in the video below.
* **Include a Call-to-Action (CTA) Button**: "Get started"
* Link: Direct the button to the section of the app where the feature can be accessed or to a tutorial.
* Style: Make the button stand out with a vibrant color and clear font.\\
* **View the template in both landscape and portrait mode**: Click **View portrait and landscape** to view the pop-up in landscape view. 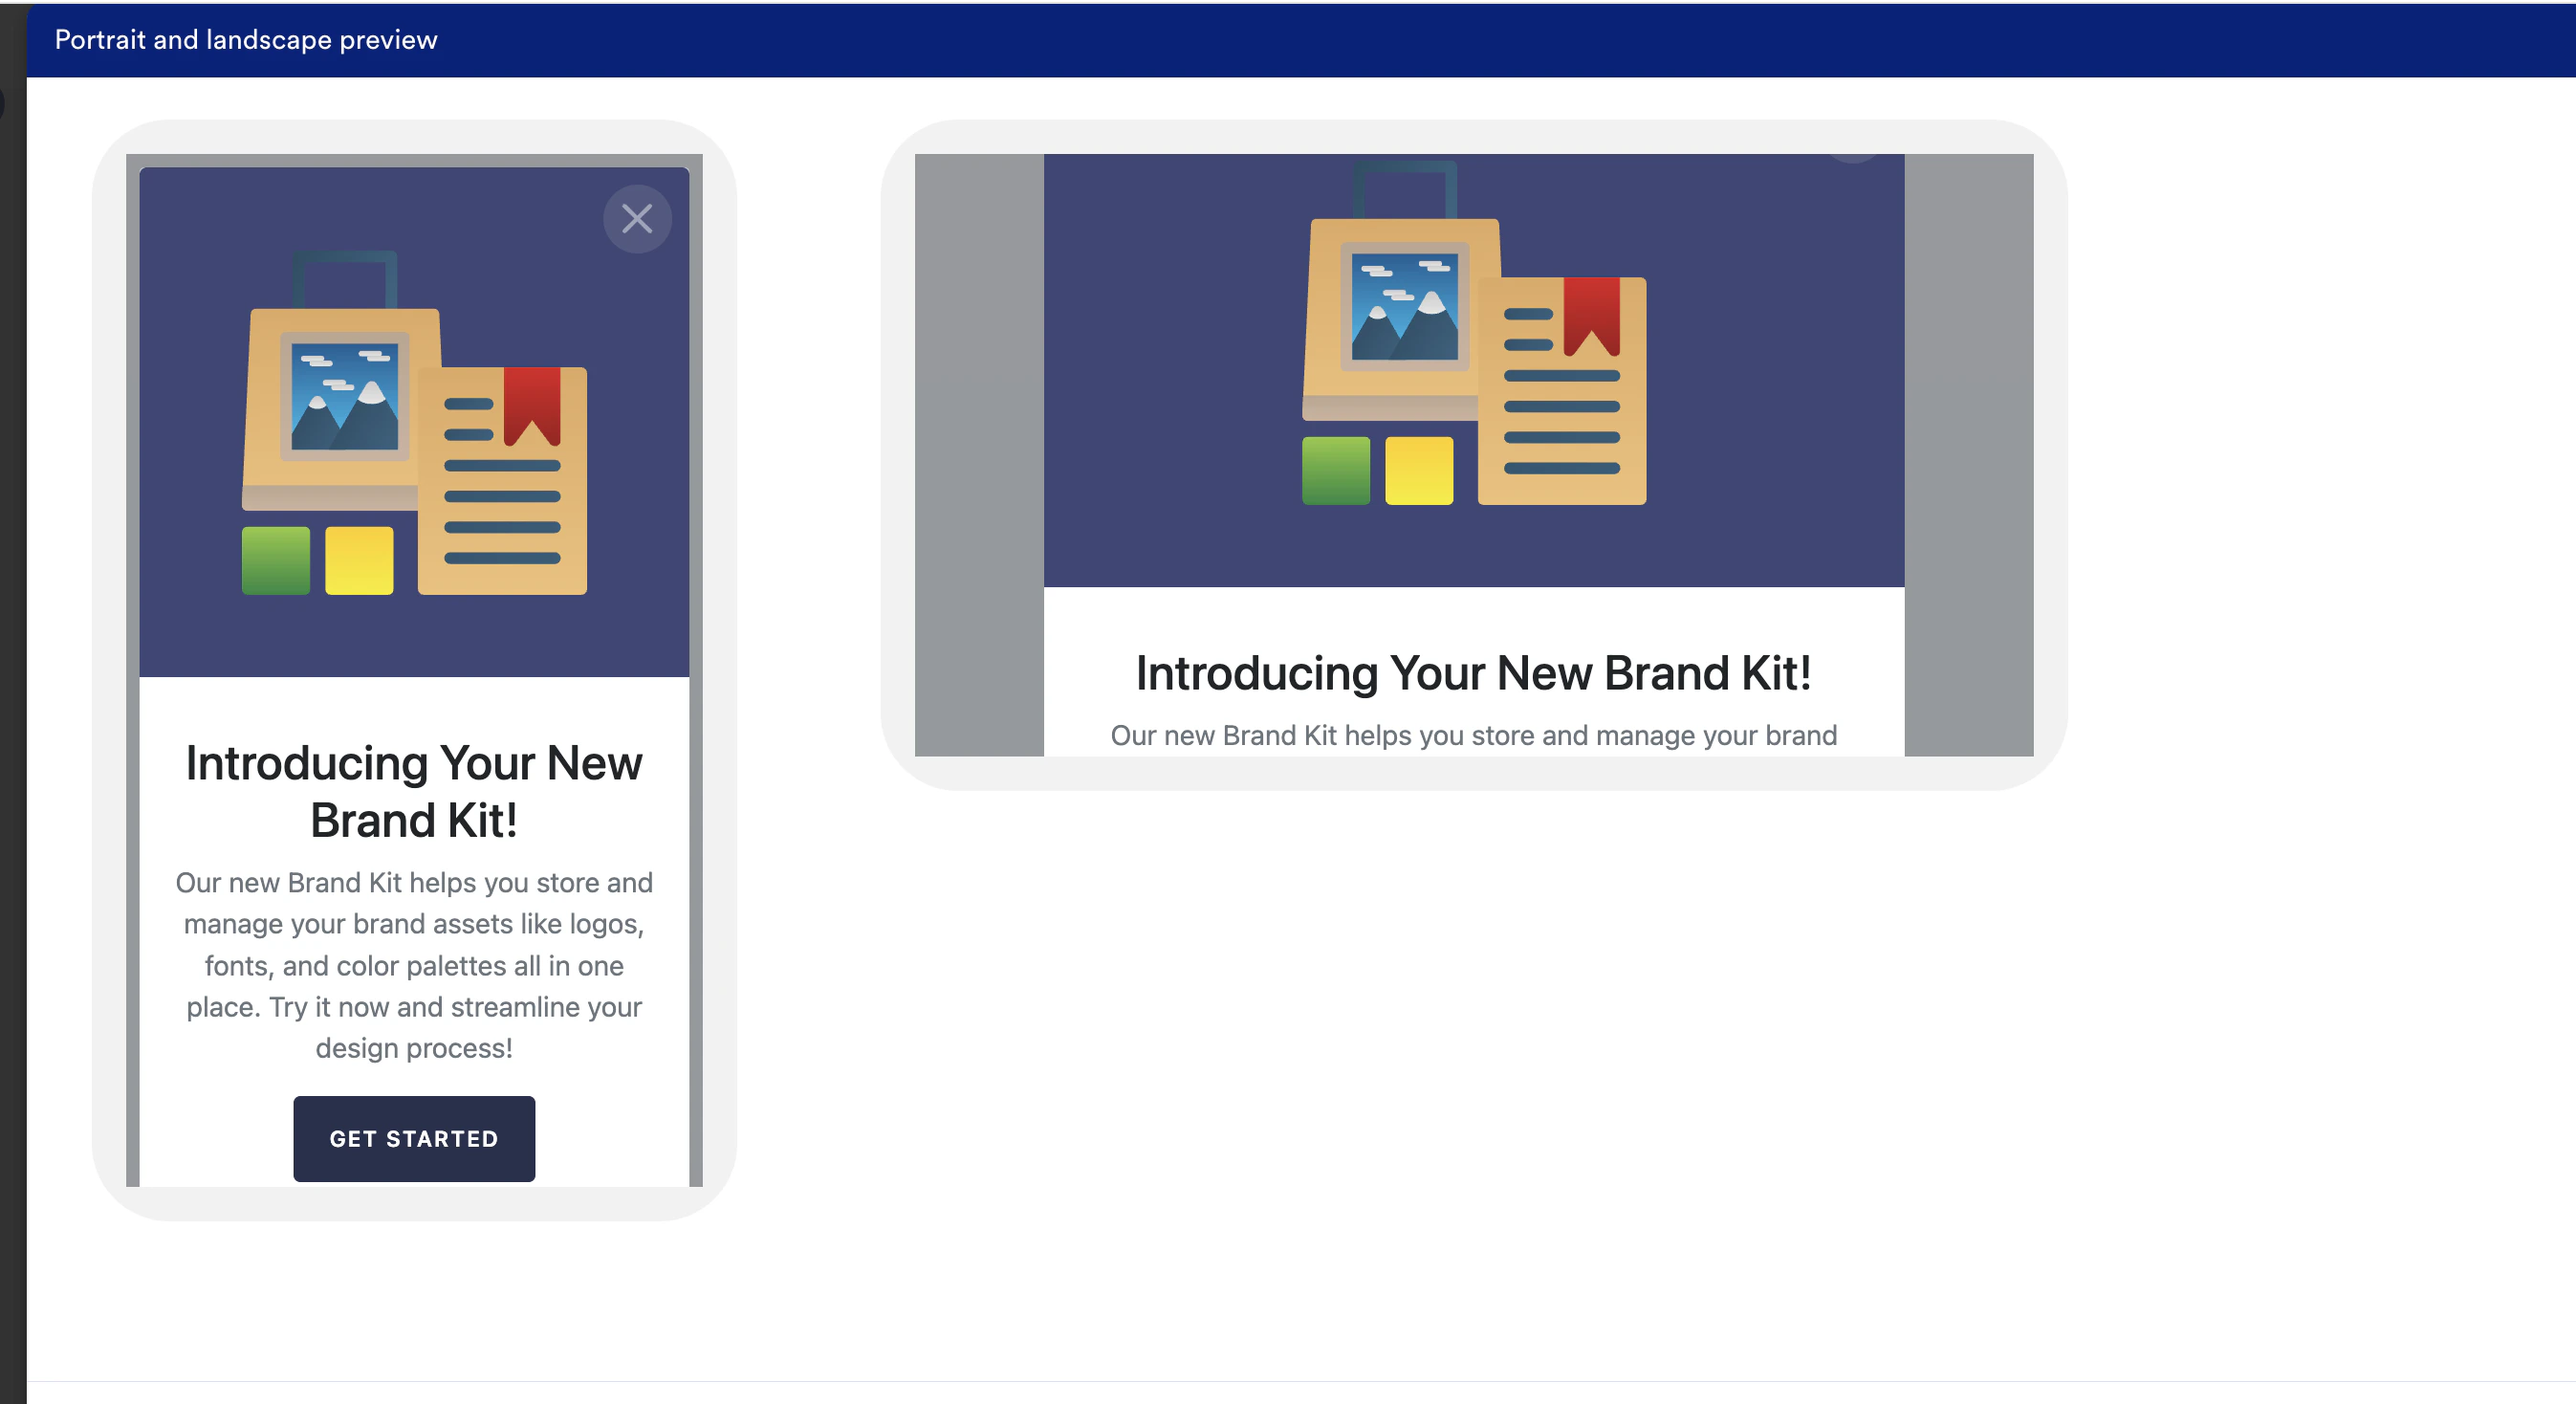 3. Click **Next** to move to the third step, "Schedule and goals," where you can define your campaign's schedule and goals.
## Step 3: Schedule and goals
Here, you can select the campaign schedule, add the conversion goal, choose the campaign's priority, and define custom delivery controls.
1. In the **Send campaign** section, define when you want to start and end your In-app message with the frequency and limits.
3. Click **Next** to move to the third step, "Schedule and goals," where you can define your campaign's schedule and goals.
## Step 3: Schedule and goals
Here, you can select the campaign schedule, add the conversion goal, choose the campaign's priority, and define custom delivery controls.
1. In the **Send campaign** section, define when you want to start and end your In-app message with the frequency and limits. 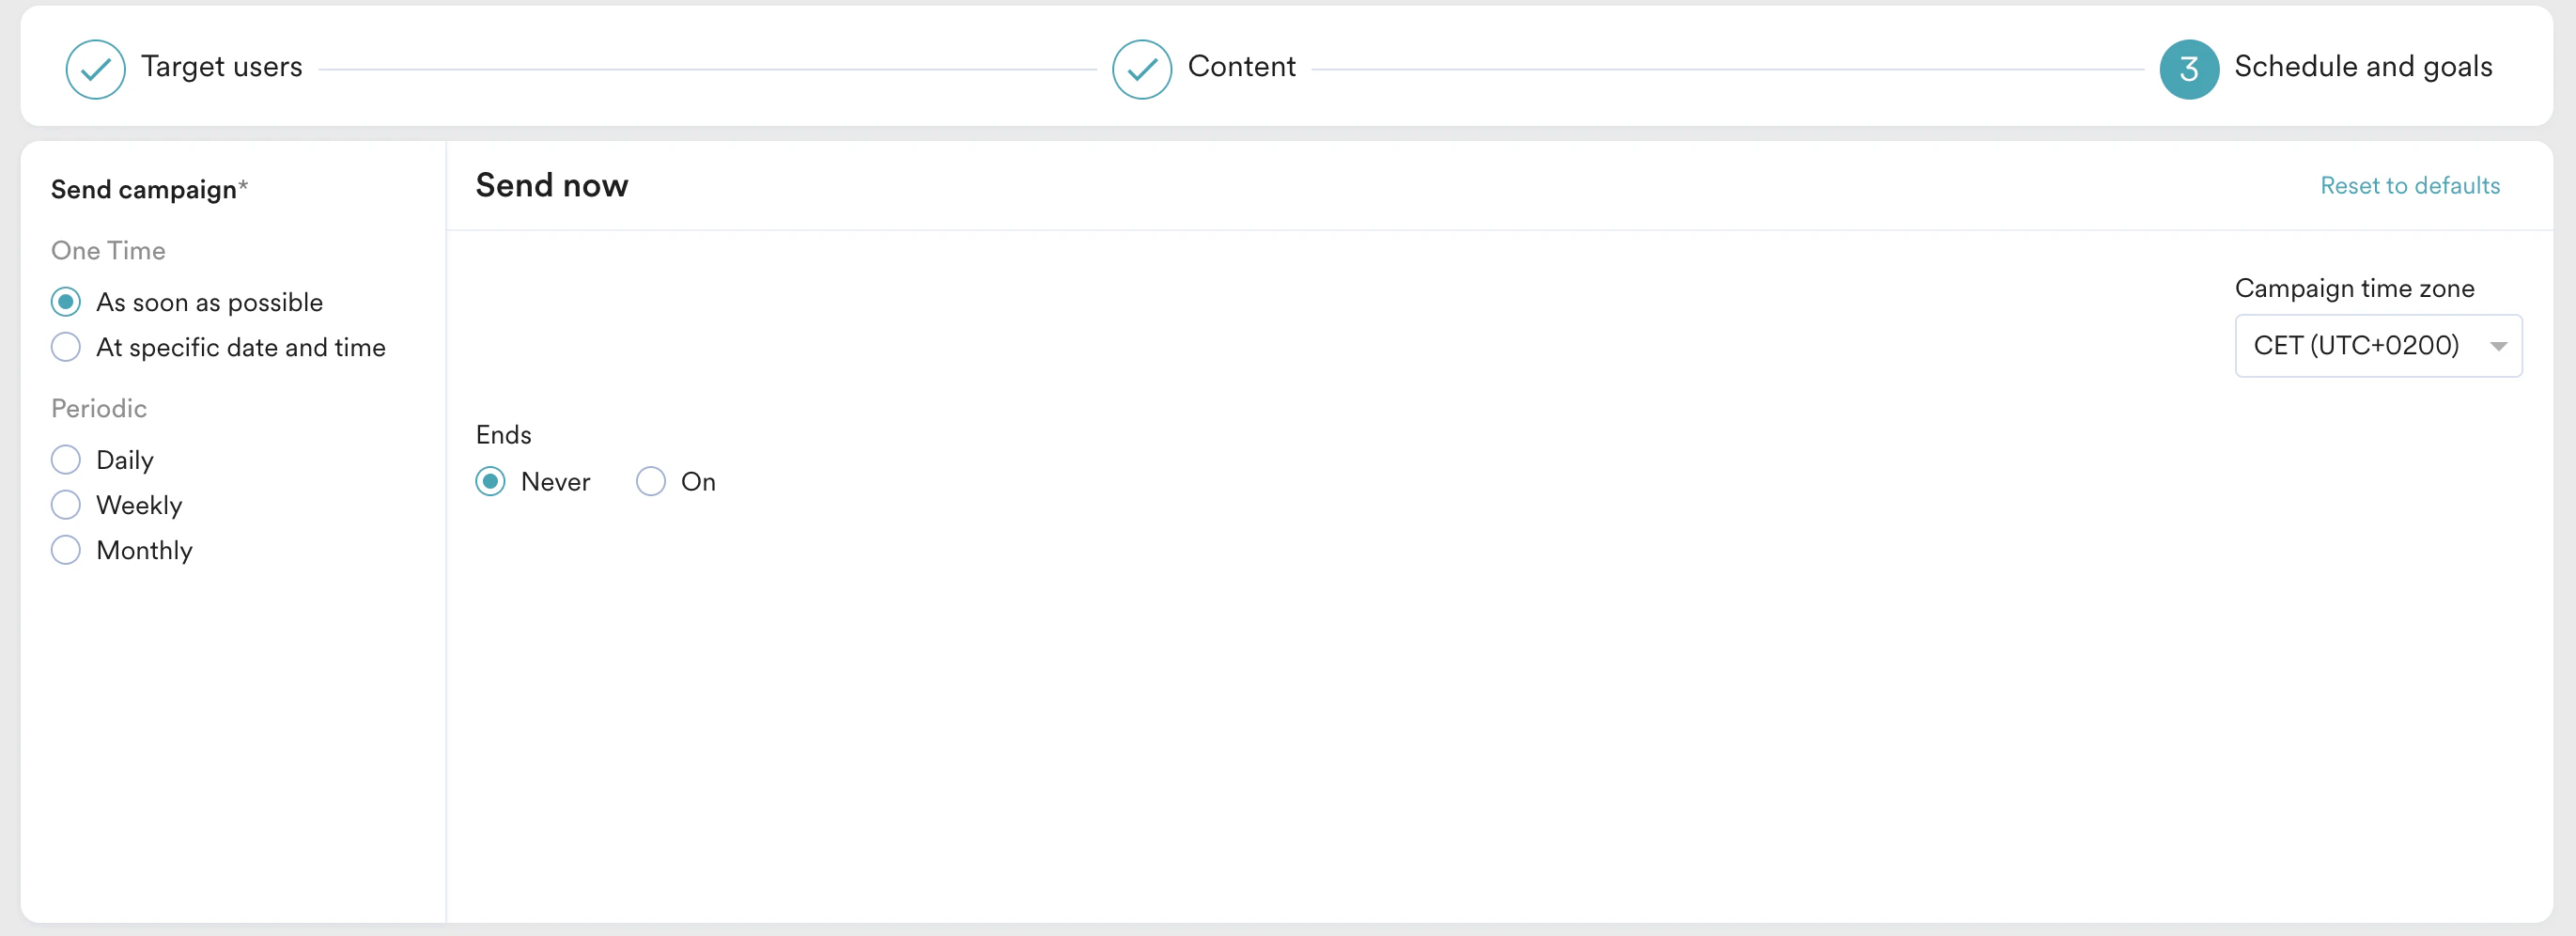 2. In the **Conversion Goals** section, add conversion goals that you would like to track.
3. In the **Campaign priority** section, assign a priority to this campaign. Assigning a priority helps you decide which In-app message to show to a user when they are eligible for more than one message at a specific time. For example, selecting **Critical** ensures that the users will always see this even when there are other campaigns for which they are eligible.
4. In the **Delivery Controls** section, define the controls based on your requirements. For more information, refer to [Create In-app Campaign](/user-guide/campaigns-and-channels/in-app-message/create/create-in-app-campaign).
2. In the **Conversion Goals** section, add conversion goals that you would like to track.
3. In the **Campaign priority** section, assign a priority to this campaign. Assigning a priority helps you decide which In-app message to show to a user when they are eligible for more than one message at a specific time. For example, selecting **Critical** ensures that the users will always see this even when there are other campaigns for which they are eligible.
4. In the **Delivery Controls** section, define the controls based on your requirements. For more information, refer to [Create In-app Campaign](/user-guide/campaigns-and-channels/in-app-message/create/create-in-app-campaign). 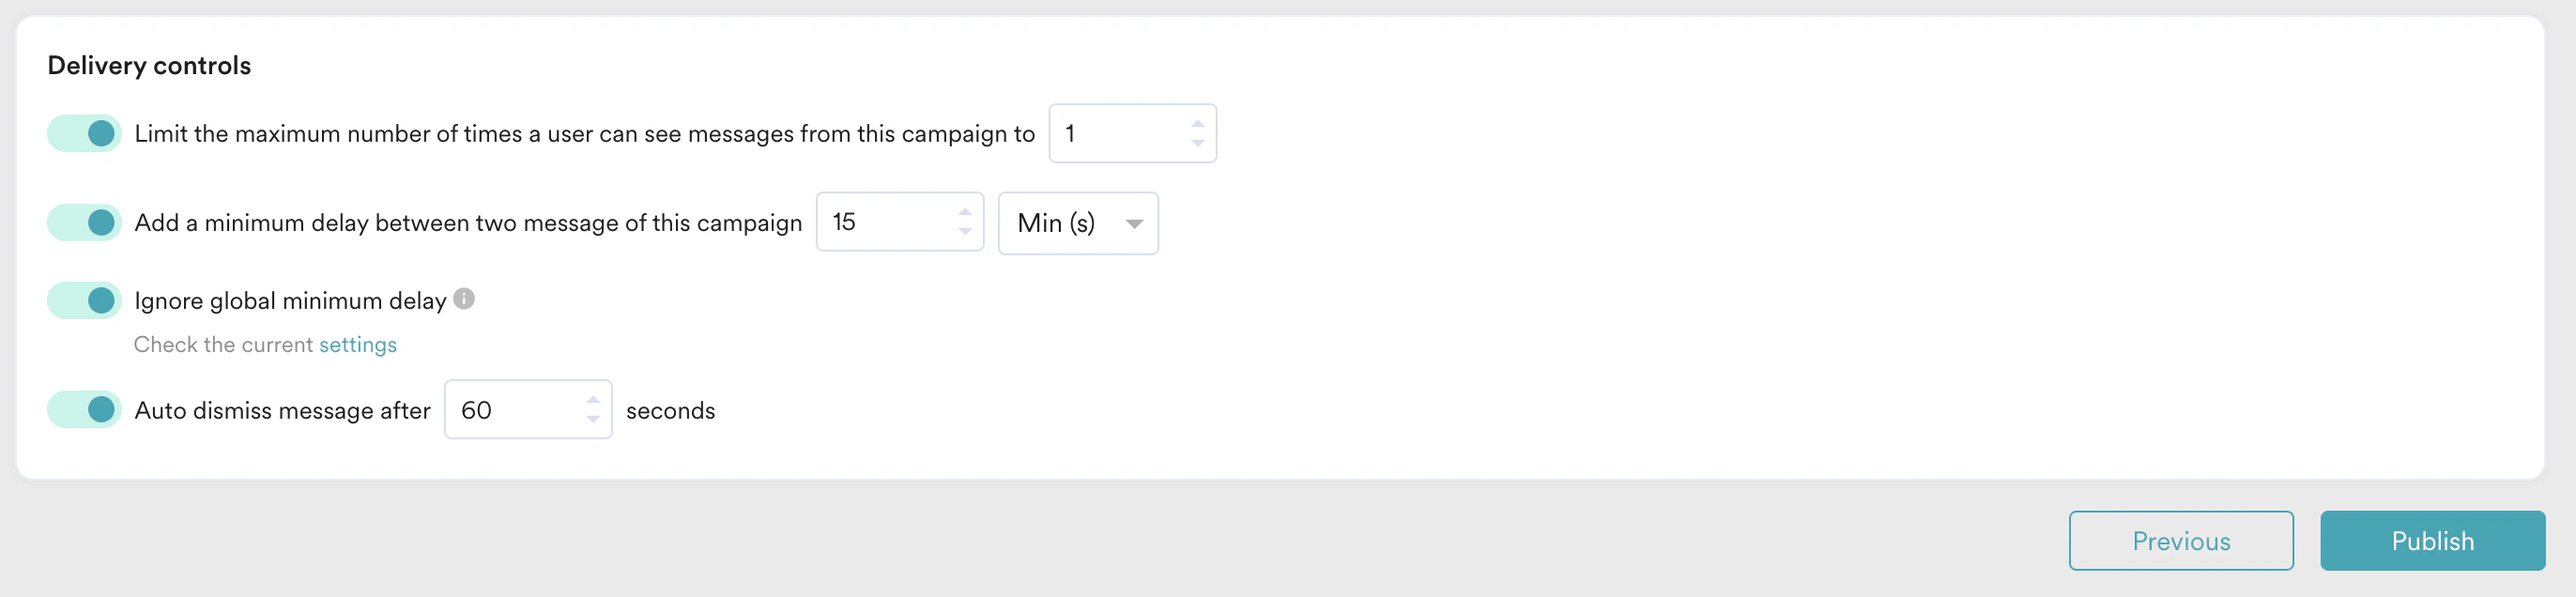 5. Click **Publish**.
# Conclusion
In this use case, we created an In-app campaign to ensure a consistent user experience across various device displays.
This automated campaign will help you enhance user experience by leveraging orientation compatibility and our exceptional UI components, which adapt seamlessly to portrait and landscape modes.
Now that we have published the campaign, we can track our CTR and conversions (if defined) to understand how well it is performing. For more information, refer to [In-App Campaign Analytics](/user-guide/campaigns-and-channels/in-app-message/analyze/analyze-in-app-campaigns).
5. Click **Publish**.
# Conclusion
In this use case, we created an In-app campaign to ensure a consistent user experience across various device displays.
This automated campaign will help you enhance user experience by leveraging orientation compatibility and our exceptional UI components, which adapt seamlessly to portrait and landscape modes.
Now that we have published the campaign, we can track our CTR and conversions (if defined) to understand how well it is performing. For more information, refer to [In-App Campaign Analytics](/user-guide/campaigns-and-channels/in-app-message/analyze/analyze-in-app-campaigns).