> ## Documentation Index
> Fetch the complete documentation index at: https://moengage.com/docs/llms.txt
> Use this file to discover all available pages before exploring further.
# Create an App
> Create a Connected App in MoEngage to integrate your existing MarTech tools, enabling new channels for sending and receiving data across platforms.
# Introduction
The *Connected Apps* platform enables you to integrate MoEngage with your existing marketing technology (MarTech) tools. This integration creates new MoEngage channels for sending and receiving data, which helps you streamline your campaigns and customer interactions.
# Step 1: Create a Connected App
To create a connected app:
1. On the left navigation menu in the MoEngage dashboard, click **App marketplace**.
2. On the App marketplace page, click **+ Create app**.  3. On the **Create app** dialog box, enter the following details:
| Field | Description |
| ------------ | ------------------ |
| **App name** | Type the app name. |
| **App type** | Click **Channel**. |
3. On the **Create app** dialog box, enter the following details:
| Field | Description |
| ------------ | ------------------ |
| **App name** | Type the app name. |
| **App type** | Click **Channel**. |
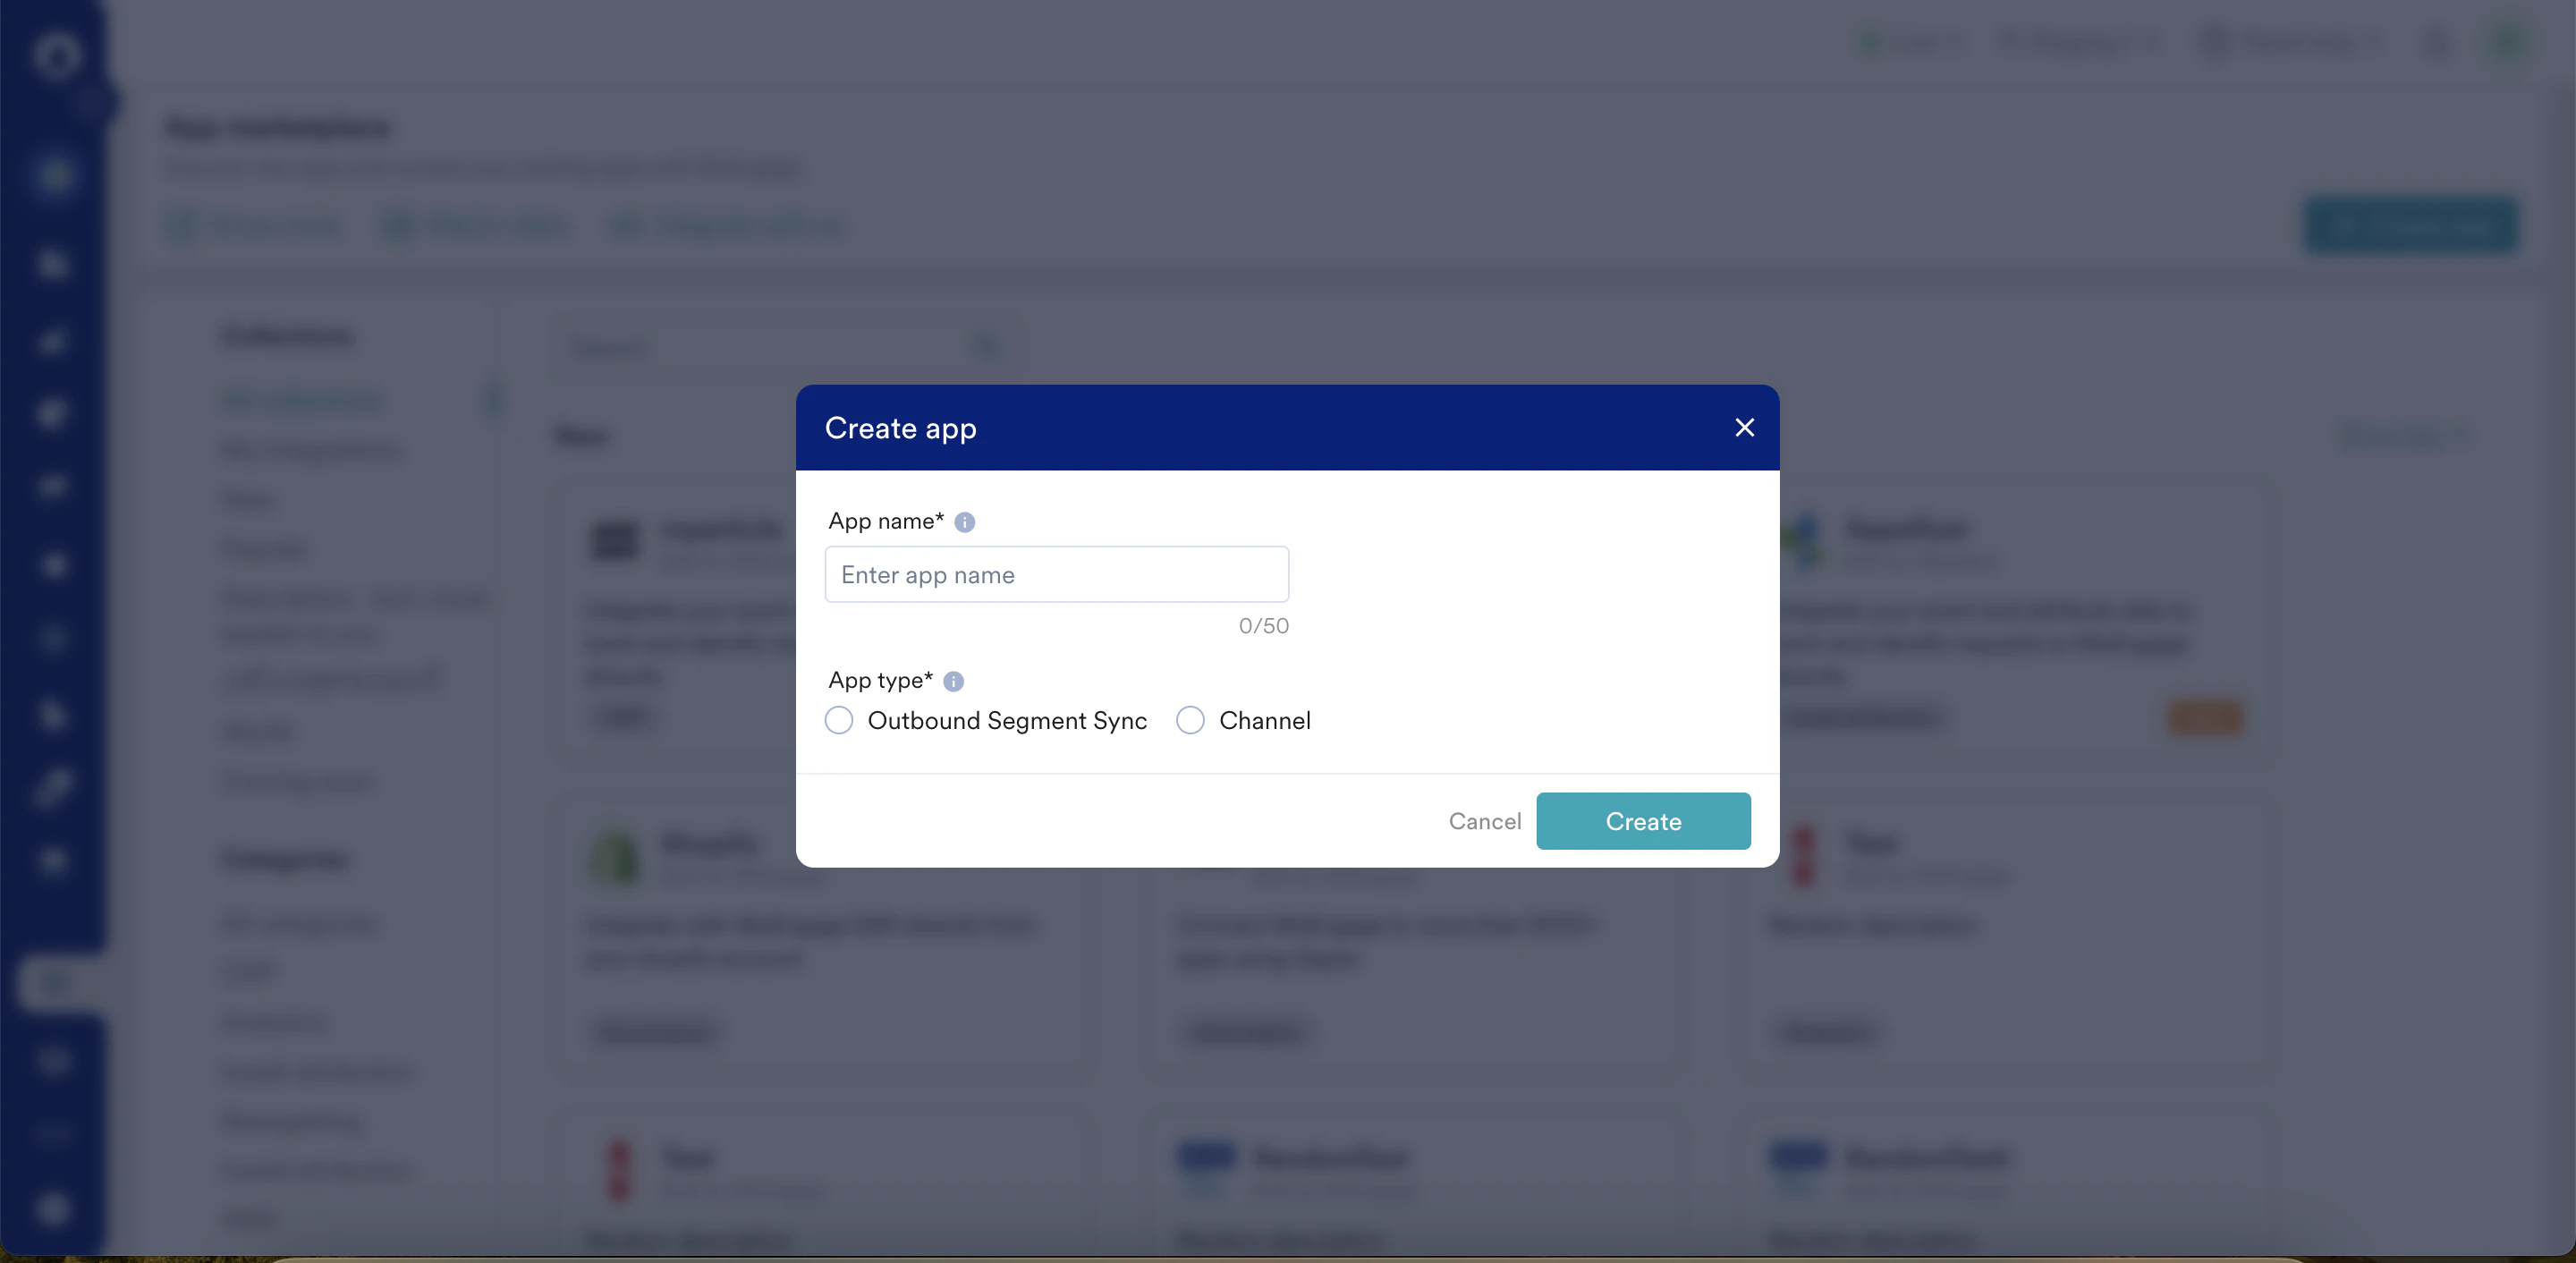 4. Click **Create**. This will add your connected app as a connected channel in MoEngage. You will then be directed to the connected app page.
  # Step 2: Add a Channel Connector
After creating a connected channel, you must define its use cases. These use cases help you define how MoEngage will run and analyze campaigns for the app.
Refer to the following examples to understand the use cases:
| **Channels** | **Connectors (Use Cases)** |
| ------------------------------------------------------ | -------------------------------------------------------------------------------------------------------------------------------------- |
| Retargeting apps (such as TikTok, Snapchat, LinkedIn) | • Add users to the audience.
# Step 2: Add a Channel Connector
After creating a connected channel, you must define its use cases. These use cases help you define how MoEngage will run and analyze campaigns for the app.
Refer to the following examples to understand the use cases:
| **Channels** | **Connectors (Use Cases)** |
| ------------------------------------------------------ | -------------------------------------------------------------------------------------------------------------------------------------- |
| Retargeting apps (such as TikTok, Snapchat, LinkedIn) | • Add users to the audience.
• Remove users from the audience. |
| Messaging apps (such as Telegram, Line, Viber, WeChat) | • Send SMS to users.
• Send MMS to users.
• Send a message to a group.
• Send a message to a community. |
| Support tools (such as Zendesk, Freshdesk) | • Create a new ticket.
• Close a ticket.
• Update an existing ticket. |
After you define the use cases, add these connectors to your app.
## Step 2.1: Create a Config File
Every connector needs a config to be used as a blueprint to instruct MoEngage to interact with the app. For more information on creating your config file for your connector, refer to the [Channel Connector Config Guide](/user-guide/campaigns-and-channels/connected-apps/getting-started-with-connected-apps/create-a-channel-connector-config-file).
## Step 2.2: Add a New Connector
After the config file is ready, perform the following steps to create a connector for your channel:
1. On the connected app page in App marketplace, click the **Configure** tab, and then click **+ Add configuration**.
2. In the **Upload config** section, upload the config file (.json) created in [step 2.1.](/user-guide/campaigns-and-channels/connected-apps/getting-started-with-connected-apps/create-an-app#step-2-1-create-a-config-file) If the upload is successful, proceed to the next step. 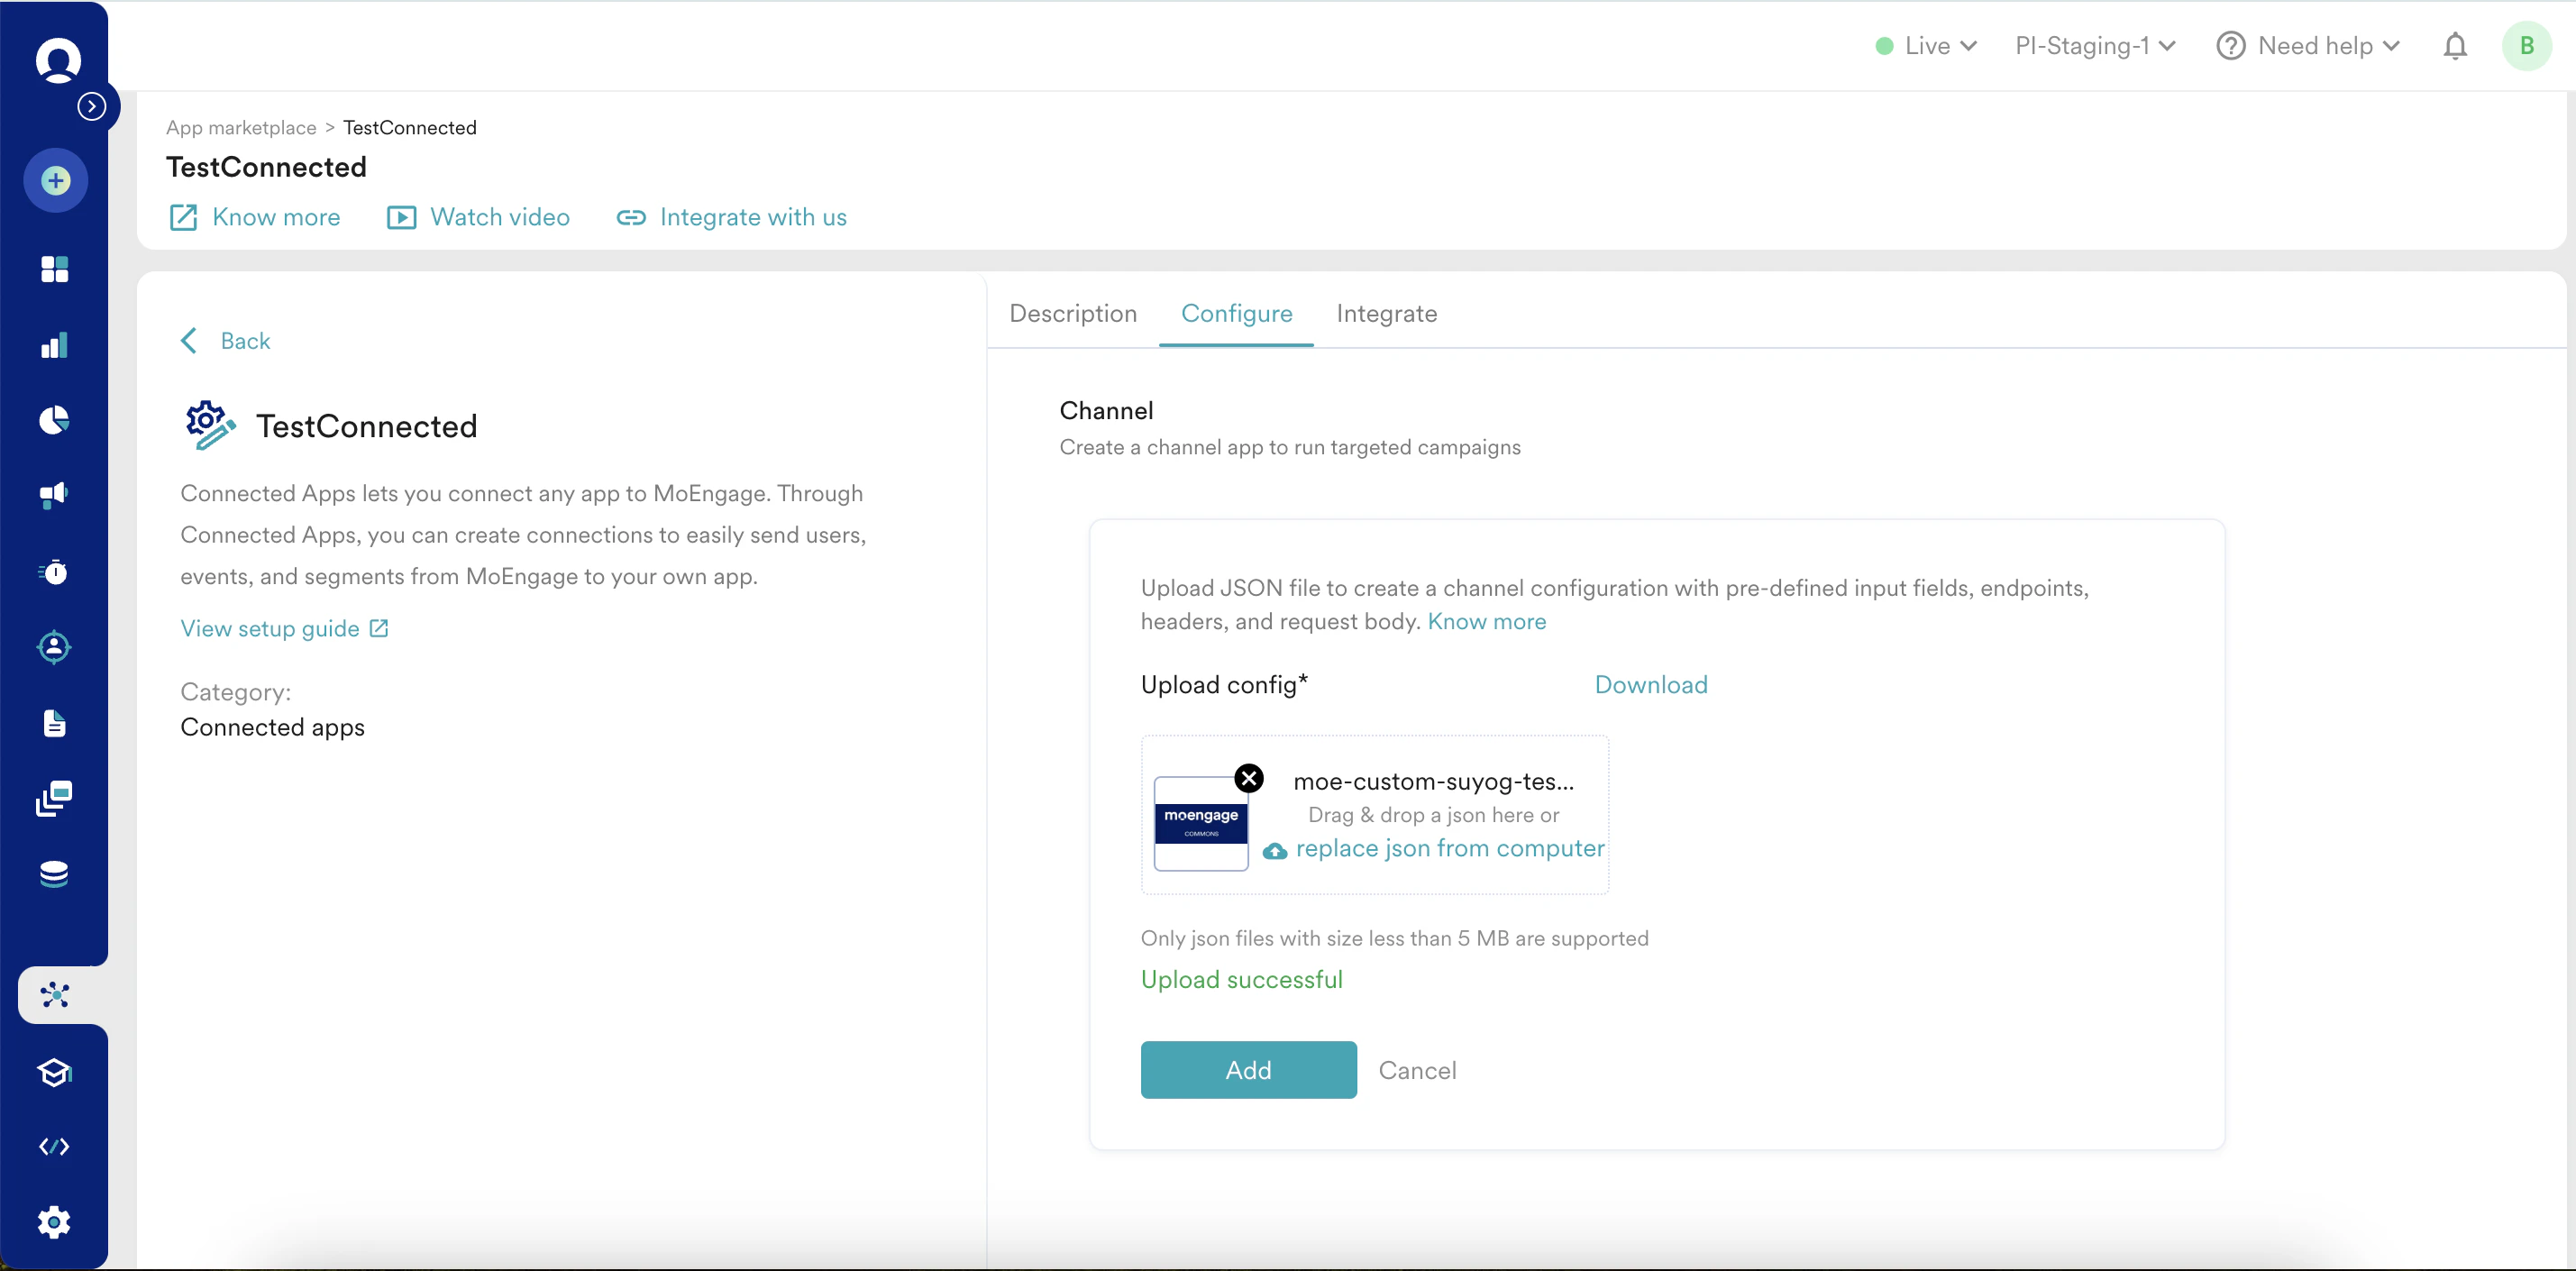 3. Click **Add**.
 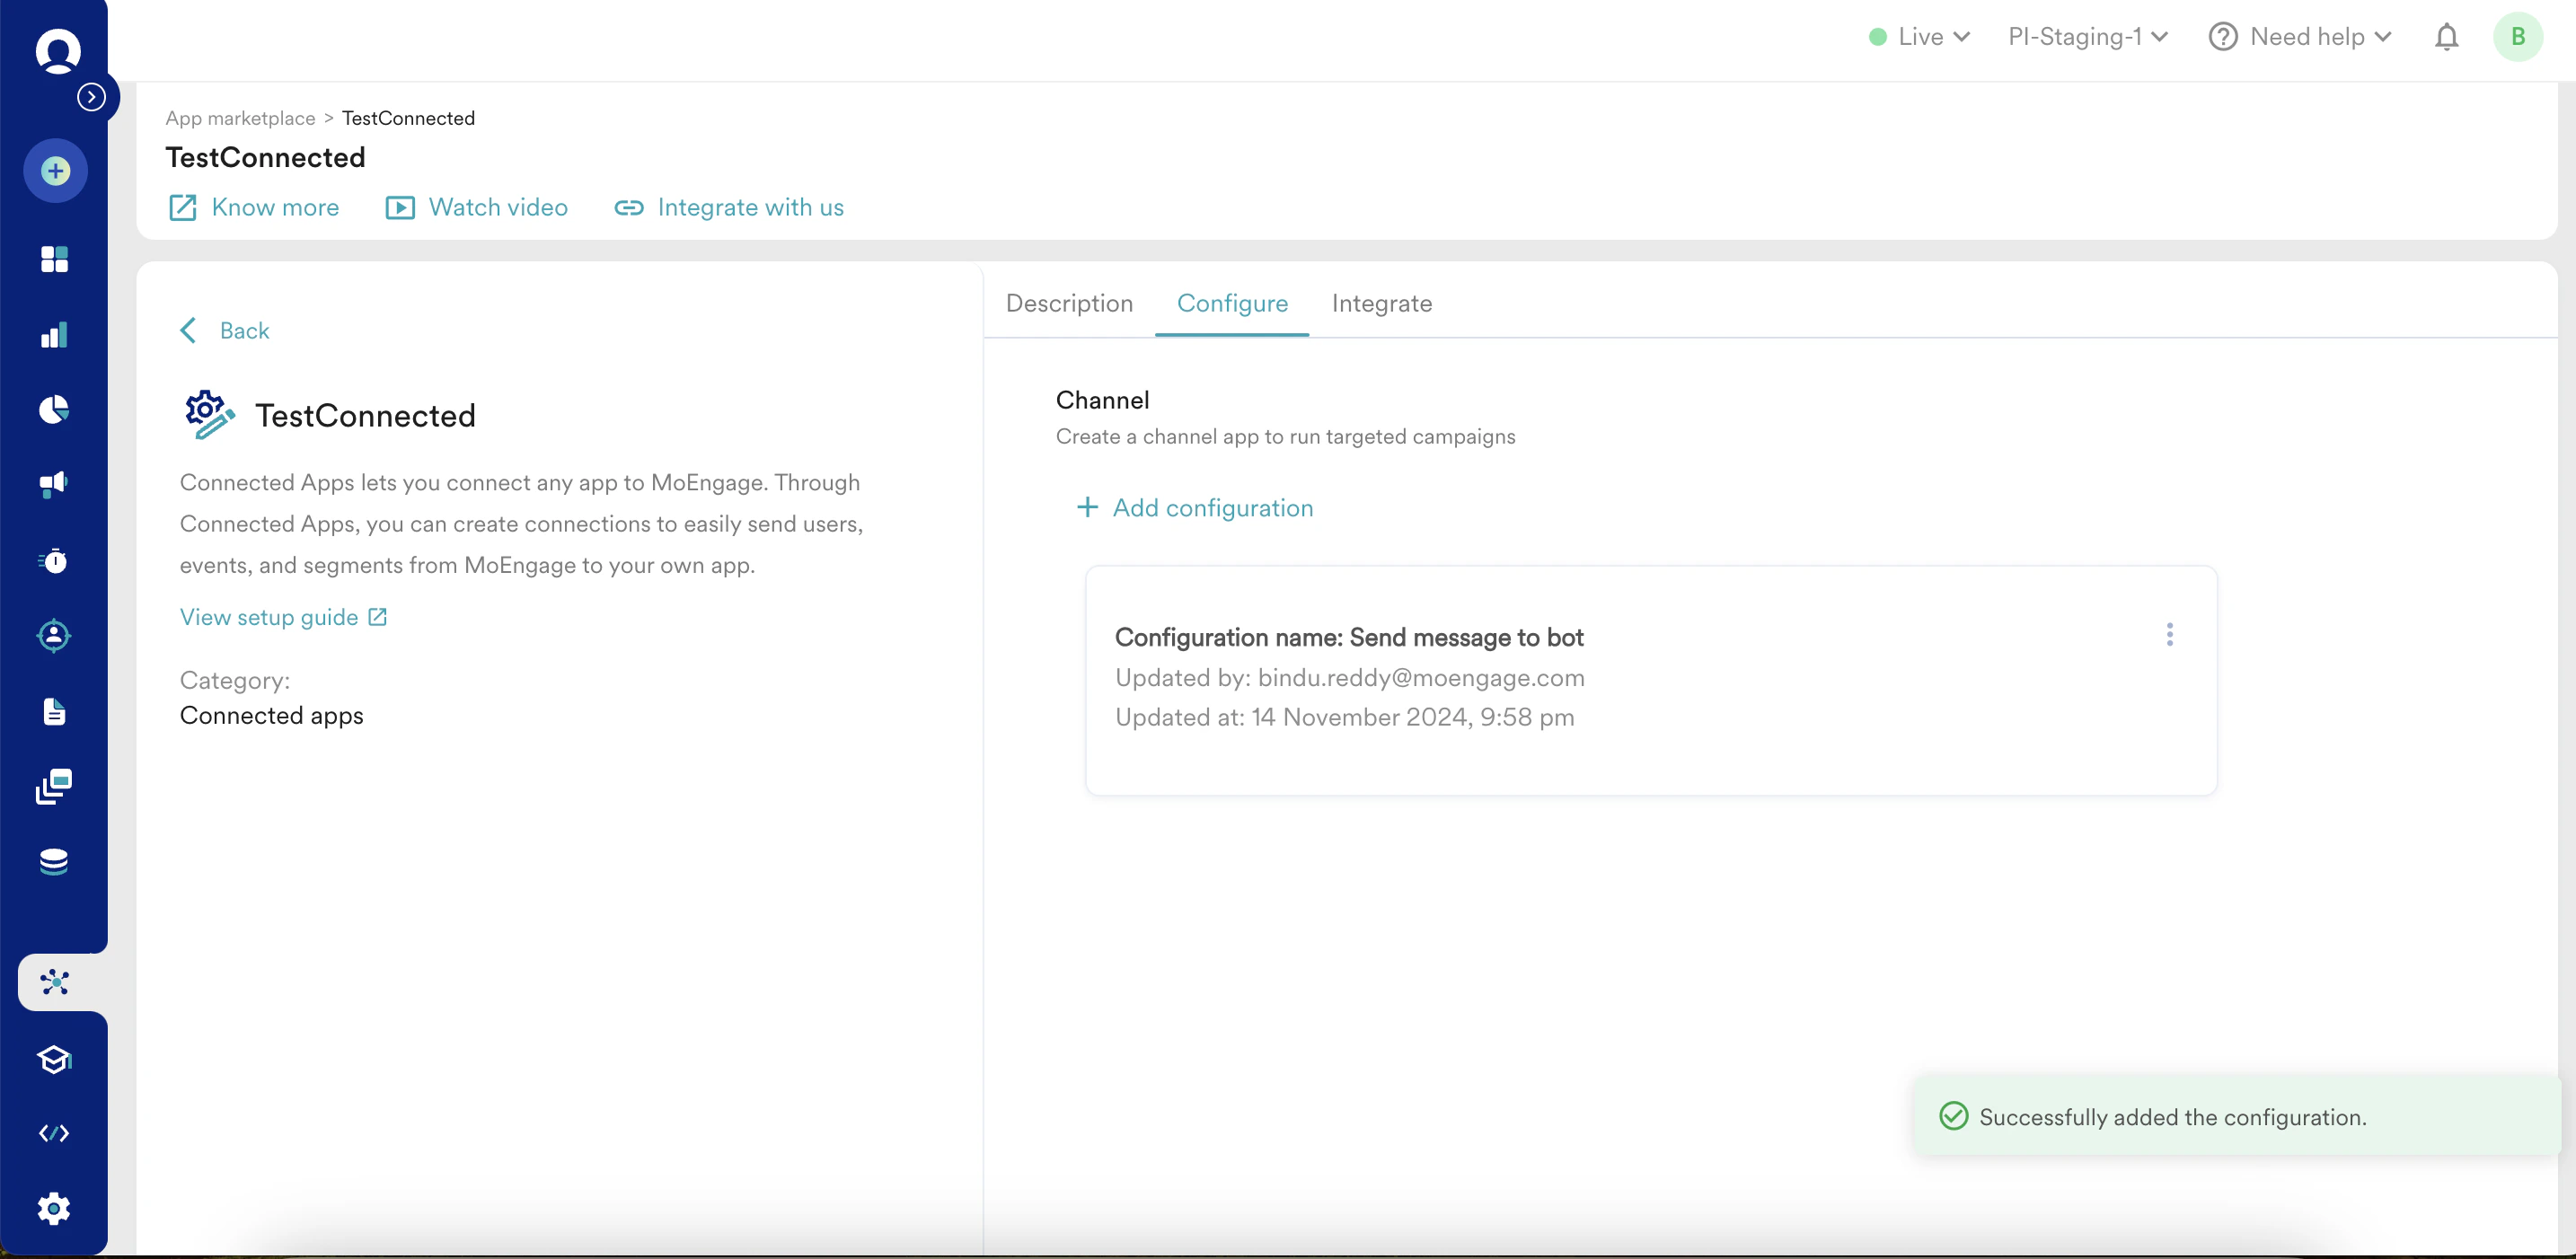 The channel connector is successfully added. It is ready to be integrated and used in campaigns.
Click **+ Add configuration** to add multiple connectors.
## Edit the Connector Config
If there are any issues with the earlier config, replace it with a new file.
1. In the **Upload config** section, click the ellipse icon ( ).
2. Click **Edit**.
3. Click the cross icon.
4. Repeat the steps mentioned in [step 2.2](/user-guide/campaigns-and-channels/connected-apps/getting-started-with-connected-apps/create-an-app#step-2-2-add-a-new-connector) to add the new config.
The channel connector is successfully added. It is ready to be integrated and used in campaigns.
Click **+ Add configuration** to add multiple connectors.
## Edit the Connector Config
If there are any issues with the earlier config, replace it with a new file.
1. In the **Upload config** section, click the ellipse icon ( ).
2. Click **Edit**.
3. Click the cross icon.
4. Repeat the steps mentioned in [step 2.2](/user-guide/campaigns-and-channels/connected-apps/getting-started-with-connected-apps/create-an-app#step-2-2-add-a-new-connector) to add the new config. 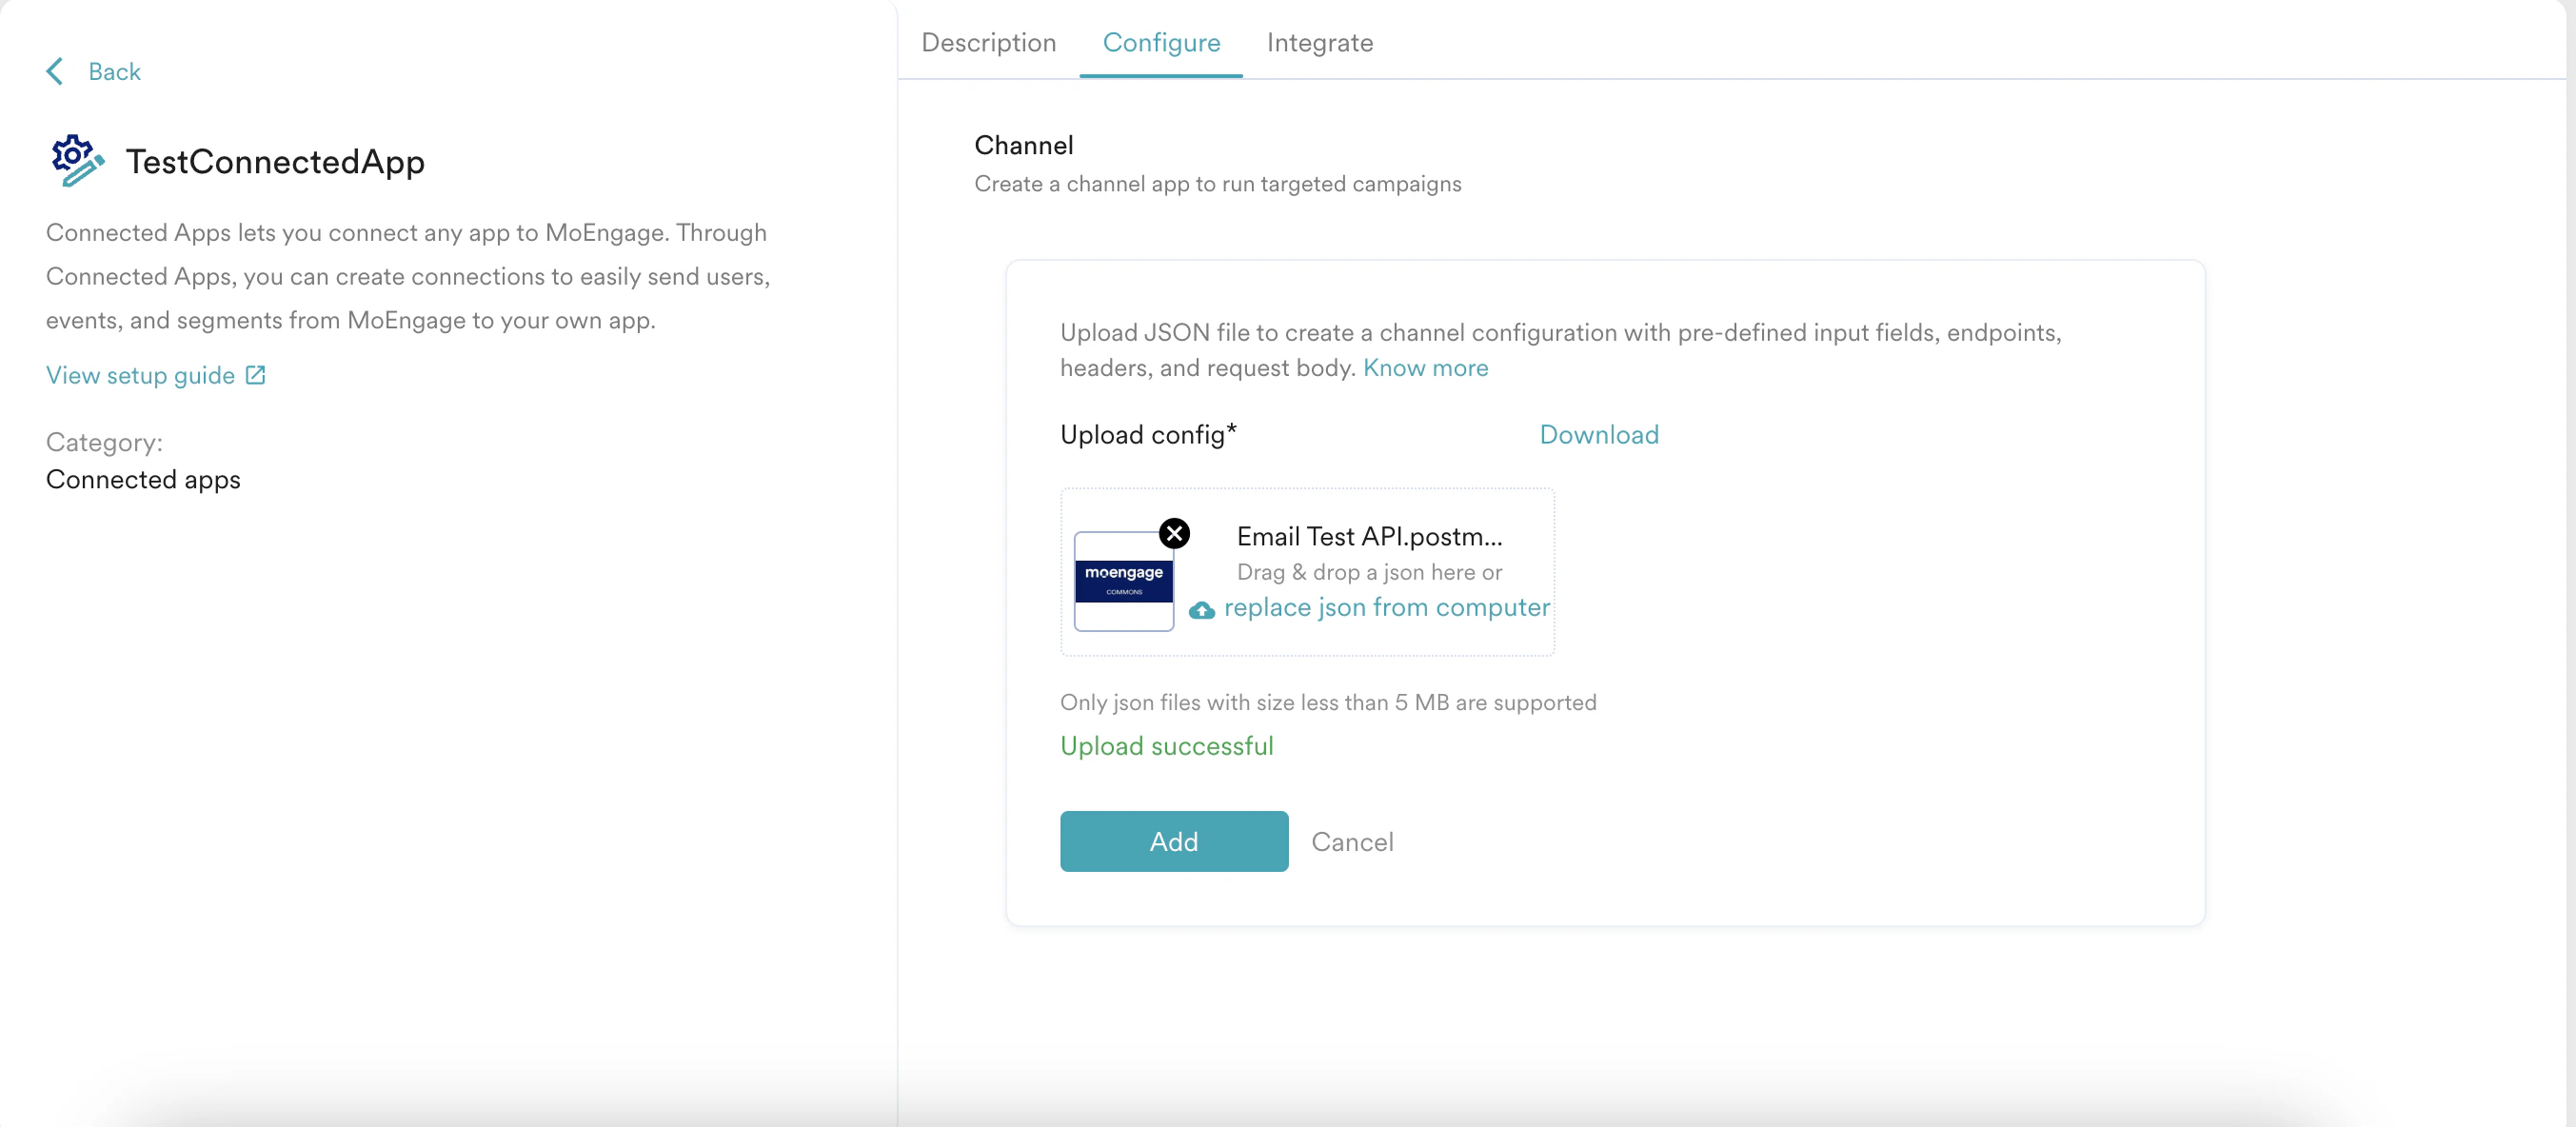 Your existing campaigns will continue showing older fields and associated metrics. Changing your connectors while running campaigns is not recommended because this can lead to inconsistent behavior.
# Step 3: Integrate a Connected Channel
After adding a channel connector to your app, you must integrate your connected channel with MoEngage to use in your campaigns.
1. On the connected app page in App marketplace, click the **Integrate** tab, and then click **+ Add integration**.
2. In the **Connection details** section, enter the following details:
| Term | Description |
| --------------------- | ------------------------------------------------------------------------------------------------------------------------------------------------- |
| **Connection name** | It is the readable name that can be used to identify the connector while creating campaigns. |
| **Additional fields** | These would be available only if you have defined any other input fields in your connector config. Enter the details in these fields accordingly. |
Your existing campaigns will continue showing older fields and associated metrics. Changing your connectors while running campaigns is not recommended because this can lead to inconsistent behavior.
# Step 3: Integrate a Connected Channel
After adding a channel connector to your app, you must integrate your connected channel with MoEngage to use in your campaigns.
1. On the connected app page in App marketplace, click the **Integrate** tab, and then click **+ Add integration**.
2. In the **Connection details** section, enter the following details:
| Term | Description |
| --------------------- | ------------------------------------------------------------------------------------------------------------------------------------------------- |
| **Connection name** | It is the readable name that can be used to identify the connector while creating campaigns. |
| **Additional fields** | These would be available only if you have defined any other input fields in your connector config. Enter the details in these fields accordingly. |
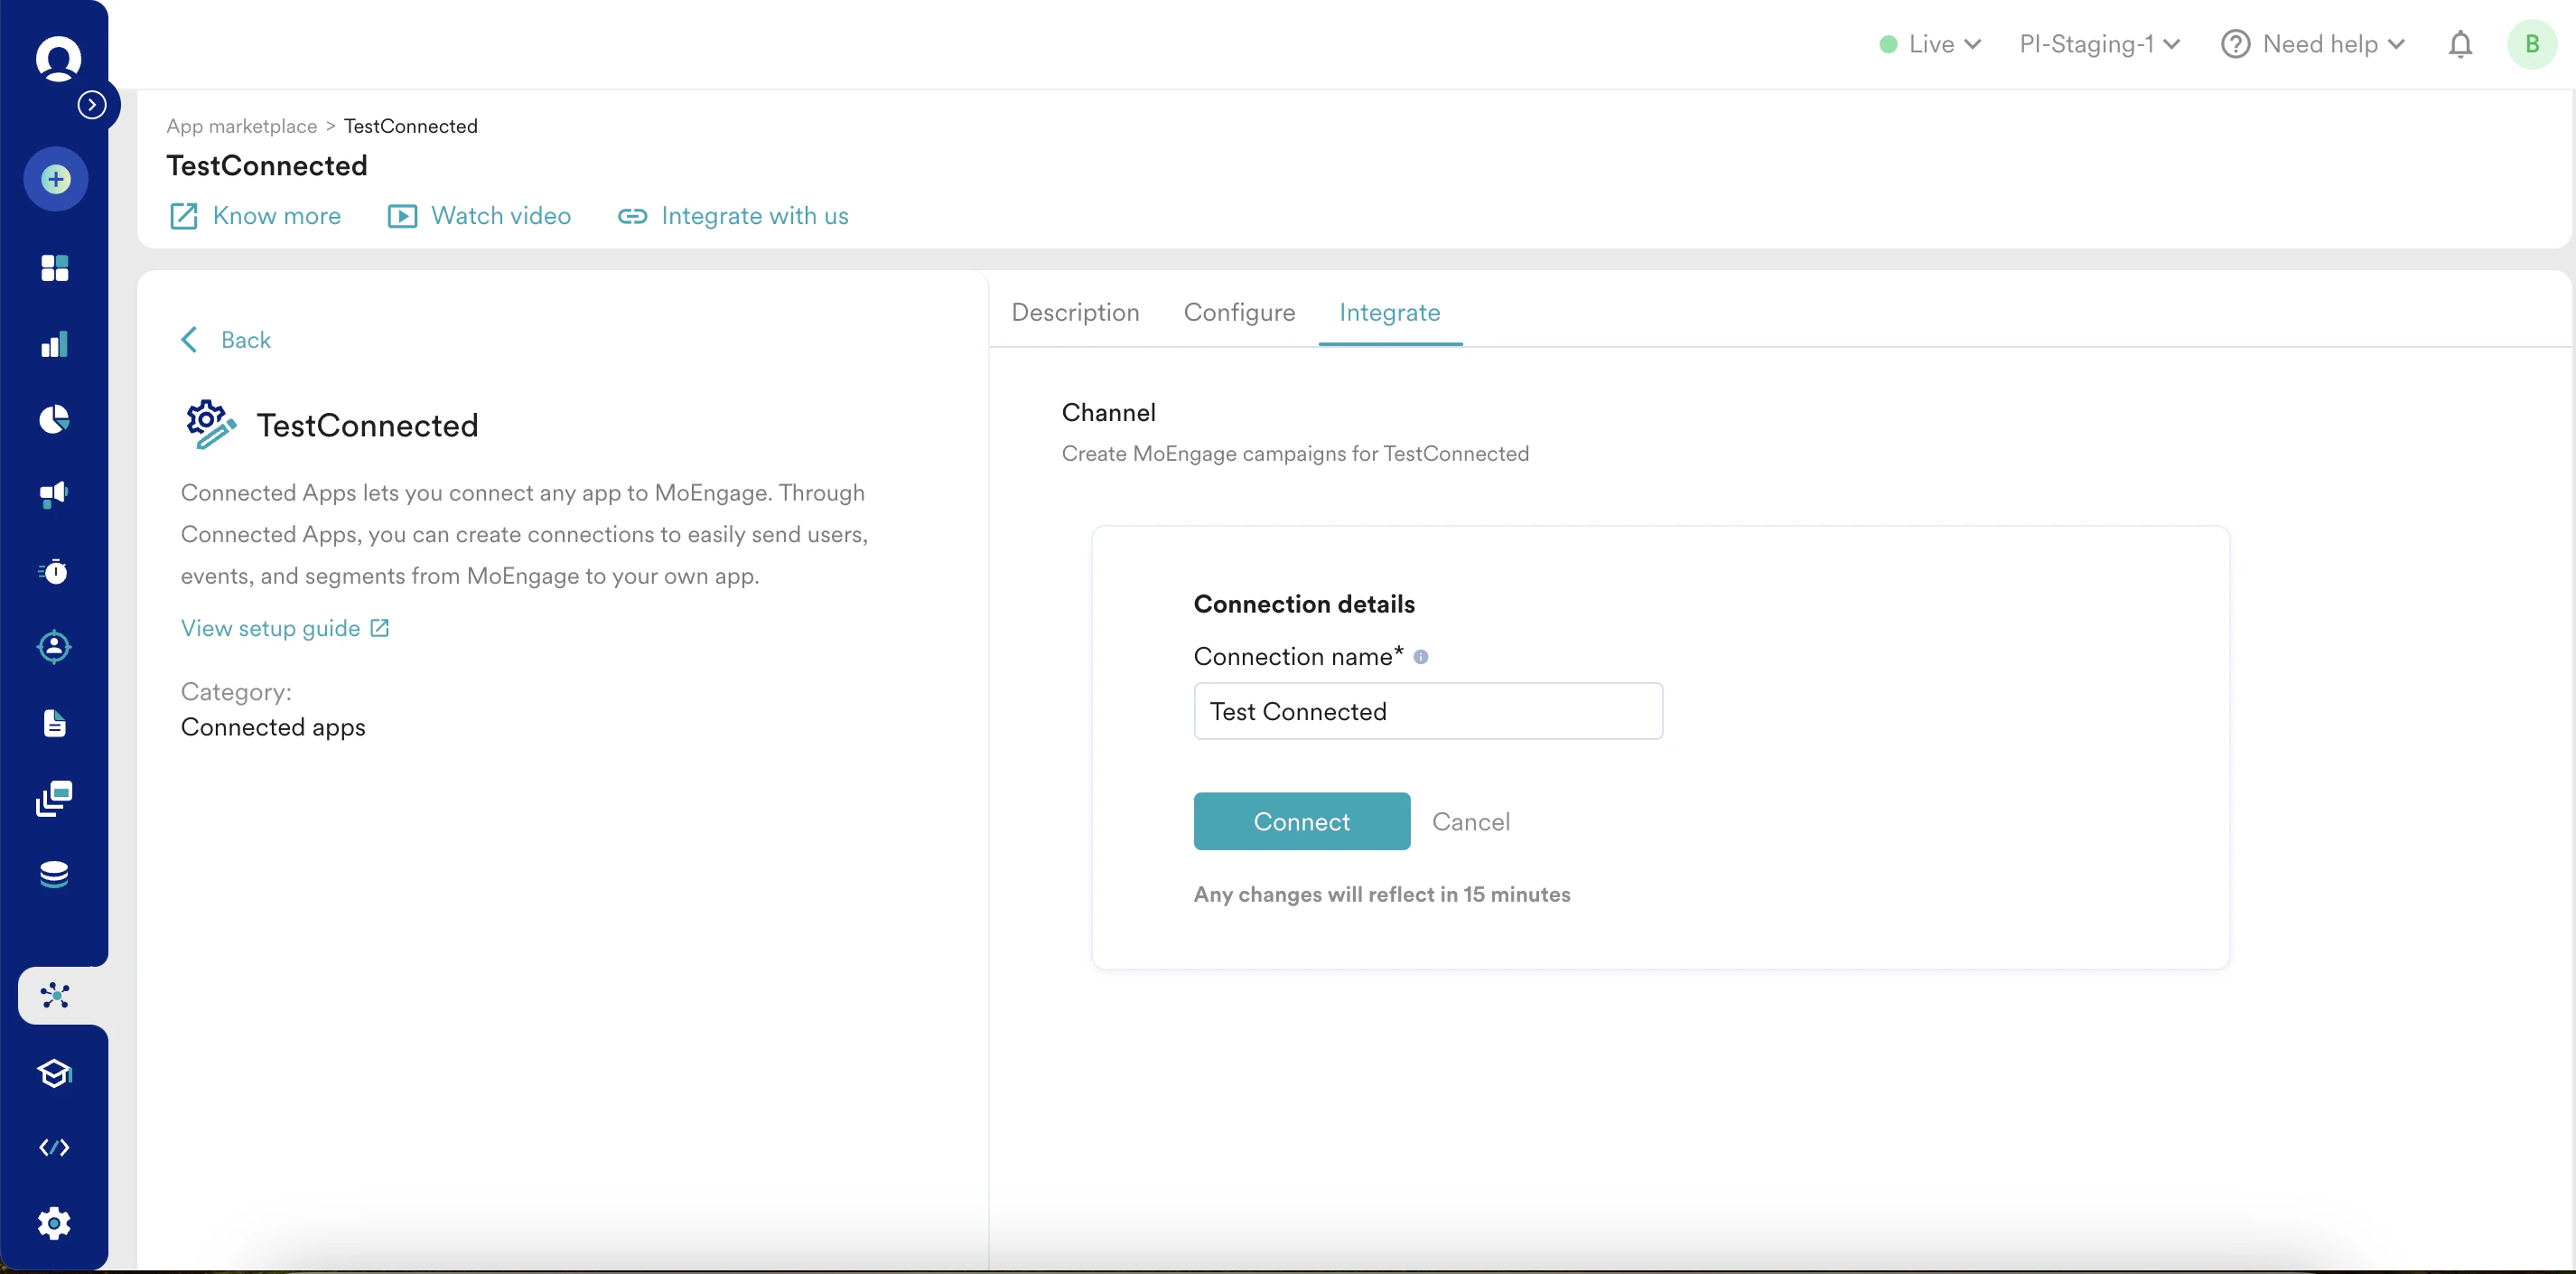 3. Click **Connect**. You have successfully integrated your channel app with MoEngage.
  You can add multiple integrations by clicking **+ Add integration**.
# Step 4: Run Campaigns
After integrating your connected channel with MoEngage, you can run MoEngage campaigns. Follow the steps here to [Create a Connected App Campaign](/user-guide/campaigns-and-channels/connected-apps/create/create-a-connected-app-campaign) and analyze its performance.
You can add multiple integrations by clicking **+ Add integration**.
# Step 4: Run Campaigns
After integrating your connected channel with MoEngage, you can run MoEngage campaigns. Follow the steps here to [Create a Connected App Campaign](/user-guide/campaigns-and-channels/connected-apps/create/create-a-connected-app-campaign) and analyze its performance.