> ## Documentation Index
> Fetch the complete documentation index at: https://moengage.com/docs/llms.txt
> Use this file to discover all available pages before exploring further.
# Using Recommendations in Email
> Add personalized product recommendations to MoEngage email campaigns using Jinja templates to boost subscriber engagement and drive conversions.
By incorporating personalized recommendations into your email campaigns, you can deliver relevant content to your subscribers, increasing their engagement and boosting your conversion rates. This article guides you through the process of using recommendations in your email marketing efforts.
At MoEngage, creating an email campaign is a three-step process.
1. Target users
2. Content
3. Schedule and goals
You can personalize the campaign with recommendations in the second step 'Content'. Let us create a recommendation personalized campaign
Ensure that you have created the desired recommendations. You can use only active recommendations for campaign personalization. Learn how to [create and manage recommendations](/user-guide/content/recommendations).
# Create Email campaigns with Recommendations
To create an email campaign with recommendations, perform the following steps:
1. On the sidebar menu in MoEngage, hover over the Engage menu item  . The **Engage** menu appears.
2. Click **+ New Campaign**.
. The **Engage** menu appears.
2. Click **+ New Campaign**.
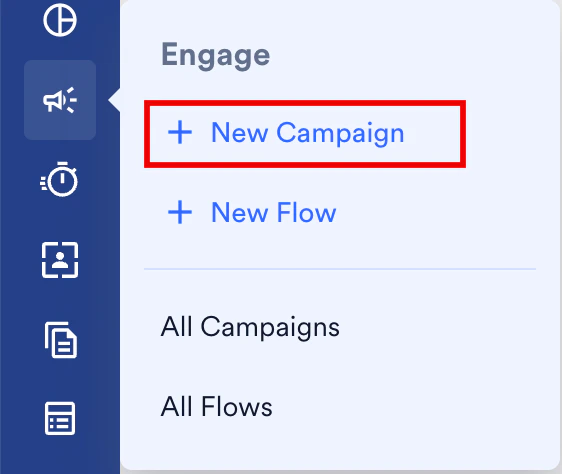 You can also click **All Campaigns** on the **Engage** menu and then click **+ Create campaign** on the All campaigns page.
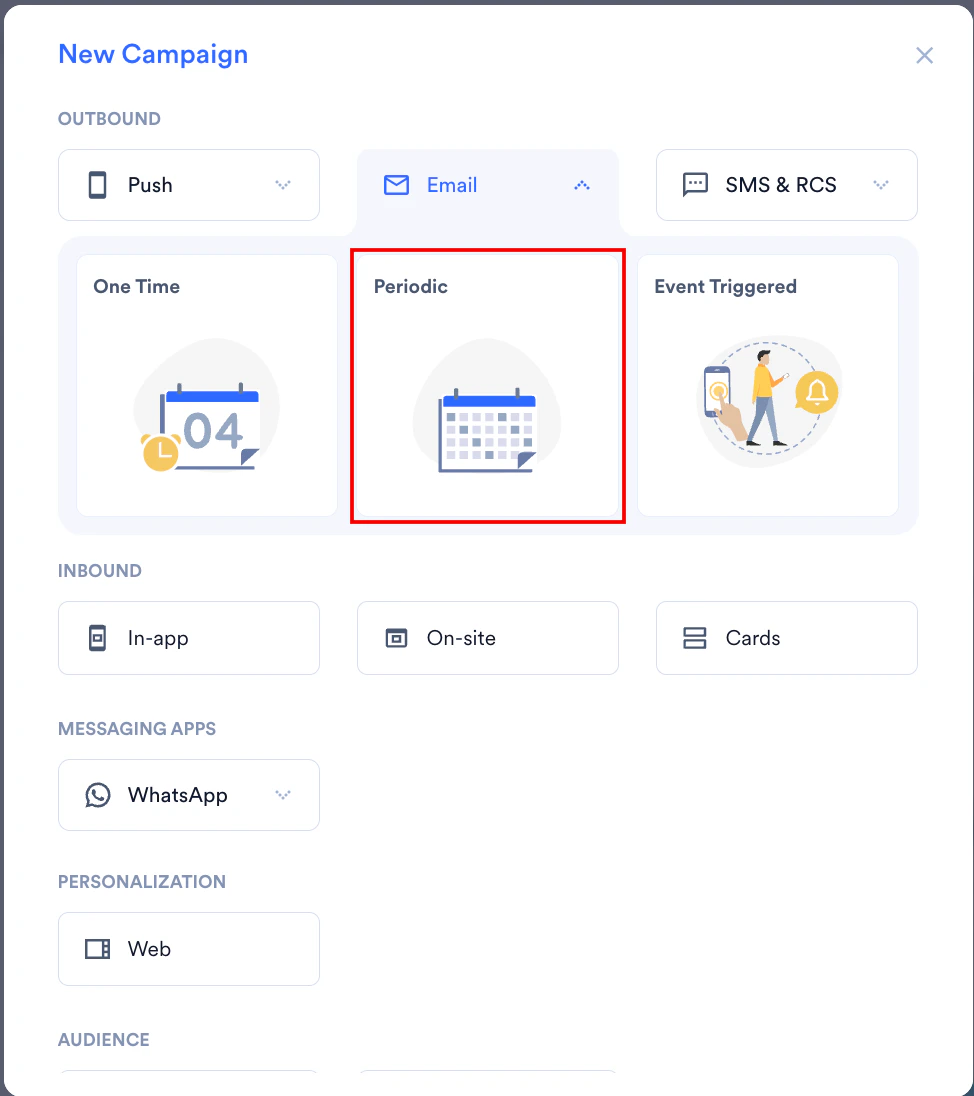
3. On the **New Campaign** dialog box, under **OUTBOUND**, click **Email**.
4. Click **Periodic**campaign, and you can follow the same steps for any other email campaign type. For more information about delivery types, refer to [Delivery Types](/user-guide/campaigns-and-channels/getting-started/introduction/delivery-types-moengage-channels).
You can also click **All Campaigns** on the **Engage** menu and then click **+ Create campaign** on the All campaigns page.
3. On the **New Campaign** dialog box, under **OUTBOUND**, click **Email**.
4. Click **Periodic**campaign, and you can follow the same steps for any other email campaign type. For more information about delivery types, refer to [Delivery Types](/user-guide/campaigns-and-channels/getting-started/introduction/delivery-types-moengage-channels).
 5. Enter the basic campaign details and define the audience in step 1 'Target users' and click **Next**.
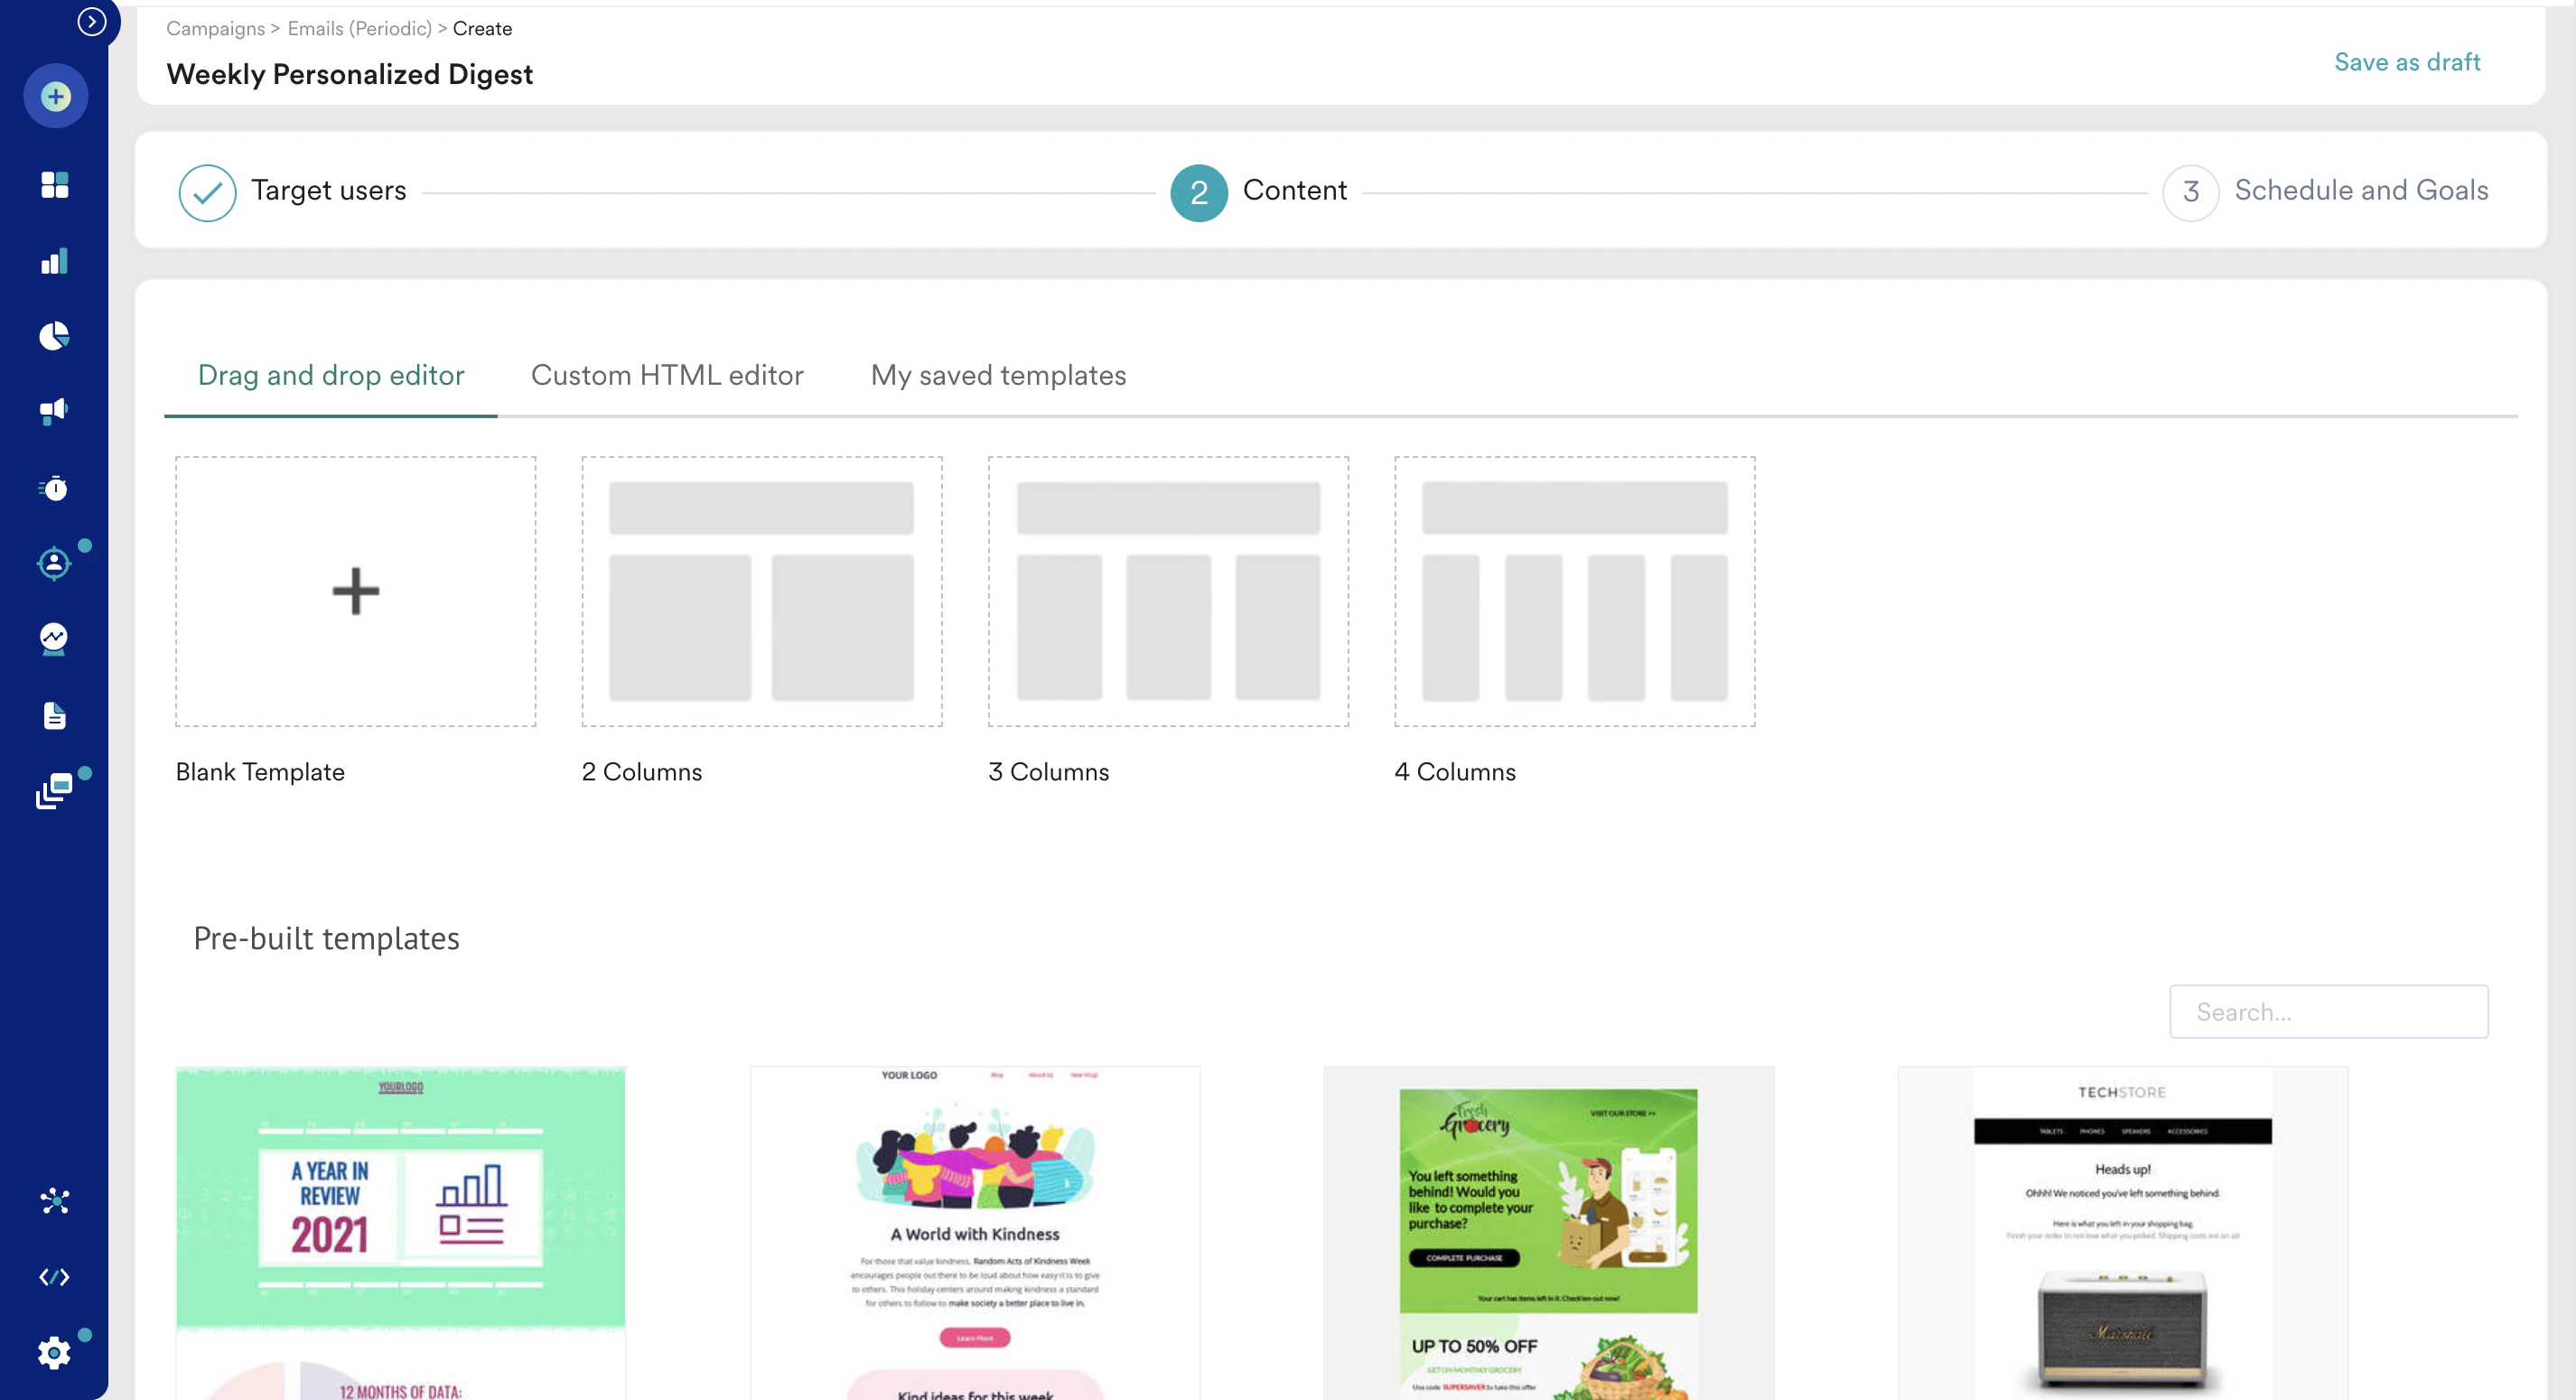
6. In step 2, on the **Content** tab, click the **Drag and drop editor** tab and select a template from the available options. You can also select a template from **Pre-built templates** and customize it for your use case.
5. Enter the basic campaign details and define the audience in step 1 'Target users' and click **Next**.
6. In step 2, on the **Content** tab, click the **Drag and drop editor** tab and select a template from the available options. You can also select a template from **Pre-built templates** and customize it for your use case.
 7. Enter the **Subject** and other basic campaign details and scroll down to the **Template editor**.
8. Customize the template by adding your branding elements, images, and text. You can also personalize the email content using dynamic variables. Learn [How to use the Template editor.](/user-guide/campaigns-and-channels/email/create/create-content-with-the-drag-and-drop-editor)
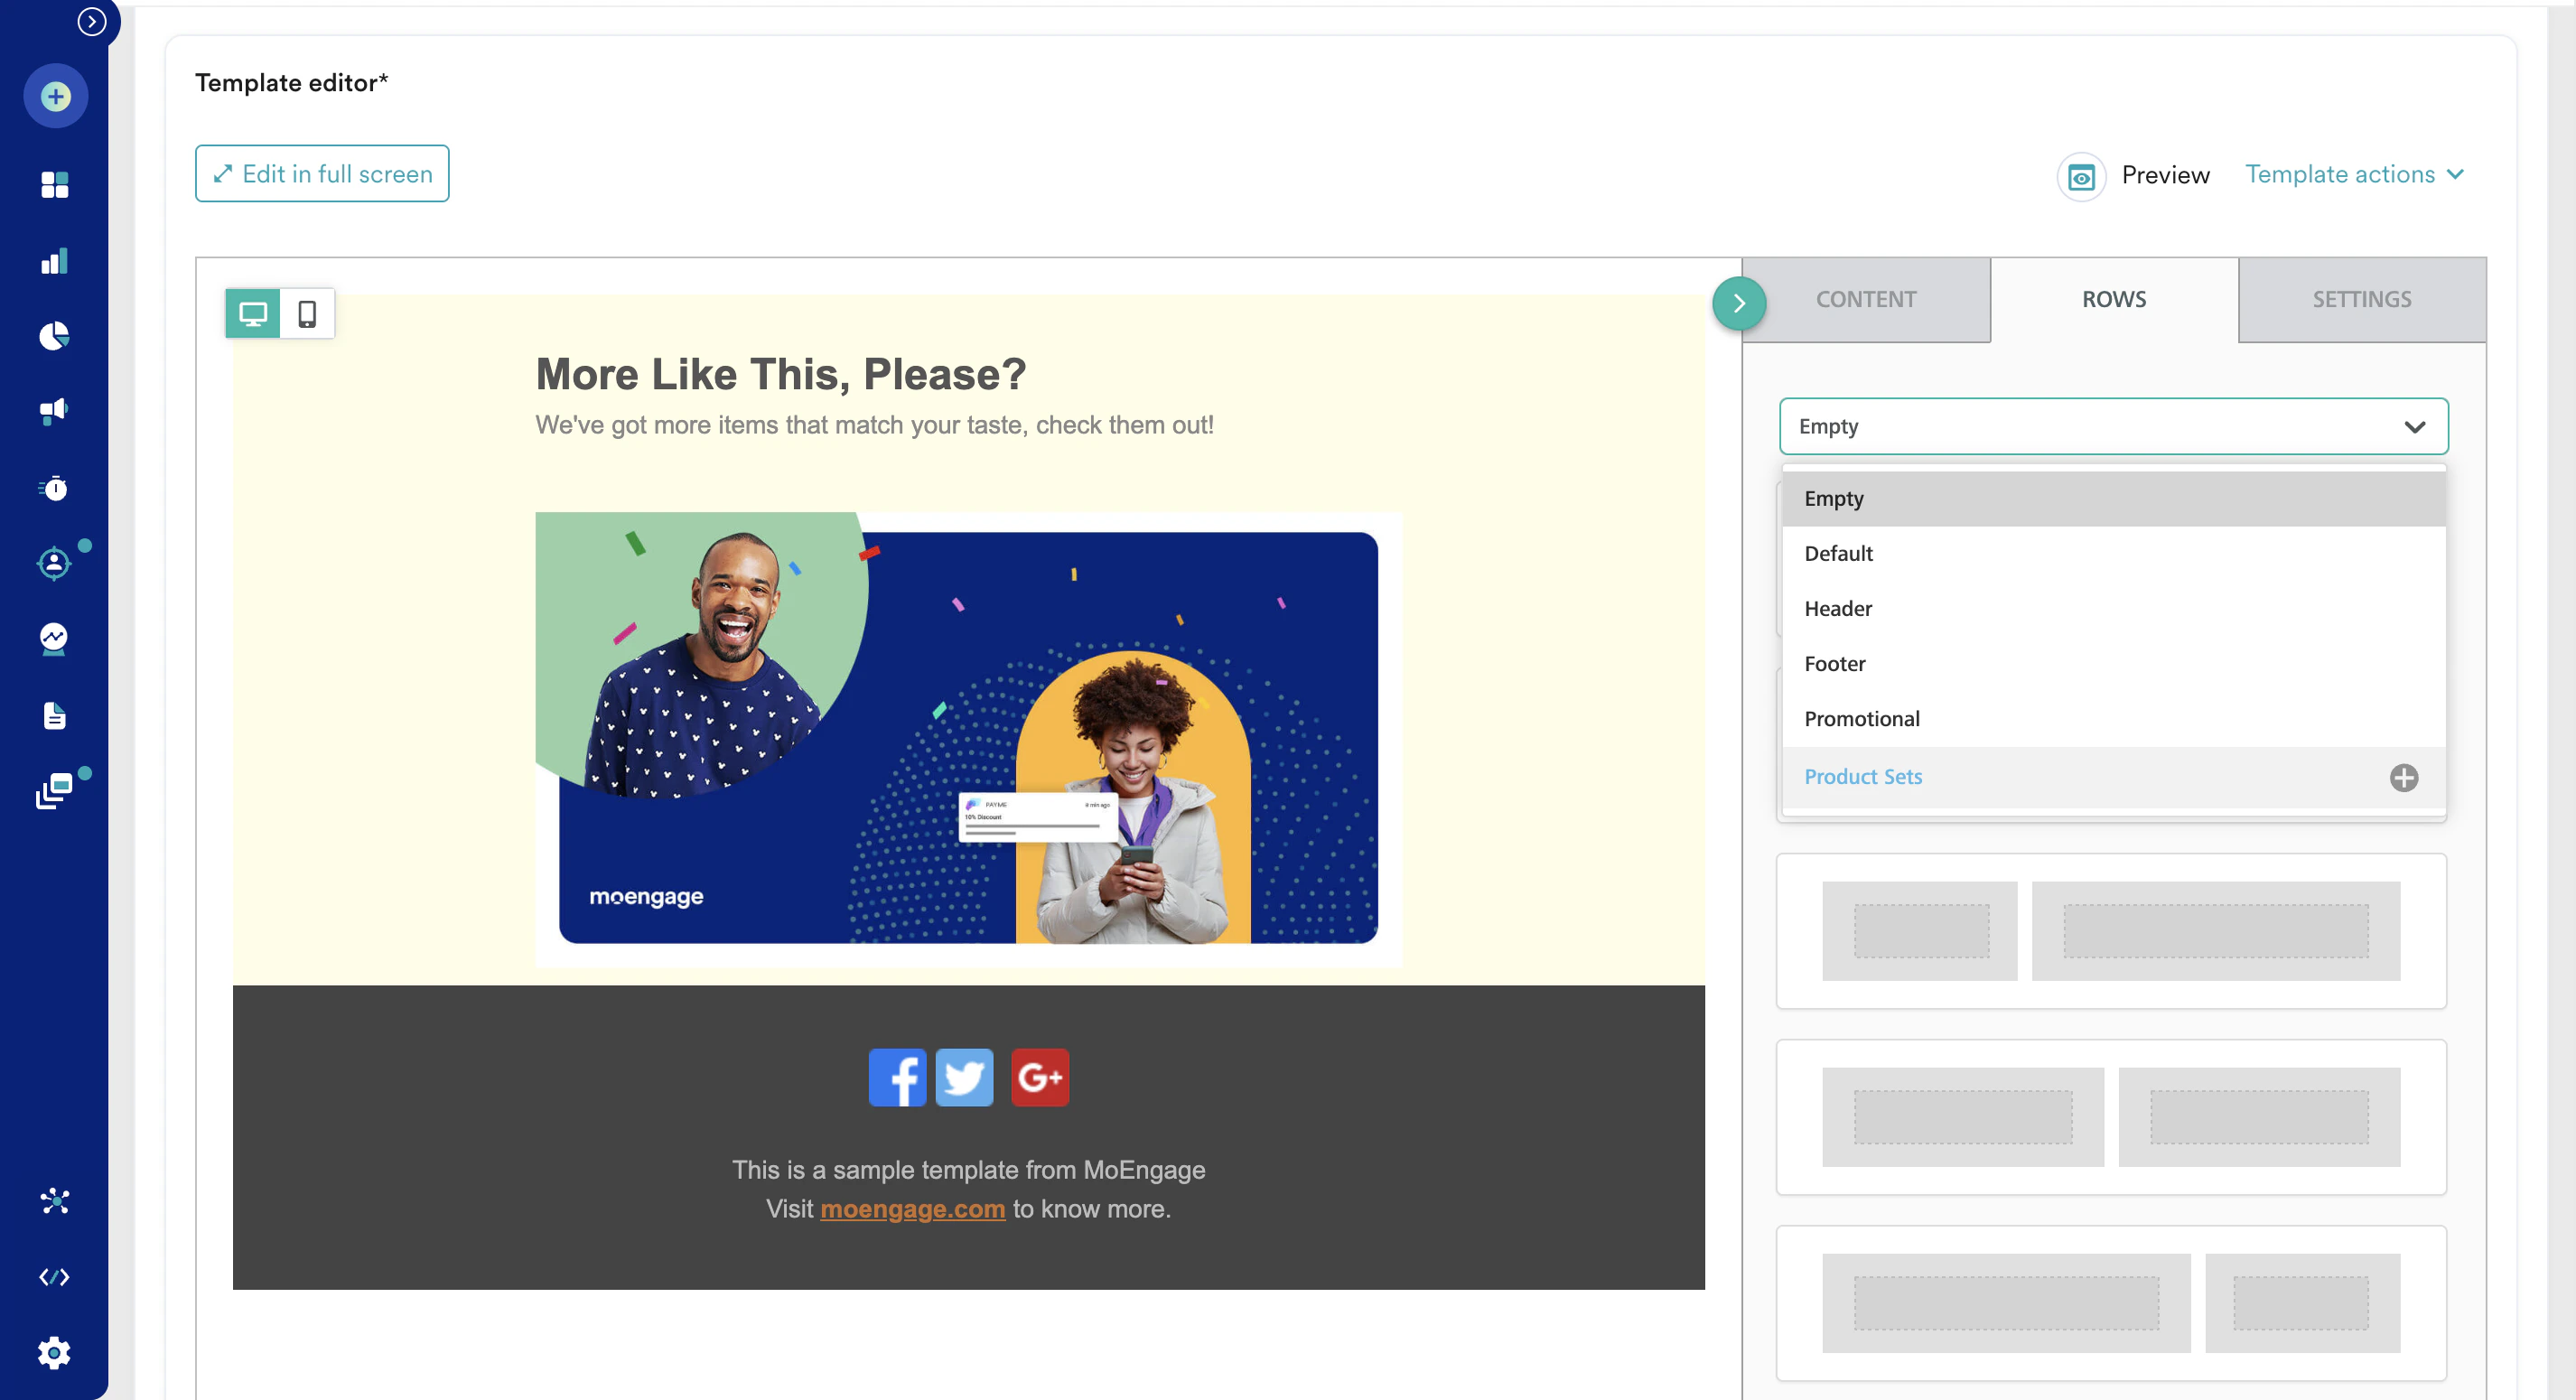
9. Click the **ROWS** tab on the right side of the editor and choose **Product Sets** from the drop-down list.
7. Enter the **Subject** and other basic campaign details and scroll down to the **Template editor**.
8. Customize the template by adding your branding elements, images, and text. You can also personalize the email content using dynamic variables. Learn [How to use the Template editor.](/user-guide/campaigns-and-channels/email/create/create-content-with-the-drag-and-drop-editor)
9. Click the **ROWS** tab on the right side of the editor and choose **Product Sets** from the drop-down list.
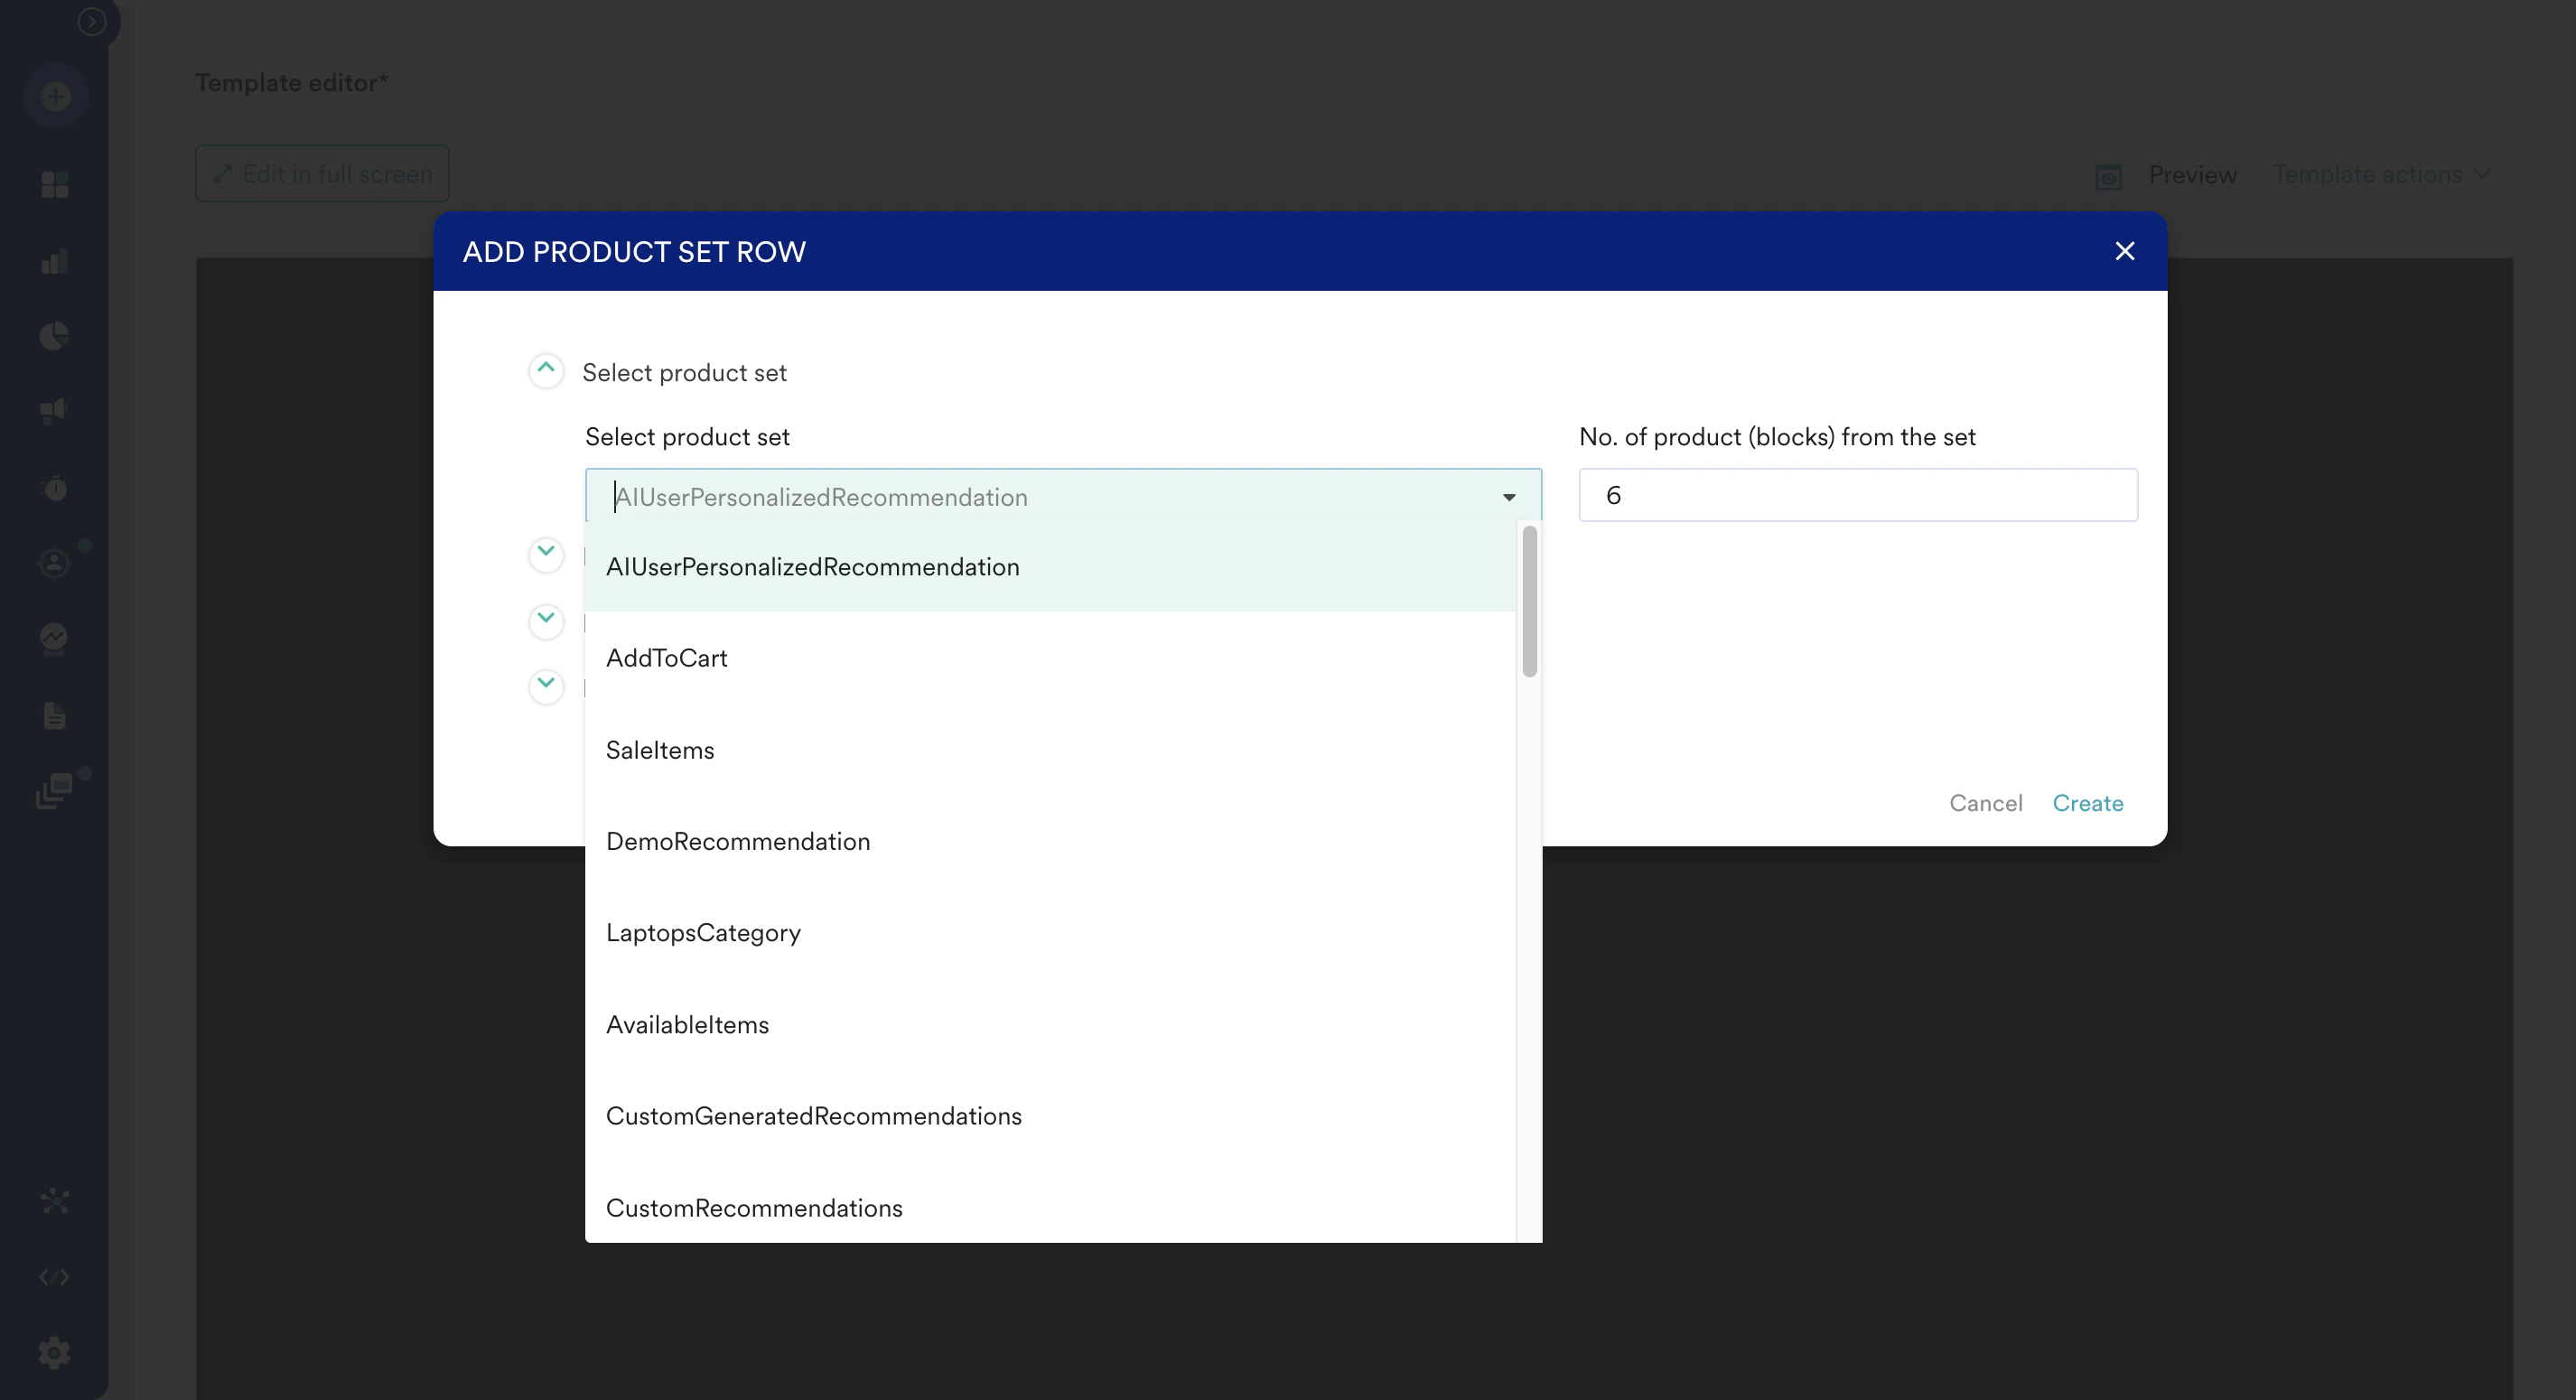
 The ADD PRODUCT SET ROW popup with a list of active recommendations is displayed.
10. Choose the one you want to use in this campaign. Define the maximum number of recommended items you want to deliver in the campaign.
The ADD PRODUCT SET ROW popup with a list of active recommendations is displayed.
10. Choose the one you want to use in this campaign. Define the maximum number of recommended items you want to deliver in the campaign.
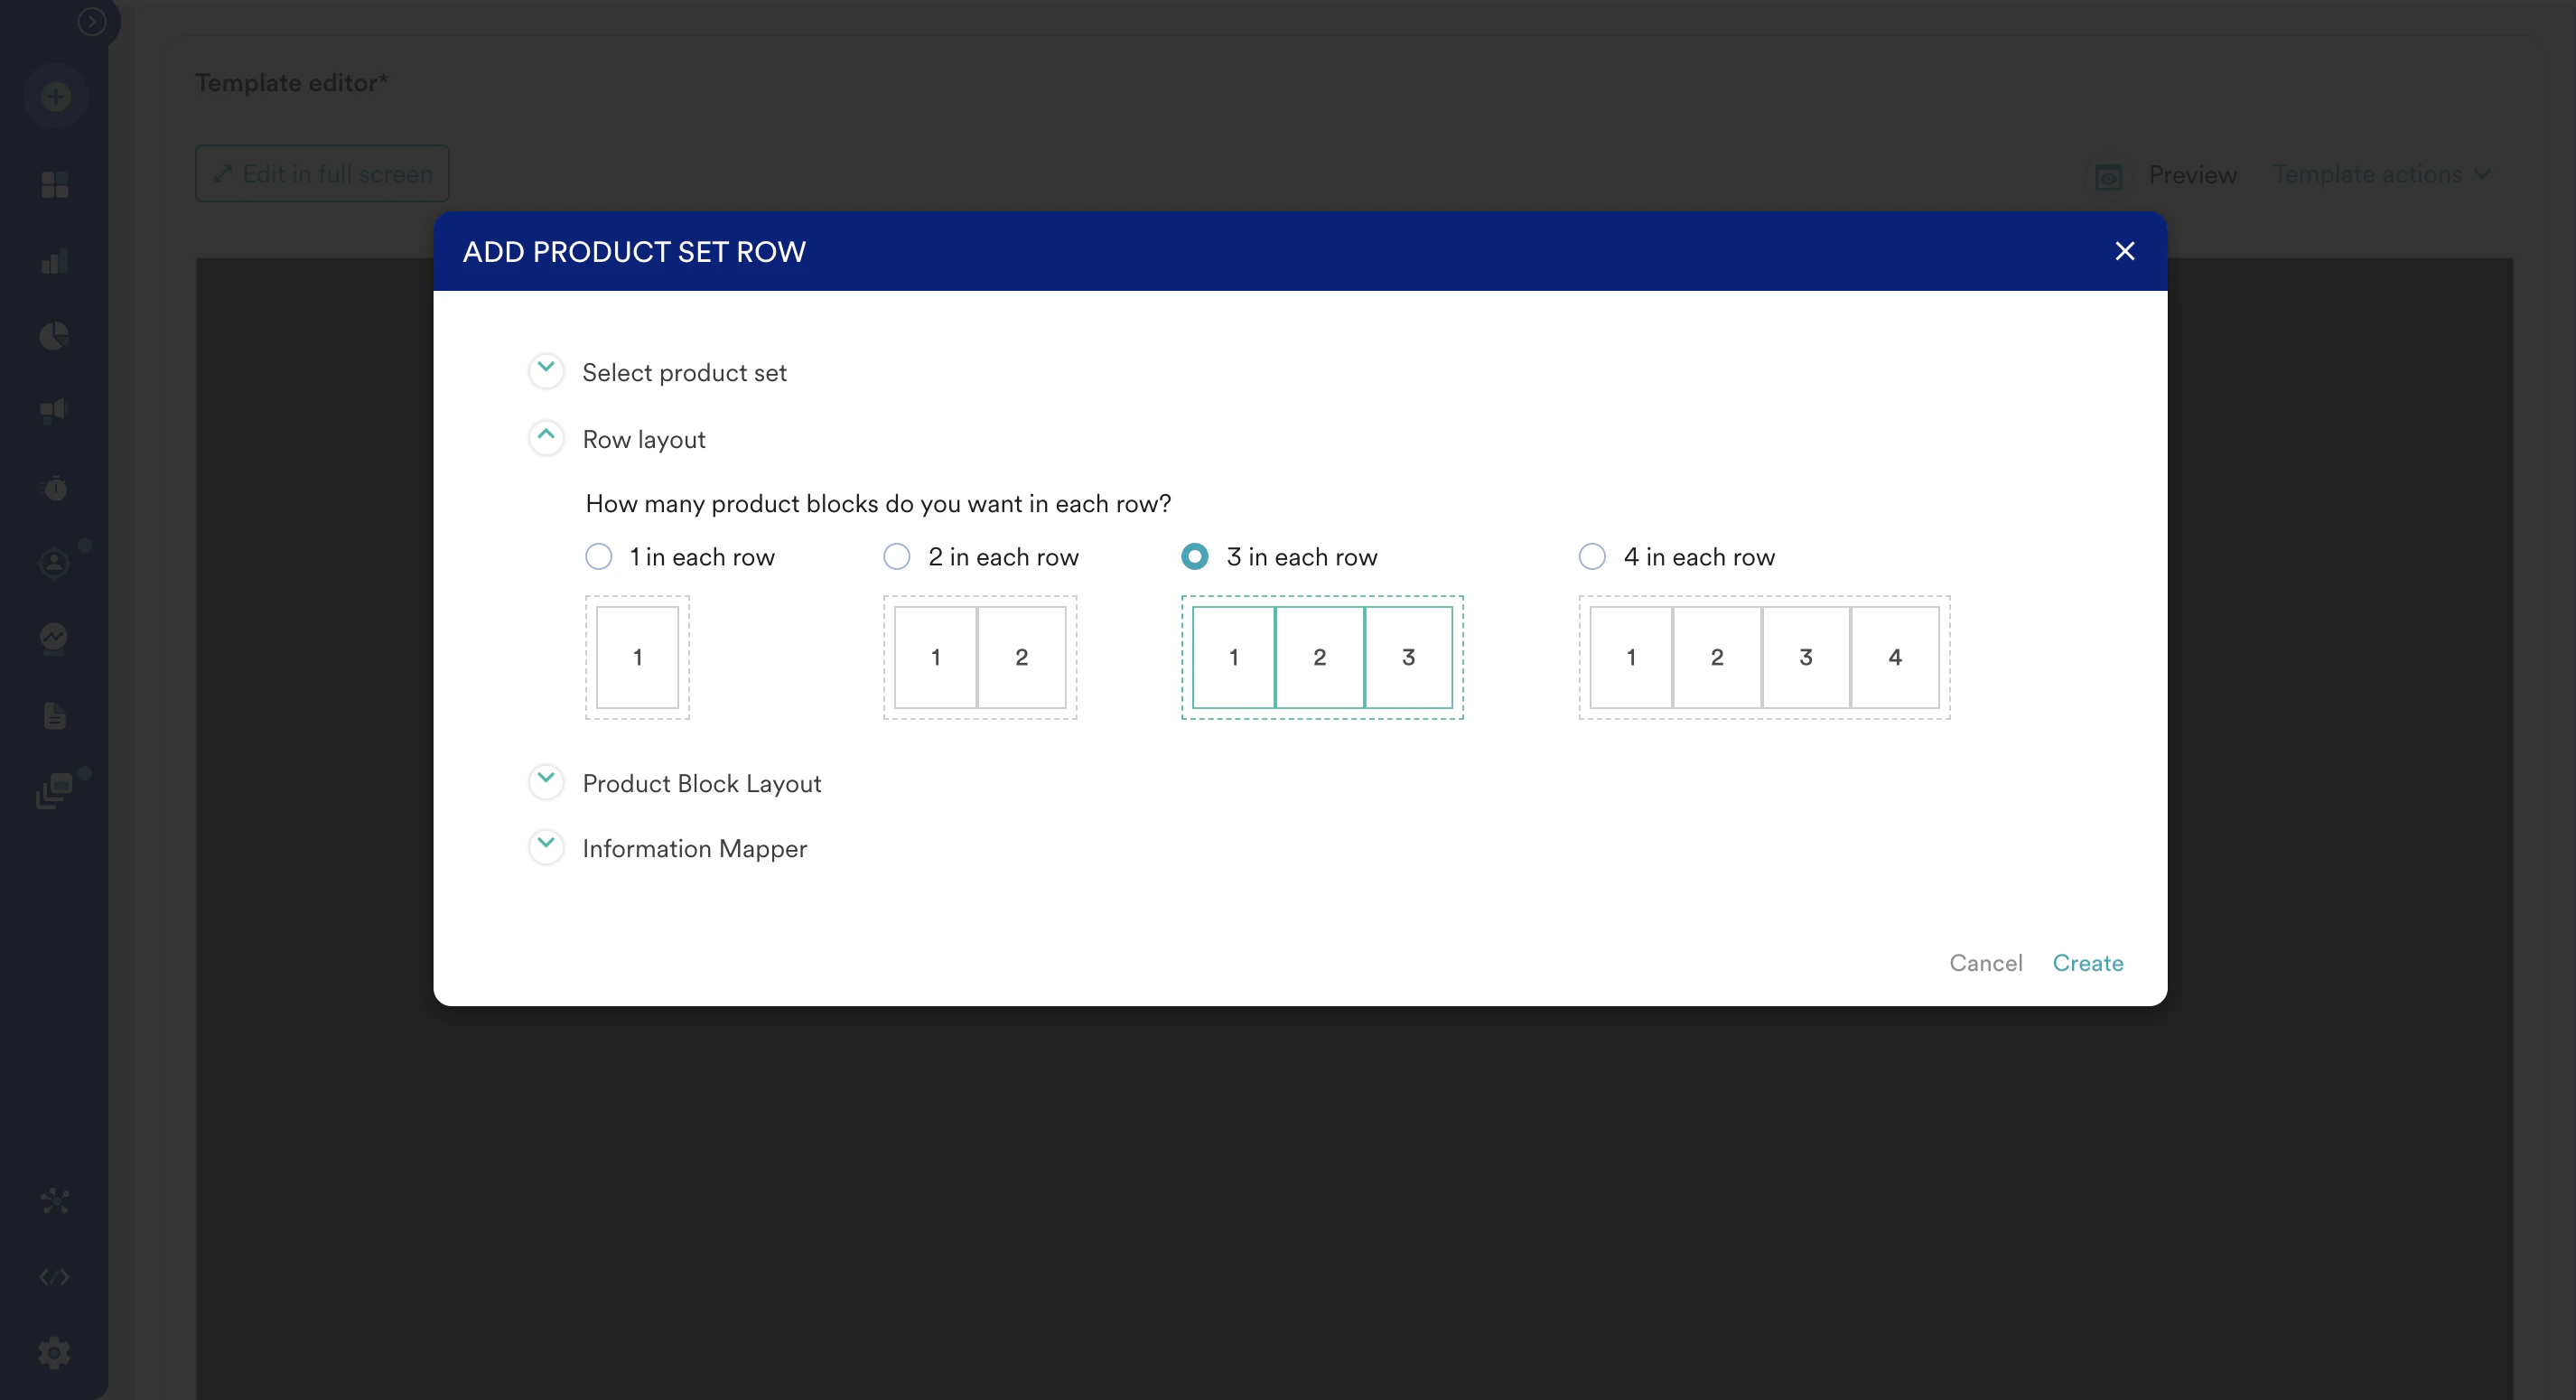
 11. Select the row layout for the placement of the items in the email content.
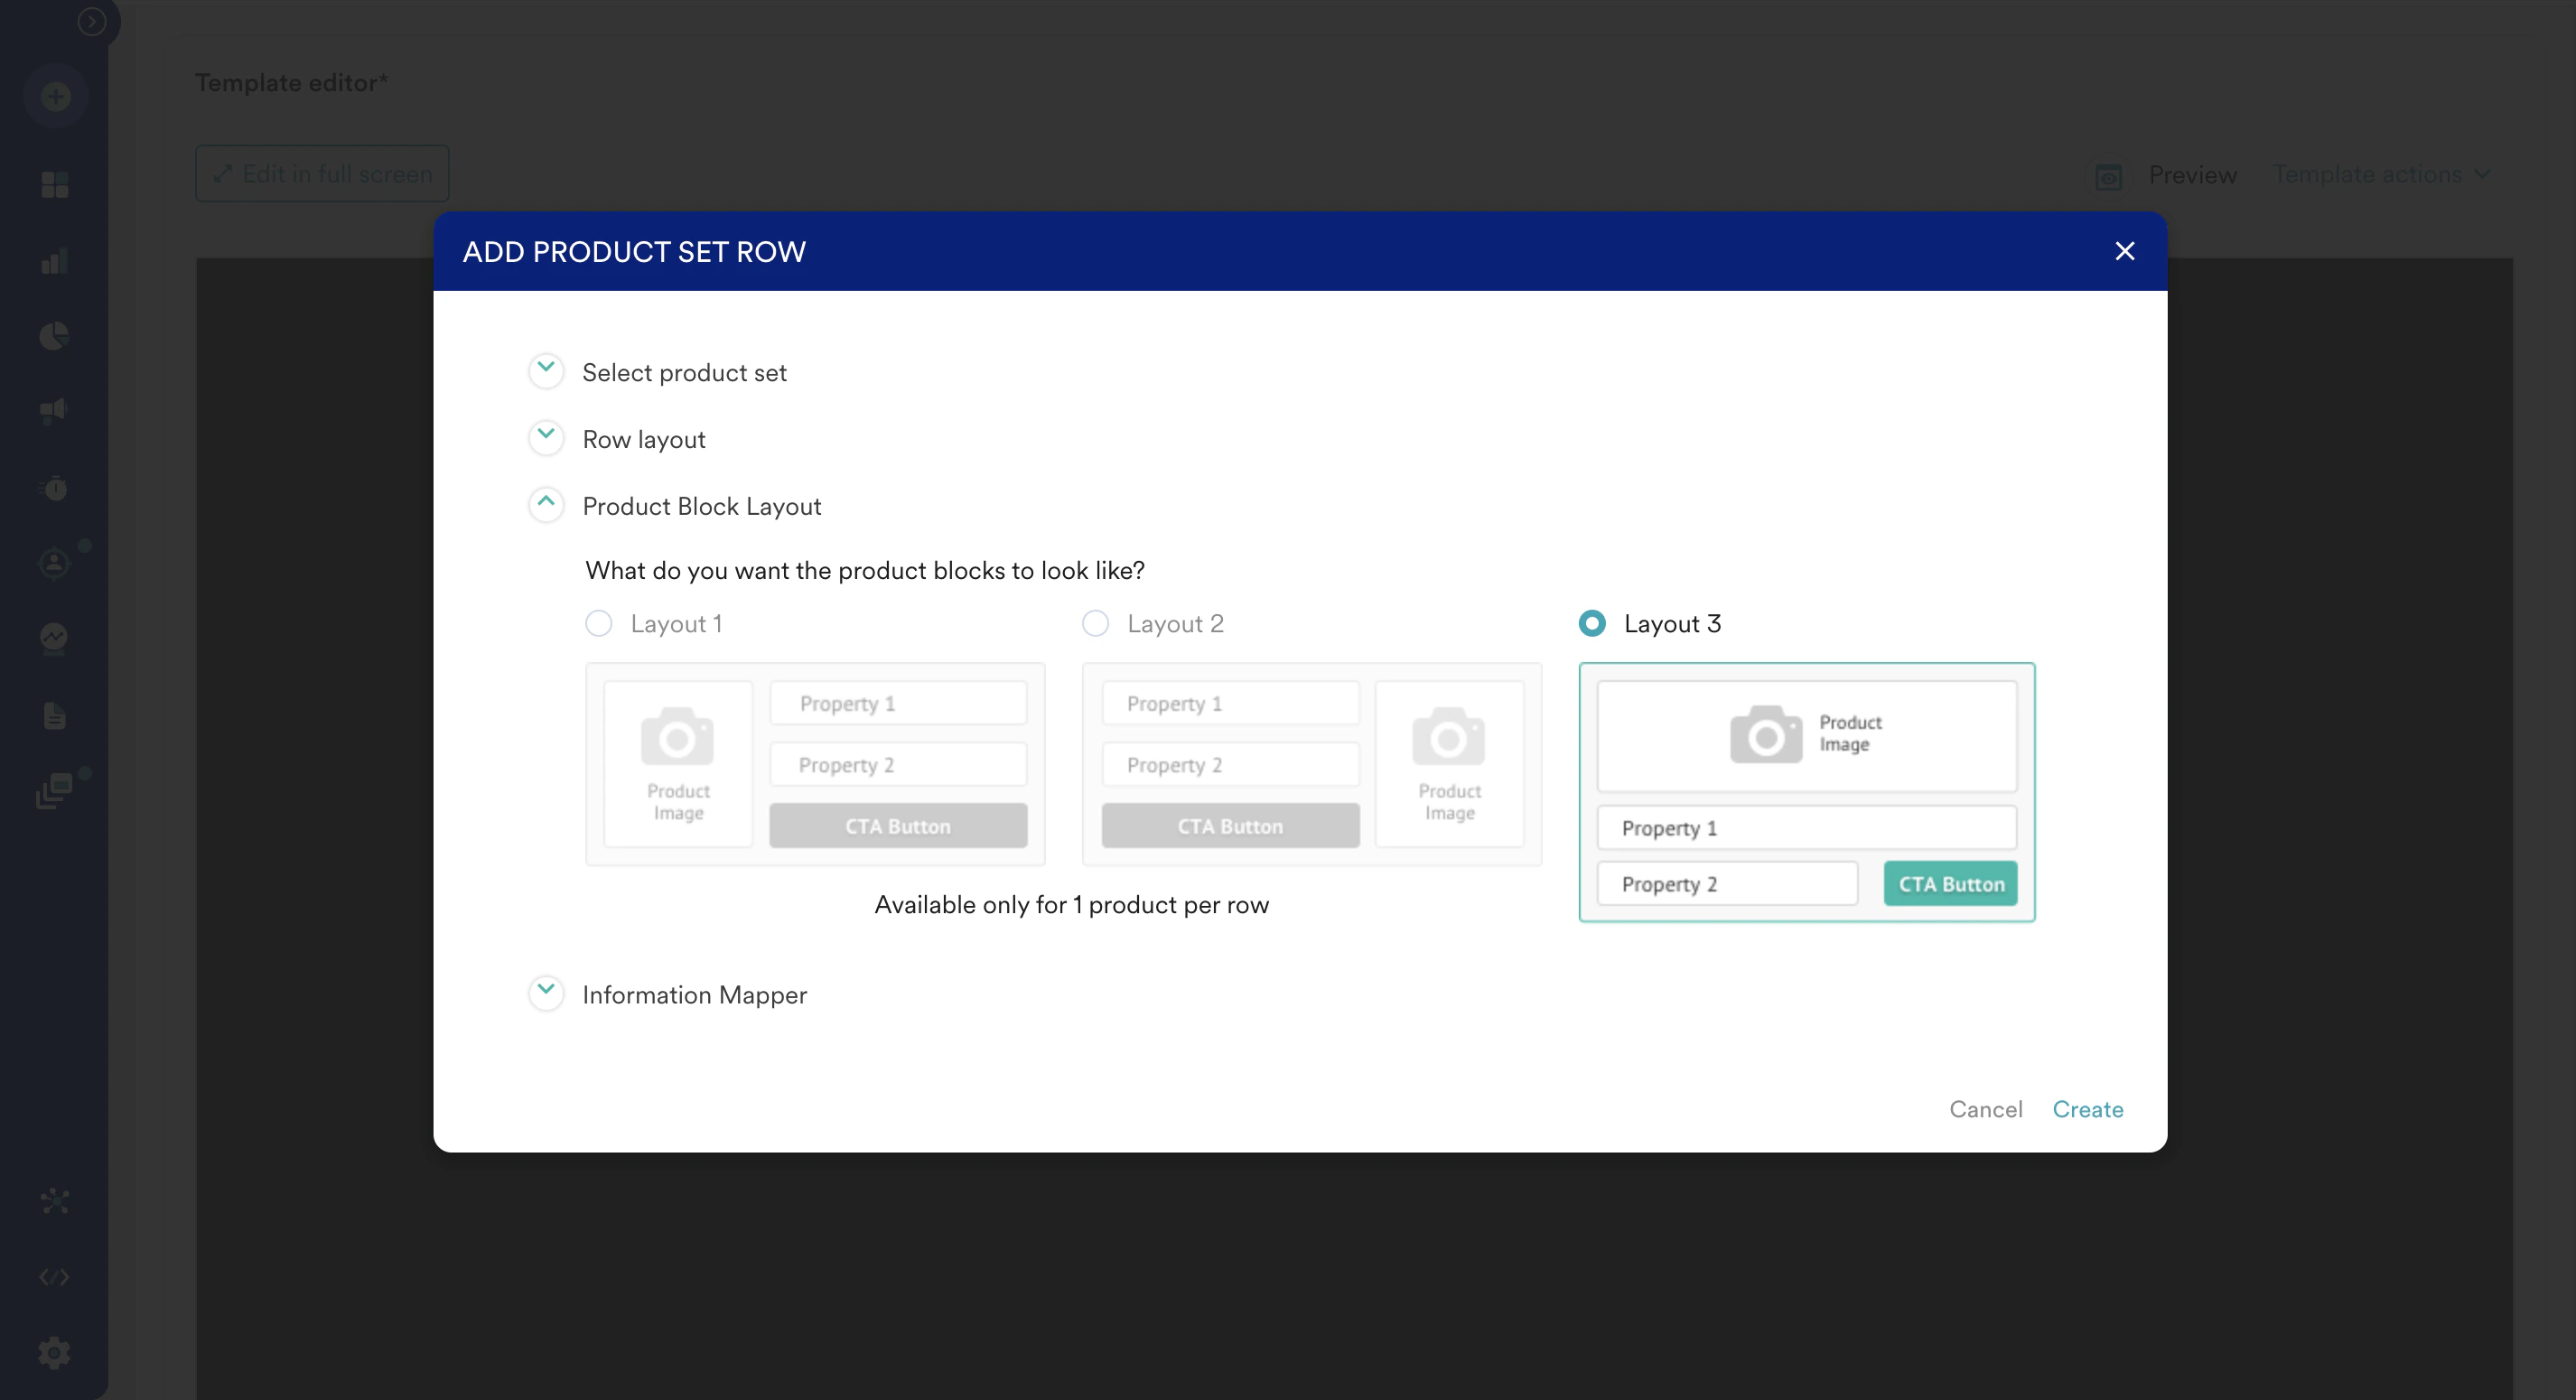
 12. Select the product layout. If you wish to fetch more than one recommended item, you can select only Layout 3.
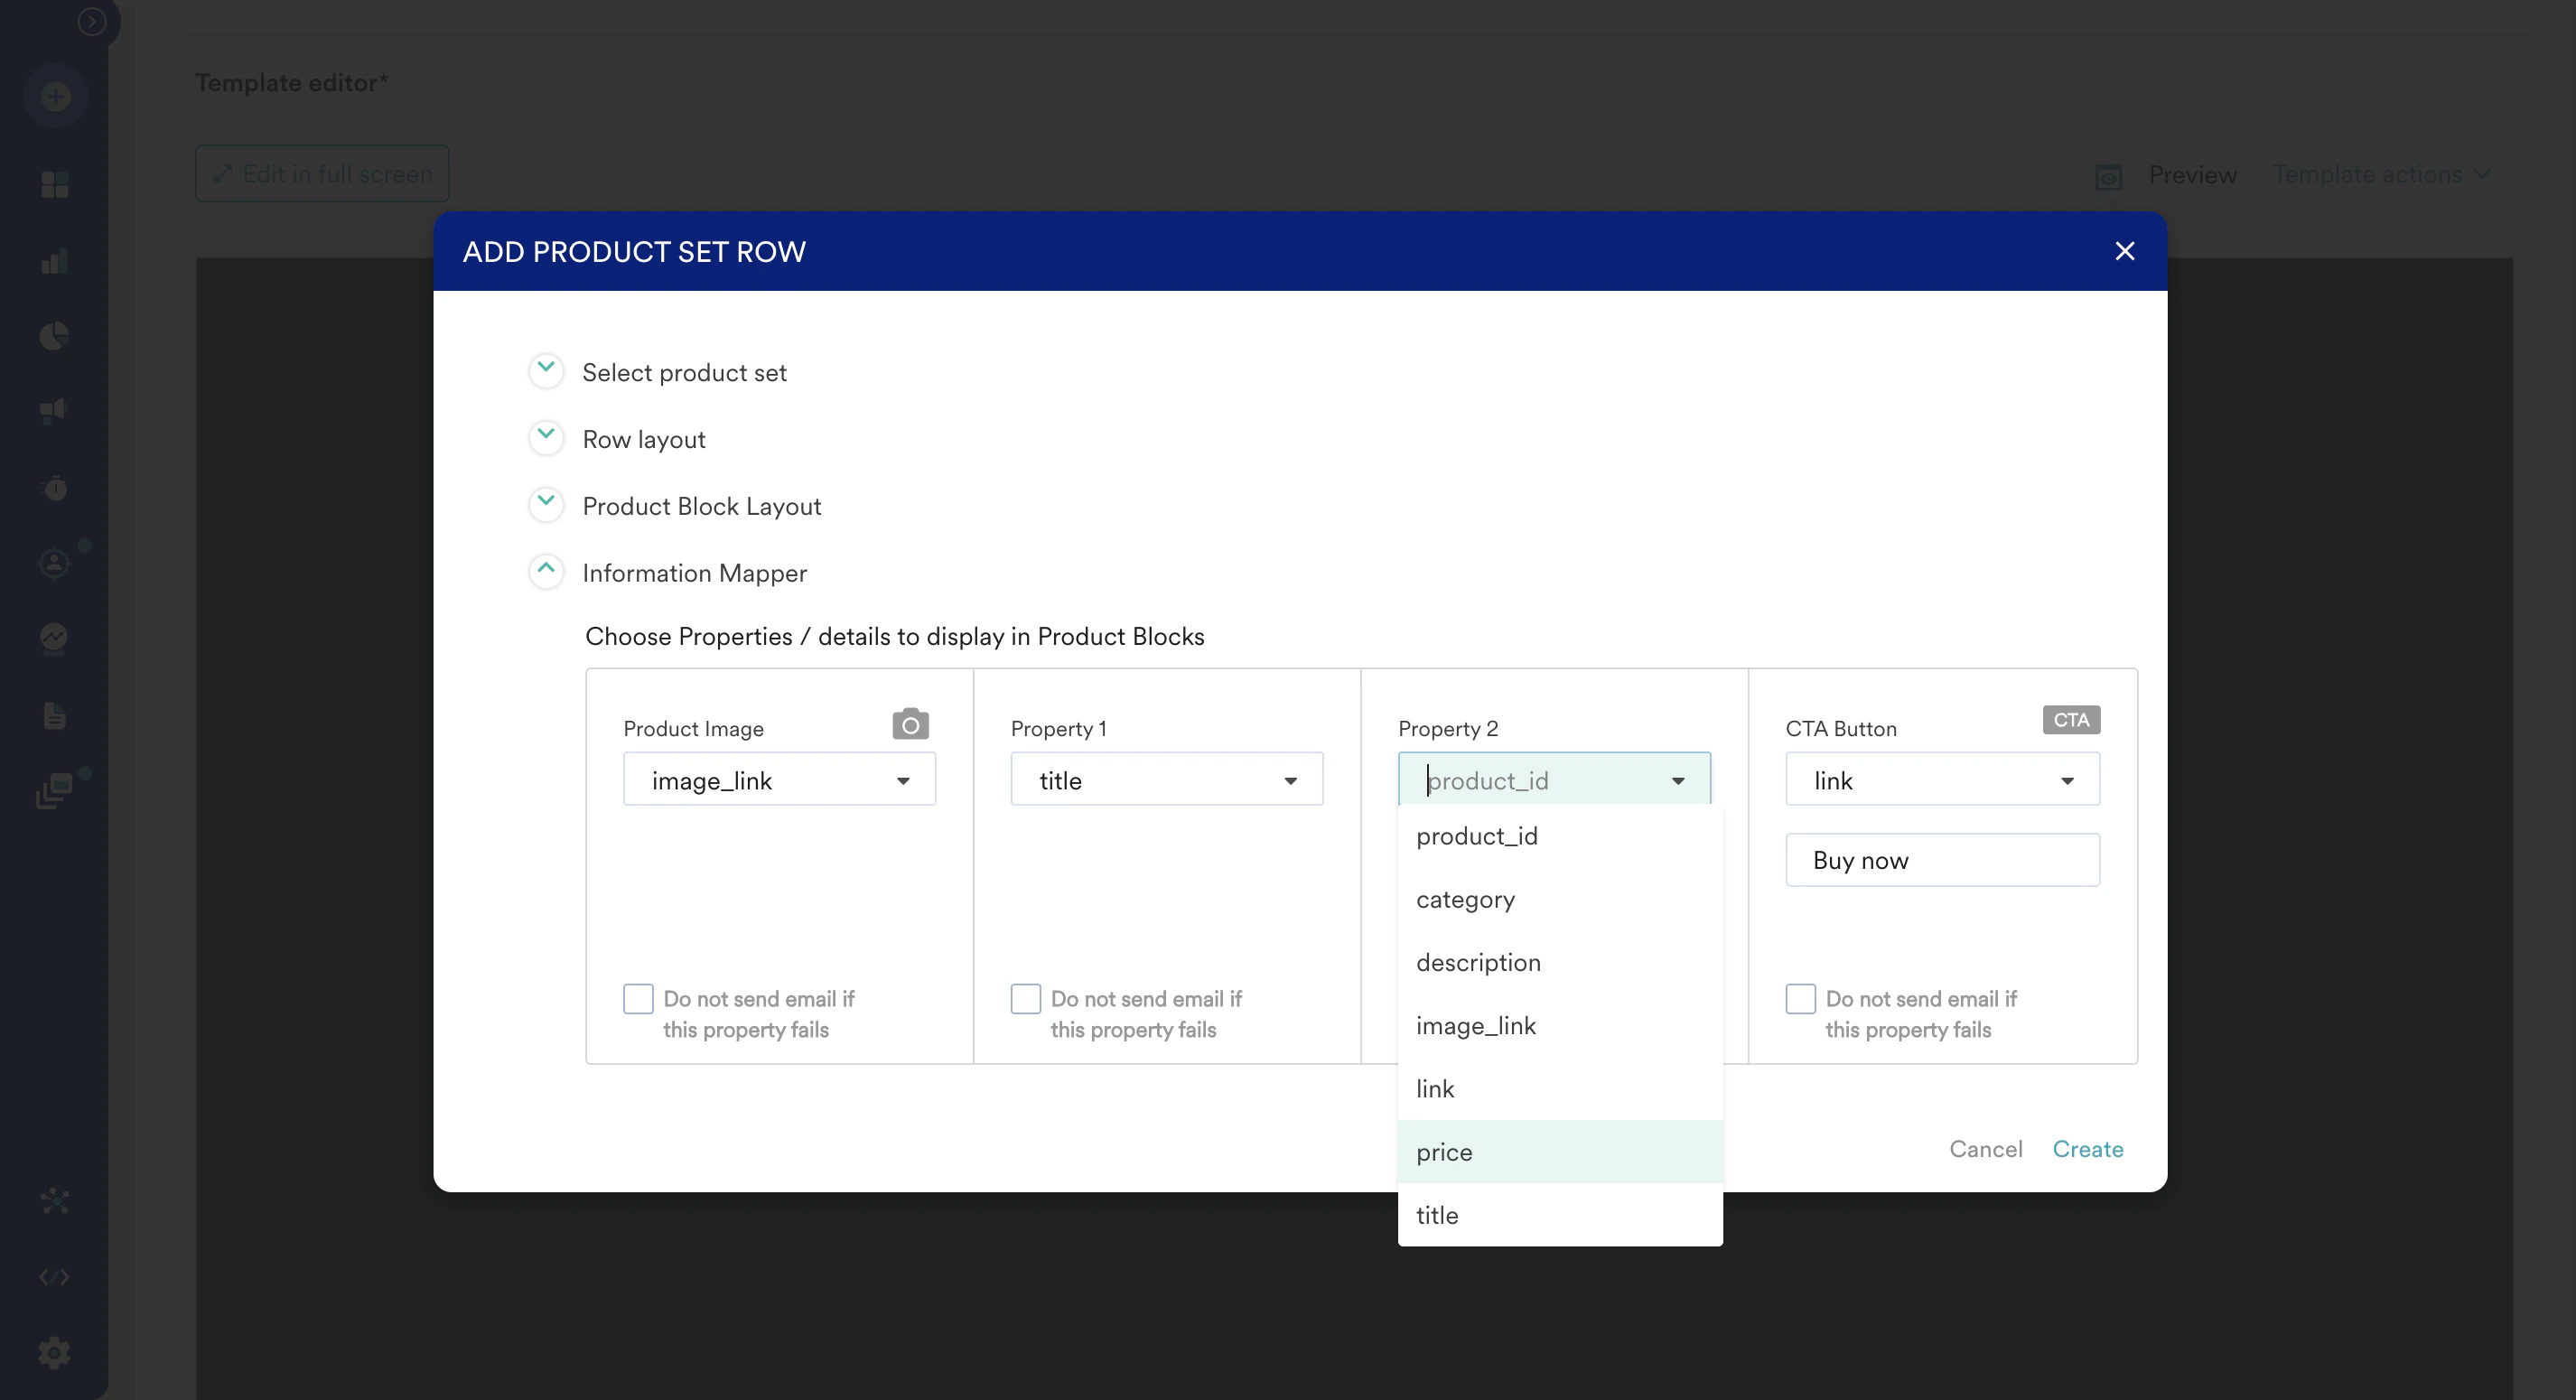
 13. In the next step, you can define the item attributes you want to use for the recommended items. These attributes lists are populated from the attributes list available in your catalog.
14. Additionally, you can define what happens if any of the available properties are missing in the catalog.
13. In the next step, you can define the item attributes you want to use for the recommended items. These attributes lists are populated from the attributes list available in your catalog.
14. Additionally, you can define what happens if any of the available properties are missing in the catalog.
 15. After the configuration is complete, click **Create**. This creates rows with dynamic placeholders of items that you can drag and drop to the left side of the email content body.
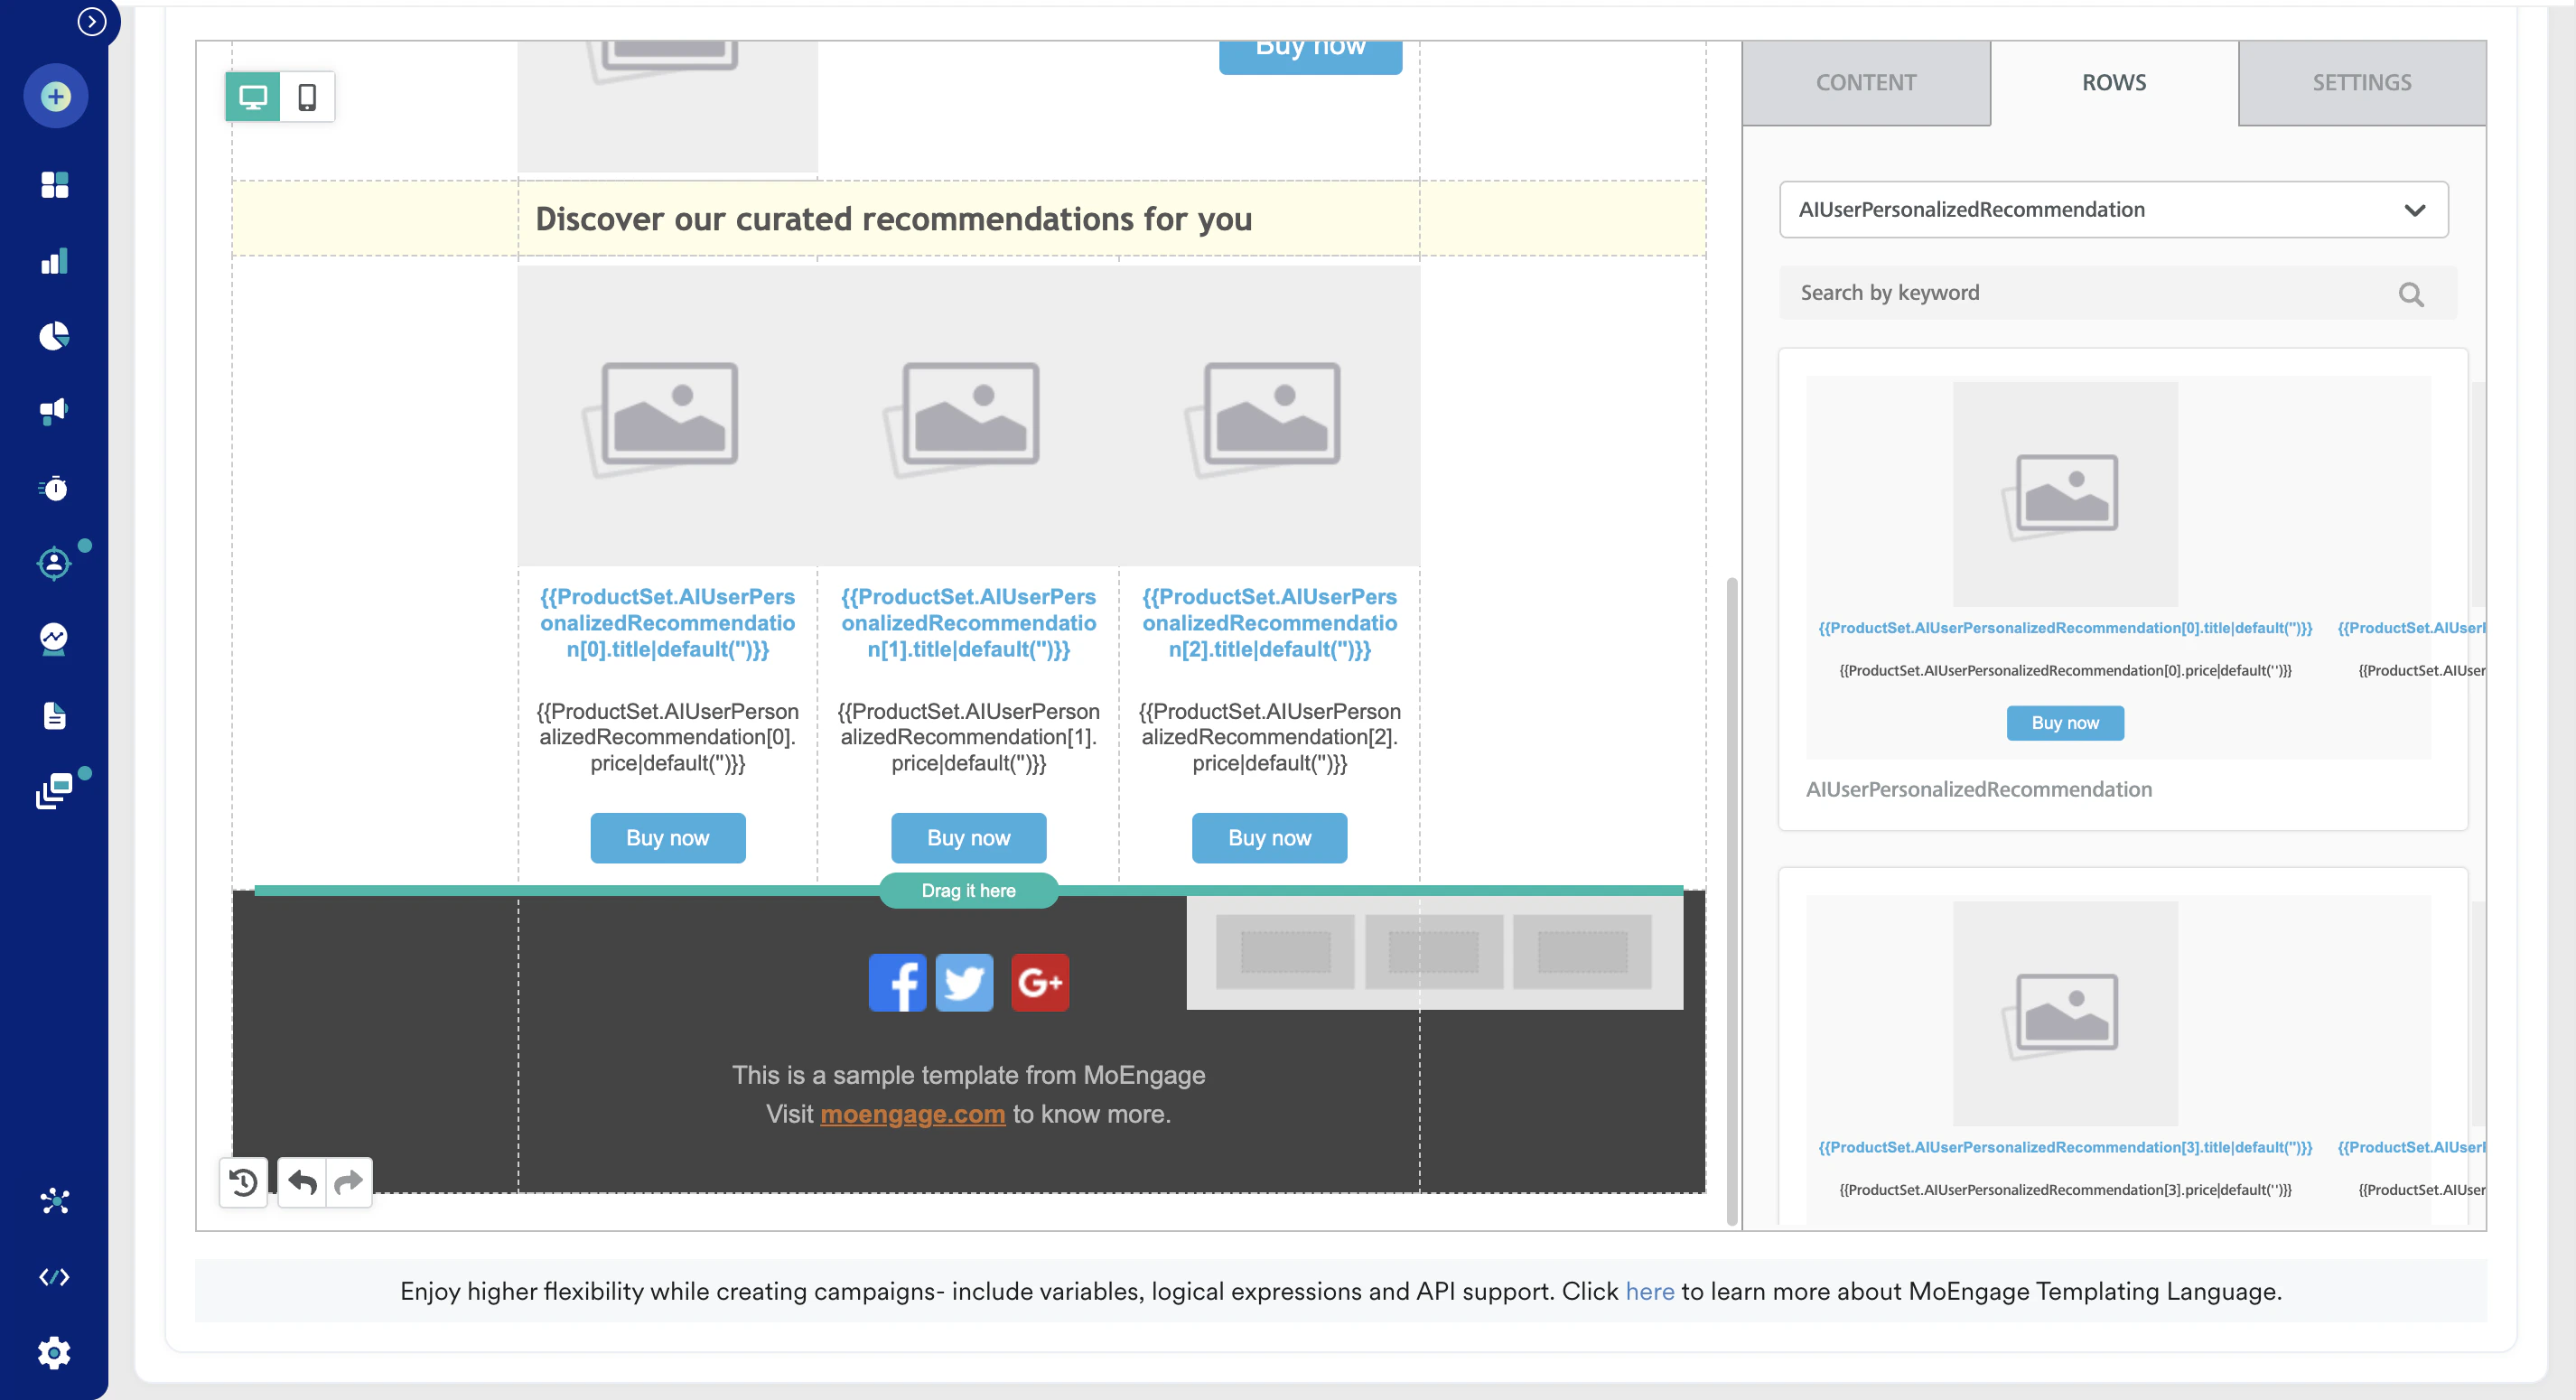 16. You can add more than one type of recommendation by following the same process again. For example, in the following image, two recommendations set '*AddToCart*' and '*AIUserPersonalizedRecommendation*' are added retrieving 1 and 6 items respectively.
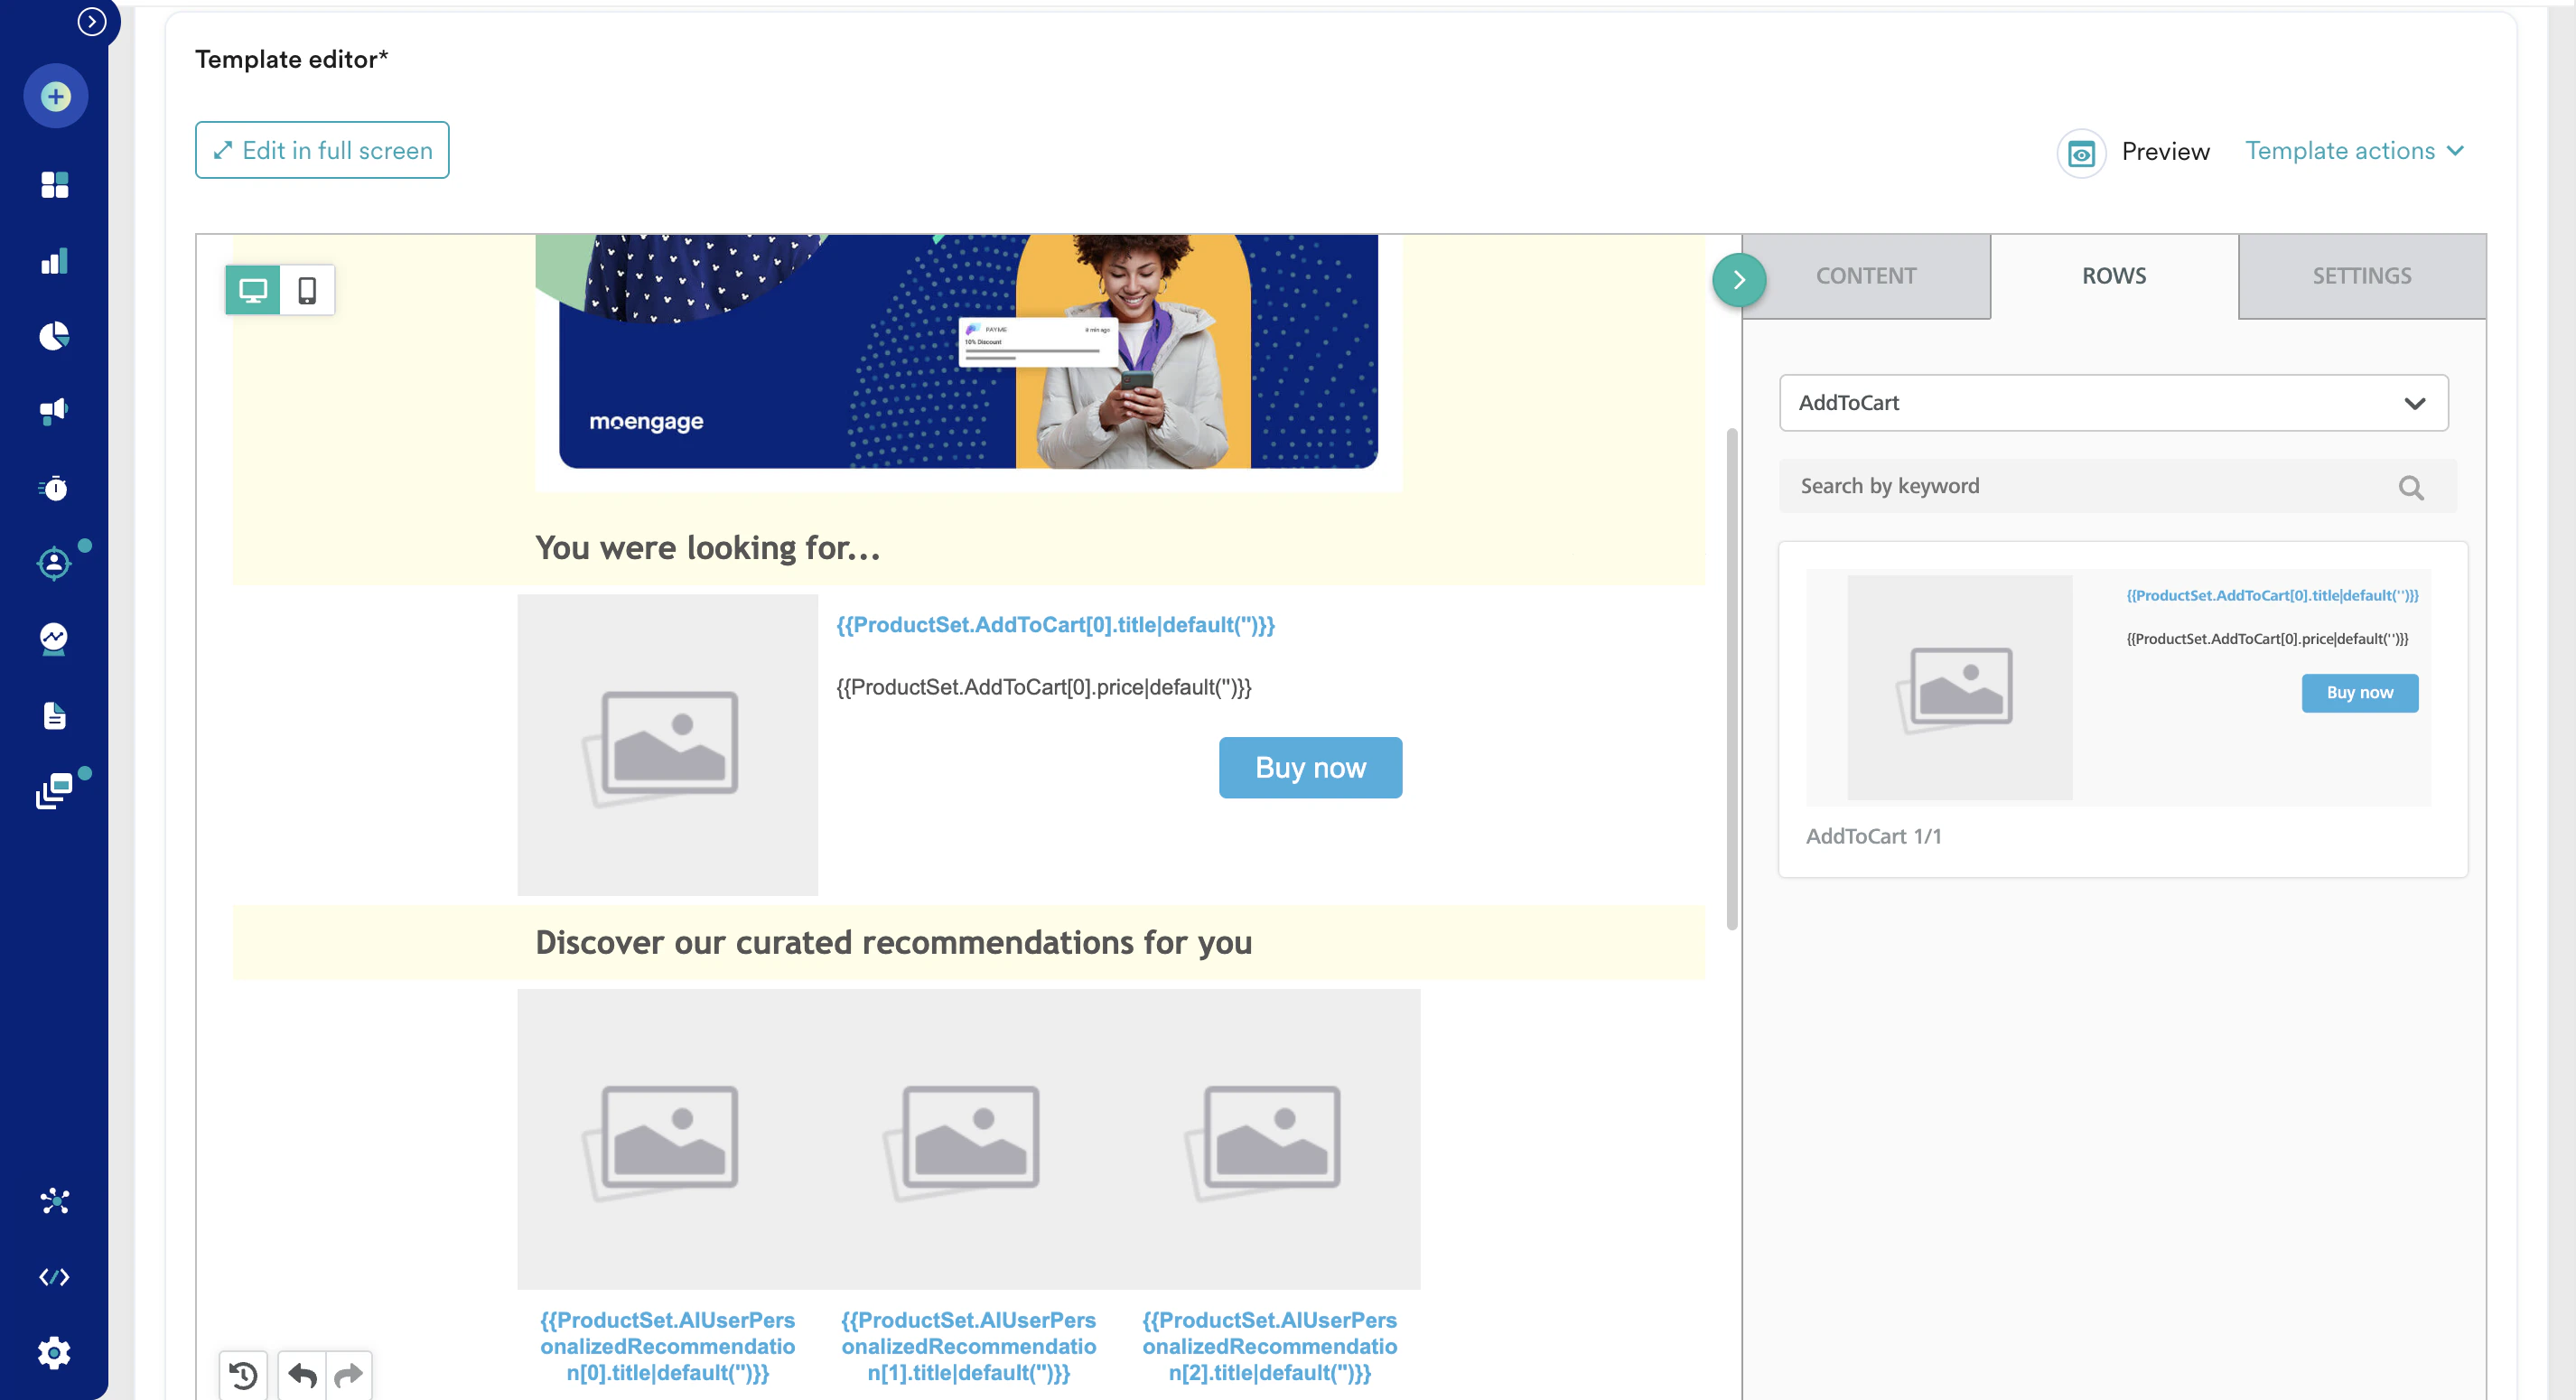 17. By clicking any dynamic placeholder text block, you can further edit or format it.
18. After the setup is complete, click **Preview** to ensure it appears as intended.
17. By clicking any dynamic placeholder text block, you can further edit or format it.
18. After the setup is complete, click **Preview** to ensure it appears as intended.
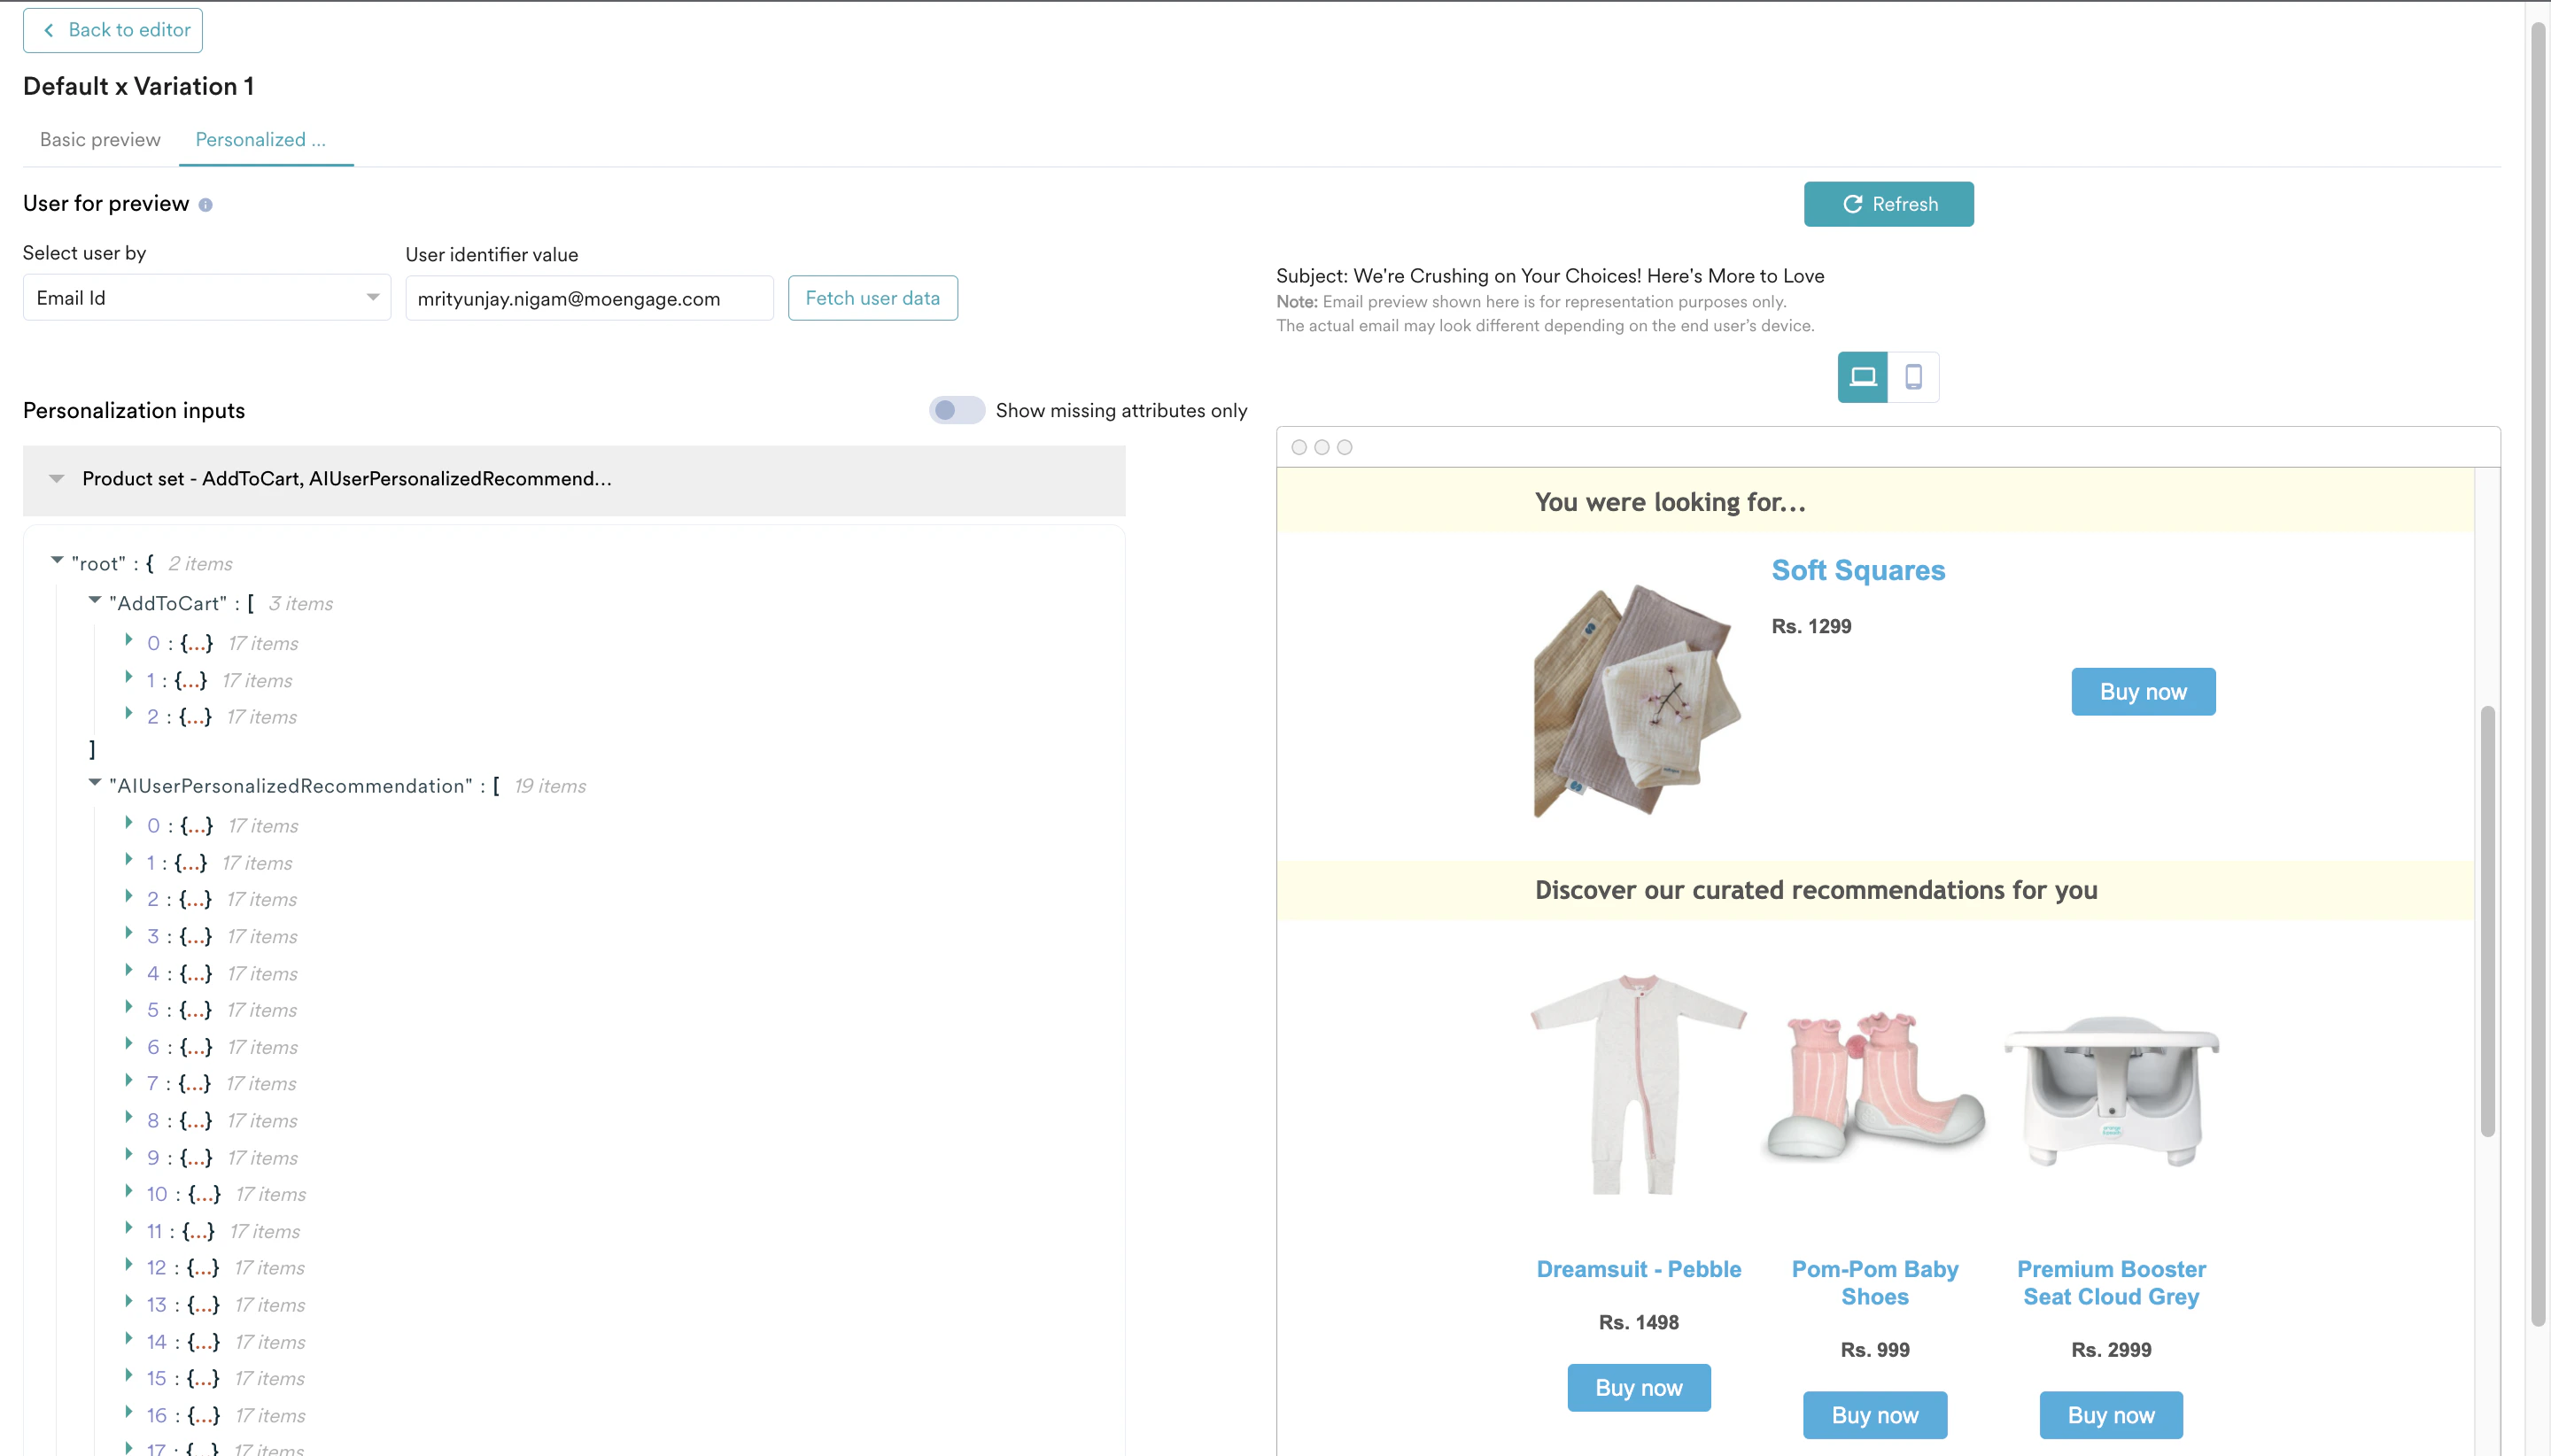 19. You can also deliver a test campaign to ensure end-to-end delivery before scheduling it for all users.
 20. After the content setup with recommendations is complete, click **Next** at the bottom and move to 'Schedule and Goals', which is the step 3 of campaign setup.
21. Set up the appropriate settings in **Schedule and Goals** and publish the campaign.
20. After the content setup with recommendations is complete, click **Next** at the bottom and move to 'Schedule and Goals', which is the step 3 of campaign setup.
21. Set up the appropriate settings in **Schedule and Goals** and publish the campaign.