

- Connect Figma to MoEngage
- Prepare Your Figma File
- Create the Import Agent
- Test and Run the Agent
- Review the Results
Custom Agents and Connectors are currently Early Access features. If you do not see AI Agents > Connectors in your dashboard, contact your Customer Success Manager (CSM) to request access.
What the Agent Can Import
A Custom Agent with access to Figma creates the following MoEngage assets from your designs:
A content block is not limited to a single image. MoEngage content blocks come in two types, Plain text and HTML, and an HTML content block holds any combination of text, images, buttons, and inline styling. When you assemble emails from reusable modules, import each module as its own content block, and then build the email from those blocks. Refer to Content Blocks.
You name the frames, sections, or images to import, and the agent returns a summary table that lists every asset the agent created or updated during the run.
Prerequisites
Before you begin, make sure that:- Your workspace has Custom Agents and Connectors enabled.
- You have a Figma account with access to the Figma file you want to import.
- Your MoEngage role includes permission to create email templates and content blocks. A Custom Agent acts within the MoEngage permissions of the user who runs the agent. Refer to Custom Agent Essentials: Permissions and Security.
Connect Figma to MoEngage
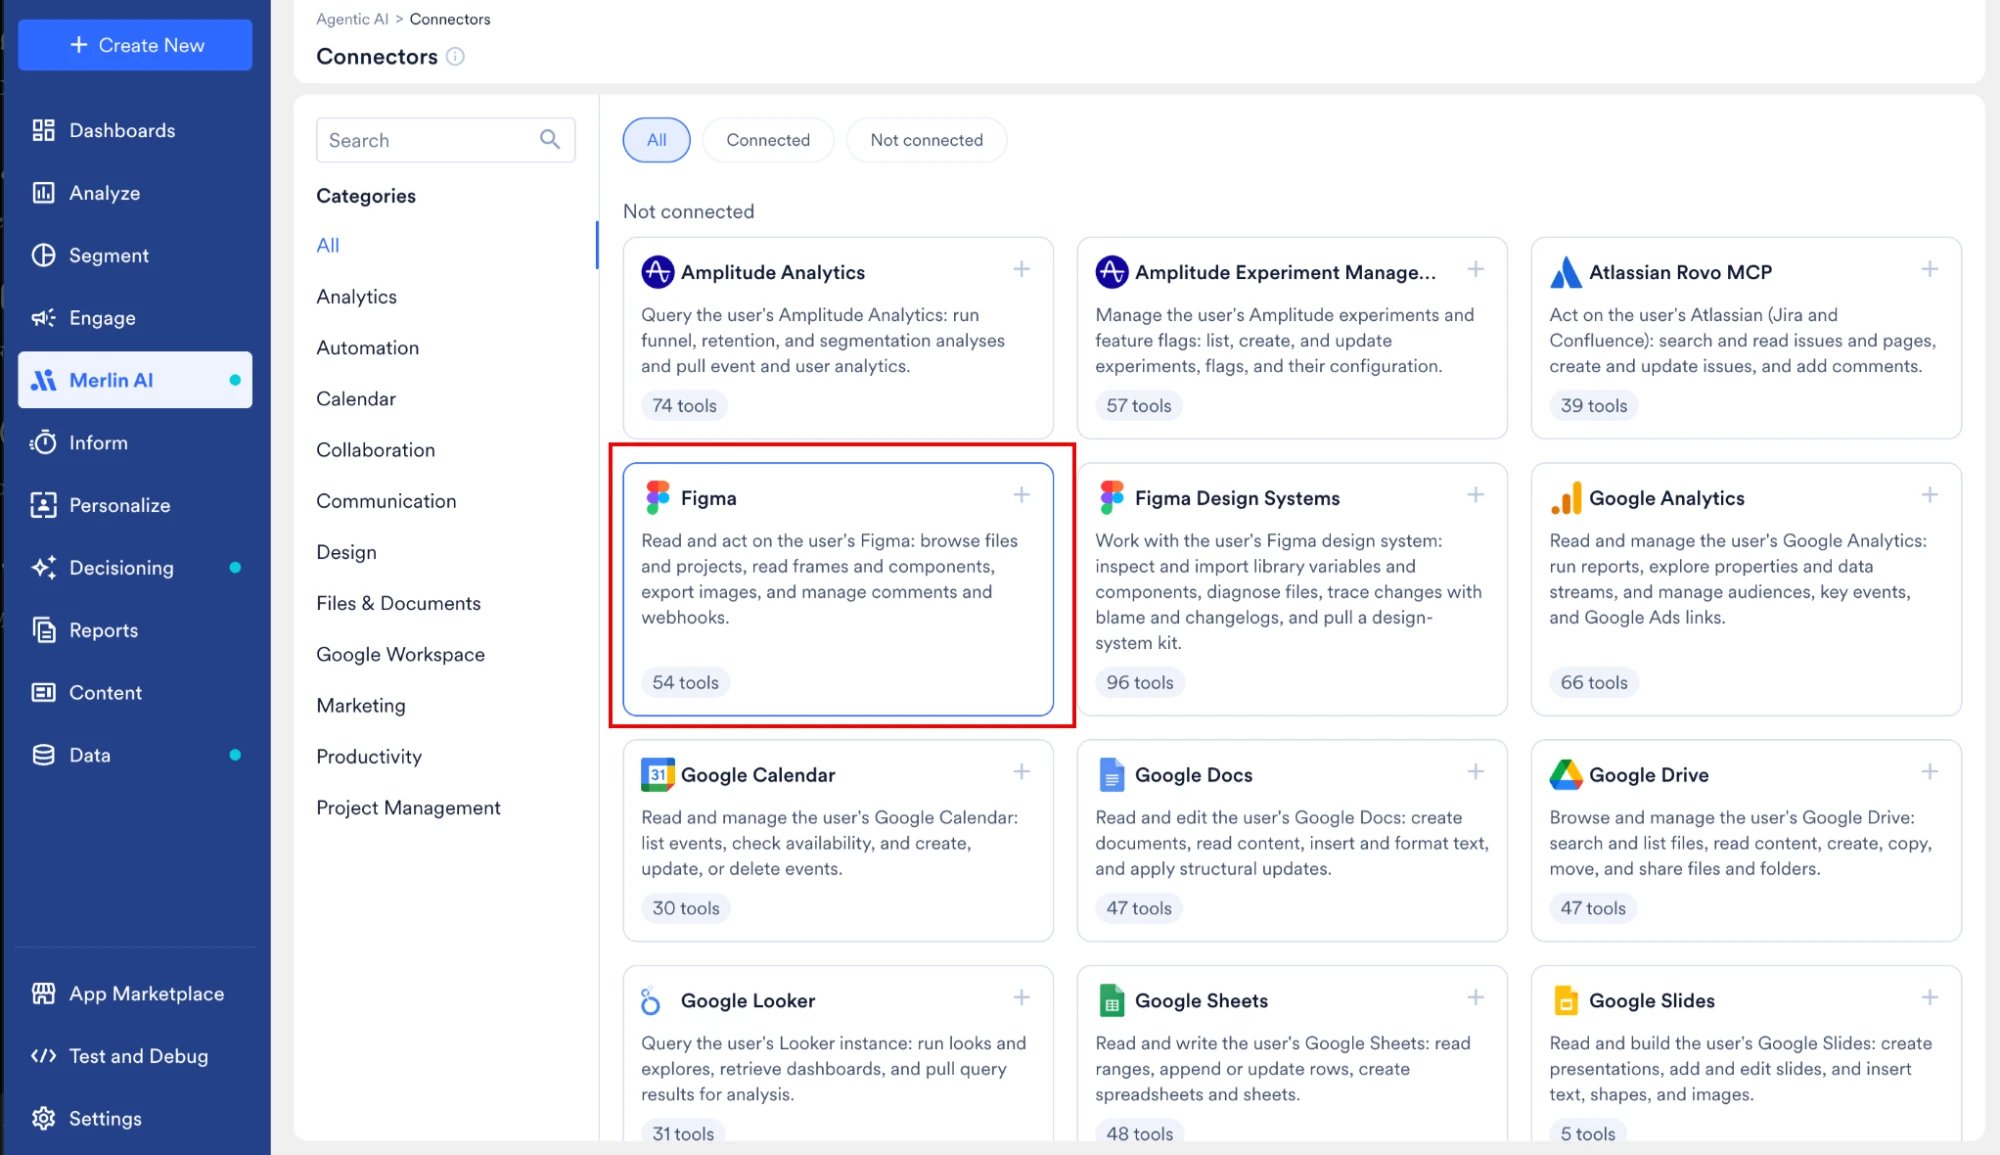
Connect Figma once, and every agent you run reaches your Figma account from that point onward. Each user connects a Figma account individually.- In the left navigation menu in the MoEngage dashboard, go to AI Agents > Connectors.
-
Select Figma.
-
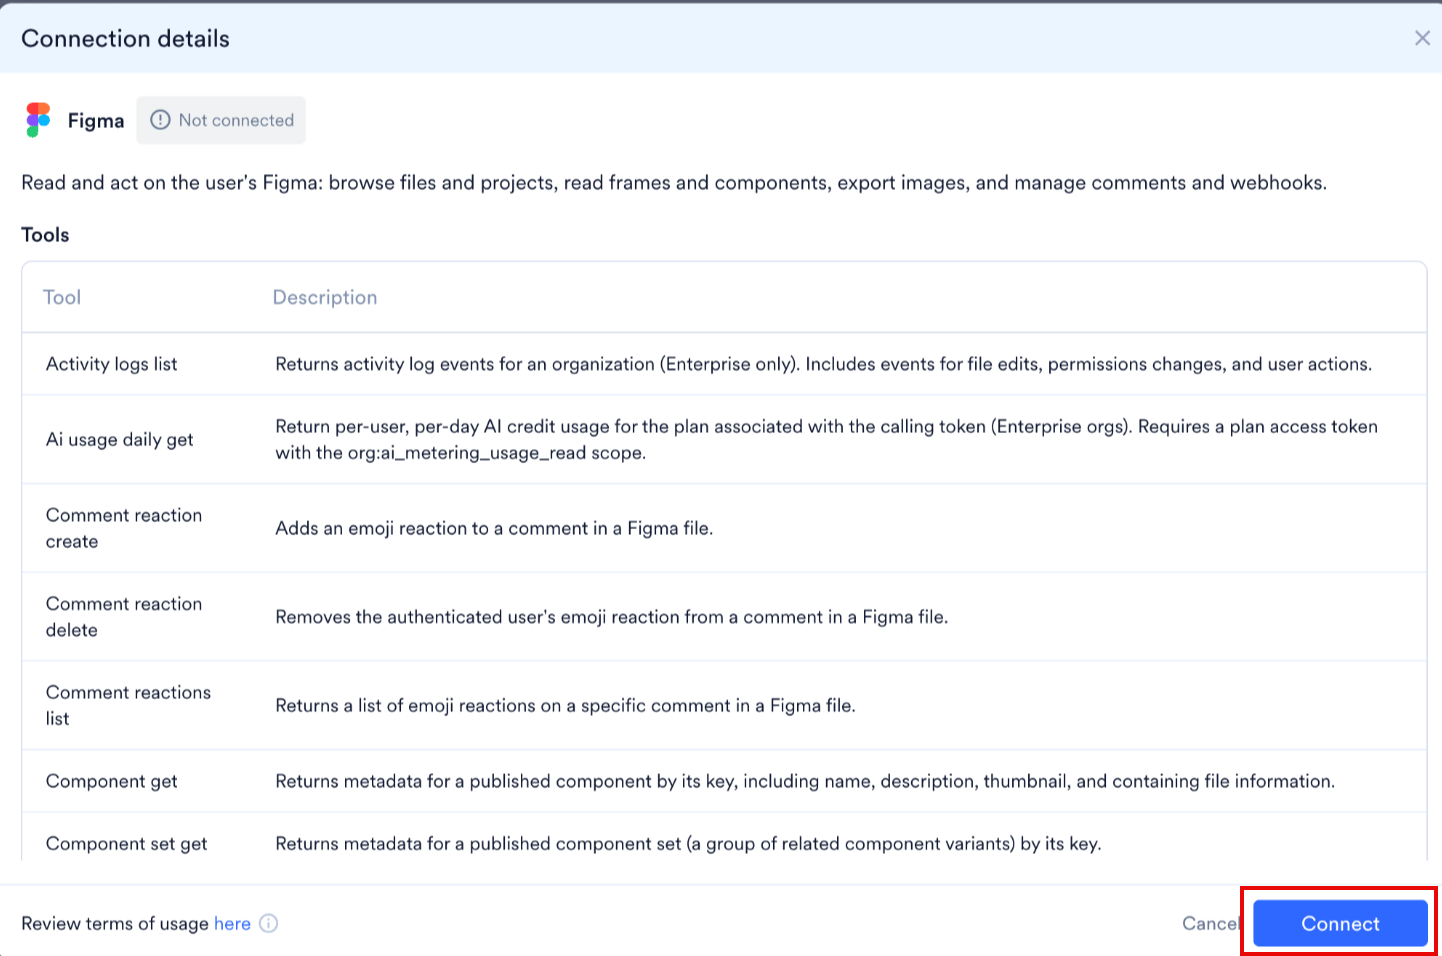
In the Connection details dialog, review the Figma tools and the terms of usage, and then click Connect.
-
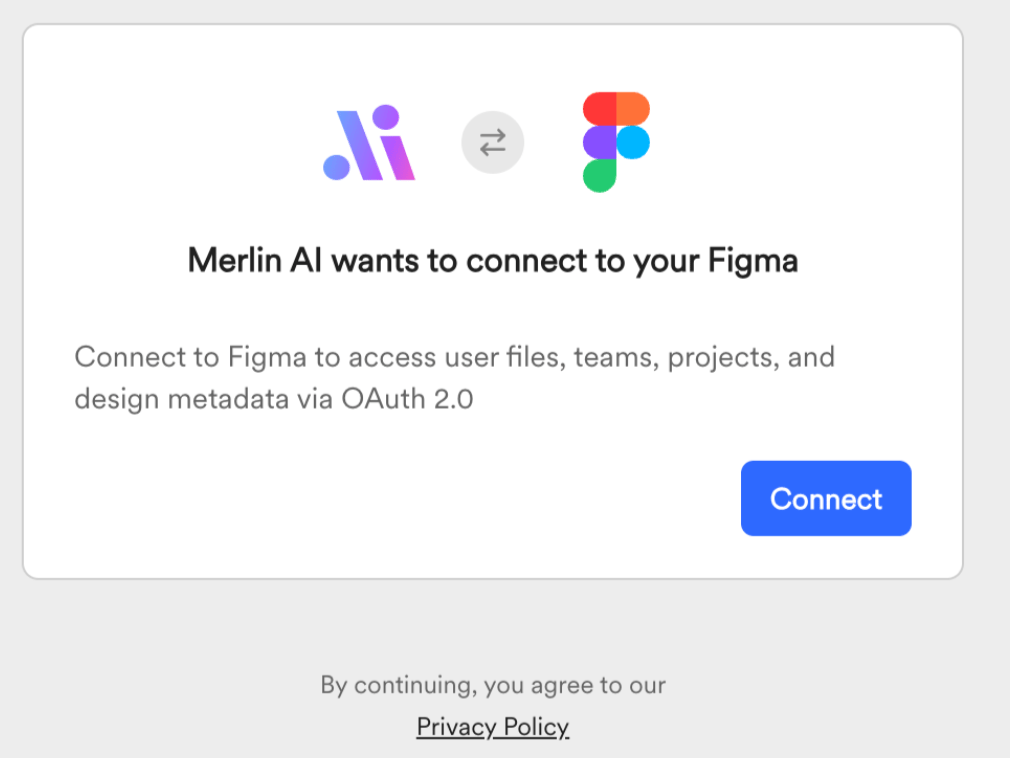
Click Connect on the confirmation screen to start the Figma OAuth 2.0 flow.
-
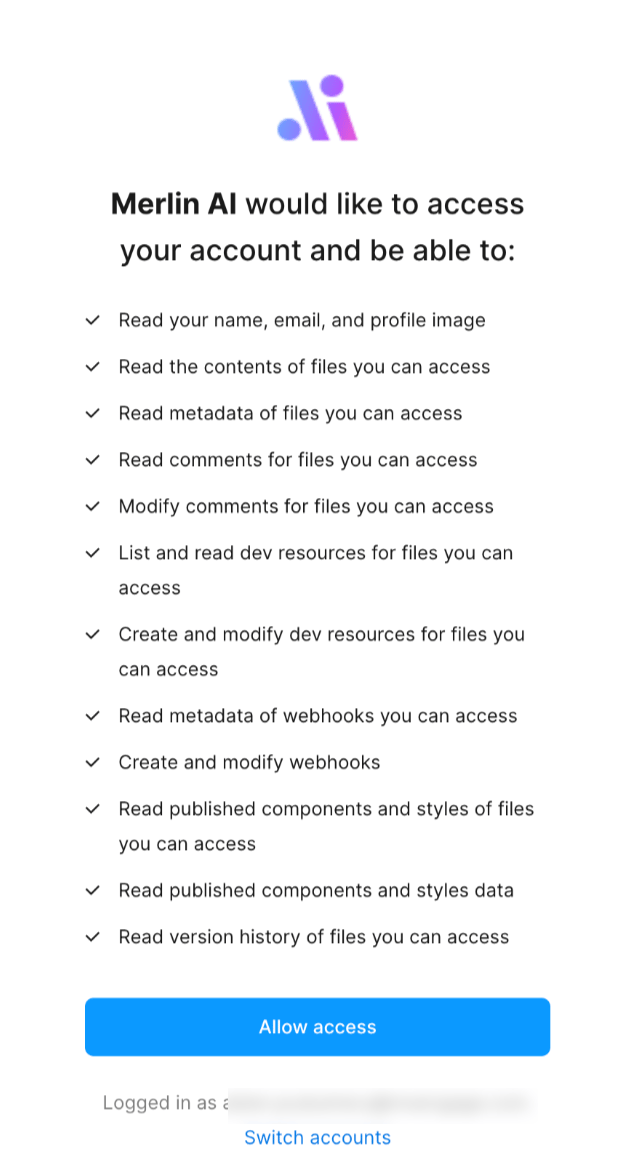
On the Figma consent screen, review the account access that Figma grants to MoEngage, and then click Allow access. To authorize a different Figma account, click Switch accounts before you grant access.
-
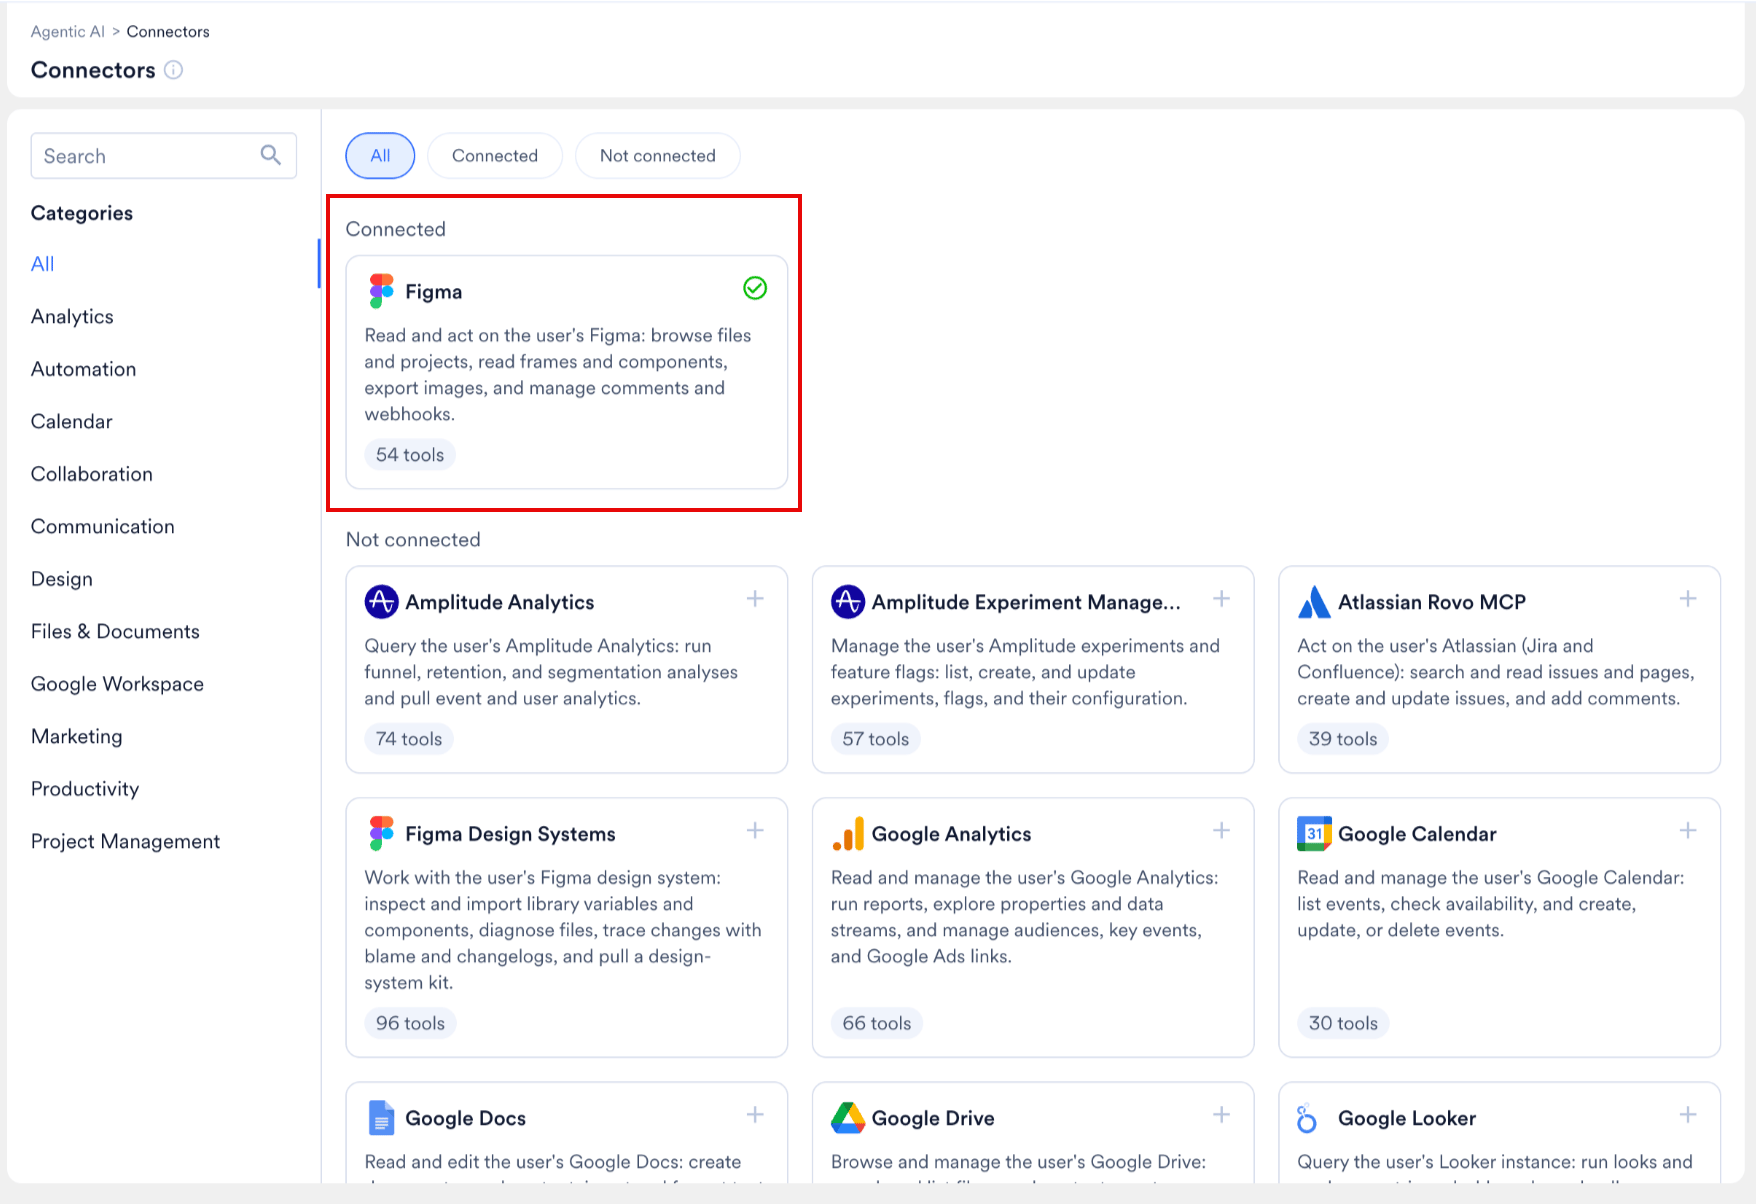
Figma returns you to the Connectors page, where the Figma card moves to the Connected section and displays a green check mark.
- Select the connected Figma card to reopen the Connection details dialog, and then enable or disable individual Figma tools. A disabled tool stays unavailable to every agent you run.
A Custom Agent reads Figma on behalf of the user who starts the run. A teammate who runs your import agent connects a Figma account individually and needs access to the same Figma file.
Prepare Your Figma File
The agent builds HTML from the structure of your design, so an organized Figma file produces a more accurate template. Prepare your file as follows:- Use Auto Layout. The agent reads the Auto Layout structure of each frame to determine how to arrange sections in the HTML. A frame that uses Auto Layout with fixed or fill widths converts more reliably than a frame built from manually positioned layers.
- Set a fixed email width. Email designs typically use a width of 600 px. Set the frame width explicitly so that the agent builds an HTML container of the same width.
- Name frames clearly. You refer to each frame by name when you run the agent, and MoEngage uses the frame name as the email template name. Follow a consistent convention, for example
times-daily-briefing. - Name sections and image layers. Descriptive layer names, such as
Masthead and introductionorTop stories, help the agent organize the HTML. MoEngage uses the layer name as the content block name, so name every section you plan to import on its own. - Group each reusable module into its own layer. When you reuse a module across campaigns, such as a header, a product card, or a promotional banner, keep the module in a single named group or frame. The agent then imports the whole module, text and images together, as one content block.
- Keep text as live text layers. Text that you convert to outlines or flatten into an image arrives in MoEngage as part of an image, so you cannot edit that text in the email template.
Create the Import Agent
Build the import agent in the Agent Builder. You can start from scratch and let the Merlin AI Assistant draft the configuration, or write the instructions yourself. For the complete agent lifecycle, refer to Create and Manage Custom Agents.- In the left navigation menu, go to AI Agents > Custom Agents.
- Click + New custom agent, and then click Create from scratch. MoEngage opens the Agent Builder.
- In the Merlin AI Assistant, describe your goal in plain language, for example,
Import email templates from Figma. - Answer the four questions that the Merlin AI Assistant asks. Each question shapes one part of the agent’s behavior:
- Review the drafted agent. The Merlin AI Assistant populates the Instructions editor and recommends a set of tools. Edit both the instructions and the recommended tools to match your workflow.
- In the Files section, attach the reference files that the agent consults on every run, such as your brand guidelines or a sample of your preferred HTML structure. Each agent supports up to 5 files.
Example Instructions
The following example follows the recommended Role, Objective, Rules, Steps, and Output format structure. Adapt the example to your design system and naming conventions.Precise instructions produce reliable runs. State exactly which frames the agent imports, what the agent names each output, and what the agent leaves untouched.
Test and Run the Agent
- Click Test agent in the action bar at the bottom right of the Agent Builder.
- Enter a prompt that names the Figma file and the assets to import. For example:
Import the frame times-daily-briefing from the Times Figma file as an email template.Import the section Top stories from times-daily-briefing as a content block.Import the standalone images only.
- Review the tool calls, the agent’s reasoning, and the final output in the test panel. When the agent imports the wrong asset or builds the wrong HTML structure, return to the Instructions editor and make the affected step more specific.
- Click Make live once the test run produces the output you expect. Your teammates then run the agent from the Custom Agents dashboard. Refer to Run and Manage Agent Sessions.
Choose What Each Import Becomes
Your prompt decides whether a piece of your design becomes an email template or a content block:- A whole frame becomes an email template by default, because a frame usually represents a complete email.
- A named section inside a frame becomes a content block when you name that section in your prompt. Use this approach for the modules you reuse across campaigns, such as a header, a product card, or a promotional banner. The content block holds the text and the images of the section together.
- A standalone image becomes a content block that holds the image.
- An image inside a frame stays part of the email template that the agent builds from that frame, unless you name the image, or the section containing it, as a separate import.
To assemble an email from reusable modules, import each module as its own content block, and then insert the blocks into your email template. Refer to Personalize Content Using Content Blocks.
Review the Results
When the run completes, the agent returns a summary table in the chat. The table contains the following columns:
After the run completes:
- Open each email template in MoEngage and check the layout, fonts, and links. To adjust the generated HTML, refer to Create Content with Custom HTML Editor.
- Open the test email in the inbox you specified, and check how the template renders in the email clients your audience uses most. Refer to Test Email Campaign.
- Replace the placeholder links in the template with your campaign URLs, and add the personalization and Jinja your campaign requires. Refer to Personalize Email Content.
The agent reconstructs your design as HTML, so the generated template is an editable starting point rather than a pixel-for-pixel copy of the Figma frame. Review each generated template before you use the template in a campaign. Custom Agents create and update drafts but never publish a campaign, so final approval stays with you in the campaign builder.
Related Pages
- Custom Agents: Overview
- Connect External Apps to Custom Agents
- Create and Manage Custom Agents
- Run and Manage Agent Sessions
- Build Multi-Agent Workflows
- Content Blocks
- Templates
FAQs
Do I need to connect Figma for each agent?
Do I need to connect Figma for each agent?
No. You connect Figma once on the Connectors page, and every agent you run reaches your Figma account. The instructions you write for each agent determine when that agent calls Figma.
Can a teammate run my Figma import agent?
Can a teammate run my Figma import agent?
Yes, when the agent is public. A Custom Agent uses the Figma account of the person who starts the run, so your teammate connects a Figma account individually and needs access to the same Figma file.
What happens if a frame has the same name as an existing template?
What happens if a frame has the same name as an existing template?
The outcome depends on the option you selected for the second builder question. The agent either creates a new template every time, updates the matching template every time, or updates the matching template when one exists and creates a new template when none exists. To change the behavior later, edit the agent’s instructions in the Instructions editor.
Does the agent modify my Figma file?
Does the agent modify my Figma file?
The agent modifies your Figma file only when your instructions direct the agent to do so. An import requires read access alone. To keep the Figma file unchanged, disable the Figma write tools in the Connection details dialog and state in the agent’s instructions that the agent never modifies the Figma file.
Can the agent create a content block that contains both text and images?
Can the agent create a content block that contains both text and images?
Yes. A content block holds text, images, or both, so a module that combines a headline, body copy, and an image imports as a single content block. Name the module in your prompt, and keep the module in one named group or frame in Figma. MoEngage content blocks come in two types, Plain text and HTML; a module that combines text and images imports as an HTML content block. Refer to Content Blocks.
Can an agent send my campaign?
Can an agent send my campaign?
No. Custom Agents never publish campaigns. An agent creates an email template and sends a test email, and you approve and launch the campaign in the campaign builder.
What if the connection to Figma drops during a run?
What if the connection to Figma drops during a run?
Reconnect Figma on the Connectors page in a separate browser tab, and then send your next message in the same session. Restate any step that the agent skipped so that the agent retries the step. Refer to Reconnect During a Run.