Overview
MoEngage Personalize helps you to create real-time connected experiences that accelerate conversions. In turn, this aids in connecting your customer needs and your brand experience. To create a Server-side Personalization experience, navigate to: Personalize > All Experiences, Click +Experience > Web & App (API).Step to Create a Server-side Experience
There are three steps to create a new server-side experience- Target Users: Specify the audience for your web experience.
- Content: Specify the variation and personalized content for the selected users.
- Schedule and goals: Specify a delivery schedule and conversion goals for the experience.
Step 1: Target Users
This section contains the following:Experience Details
- Experience name - Type the name of the experience to manage and identify it. The experience name must have at least five characters and at most 256.
- Experience tags - Select the experience tags from the drop-down list. Tags help you add context to your experience. For example, you can add ‘onboarding’ as a tag for an experience created for onboarding users to your platform or app. For more information, refer to Tags.
- Experience key - Specify an experience key that will help you uniquely identify the experience. The experience key will be used as part of the API request to fetch server-side experiences. Experience key must have atleast five characters and at most 50. Experience key cannot be updated once the server-side experience is published.
Target Audience
Select +Add Audience to define the target user segment for the Experience.Defining your Target Audience
Defining your Target Audience
You can add multiple audiences (up to ten) to your experience. For example, let’s take the case of a brand that sells skin care products. If a marketer creates the following audience segments, they can personalize the experience for each of these segments.
- Users who have viewed perfumes or have shown an interest in them - the marketer can personalize the App and/or website such that perfumes are shown primarily on the page with mentions of the latest arrivals, discounts, upcoming sales, testimonials, celebrity reviews, etc.
- Users who have clicked on discount offers for skin care products - the marketer can personalize the App and/or website such that offers and discounts on skin care products are shown primarily on the page.
- Users who have shown interest in natural skin care products - the marketer can personalize the App and/or website such that natural and cruelty-free products are shown primarily on the page.
- Add an existing audience by selecting one of the already added audiences shown in the dropdown. Click Select at the bottom line to add the audience to your experience.
- Duplicate and edit an existing audience. Select an audience in the dropdown and click Duplicate and Edit at the bottom right corner to modify the details.
- Add a new audience by clicking + New Audience.
- Audience Name - the unique name that identifies your audience.
-
Segmentation criteria - the segmentation filters that help you define your audience. This section helps you add criteria for the target user selection. For example, if you want to add/delete users who have added items to the cart but have yet to complete the purchase or users who have not received notifications or opened their app in the last ‘x’ days, and so on.
- All Users
- User Property
- User Behavior
- User Affinity
- Custom Segment
Allows you to send the campaign to all the users of the app. When you use this option, you cannot add multiple filters. -
In-session attributes - allow you to group visitors based on specific conditions. You can add the following in-session attributes:
- Exclude Users - You can exclude users who use certain in-session attributes by clicking Exclude Users and specifying the in-session attributes in the Select attribute dropdown.
- To personalize using the user’s in-session behavior, click +In-session Behavior and add the event condition - _Has Executed/Has Not Executed_and choose the event in the Select an event dropdown. Note: Only the last ten instances of the selected user action will be considered for targeting In-Session behavior.
- The Save for later use checkbox is checked by default. This saves the audience added and makes it available for other experiences.
- Click Add at the bottom right corner of the screen to add the audience.
Step 2: Content
In this step, you can add A/B testing and define the content for each variation that will be returned in response to the API request. As part of content definition, you can create multiple variations for each audience and control visitor traffic distribution across the variations. For each audience targeted in the experience, you can create upto 5 variations.
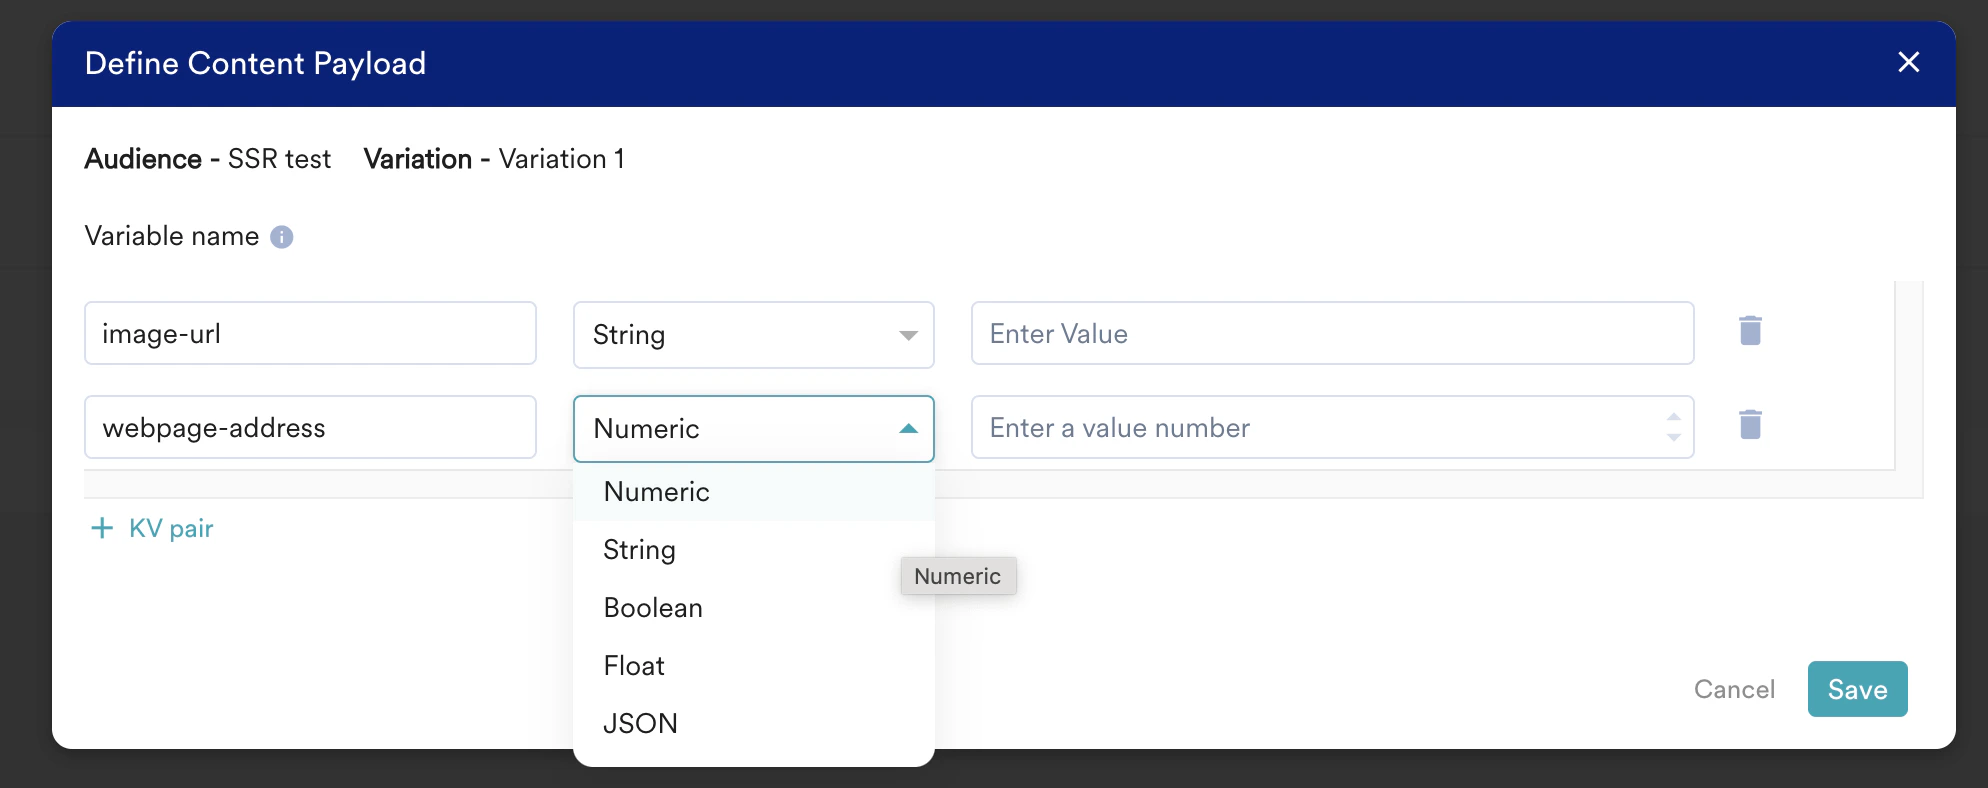
For each variation, you can define a set of variables and their values that will be returned in the response to the API request. Variables will allow you to modify aspects of the webpage without modifying & deploying the code repeatedly. For example, if you want to update an image URL and the webpage the user gets redirected to, you can turn the image URL and the corresponding webpage address into a variable to allow users to easily make the changes.
Variable types
Each variable must have one of the following data types- Number
- String
- Boolean
- Float
- JSON
It is recommended to retain the same list of variables for all variations (incl. Default) for an audience.
Personalization of Content
You can personalize the content using User Attributes, User Events, Product Sets, Decision Policies, Content APIs and Content Blocks. For more information, refer to- MoEngage Templating Language (JINJA)
- Catalogs
- Content APIs
- Content Block
- Auxiliary Data
- Decision Policies
- You can personalize your content by pressing @ anywhere within the text area as shown below.
- Select either Data personalization or Content Block.
- Click the Data personalization tab and from the drop-down, select one of the following
- User Attributes
- Select one of the following as for alternate (Fallback) to the personalization:
- No Fallback
Choose the option for personalized content. The option results in no alternates when the personalization does not work. - Do not send Web Personalization
Choose the option where if the personalization does not work, Personalized experiences are not delivered. - Replace Text
Type or paste the text used when the personalization does not work.
- No Fallback
- Product Sets
- Content API
- Modify the values of the parameters of the Content API.
- Content Block
- Select the content block to be inserted
-
You can optionally choose to Insert only the content of the content block.
When the option is selected
- Only the content is inserted
- The content is disconnected from the content block
- Any content update in the content block is not reflected in the inserted content.
- Decision Policies
- Select the decision policy to be inserted.
- Click Done.
Ensure that custom attributes do not have the same names as MoEngage’s standard attributes. If a custom attribute and a standard attribute having the same name are used for personalization, it could result in incorrect personalization.
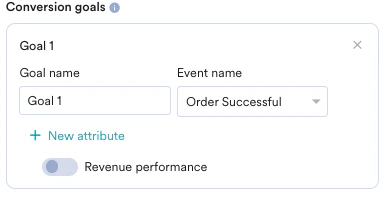
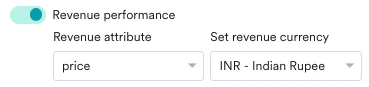
Step 3: Schedule and goals
In this step, set the scheduling criteria for your experience. You can set the start and end dates and times for your experience.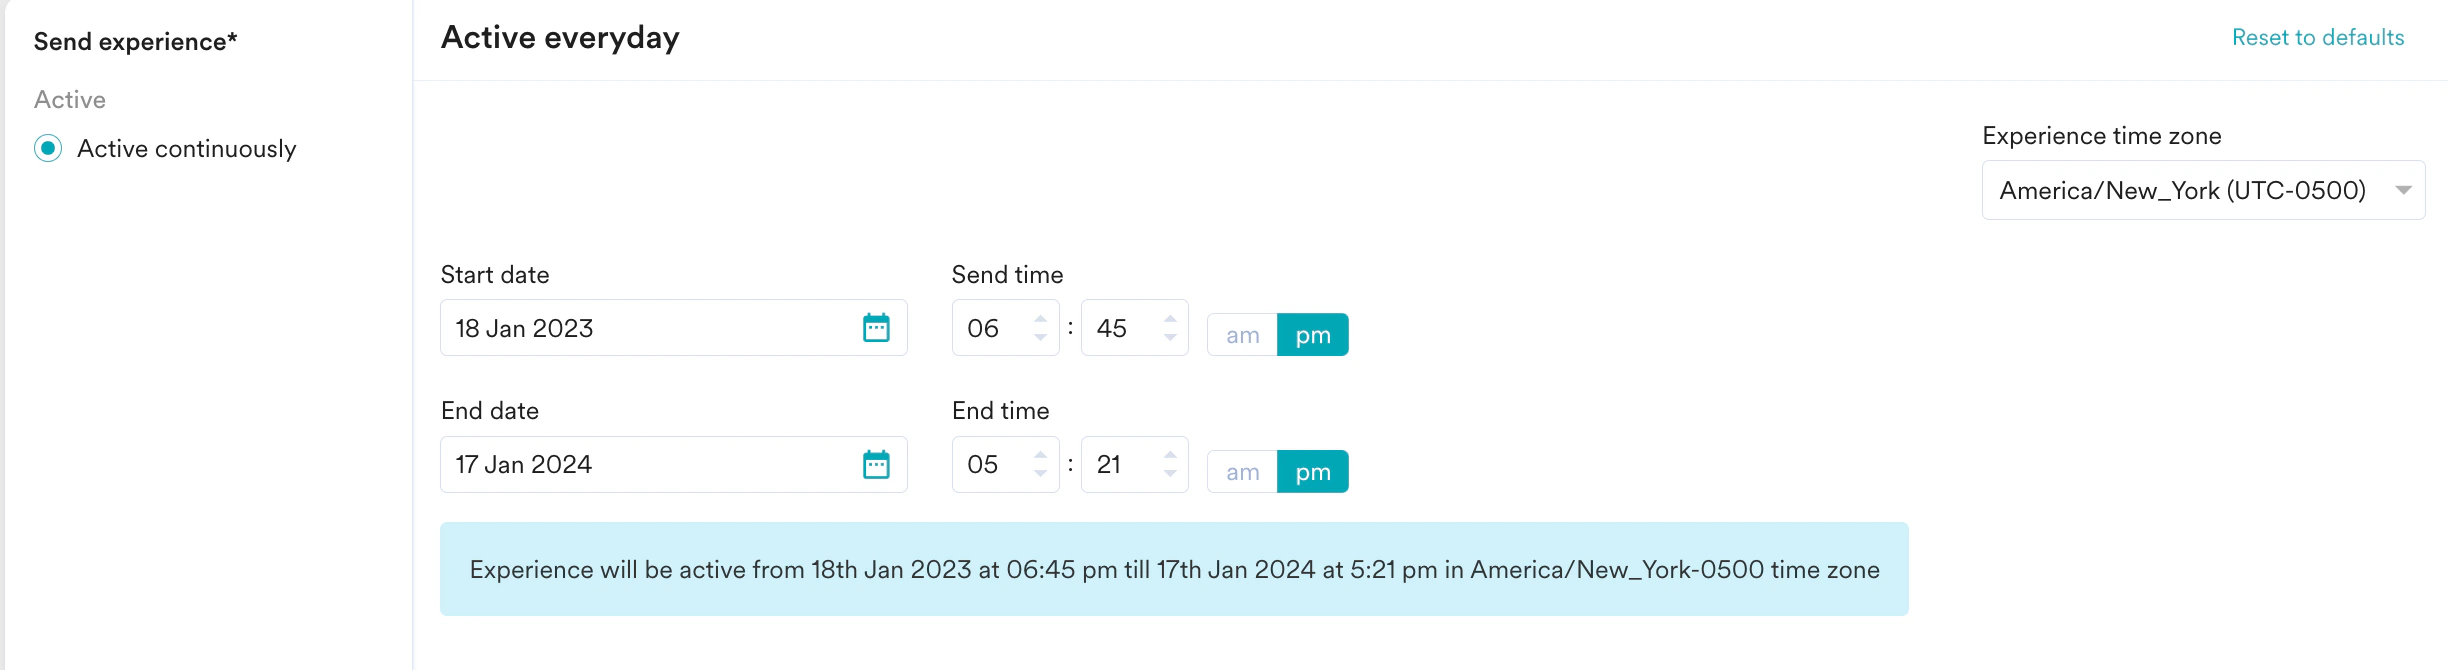
- How many users have viewed the product page?
- How many of them added that product to the cart?
- How many of them made a successful order?