Configure Workspace Settings
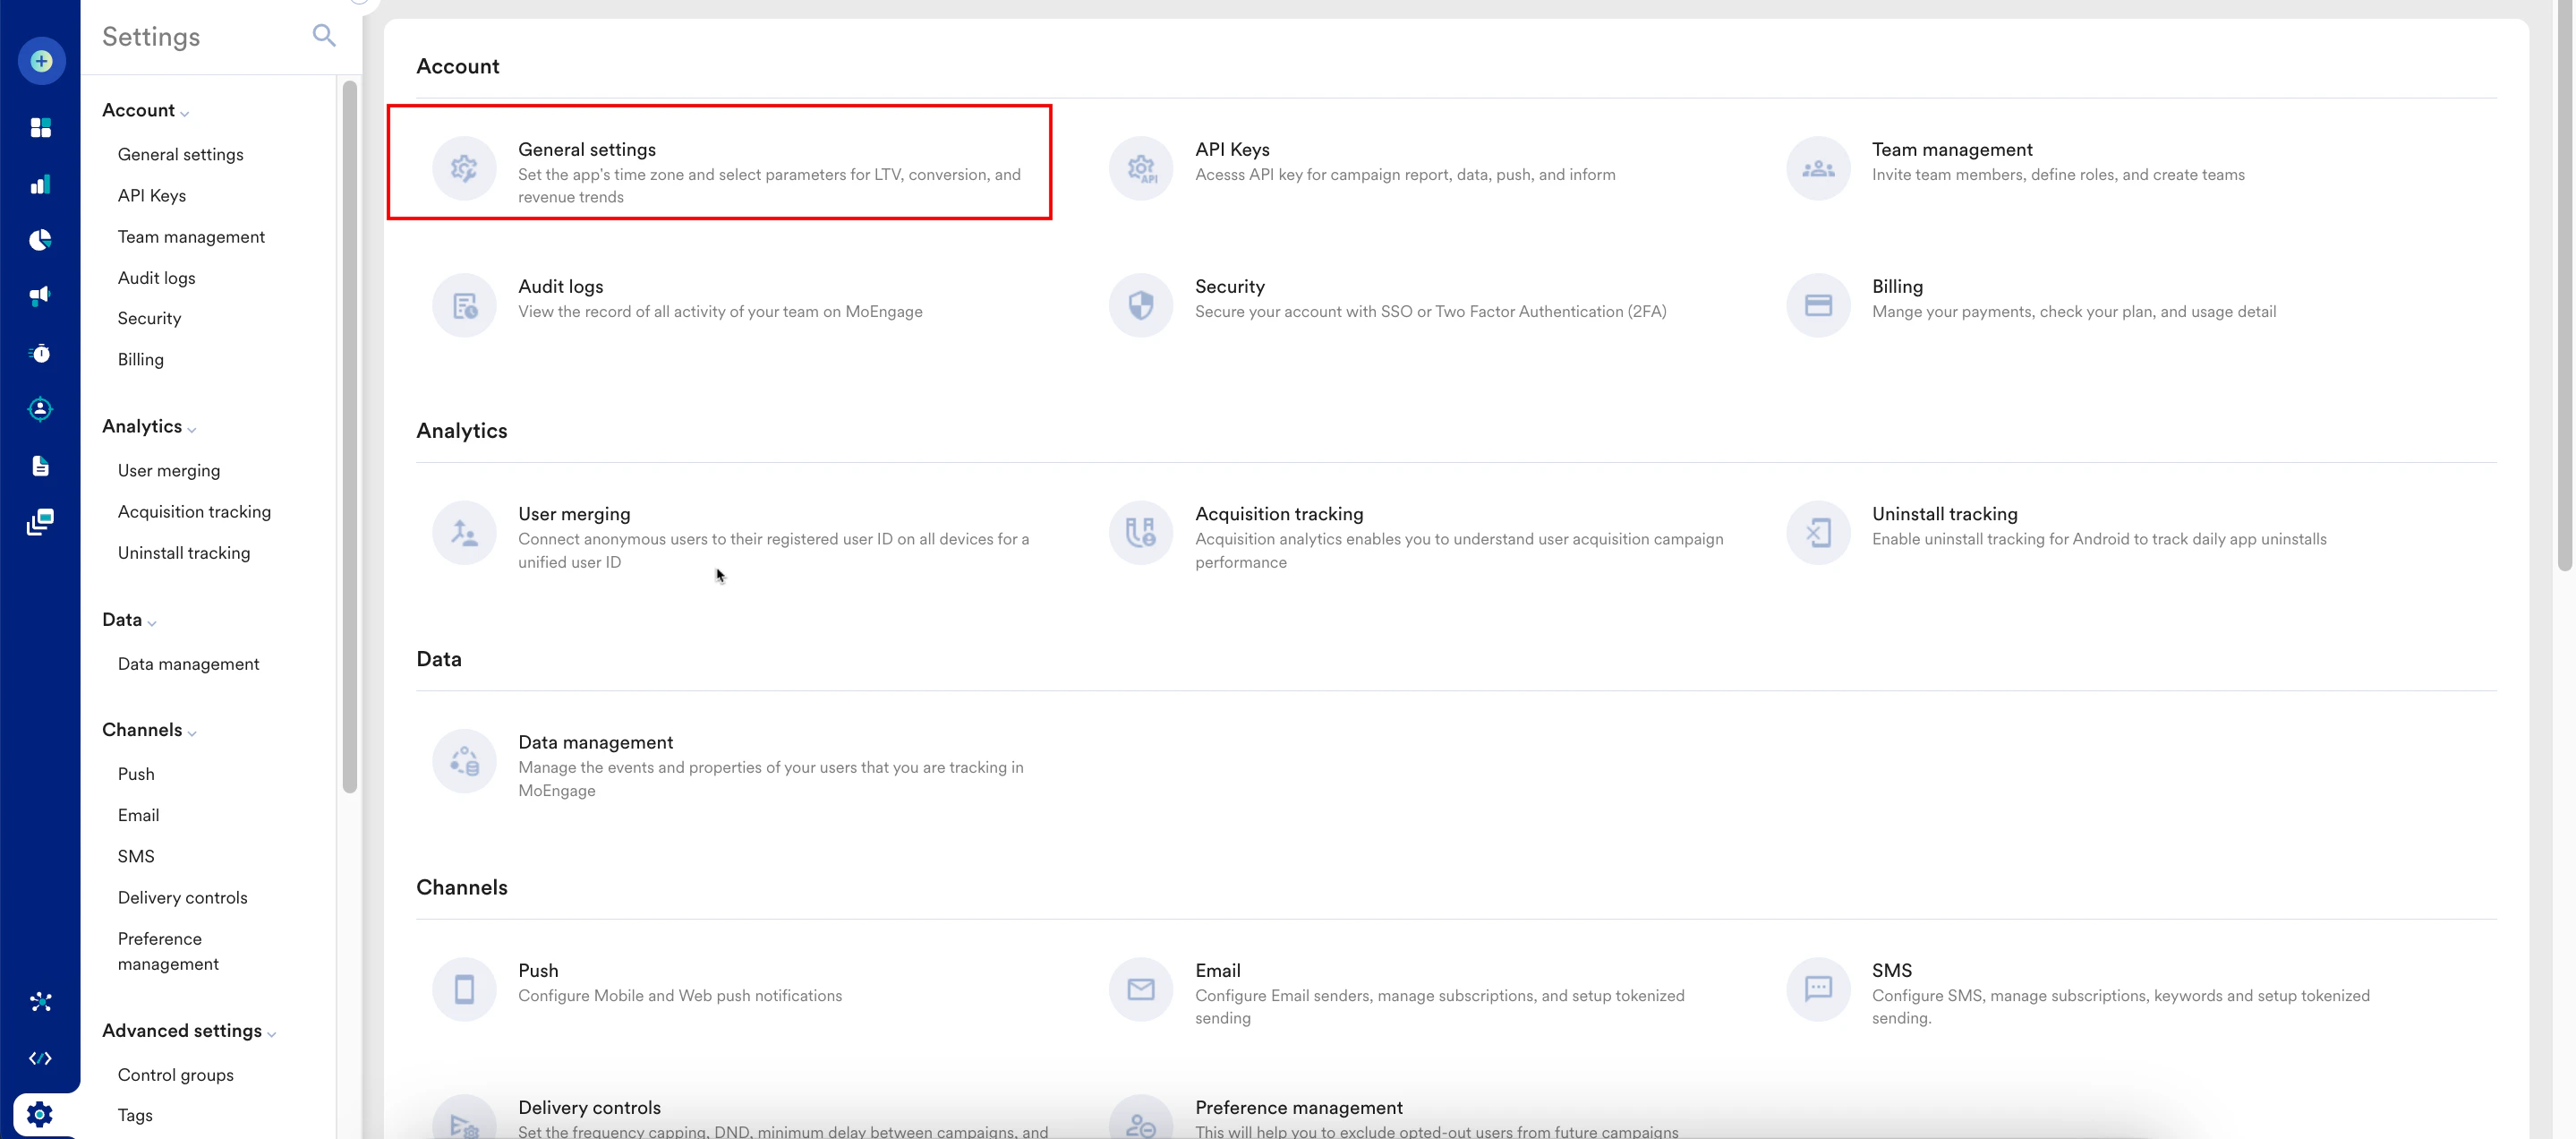
Perform the following steps to configure your workspace settings:- On the left navigation menu in the MoEngage dashboard, click Settings > Account > General settings.
- On the General settings page, enter the following details:
| Section | Field | Description | |
|---|---|---|---|
| Basic details | Workspace ID (earlier app id) | This is a unique ID that MoEngage has assigned to your current workspace. It is a read-only field. The developers in your organization need this Workspace ID when:
| |
| Time zone | The time zone is automatically selected based on your current time zone. Select a different time zone if required. Choosing the appropriate time zone ensures that messages or notifications are delivered to users at the right time, based on their local time zone. | ||
| Goal mapping | Conversion goal | A conversion goal is a specific action you want your users to complete. This could be anything from a product purchase, a sign-up, a content view, or any other key interaction that signifies progress or value within your business objectives. You can define this goal to track how effectively your campaigns drive desired user behavior. After you select a conversion goal, you must select an attribute in the Revenue attribute field. You must select the conversion goal and revenue attribute to see insights on conversions. Configured attributes are displayed as conversion metrics on the Key Metrics dashboard. Changes will take up to half an hour to reflect across the workspace. Conversion metrics in the key metrics dashboard will start reflecting after 24 hours. For more information, refer to Key Metrics. | |
| Revenue attribute | A revenue attribute is a specific data associated with a user’s action that indicates the monetary value generated by that action. For example, if your conversion goal is a “product purchased,” the revenue attribute would be “price” to measure the amount of money spent on that purchase. This field is dependent on the Conversion goal field. After you select a conversion goal, the revenue attributes related to that goal are available in this list. Goal mapping will help you calculate the lifetime value (LTV) and show you conversion and revenue trends in the Key Metrics dashboard. | ||
| Currency | Setting the right currency is important for providing accurate pricing information, offers, and promotions to customers. Displaying prices in their local currency enhances the customer’s experience and eliminates confusion or discrepancies. It also helps build trust and credibility by presenting information in a familiar and understandable format. This field is dependent on the Revenue attribute field. After you select a revenue attribute, the available currencies are displayed in this list. | ||
| Workspace classification | Classify your workspace environment | Specify whether this workspace is used for production or non-production purposes.
|
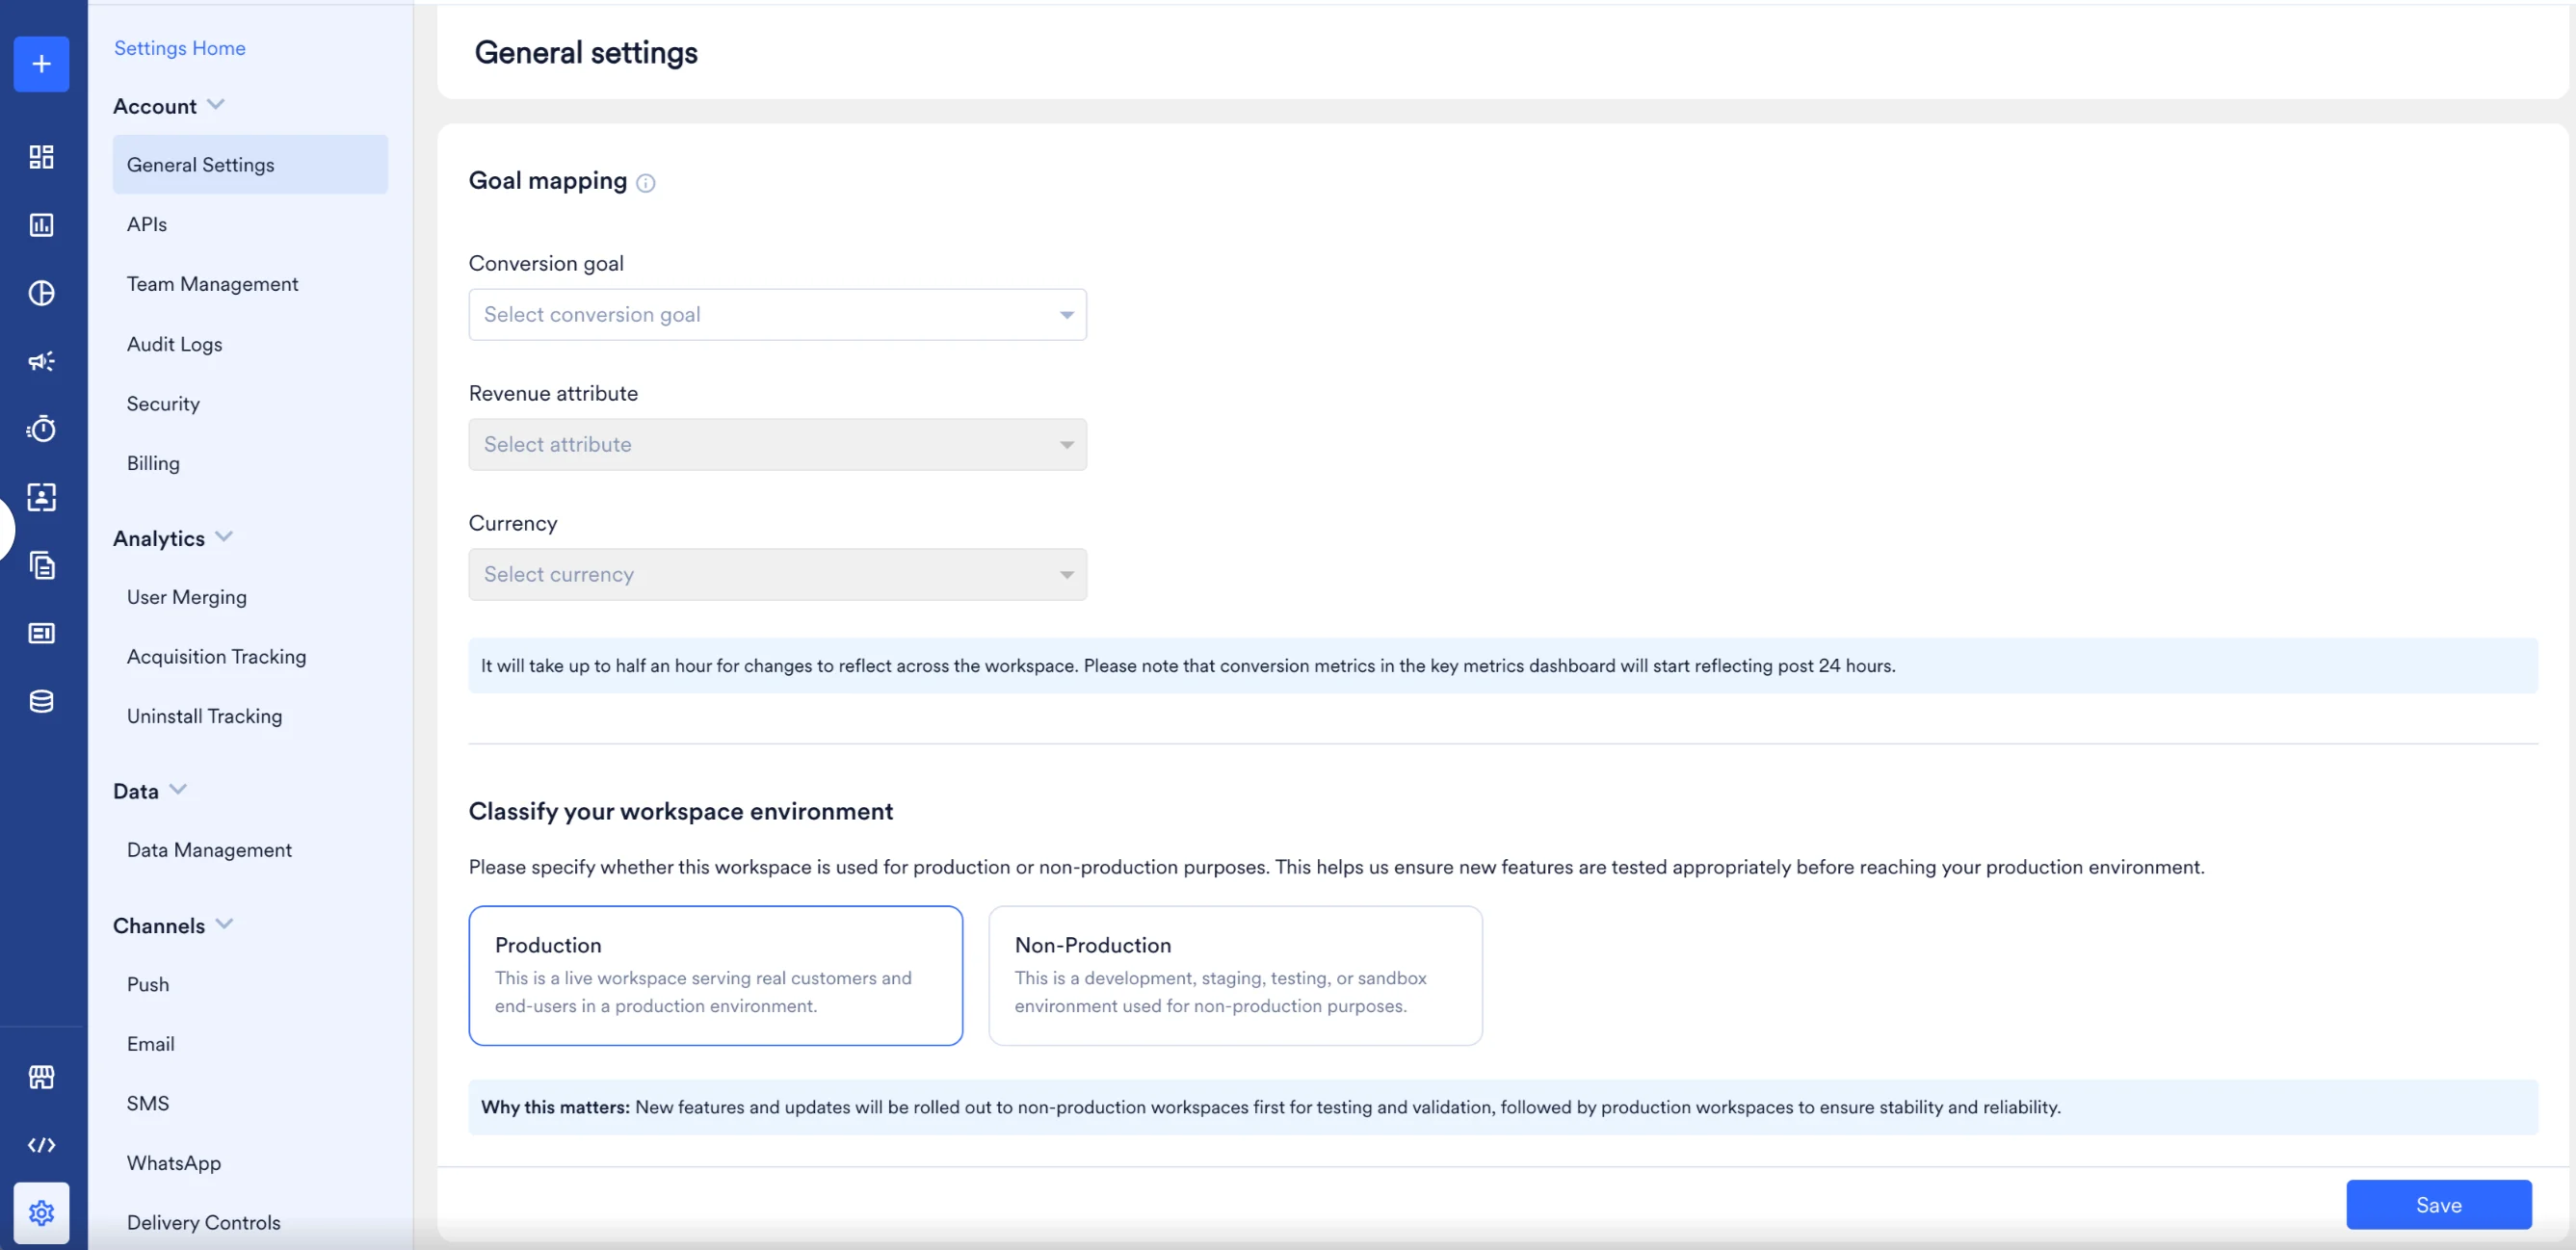
- Click Save.
Workspace Classification
- Workspace classification data will be used to provision an automated release cycle in future where you will be notified at every stage of the rollout.
- This feature is available only for customers on the Enterprise plan.
Set Workspace Classification for an Existing Workspace
- On the left navigation menu in the MoEngage dashboard, click Settings > Account > General settings.
- In the Classify your workspace environment field, select one of the following options:
- Production: Select this option if the workspace handles live end-user data and campaigns.
- Non-Production: Select this option if the workspace is used for UAT, staging, or testing purposes.
- Click Save.
Set Workspace Classification During Onboarding
When you create a new workspace, the onboarding flow includes a mandatory step to set the workspace classification. On the final step, you must select either Production or Non-Production before the workspace creation can be completed.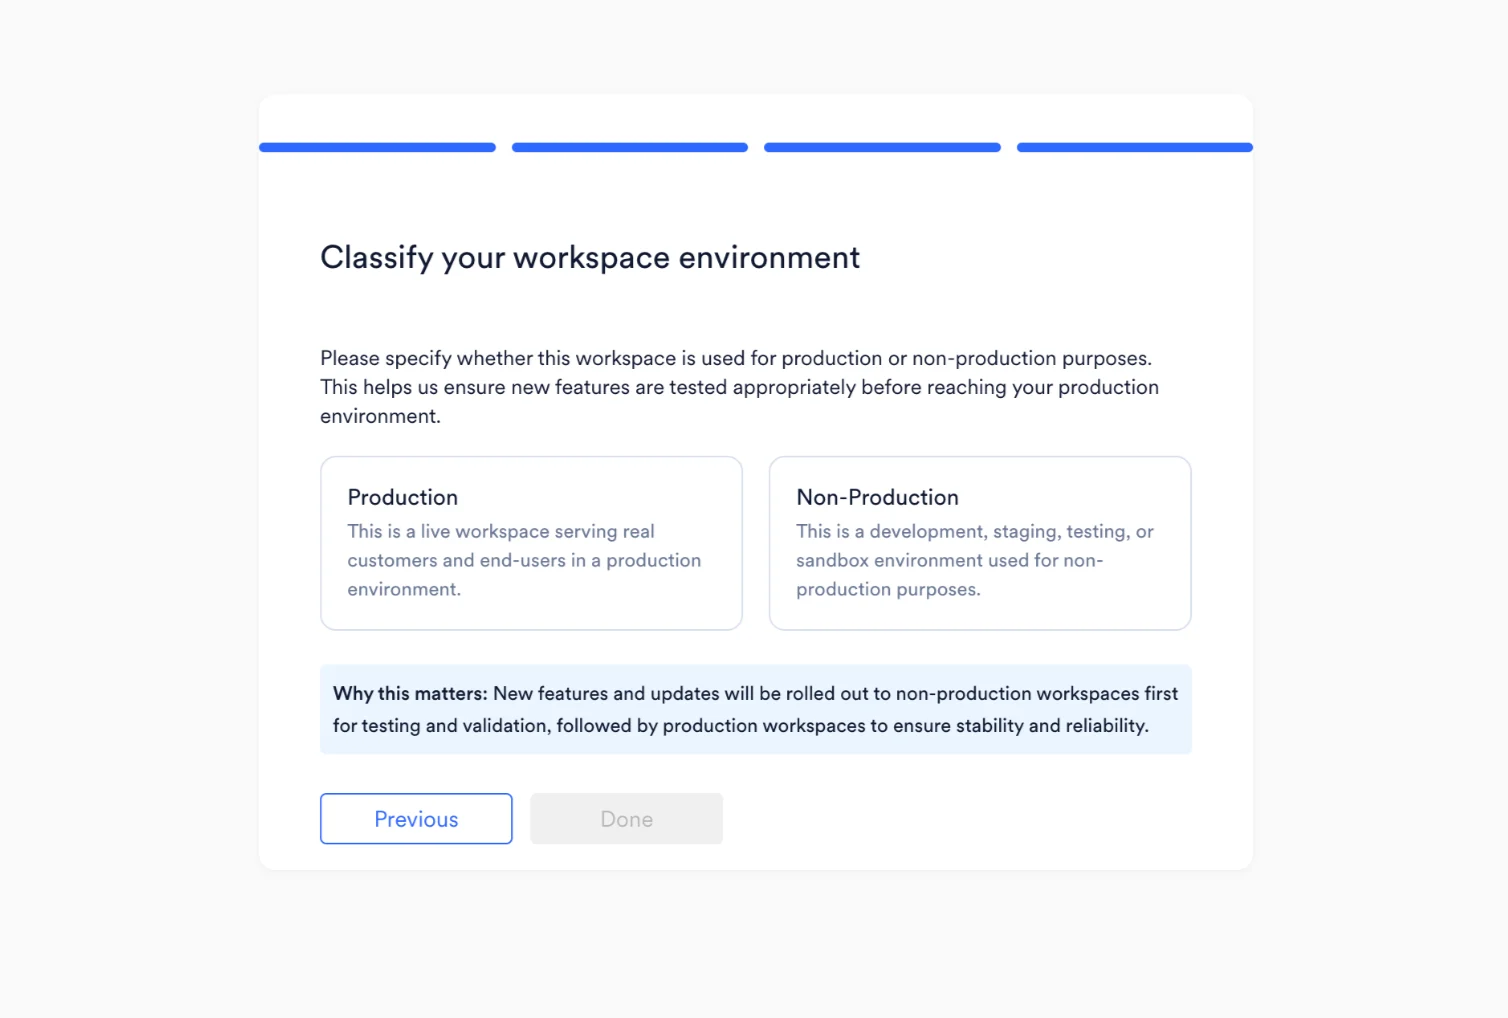
- Any existing workspace without a pre-selected classification is treated as Non-Production by default.
- The Test environment (from the Live/Test environment toggle) is always marked as Non-Production and cannot be changed.