

Introduction
A config (or config file) defines each connector in the Connected Channel. While adding a new Connector or making changes to the existing ones, you must upload the config file to ensure the Connector is configured correctly.Sample files
You can download these sample config files to get started:Config Sections
A config file is divided into the following sections:File Format
The following is the file format of the config file: kkkBasic Info
In this section, you must define the name of your Connector and the use case it aims to solve.| Key | Required | Type | Description |
|---|---|---|---|
name | Yes | String | It is your Connector name. It is displayed when you create connections on the App marketplace.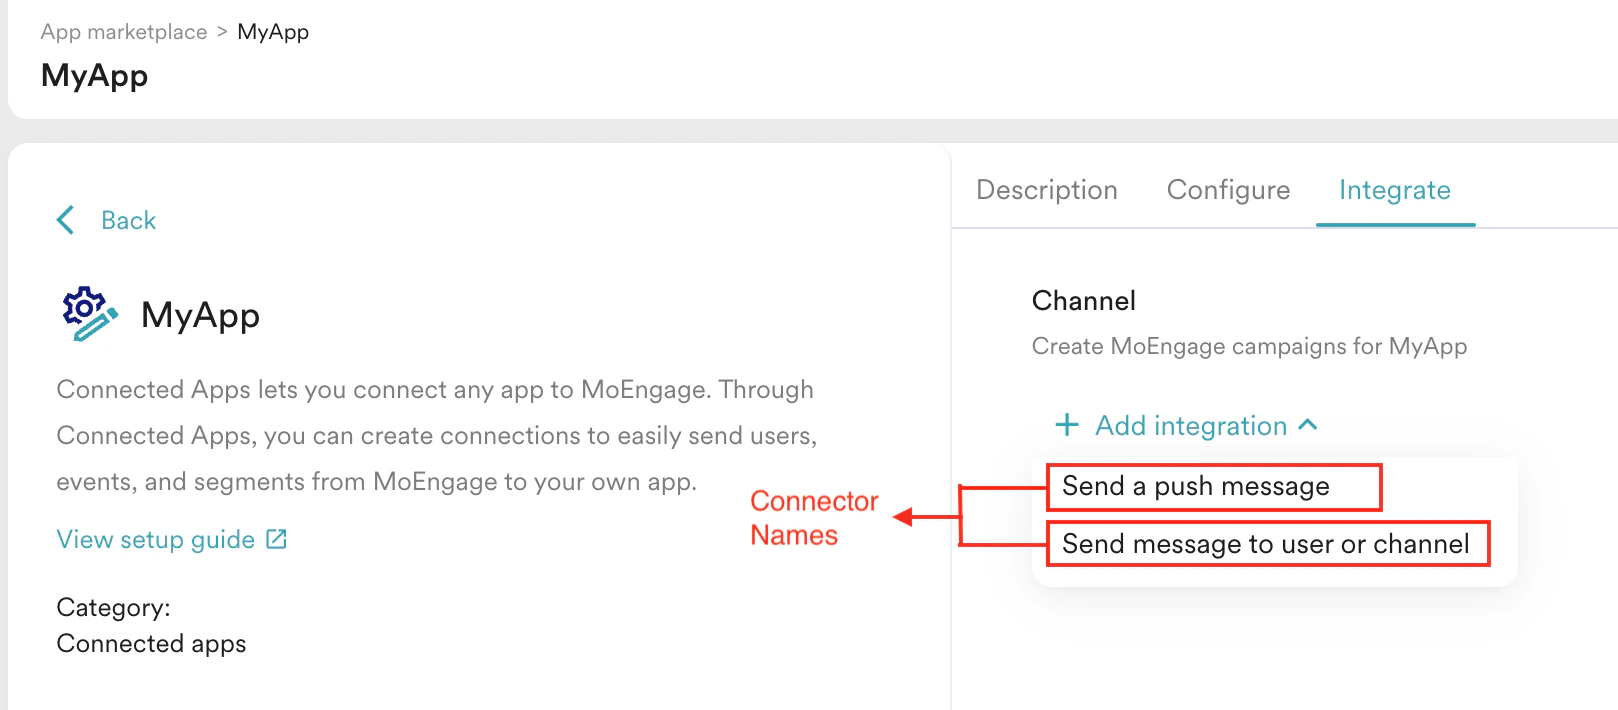 |
description | Yes | String | It is a one-line description of the use case solved by your connector. For example, using this Connector, you can send text messages to your Telegram users via the Telegram Bot. |
type | Yes | String | It is your Connected Apps App type. |
Input Variables
Input variables enable the rendering of input fields on the App marketplace. They facilitate the collection of required information necessary to successfully connect MoEngage to your app and effectively execute campaigns through it. To define an Input Variable, you must add the following to yourinput_variables section:
In addition to the required keys above, the following optional keys are supported across all input types to enhance the UI and data handling:
Visibility Scope
The Input Variables are collected in the following places:- App Marketplace
- Campaign Creation Form (Step 2)
App MarketPlace
Connections to your Channel App are added from the App marketplace, as shown below: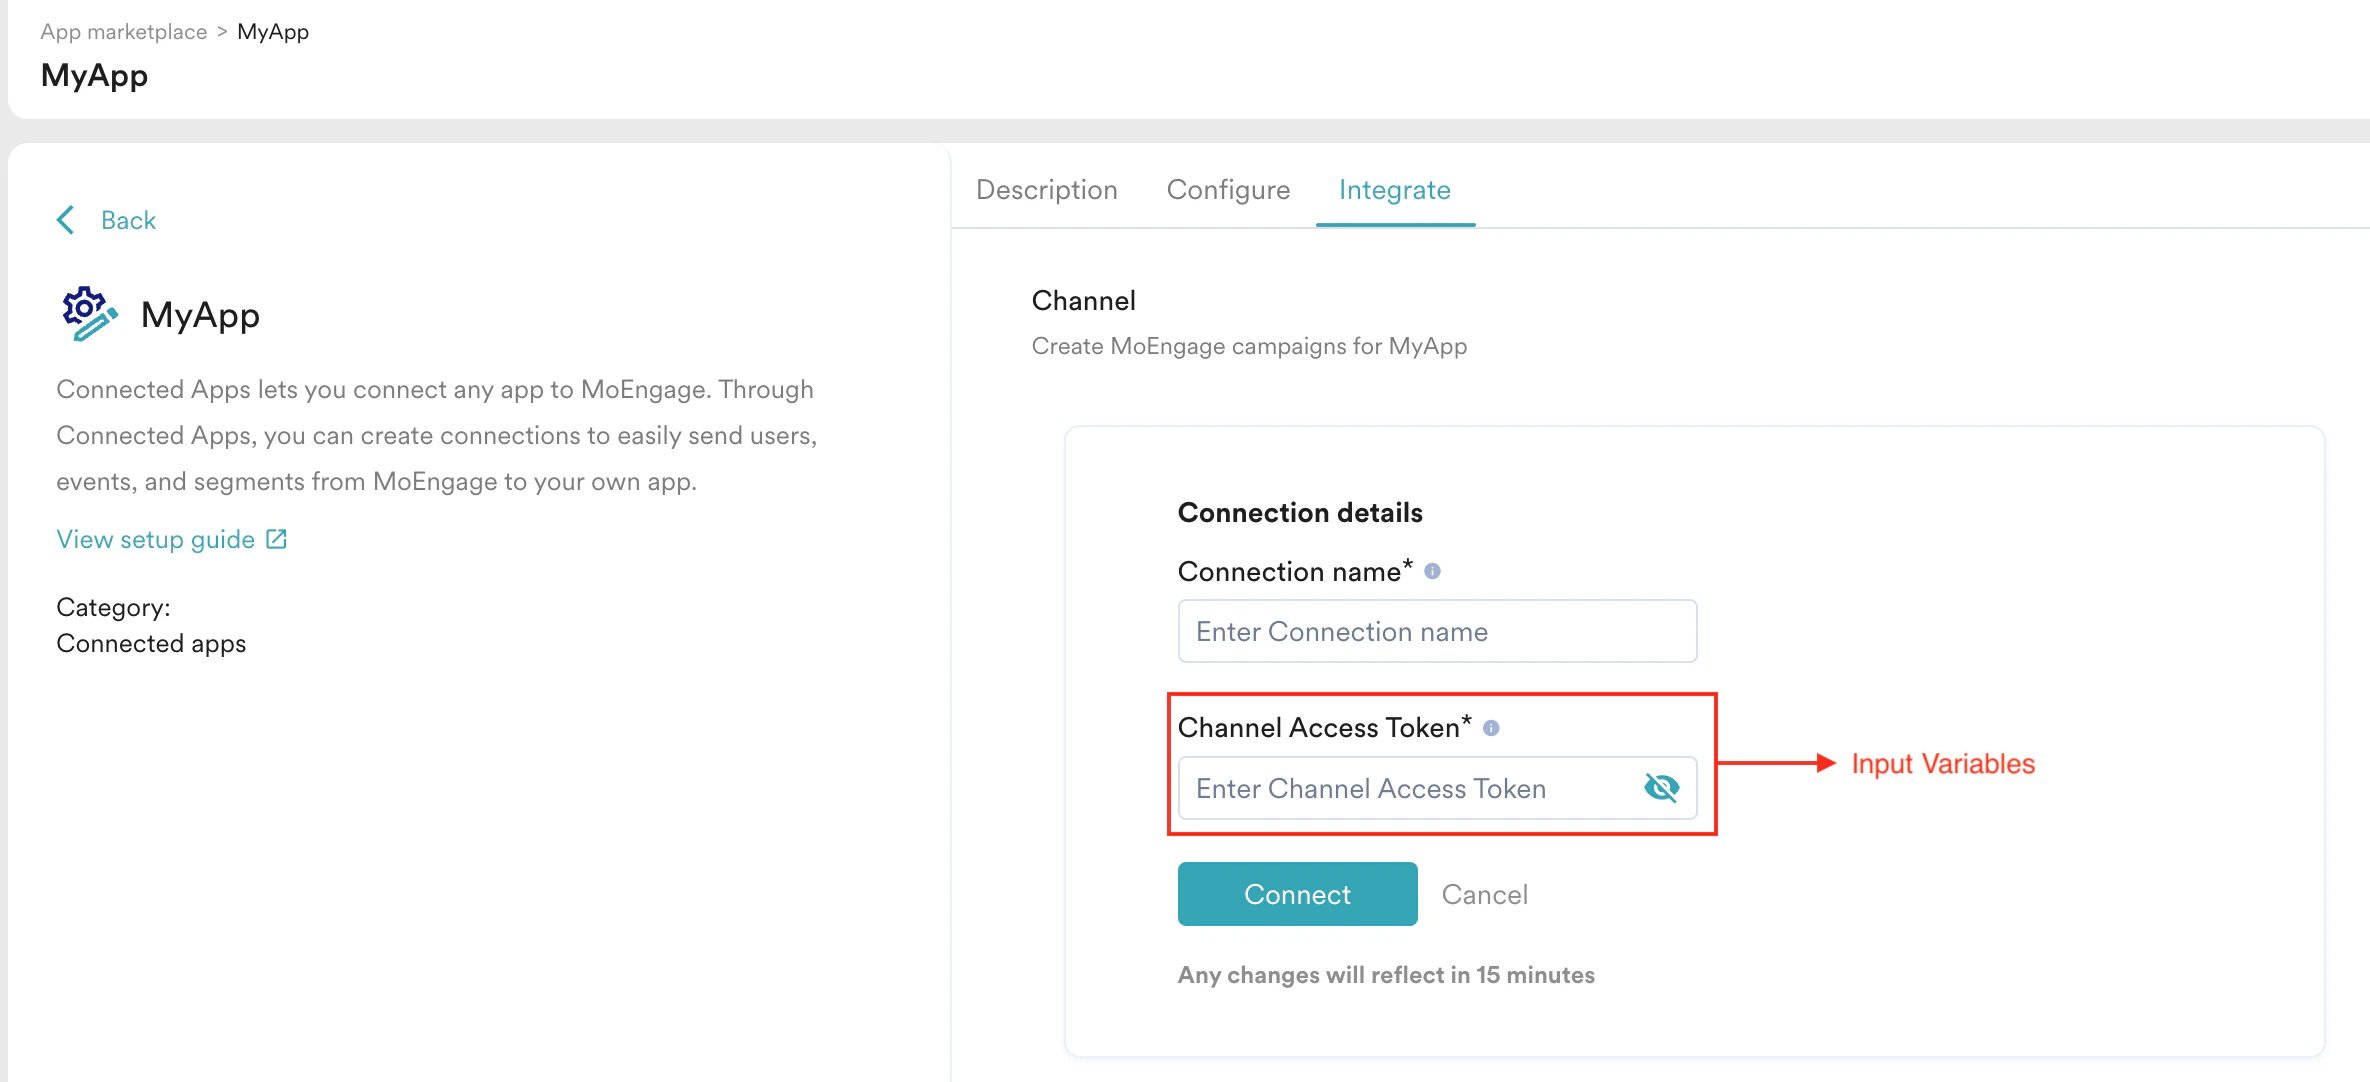
MoEngage displays the Connection name for each Connector in the App marketplace by default. This provides a visual identifier to distinguish the Connections.
Campaign Creation Form (Step 2)
Connections to your Channel app are added from the campaign creation, as shown below: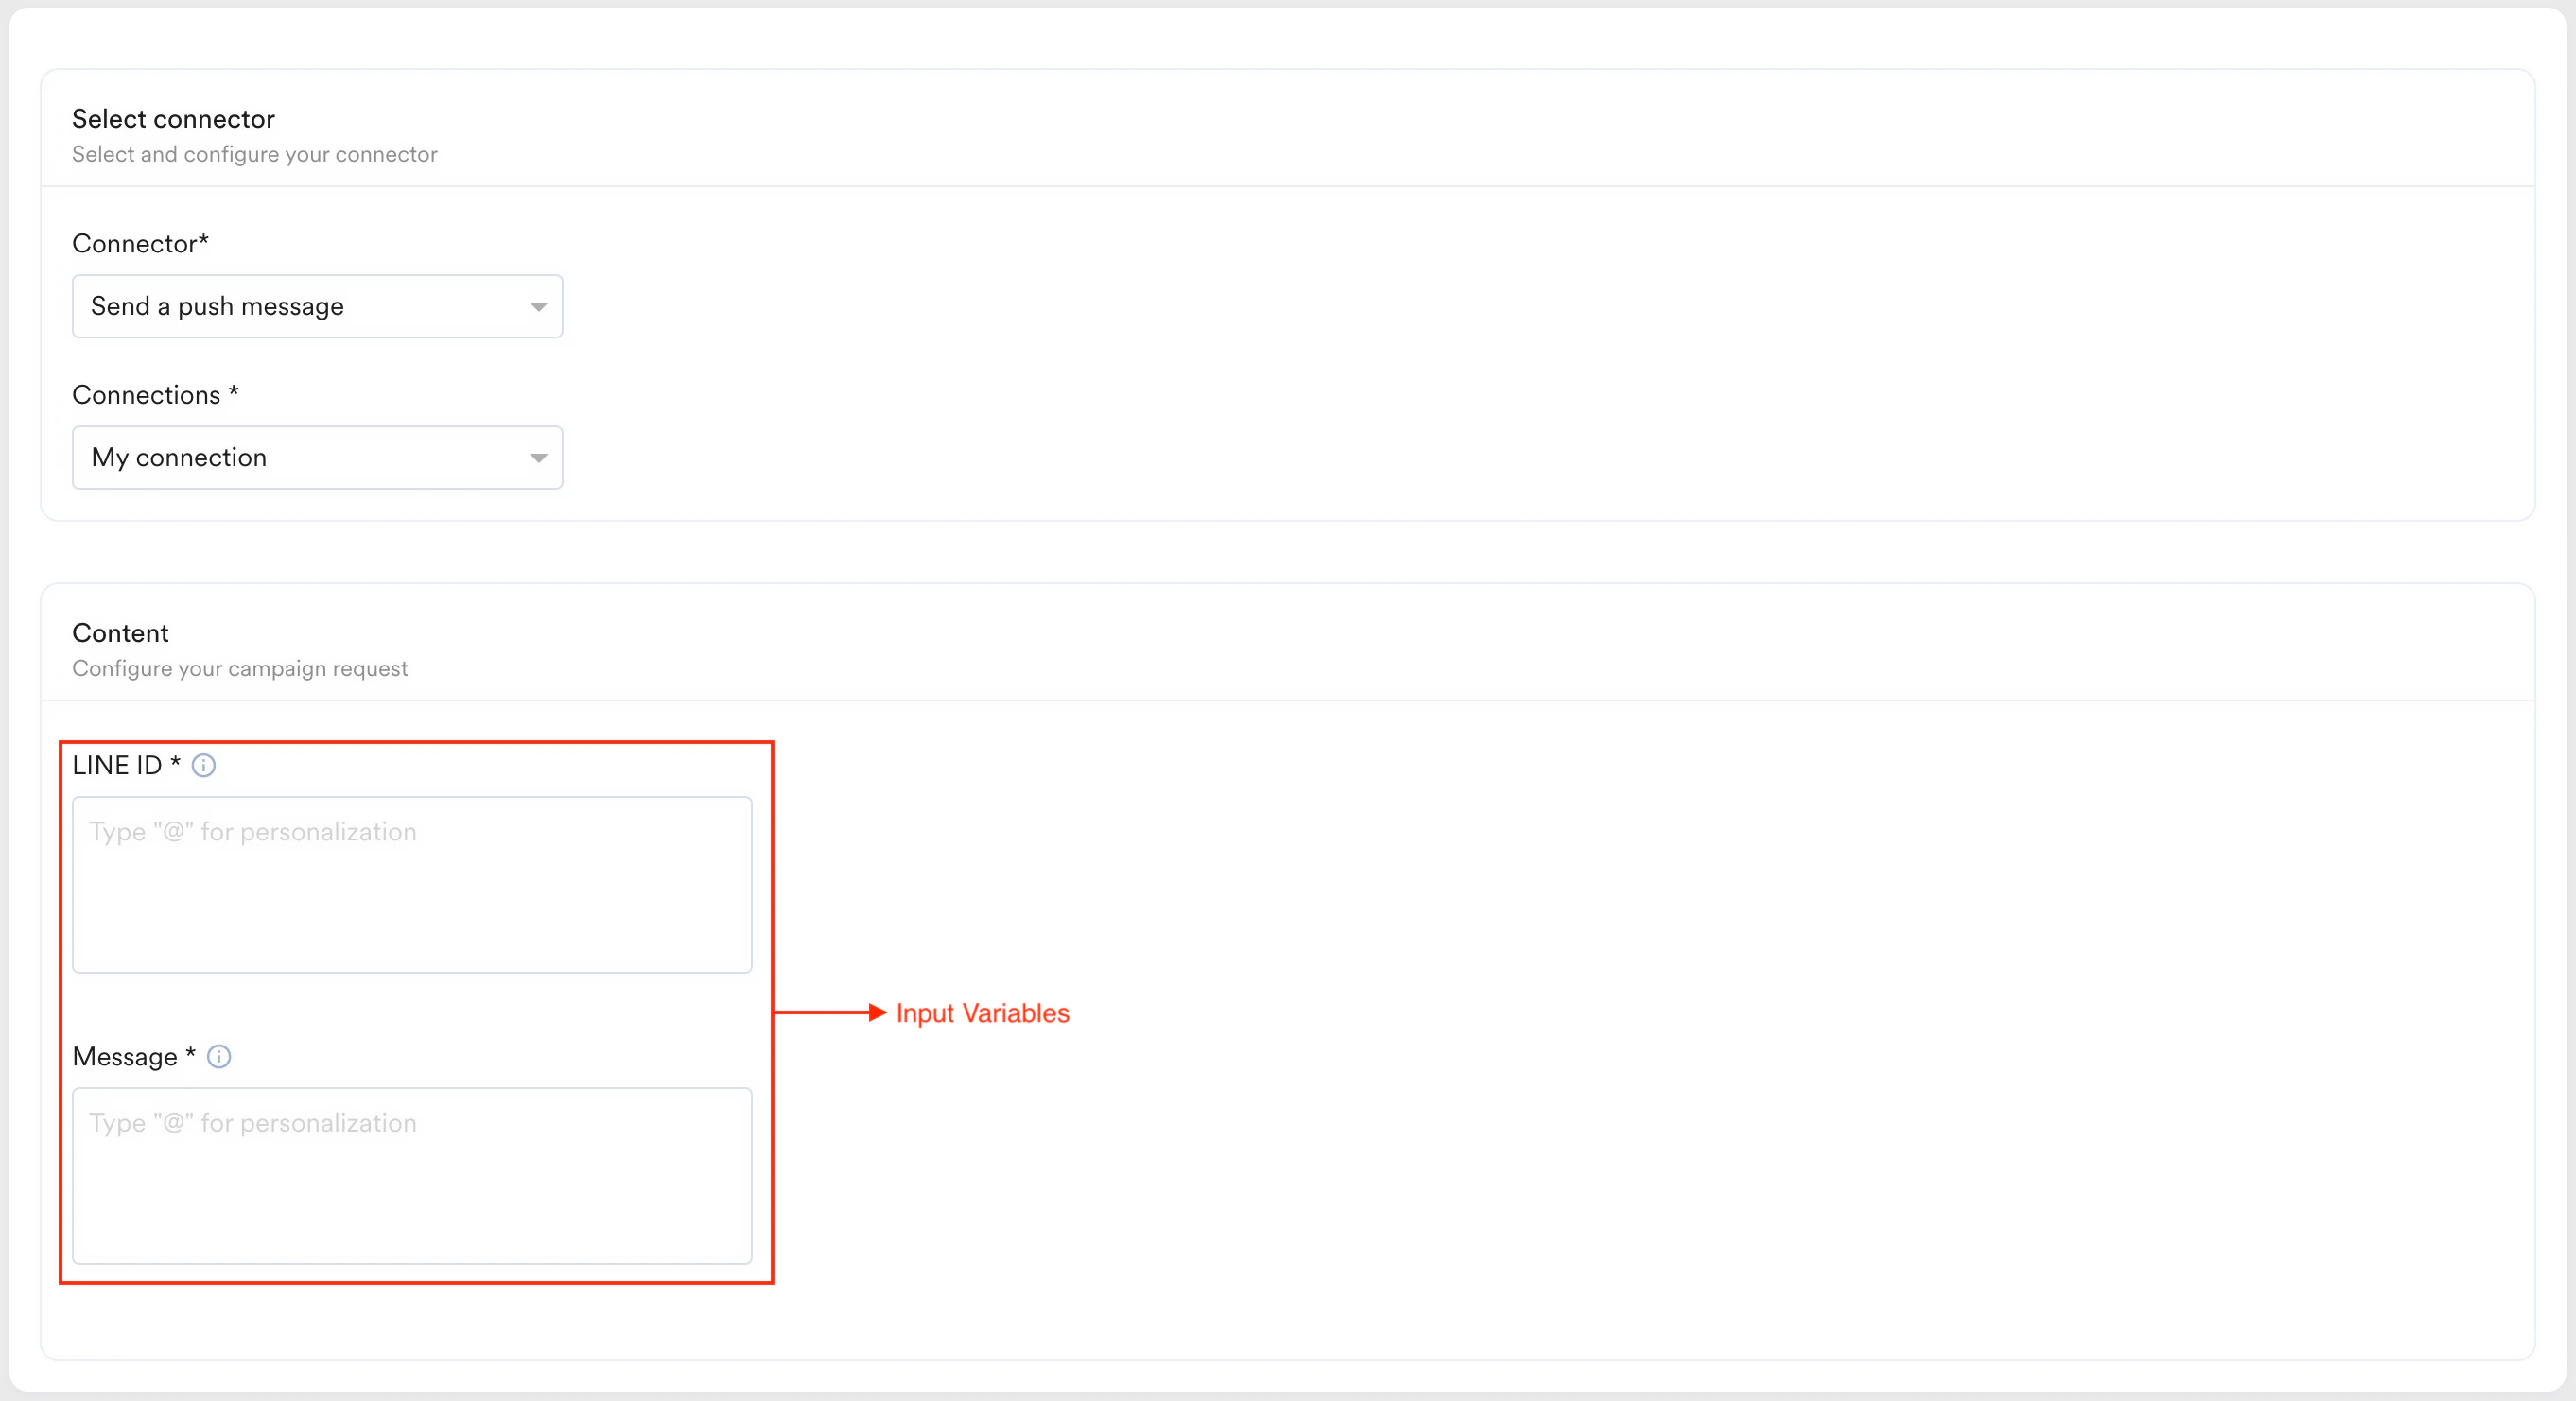
Supported Input Types
All input types are available in the App marketplace and the campaign creation form (Step 2).
Text
This input type allows users to enter any basic text or string value. It is displayed on the UI as a simple single-line text box, making it useful for soliciting short, free-text input, such as usernames or email addresses.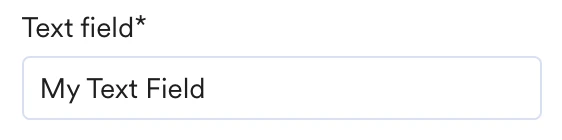
Rich-Text (HTML)
Rich-Text is not a separate input type. It is a formatting mode available on the Text input type for fields used in message content. HTML support is a workspace-level feature and is not toggled via the config file. Contact support to get this enabled for your workspace. Once enabled, Text fields used in message content accept standard HTML tags. All HTML tags are supported except<script>, which is disallowed.
To use Rich-Text, follow the Text structure:
Nested tags are supported. For example,
<b><i>Text</i></b> renders as bold italic text.<script><iframe><style><object><applet><meta>— carries a risk of unauthorized refresh redirection viahttp-equiv="refresh".<base>— poses a vulnerability for manipulating relative link paths.<svg>elements that contain nested<script>blocks.- All inline event handlers (such as
onclick,onerror,onload, andonmouseover), even when appended to generally permitted elements like<img>or<a>. javascript:protocol links implemented within an<a href="javascript:...">.
Number
This input type is for numbers. It appears as a text box but only accepts numerical entries. Use it when collecting numeric values, such as age, ID, or quantity.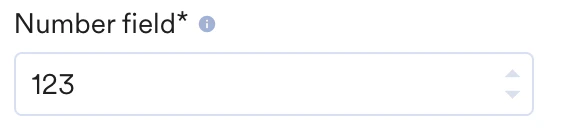
You can use validations to restrict the lower and upper bounds of the numeric input if required.
Boolean
This input type appears as a radio button and allows users to choose between two mandatory possibilities: True or False. It is used when you ask users to enable/disable a feature, agree/disagree, or make any binary choice.
DateTime
This input type is for date and time. It appears as a DateTime picker, allowing users to select a specific date and time. Use it when collecting data about a specific date or time, such as scheduling posts or reminders.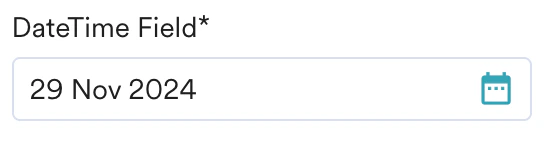
Password
This input type is for password entry. It appears as a text box but masks user input for privacy. It must be used when requesting sensitive information from users, such as login addresses.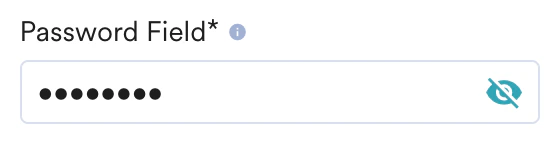
Drop-down List (Single and Multi-Select)
This input type allows users to choose multiple options in multi-select mode. It is recommended when you have a predetermined set of options and prefer to restrict input without allowing free-text entry.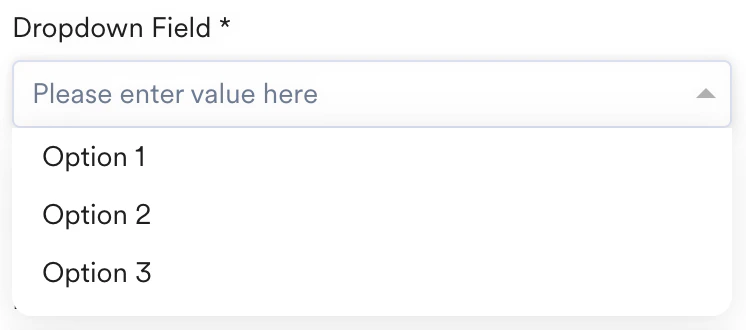
Hash Maps
This input type is used for key-value pair inputs. It renders as a dynamic UI section where users can add, edit, and delete rows of key-value pairs. Use this when you require variable, user-defined data, such as button labels and URLs, or custom metadata. If your config file contains more than one input variable with"type": "key_value", each is rendered as its own independent UI section, with its own header, help text, and set of rows.
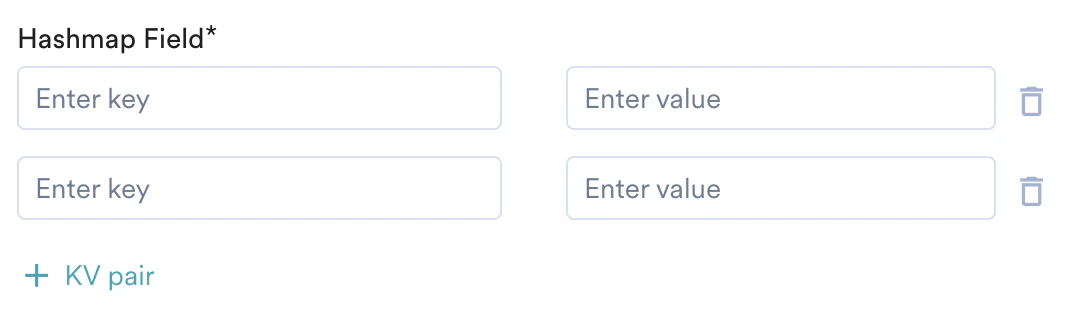
UI Behavior
Example Scenario
Twokey_value input variables in the same config file:
Output Format
When the form is submitted, MoEngage passes the value of akey_value field as an array of row objects:
Reference a
key_value field in your request body the same way you reference any other input variable using JINJA, but note that the value resolves to an array, not a single string. You typically iterate over it when constructing your body.Input Validations
When defining input types that support validation, such as Text and Password, it is necessary to establish predetermined rules for validating the values entered by the user on the UI. You can add validations with the following key inside your input variables: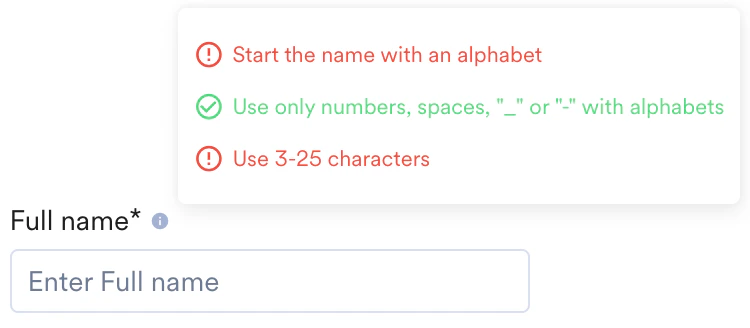
Reference Input Variables
After collecting values for your Input Variables from the user, you can use them in the following sections:- Authentication
- Request and Response
- From the App marketplace:
Username: String - From the Campaign Creation Form (Step 2):
Mobile Number: String
Authentication
In this section, you can define the authentication required for your App. MoEngage enables sending requests to your App, and the Connected Channels support the following built-in authentication types:- No Auth
- Basic Auth
- API Key Auth
- OAuth2
No Auth
You can choose No Auth when your App does not need authentication or you have a custom implementation of standard authentication methods. If you select No Auth, MoEngage does not execute any pre-authentication operations on your requests. When using “No Auth,” choose No Auth as the app type. If necessary, you can include custom URL parameters or headers for your API.You must pass an empty object in the
auth_info key, as no additional information is required for this app type.Basic Auth
If your App supports Basic Auth, you can collect the username and password on the App marketplace and pass them as part of your Basic Auth Token for each request. To add Basic Auth, follow the structure:Authorization: Basic QUJDMTIzOjEyM1hZWg==
OAuth2
If your App uses the OAuth2 framework for authorization, you can configure MoEngage to handle the entire flow, including obtaining user consent and managing access and refresh tokens.MoEngage supports the following OAuth2 grant types:
- Authorization Code
- Refresh Token
Special Authentication Variables
MoEngage exposes a few special variables that can be referenced to support the OAuth2 mechanism within your App:
You can reference the above variables when setting up your OAuth2 calls and connector requests. .
Redirect URI
The Redirect URI will depend on which Data Center your app is added to:
If you want to list your app in all the data centers, you must approve each of the Redirect URIs.
Set up OAuth for your App
To add OAuth2, follow the structure:
To allow MoEngage to get consent and tokens from your application, configure the parameters for the following requests:
Authorization Request
Access Token Request
Refresh Token Request
Request and Response
In this section, you must set up the API requests that MoEngage initiates for each campaign sent. After a request is made from MoEngage, you can set up how the Campaign Stats are calculated based on your API requests’ responses.Campaign Requests
MoEngage attempts to send API requests to your App each time a campaign is sent out.For example, if a campaign is directed to 50 users, MoEngage makes 50 API requests for that campaign. To configure a response, add this to your config:
Request Format
The request format informs MoEngage about the request’s payload.Batch Support
MoEngage supports batching to send multiple campaign payloads in a single API request, reducing call overhead. To enable batching, add these fields to yourrequest object:
Note on Batching: When
batching: true, reference CampaignCreationFormList in the body and iterate using Jinja templating: {% for item in CampaignCreationFormList %} ... {% endfor %}. Please note that batching has a maximum limit of 2,000 items per request.
- When
batching: true, MoEngage groups users into chunks ofbatch_sizeand sends one API request per batch. - Use
CampaignCreationFormListto reference all users in the current batch (this is a list object). - Use Jinja templating with
{% for item in CampaignCreationFormList %}to iterate and construct the payload array. - Without batching, MoEngage makes one API call per user.
Response Handling
After making an API request, you can inform MoEngage how to interpret the response. You can also add multiple responses to your request by covering all your responses, such as successes and failures. A response consists of two parts:- Response conditions: Based on the response provided by your API, you can add conditions to its Status Code, Header Values, or even the body payload. When these conditions are fulfilled, you can perform actions in MoEngage.
- Response actions: Actions are operations performed by MoEngage.
Use Cases
There are several use cases for response handling. The following are the types of tracking used for various use cases:- Stats tracking: This displays accurate Success and Failed stats for your campaigns.
- Event tracking: These are trigger events that occur when certain conditions are fulfilled. They can help you to create other journeys for your users.
Add a Response
To add a response, follow the structure:Response Conditions
Here, you can include multiple conditions for each response, combining both AND and OR operators. If you have prior experience with MoEngage Segmentation, you can leverage that. The following is to add a new condition:
Below is an example of evaluation criteria to check if the API’s Response Status Code is 200 and if it returns
{"ok": true} in the payload:
Response Actions
Here, you can have MoEngage perform actions based on the above-mentioned conditions. Currently, MoEngage supports the Create Event actions.Create Event
These tracks use cases like Messages sent, Users synced, and so on. With this action, you can use MoEngage to trigger an event. Below is the structure to add an Event for your response:- Connected App Campaign Sent
- Connected App Campaign Failed
MoEngage also includes the following default standard event properties to facilitate better tracking for users.