

- Navigate to Settings > Channels > Push > Web Push.
- It consists of two sub-sections, Configure and Notification Opt-in.
Project selection
If your portfolio has multiple projects, a dropdown appears at the top of the Web push settings tab. Select the project you want to configure from the dropdown menu. The related settings (such as the default notification icon) load automatically. For portfolios with a single project, all settings are appended to that project.Icons and Sub-domains
Configure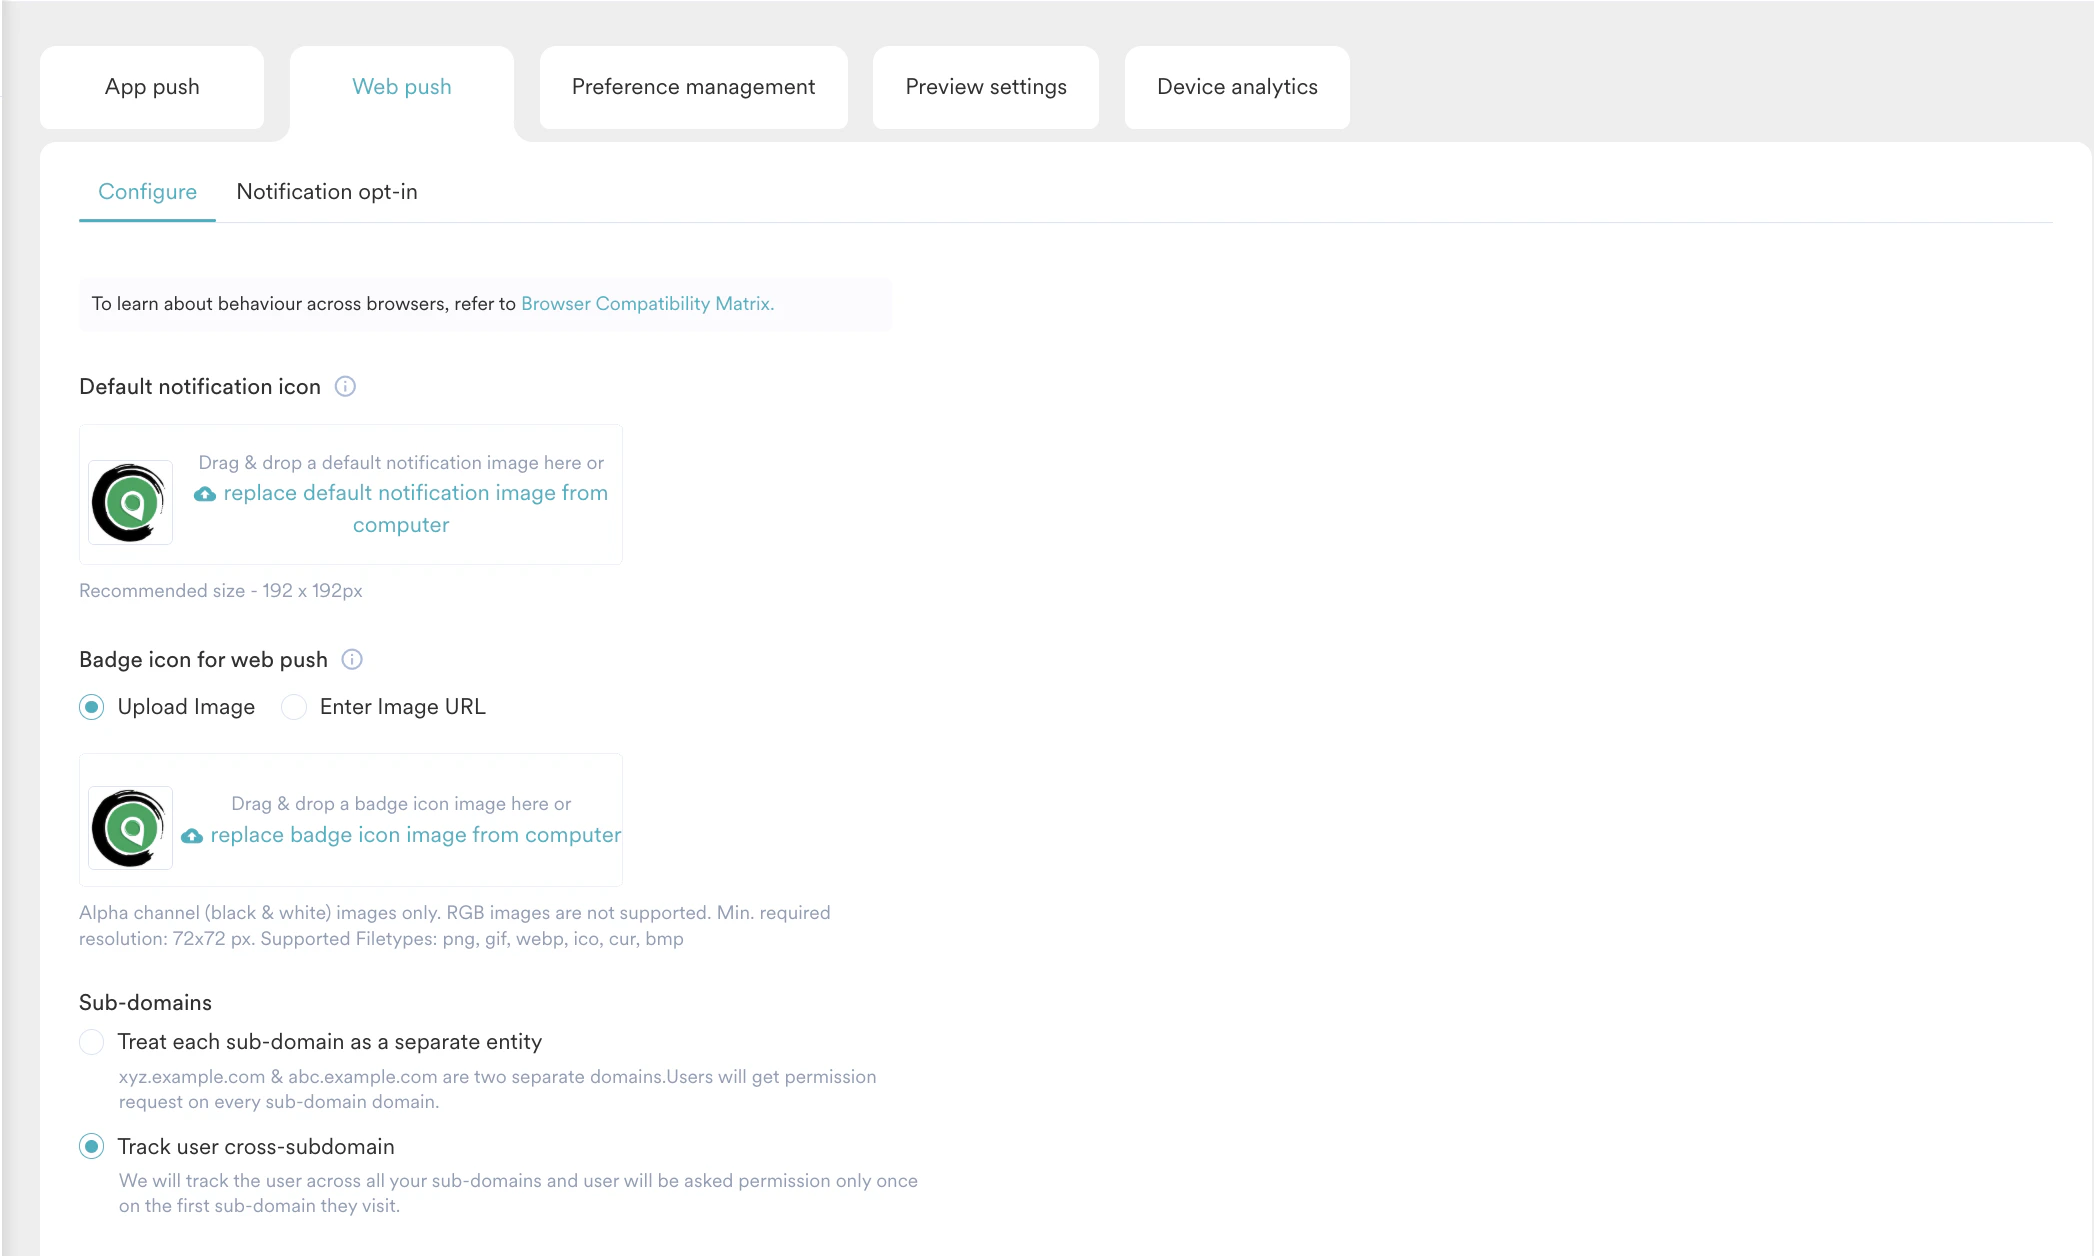
| Field | Description |
|---|---|
| Project | Select the preferred project from the dropdown menu. This field appears if you have configured more than one project on your portfolio. For more information, refer here. |
| Default Notification Icon | This field contains the icon that would be used in the Web Push notification. The MoEngage icon is the default icon. You can change this by uploading your Brand’s logo. |
| Badge Icon for Android Web Push | For Android devices receiving Web Push, the badge icon is the app icon available at the top section on the left in the push notifications. Two options are available for uploading the badge icon:
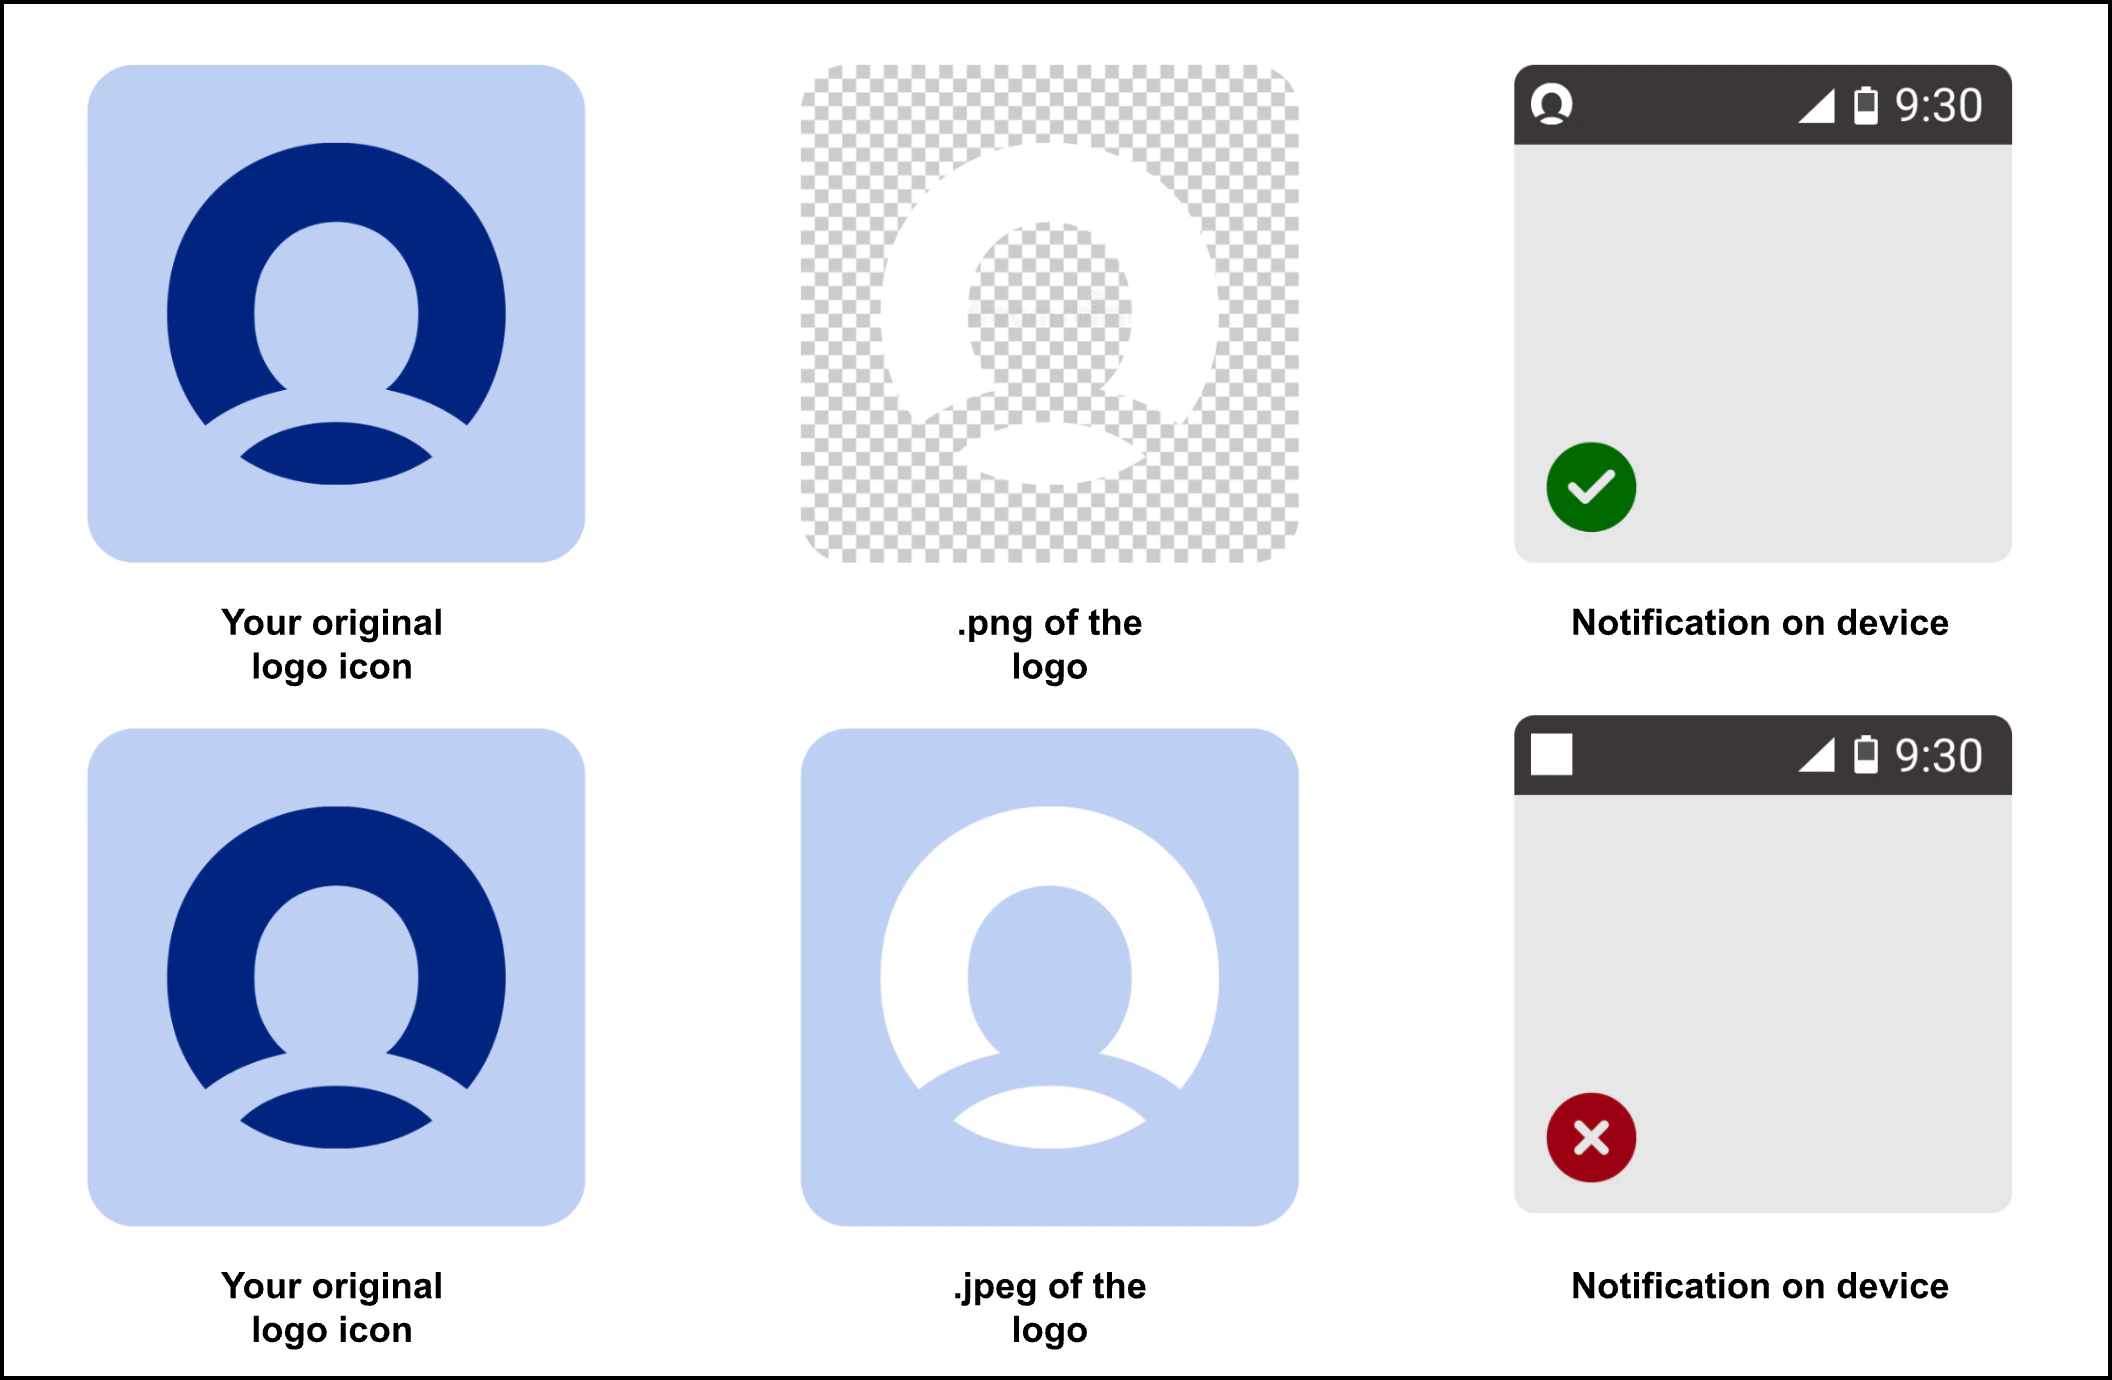
|
| Sub-domains | This field denotes the subdomains for your website and has the following options:
|
Cross sub-domain tracking uses cookies. Per RFC 6265: HTTP State Management Mechanism, browsers only support cookies on standard domain hostnames listed in the Public Suffix List. Confirm your domain is a standard domain name before enabling this feature.
Notification Opt-in Configuration
You can configure the Web Push Opt-In information in this section. Opt-In refers to how push permission is sought from the users on your webpage.- Select the preferred project from the Project dropdown. This field appears if you have configured more than one project on your portfolio. For more information, refer here.
- To enable this feature, you must enable the Web Push opt-in under the Notification opt-in tab.
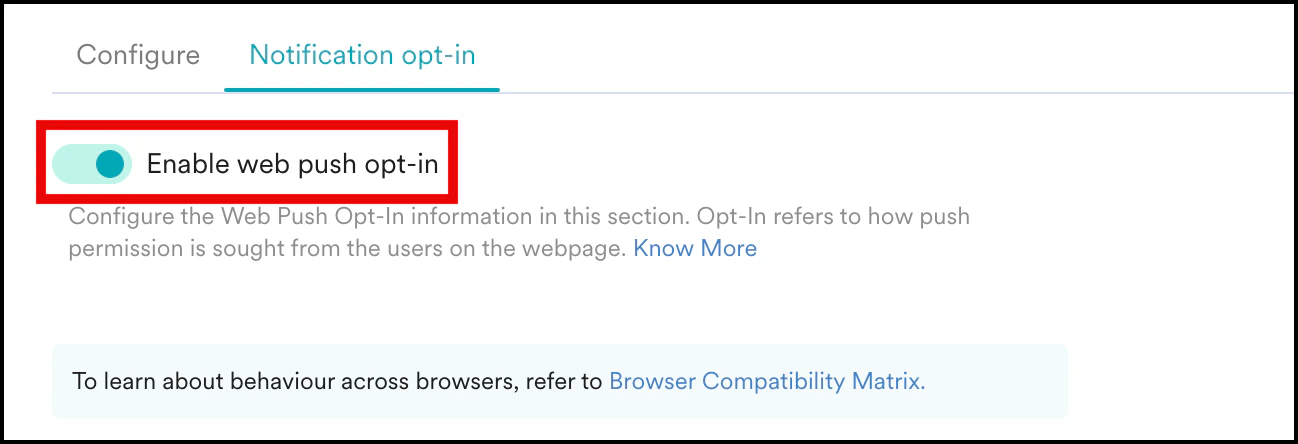
- MoEngage provides three types of push opt-in:
- Two-Step Opt-In (Recommended)
- 1-Click Opt-In
- Self Handled Opt-in
- Two-Step Opt-in (Recommended)
- 1-Click Opt-in
- Self-Handled Opt-In
The Two Step opt-in is the recommended option as it is a soft ask. Soft ask means the option is displayed multiple times even if the user does not allow it and this will maximize your reachable users.On the web page, users are asked a “soft ask” that gauges user preference and proceeds to show the main browser permission upon permission.The Two Step Opt-in section has the following options: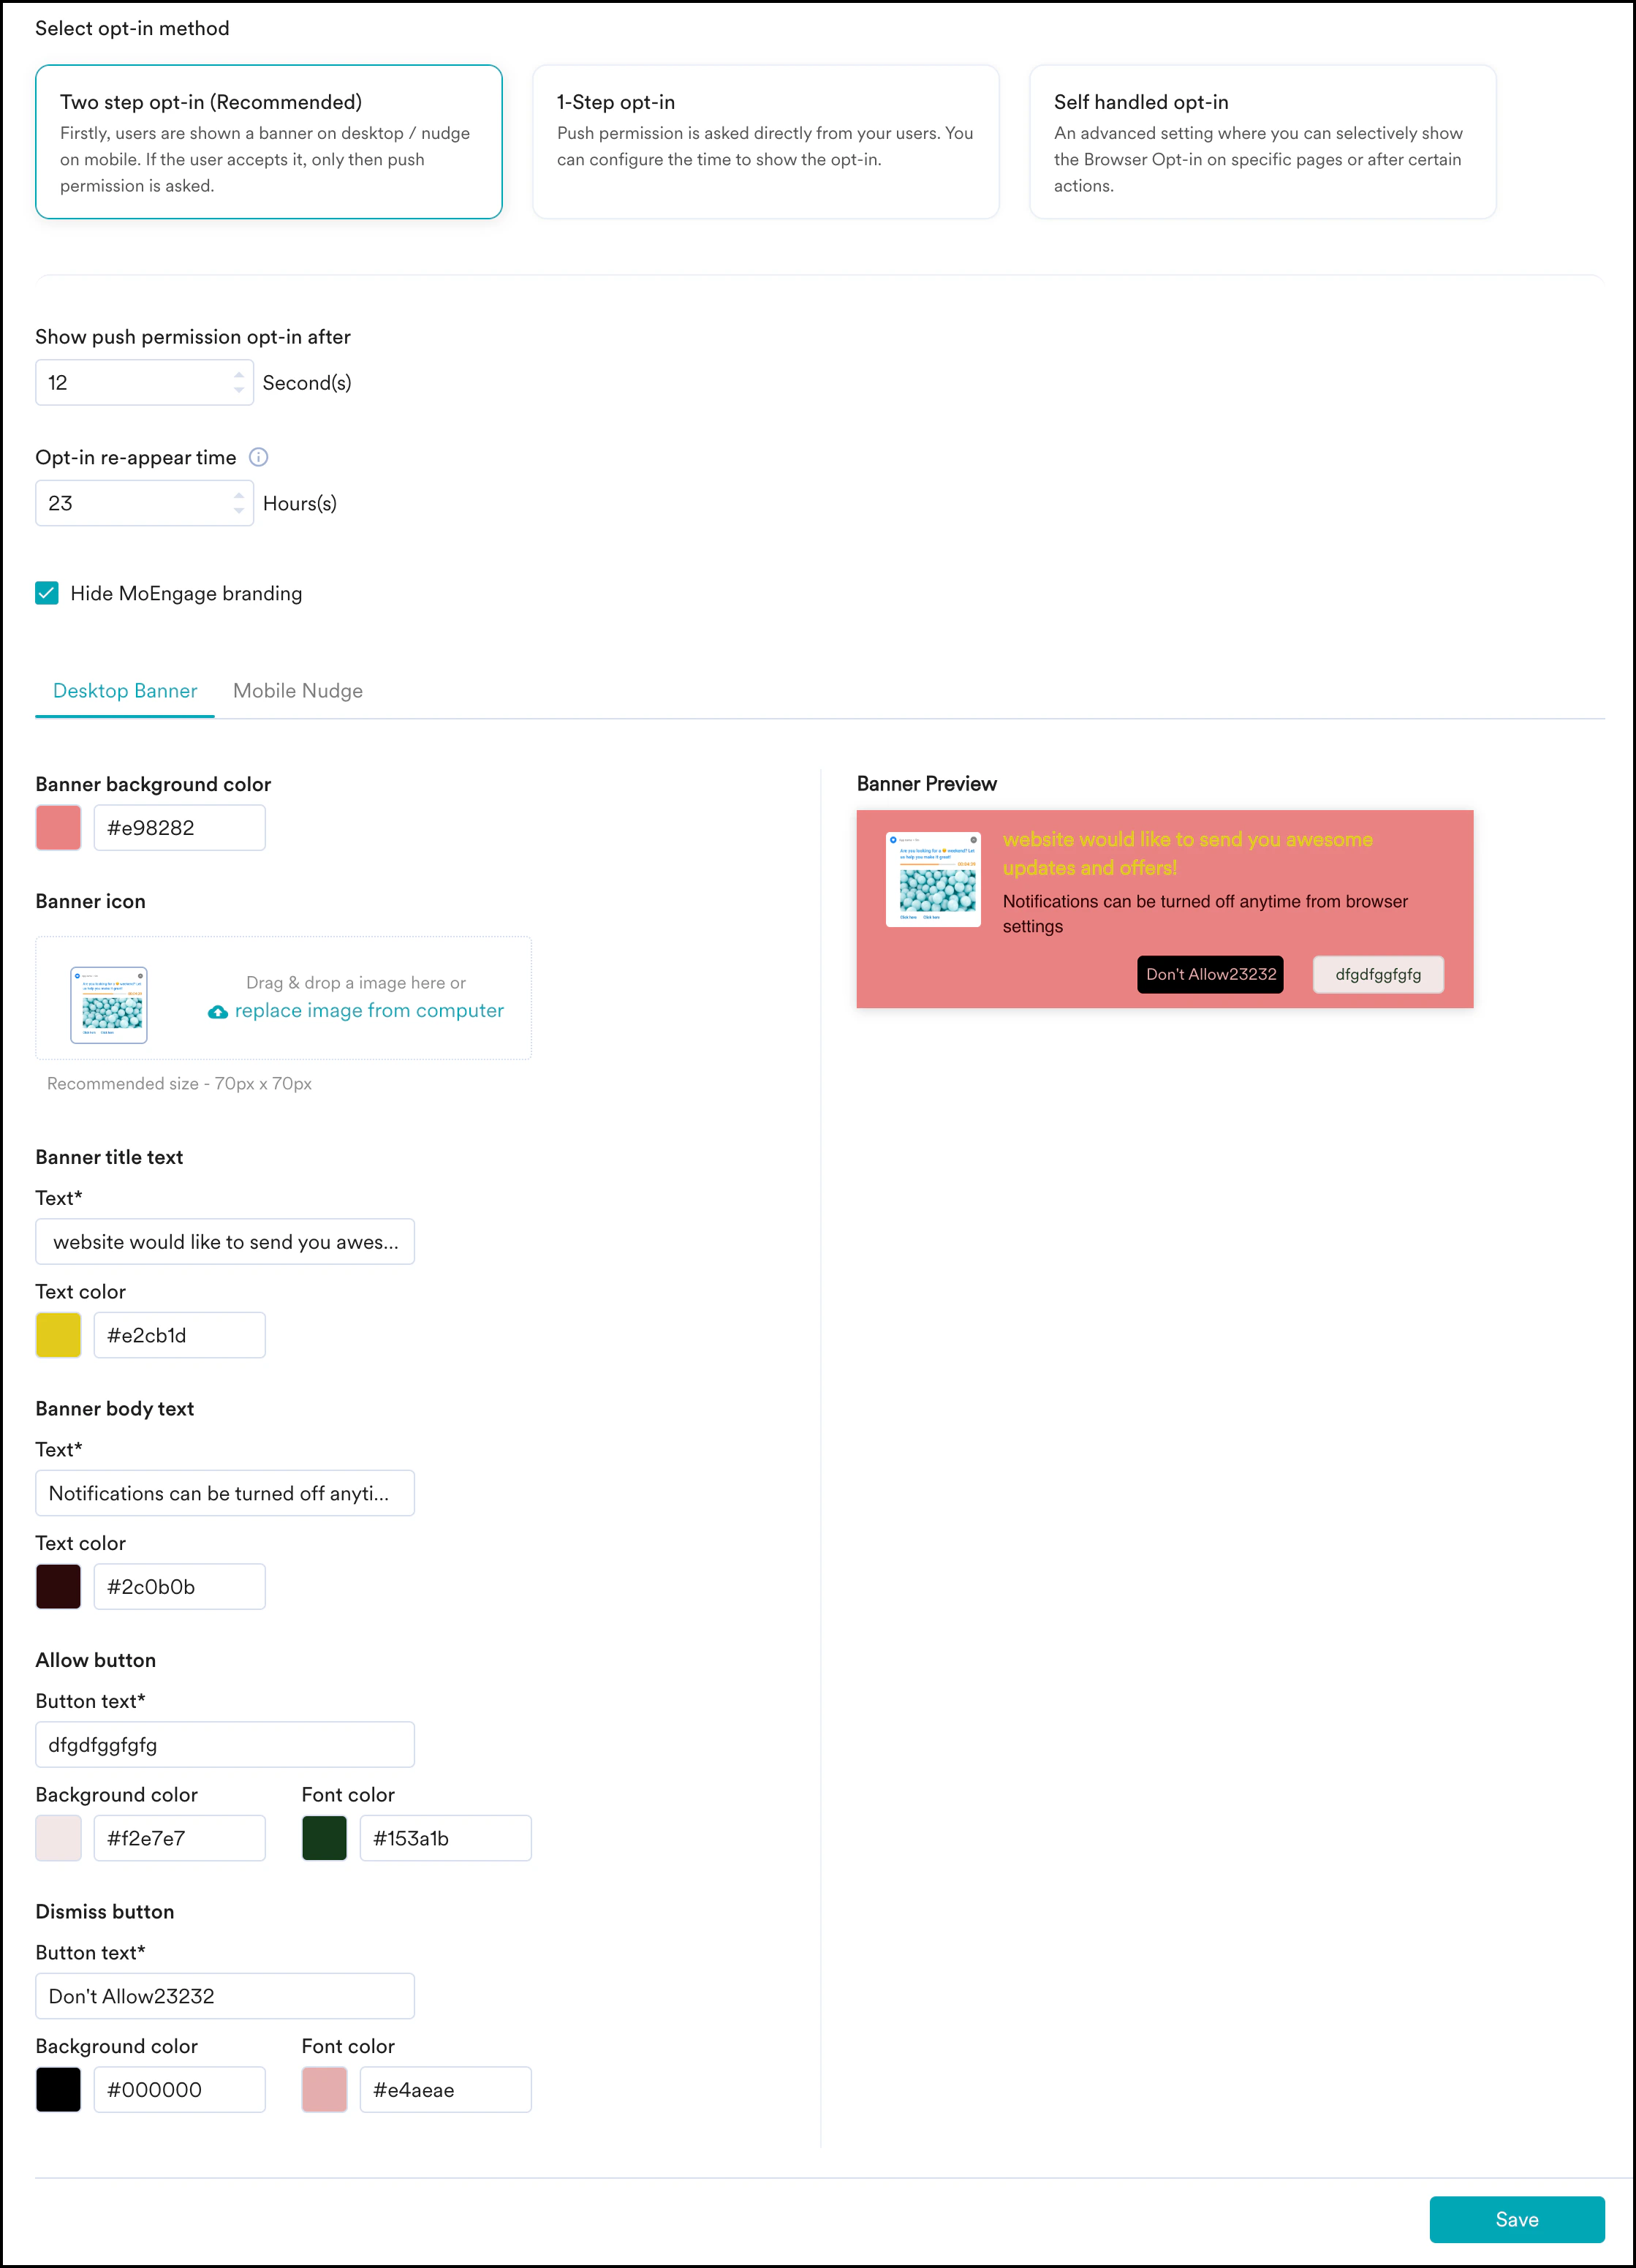
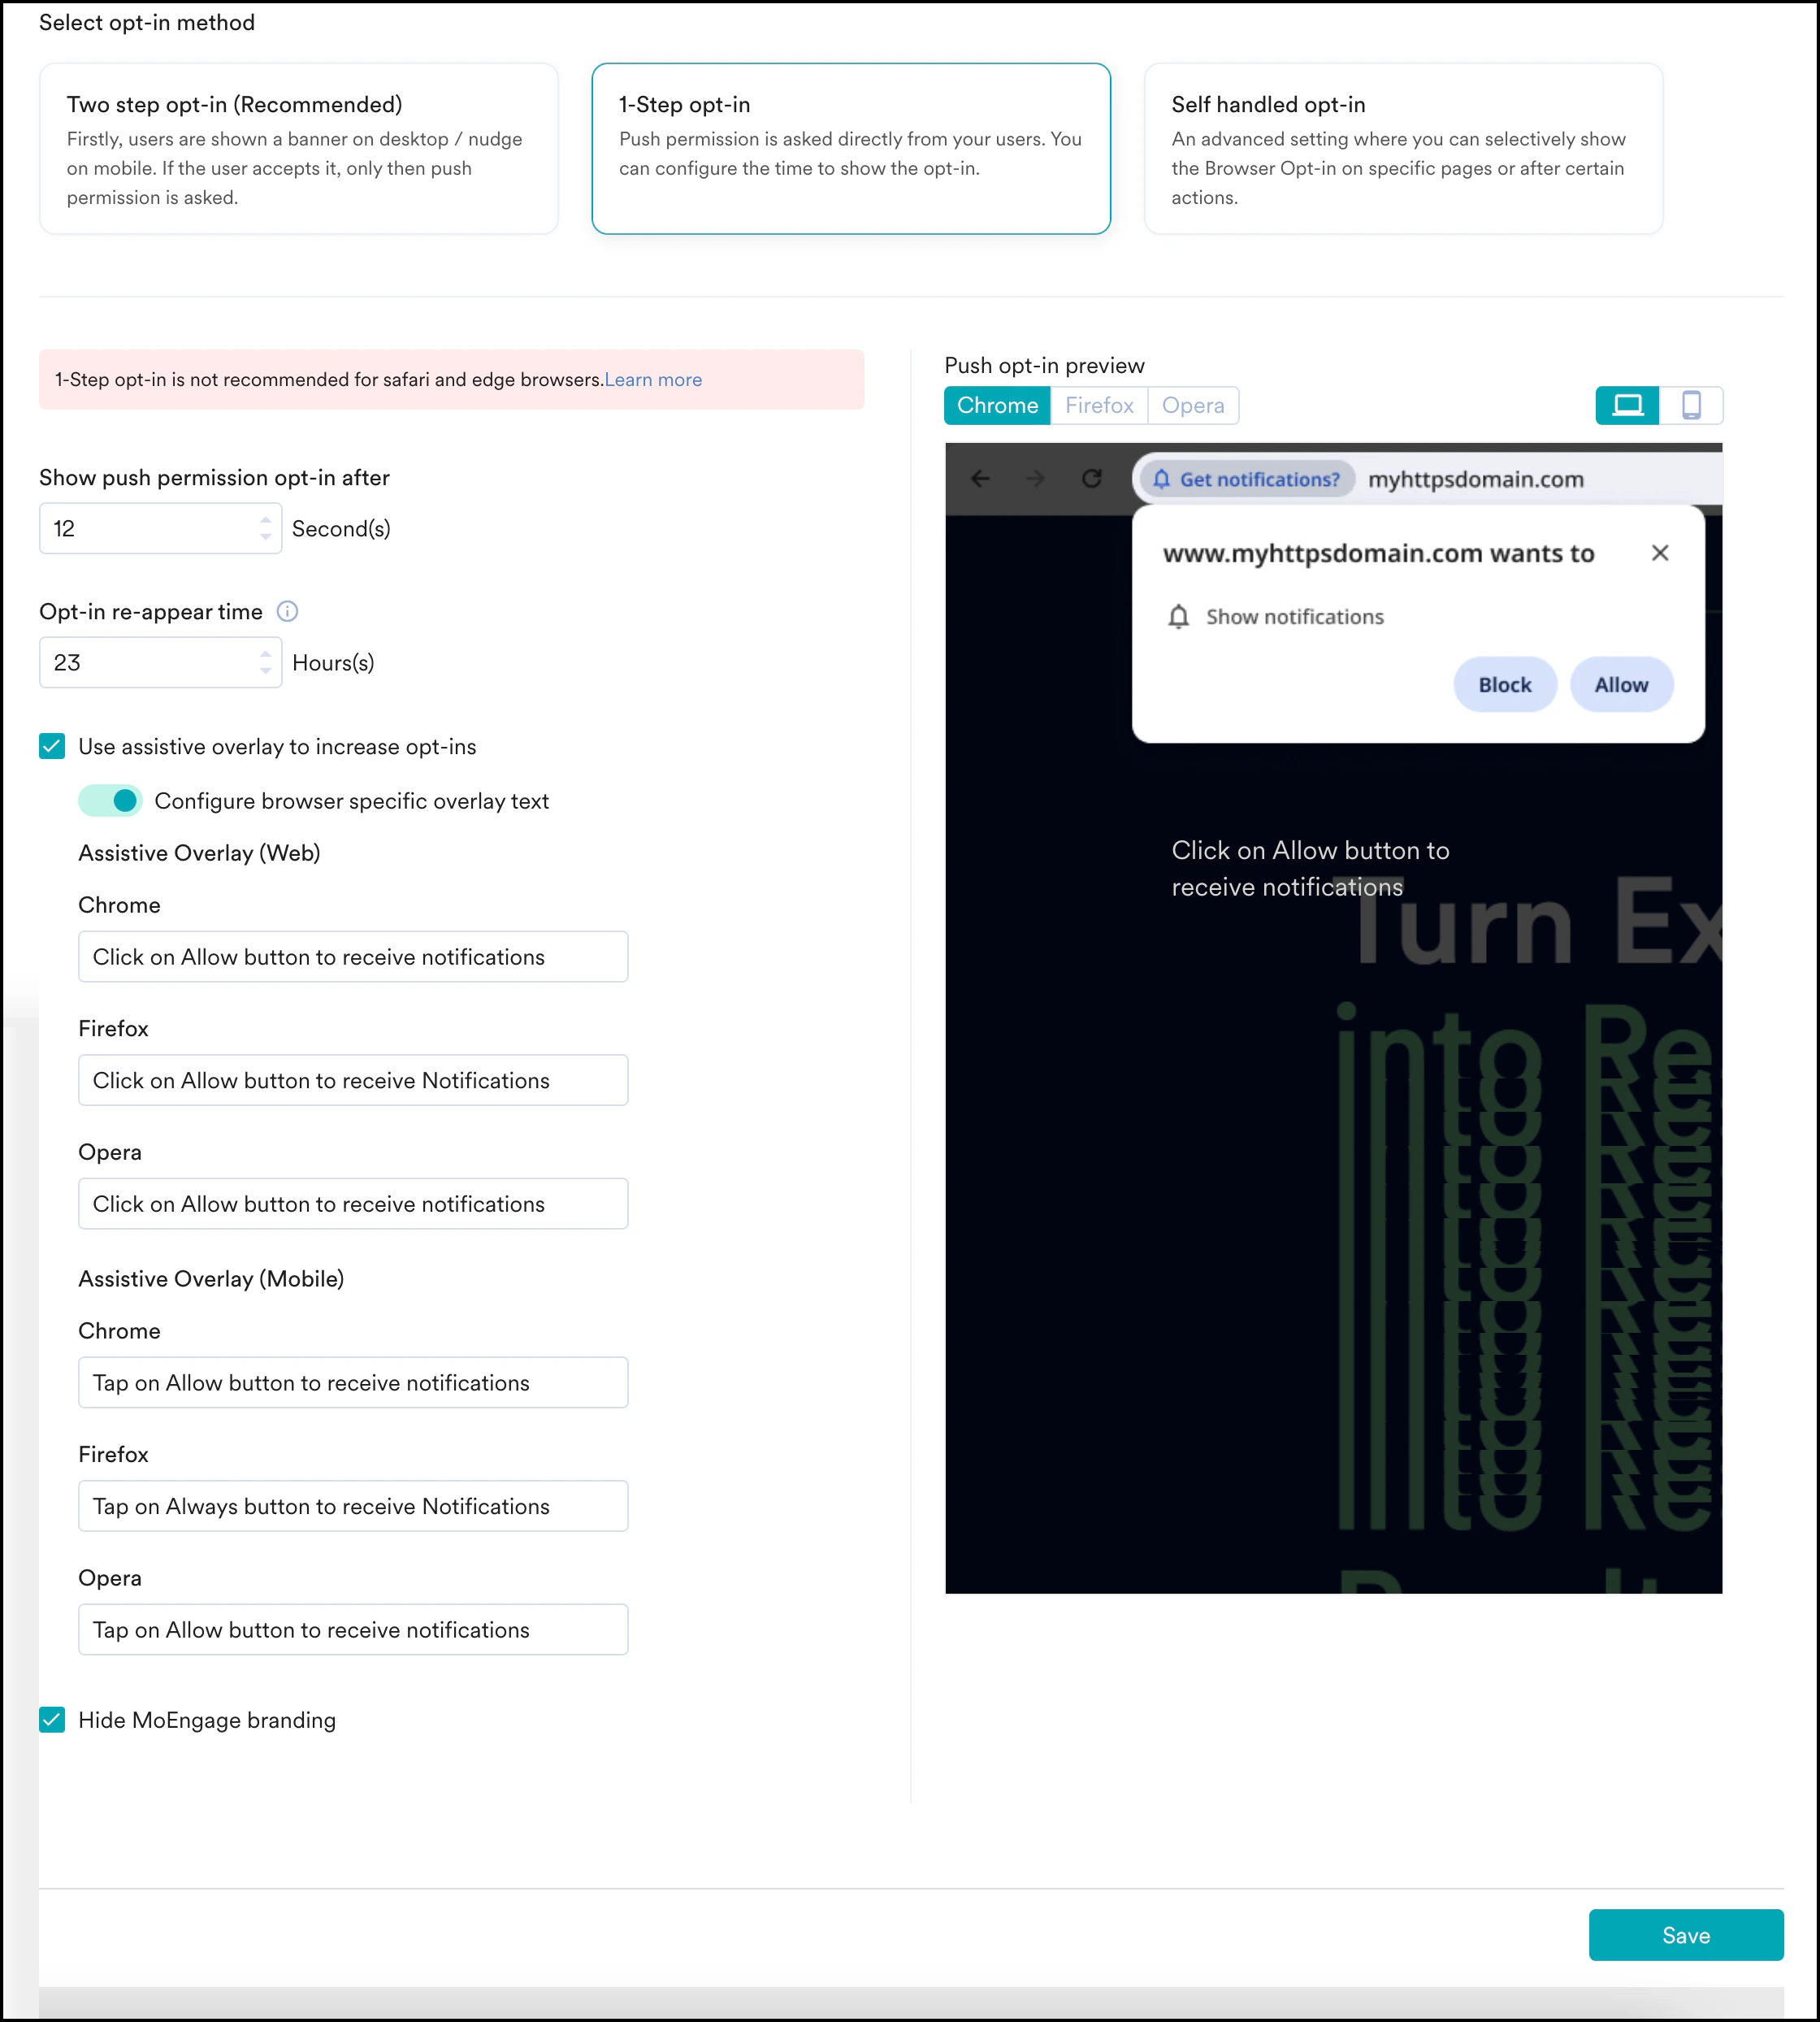
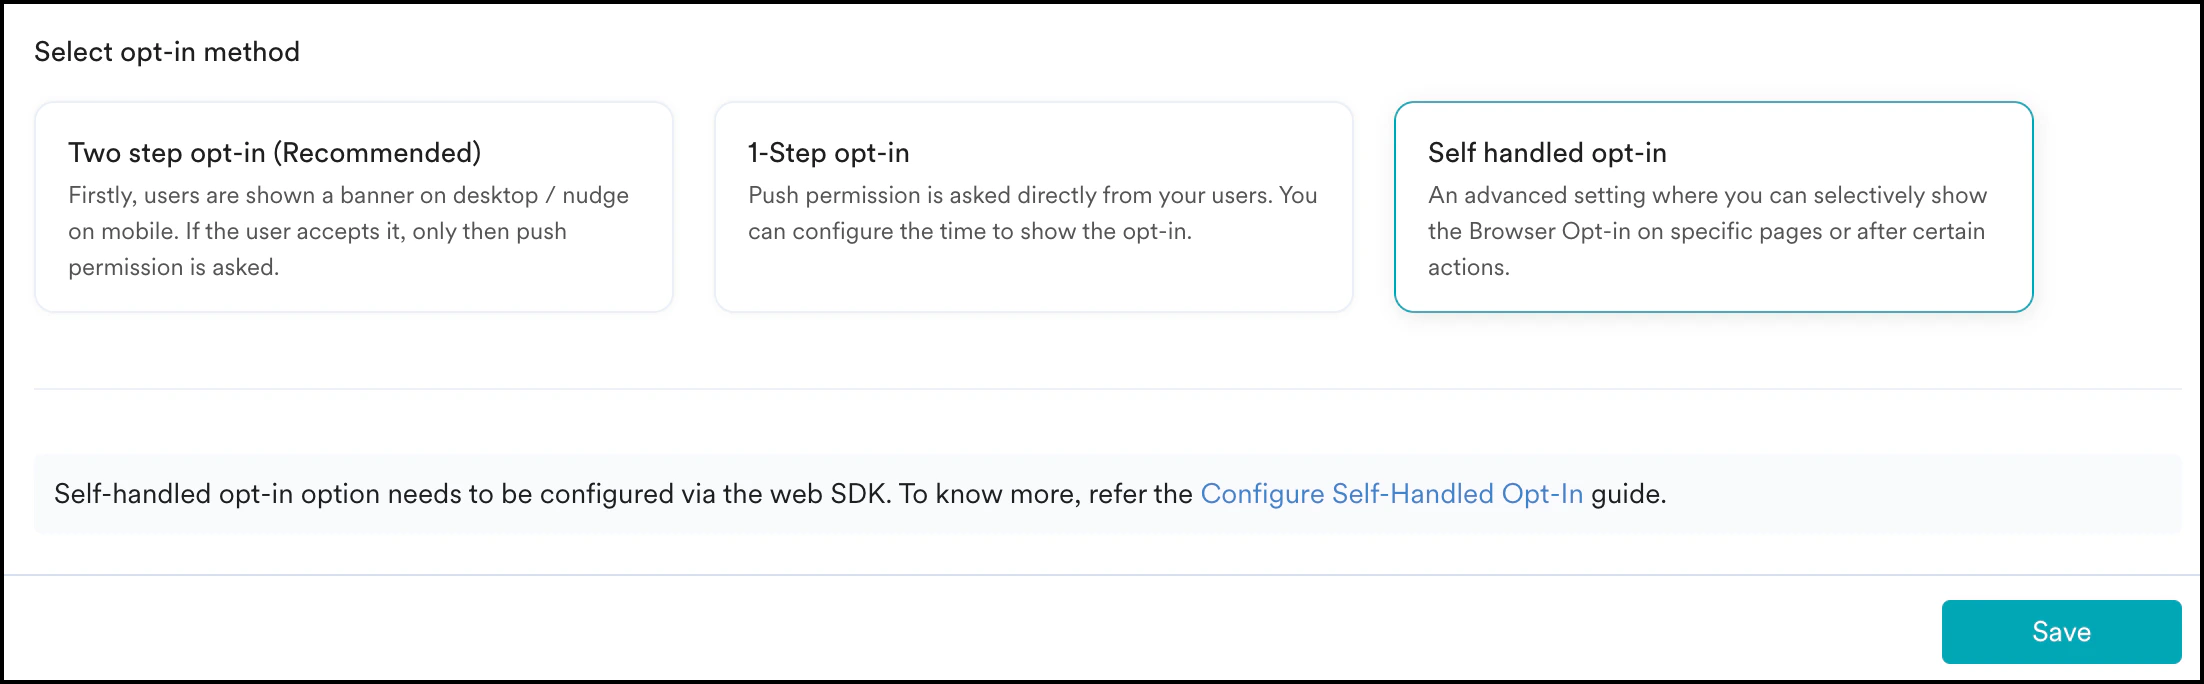
Caching: All of the above settings take a minimum of 24 hours to reflect on your website.
Browser Compatibility Matrix
For web push to work on Safari for iOS devices, the following is required:
- Your website must be a Progressive Website App (PWA).
- A web app manifest file must be created and linked.
- The MoEngage service worker file should be imported and placed in the root folder.
- The PWA must be added to the Home Screen.
- The user should be prompted for permission to receive web push notifications. We recommend a two-step opt-in process.
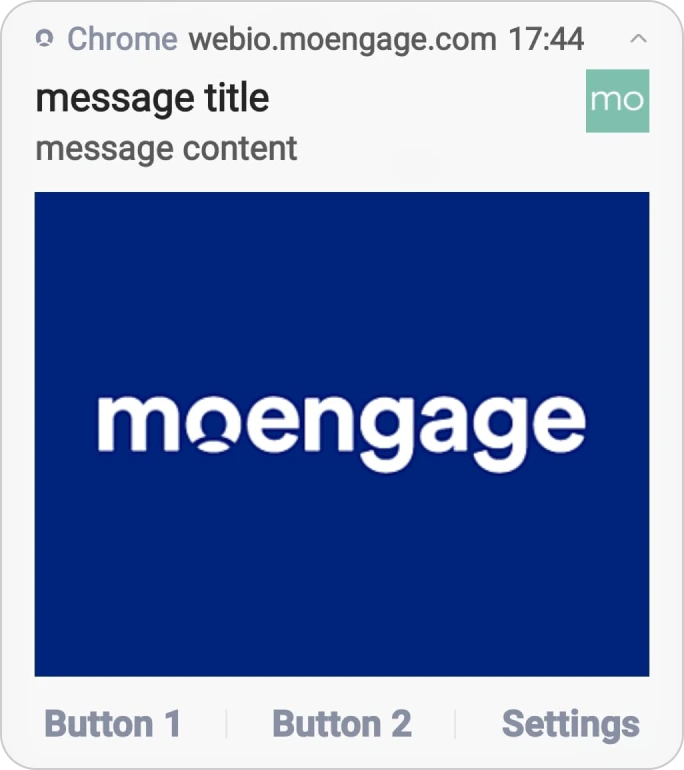
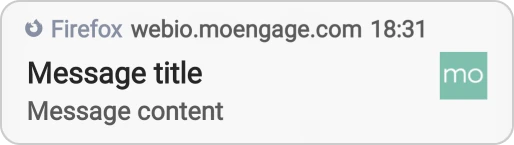
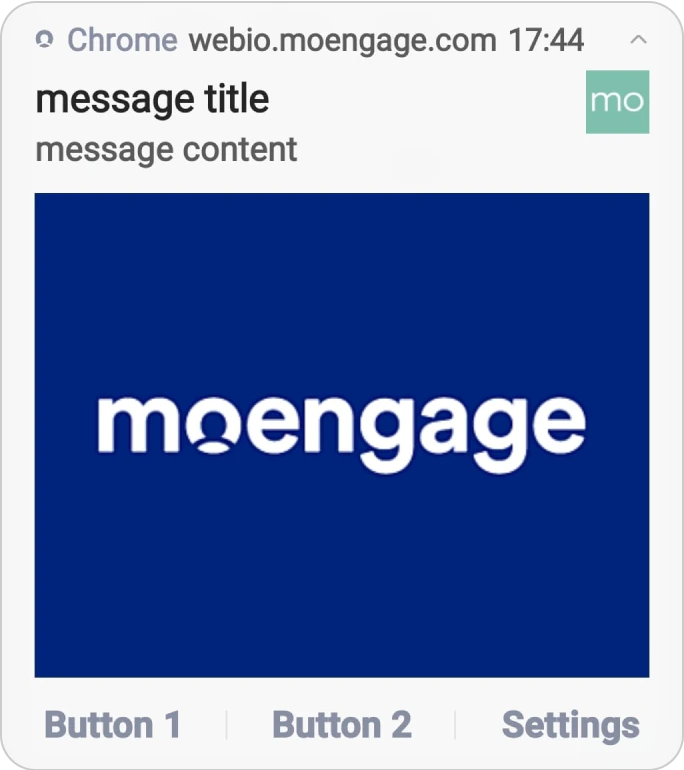
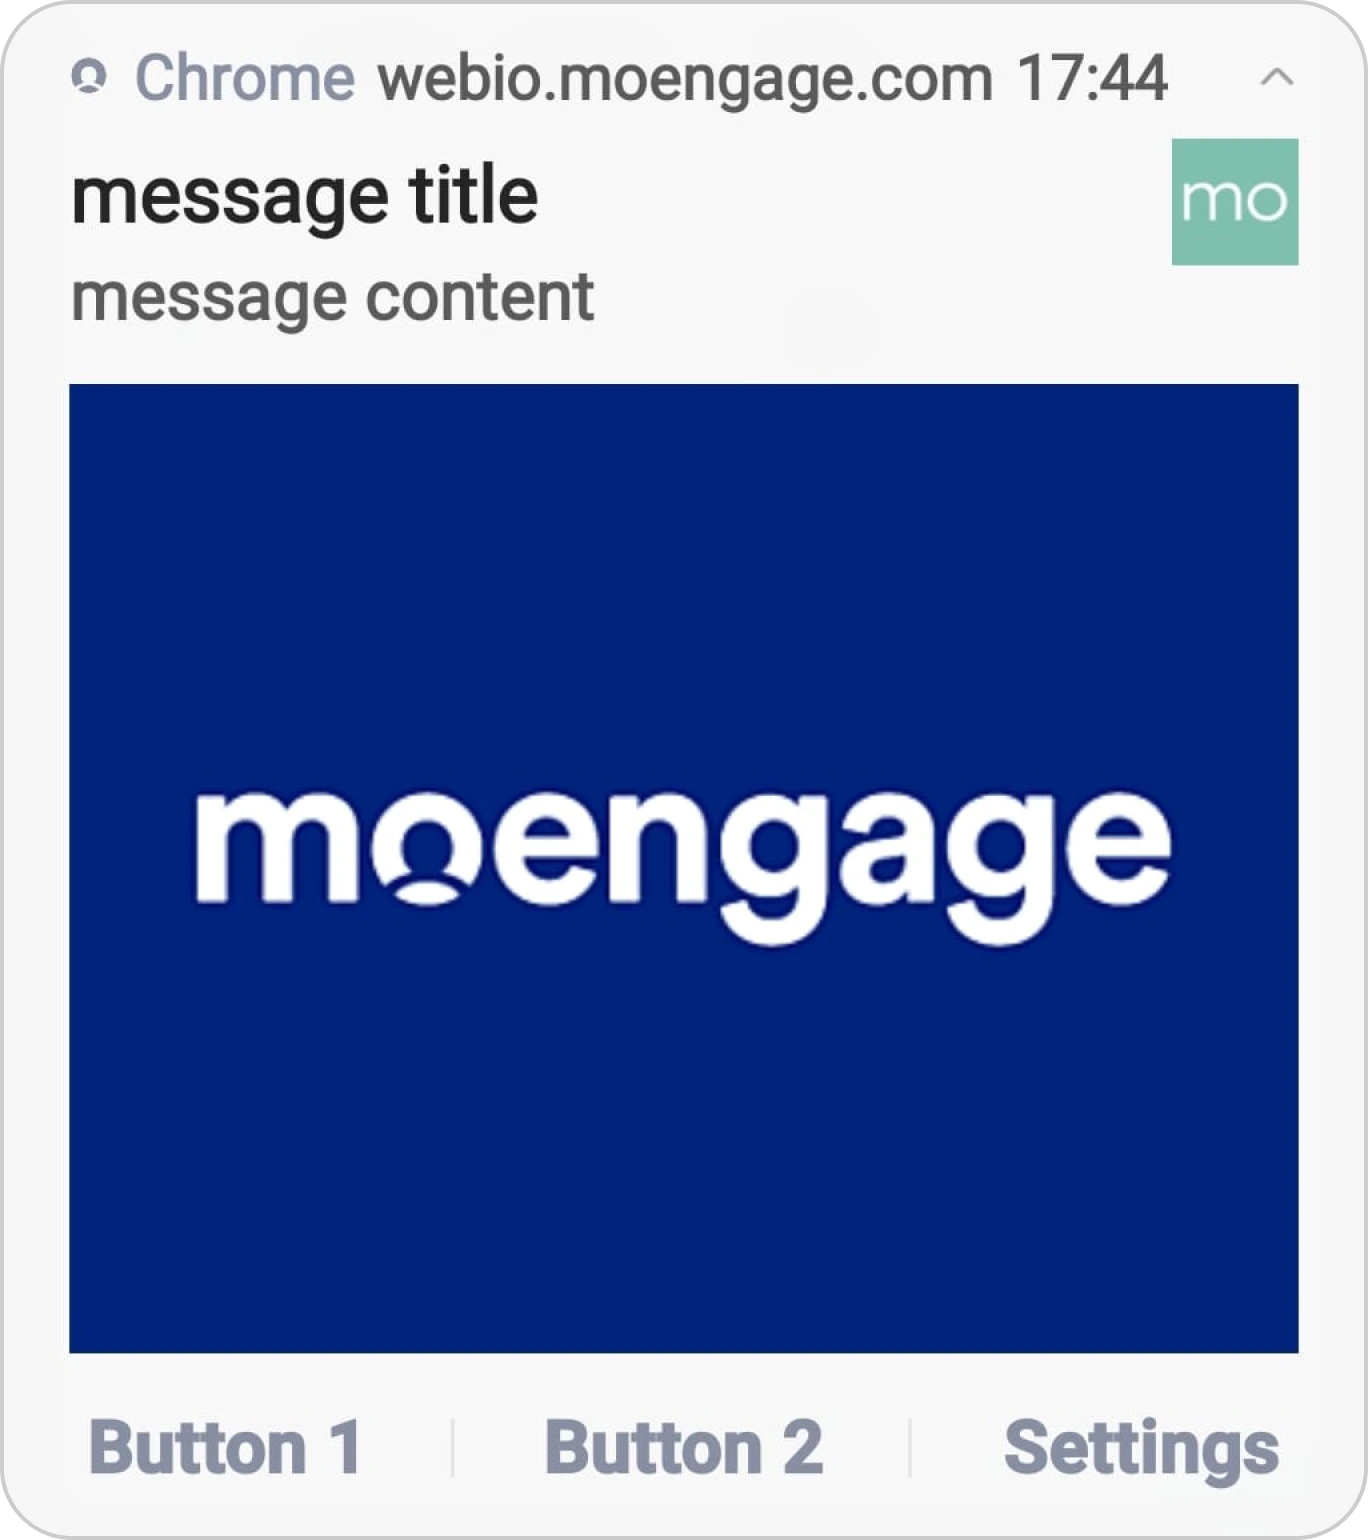
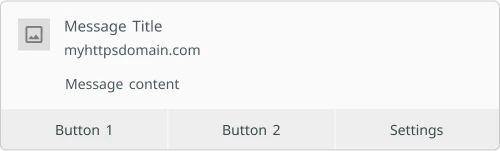
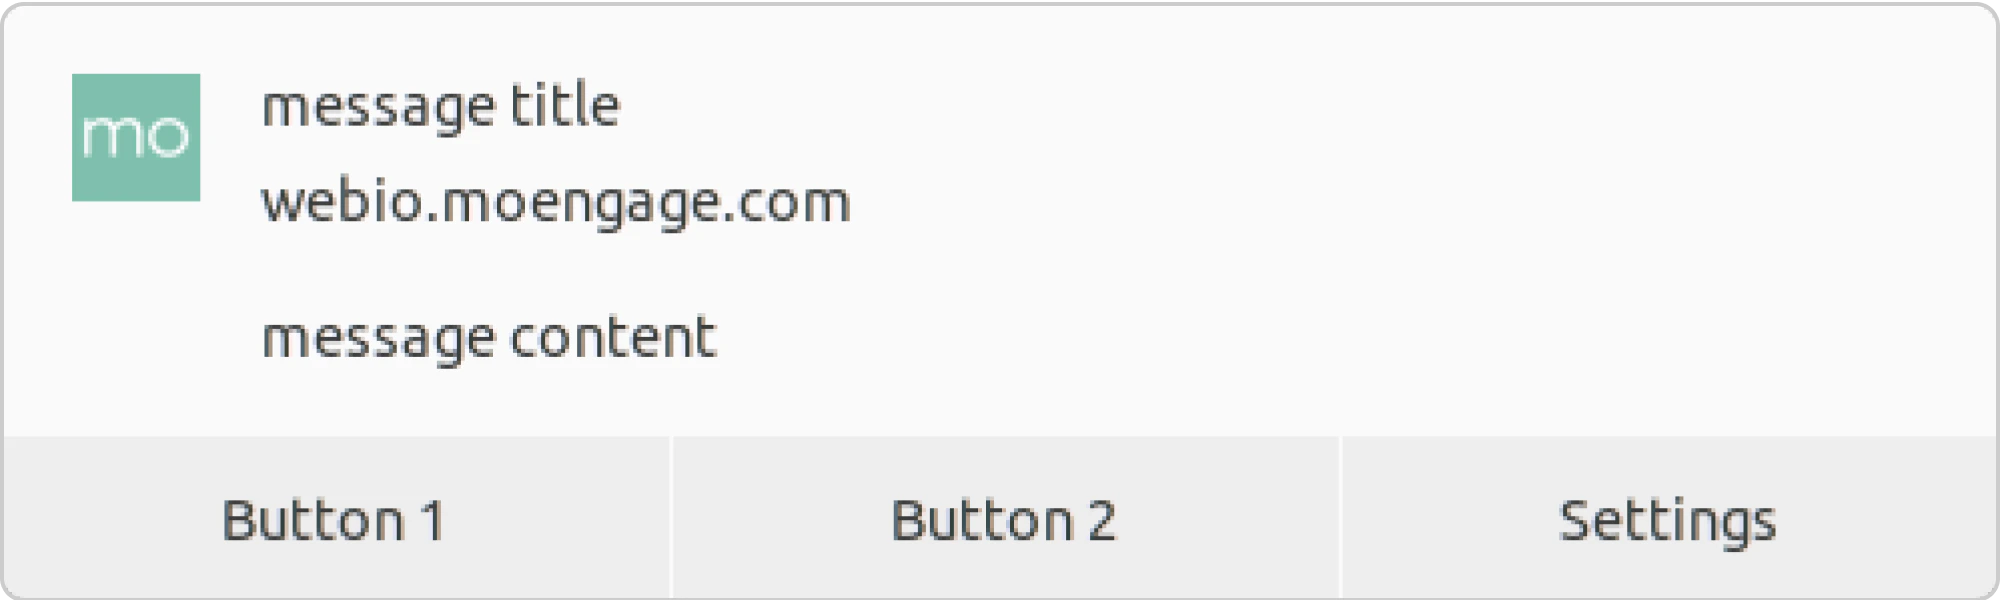
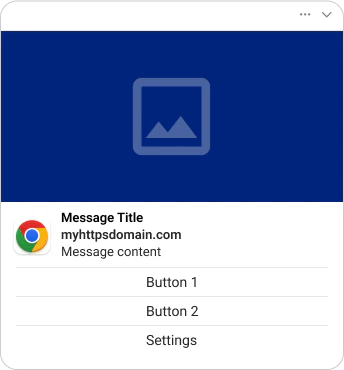
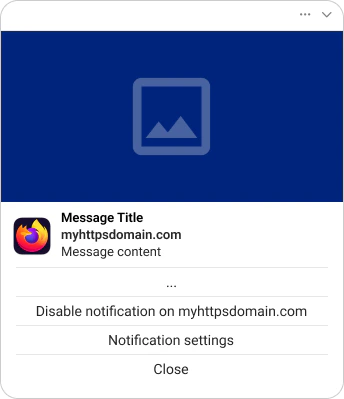
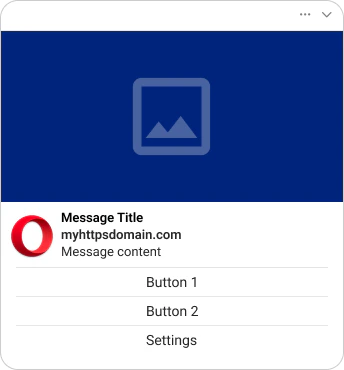
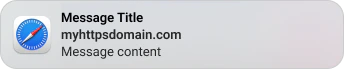
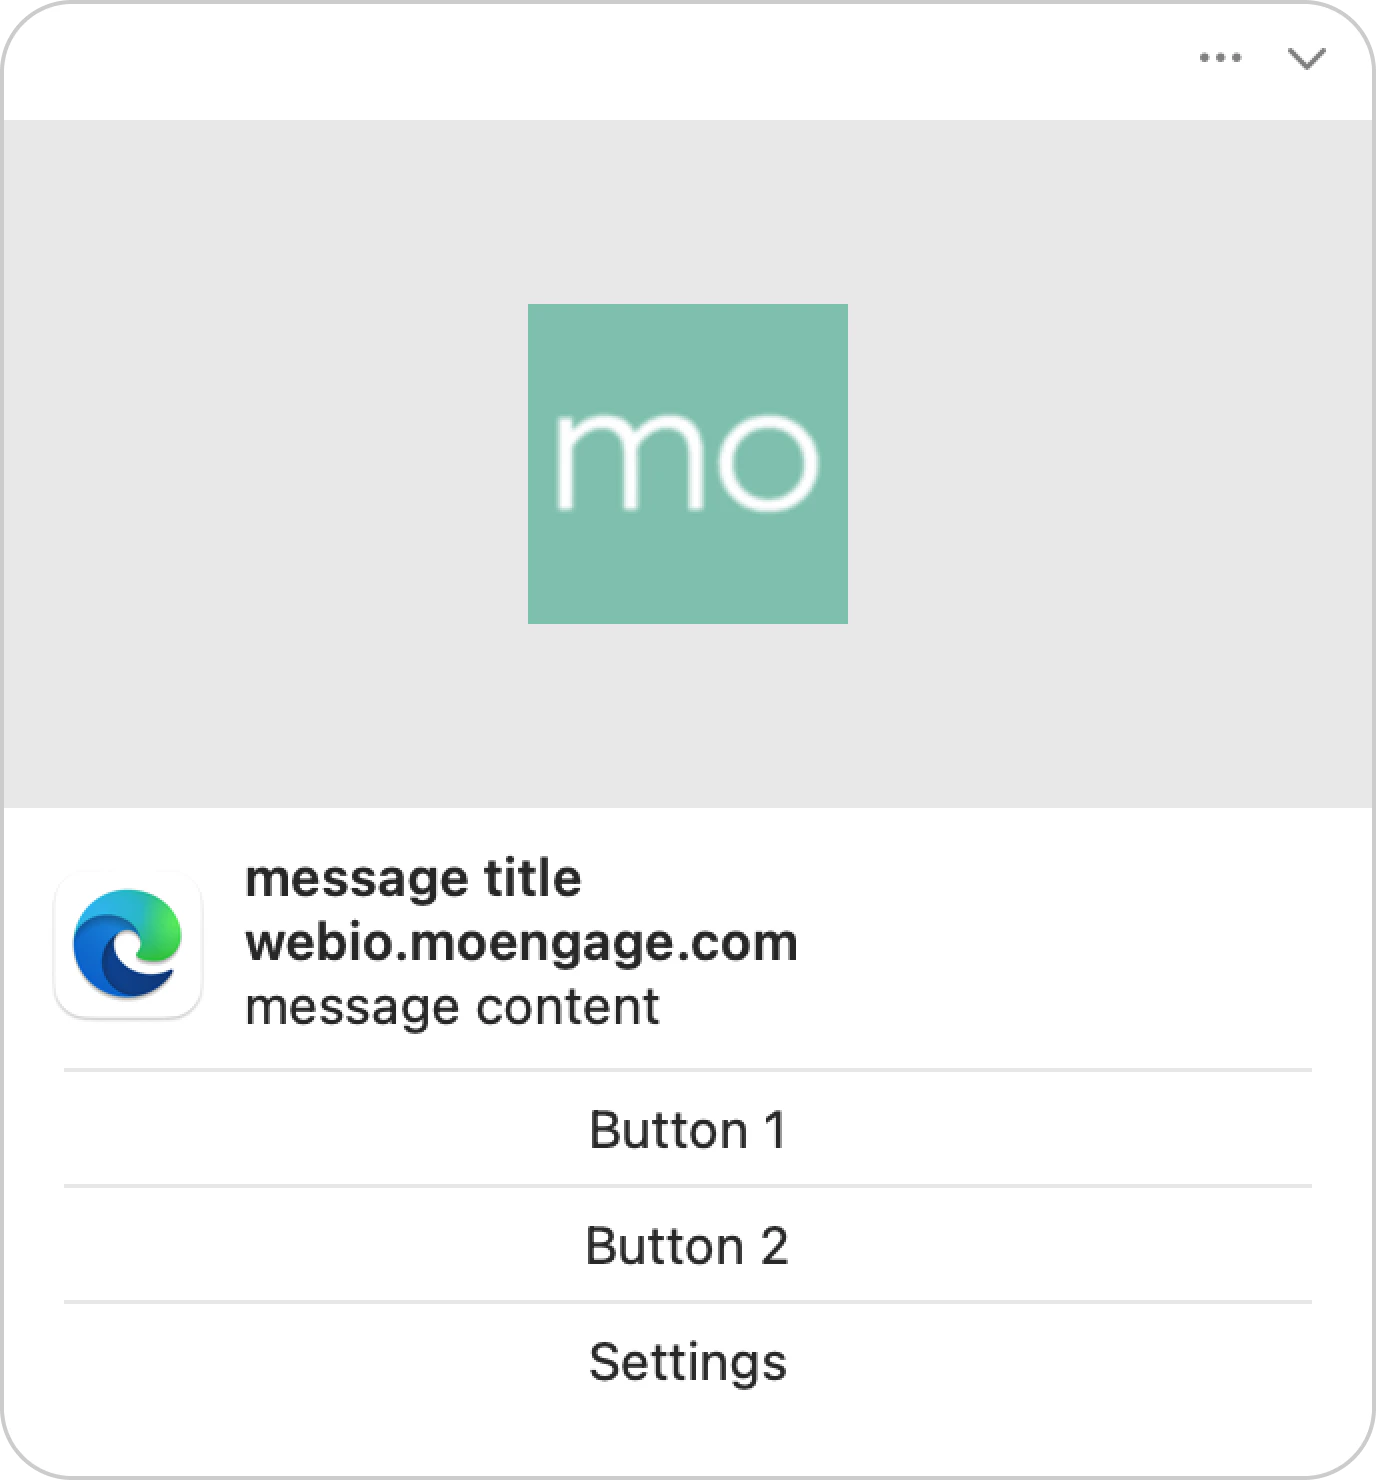
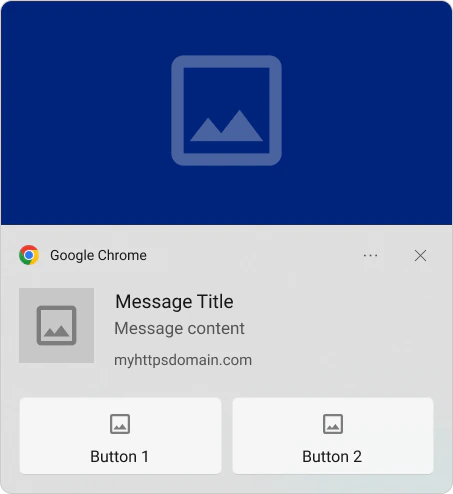
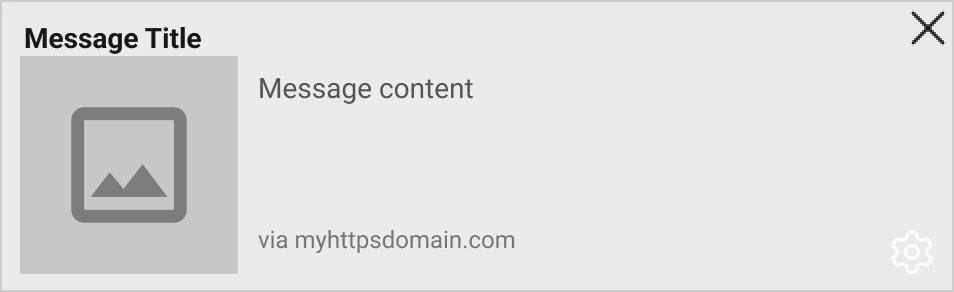
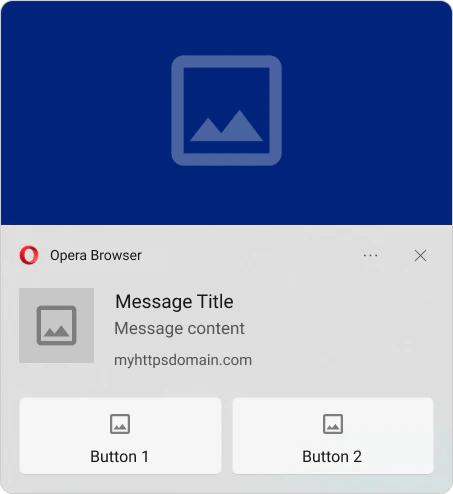
Preview for various OS/Browser combinations
- Android
- Linux
- Mac
- Windows
- iOS
Chrome
Chrome
Firefox
Firefox
Opera
Opera
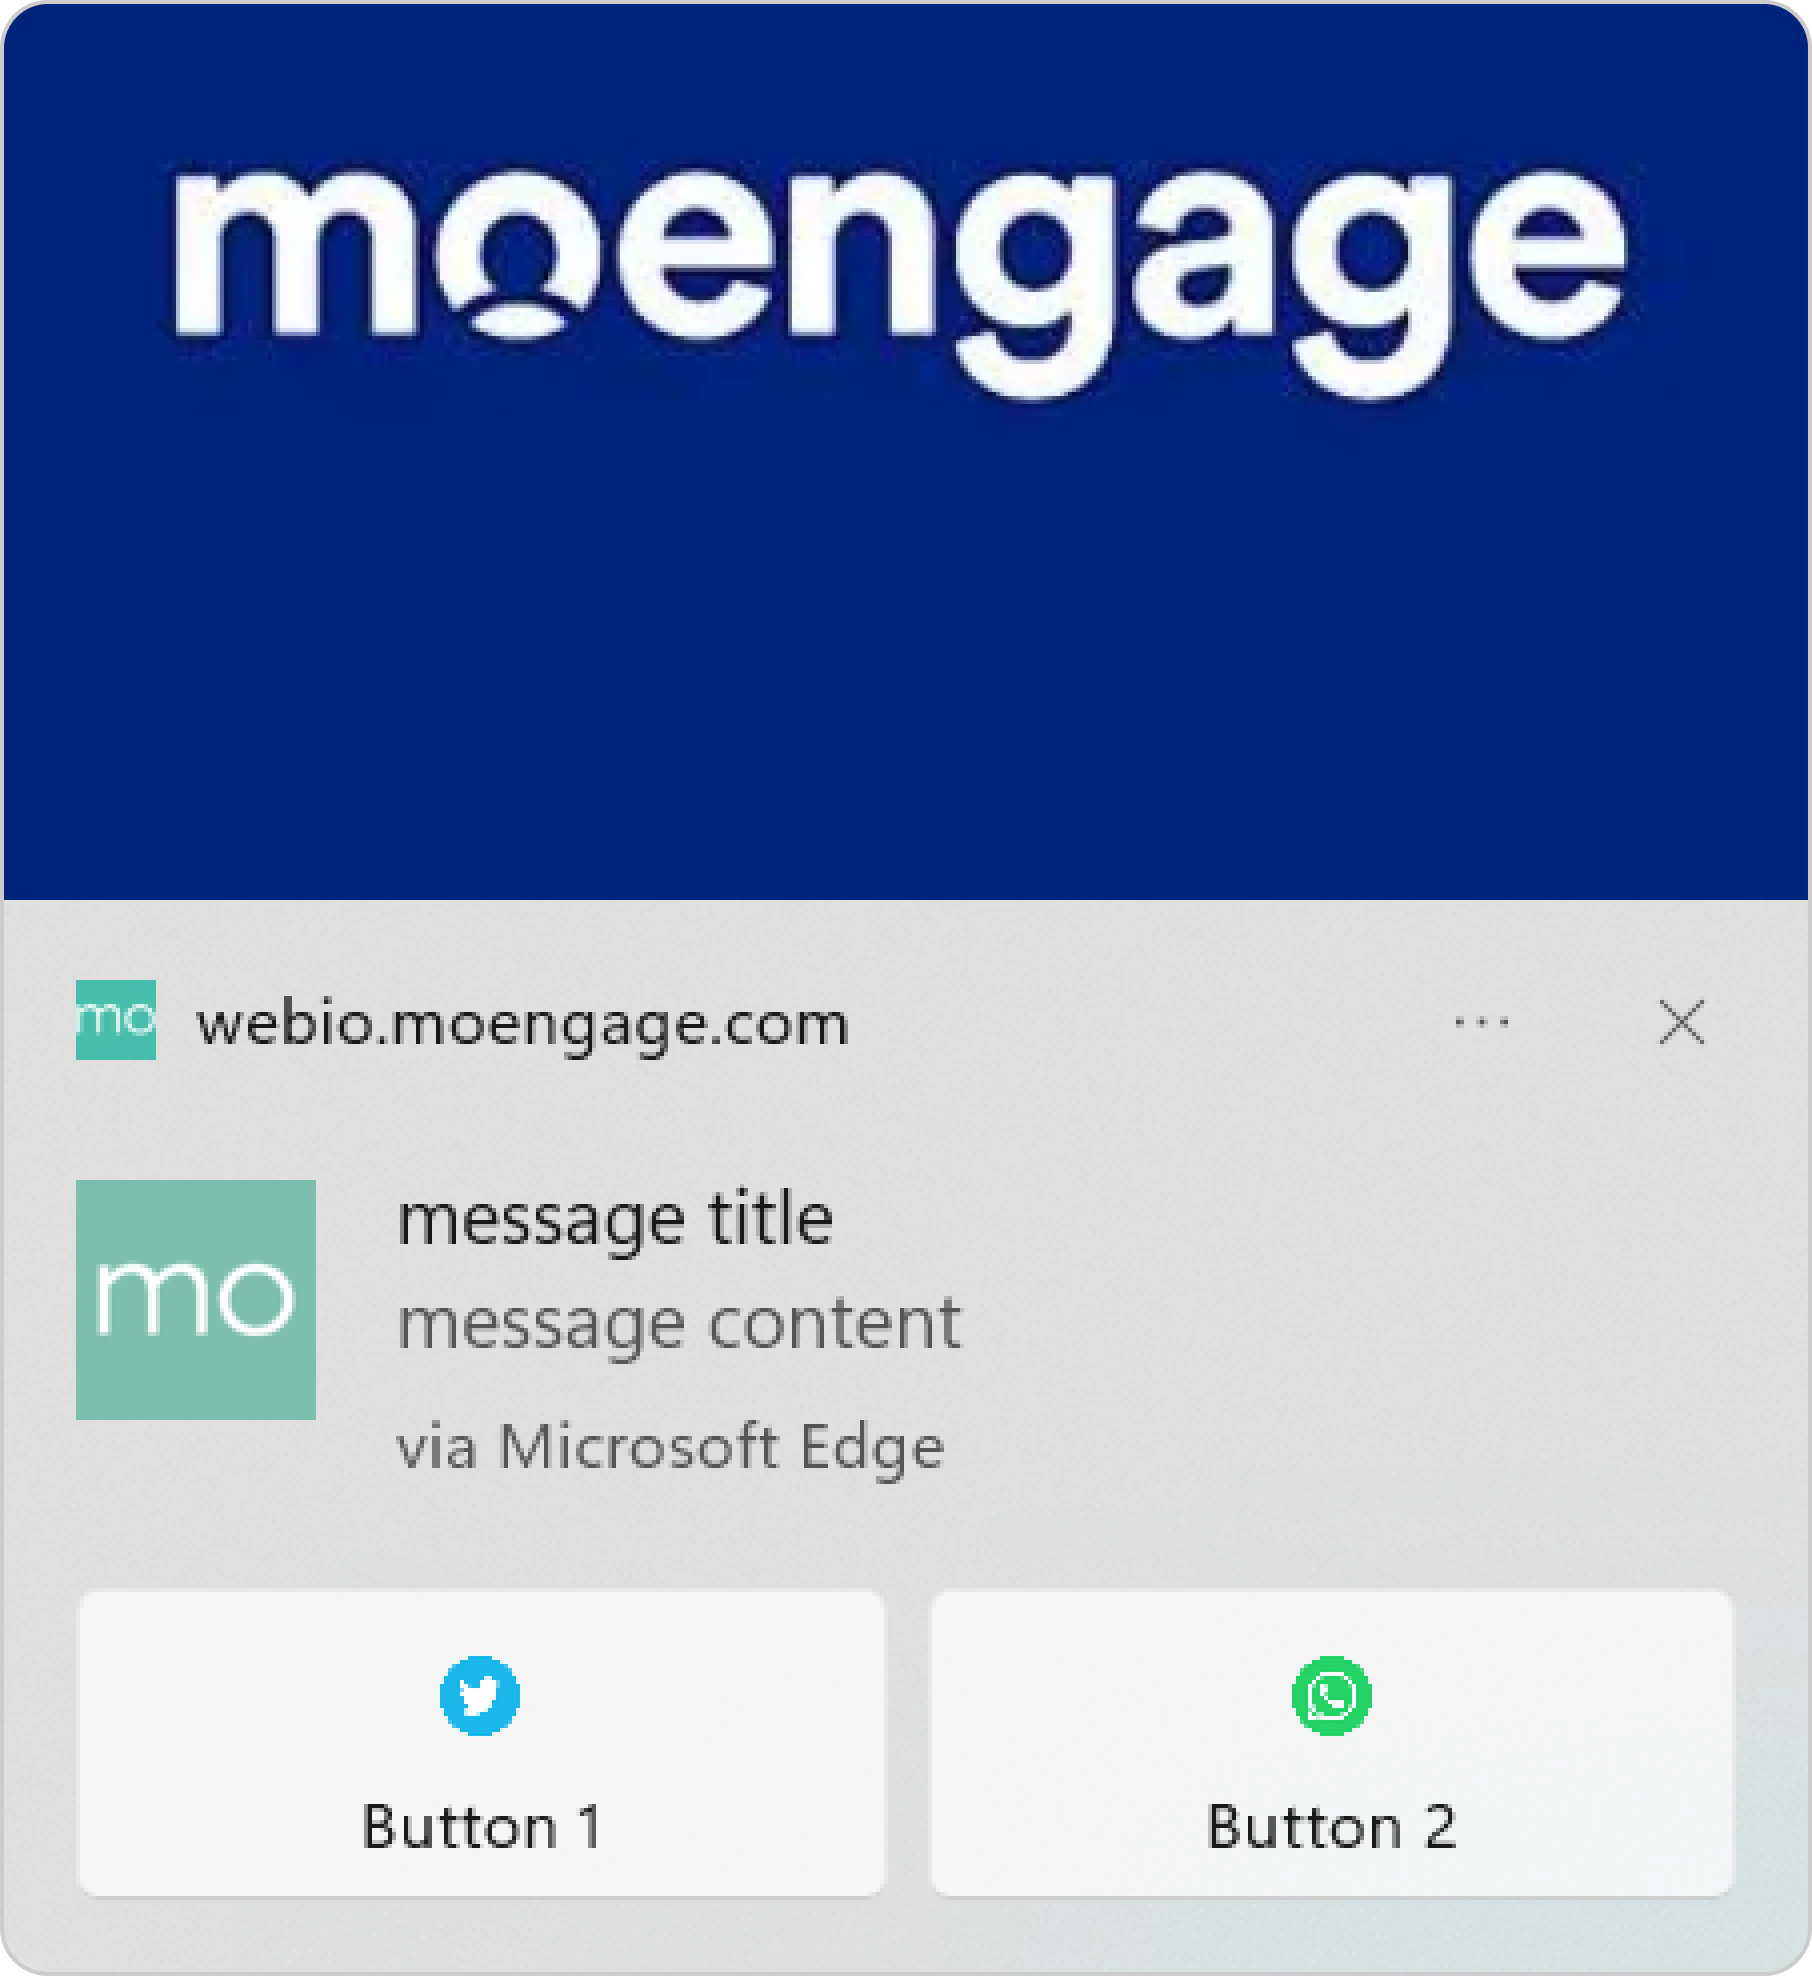
Edge
Edge


Device Analytics
Under the Device analytics tab, you can configure your tracking preferences to refine your reporting. This includes:- App Version Buckets: Grouping versions into buckets (e.g., Beta vs. Stable) to analyze adoption trends.
- OEM & Browser Tracking: Selecting the top 5 device manufacturers or browsers most relevant to your users, while grouping the rest under “Others.”
Whitelist IPs
If your system requires IP whitelisting for using Content API or PII tokenization in Push campaigns, refer here.Frequently Asked Questions
Can I choose where web push notifications appear on the screen?
Can I choose where web push notifications appear on the screen?
The position of web push notifications on the screen varies and depends on the browser and operating system. They may appear in a notification center or as a pop-up and cannot be customized.