- On the sidebar menu in MoEngage, hover over the Engage menu item

- Click + New Campaign. You can also click All Campaigns on the Engage menu and then click + Create campaign on the All campaigns page.
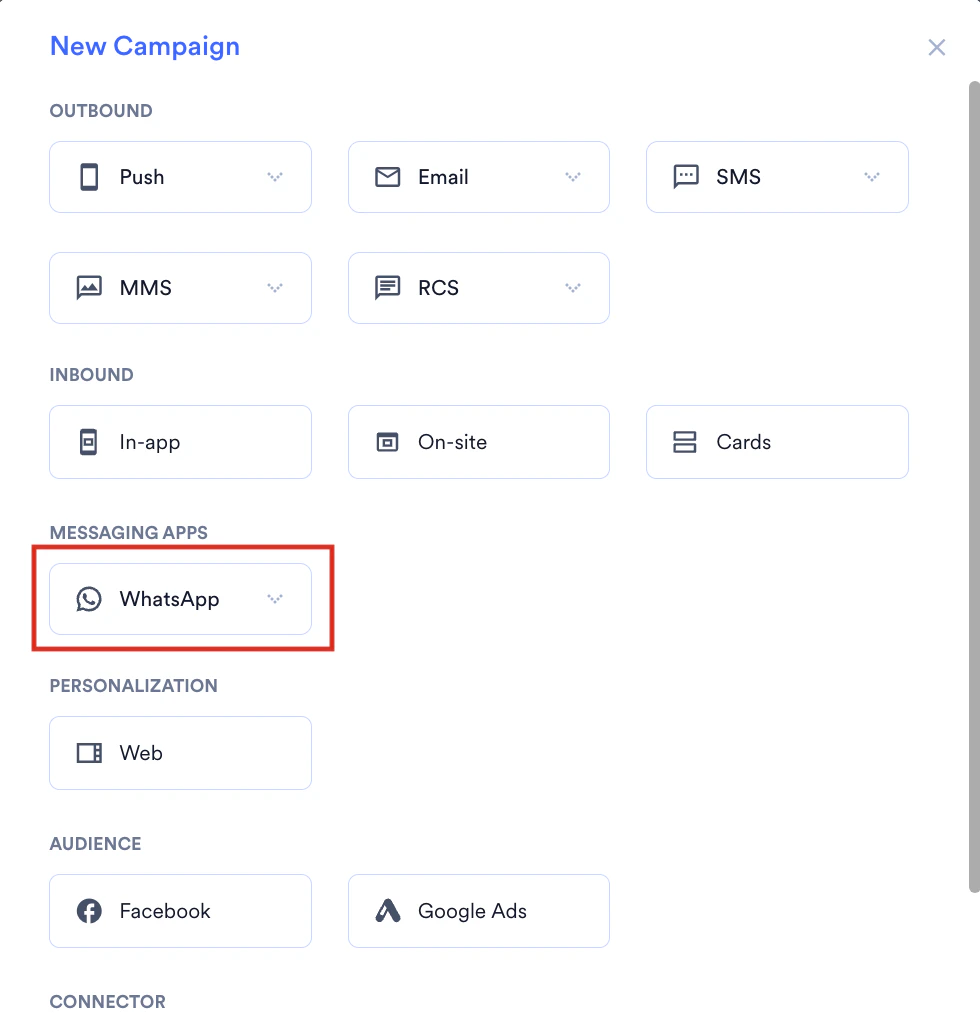
- On the New Campaign dialog box, under Messaging Apps, click WhatsApp.
- Select one of the following campaign delivery types:
- One Time
- Periodic
- Event Triggered
For more information about delivery types, refer to Delivery Types.
Steps to Create a WhatsApp Campaign
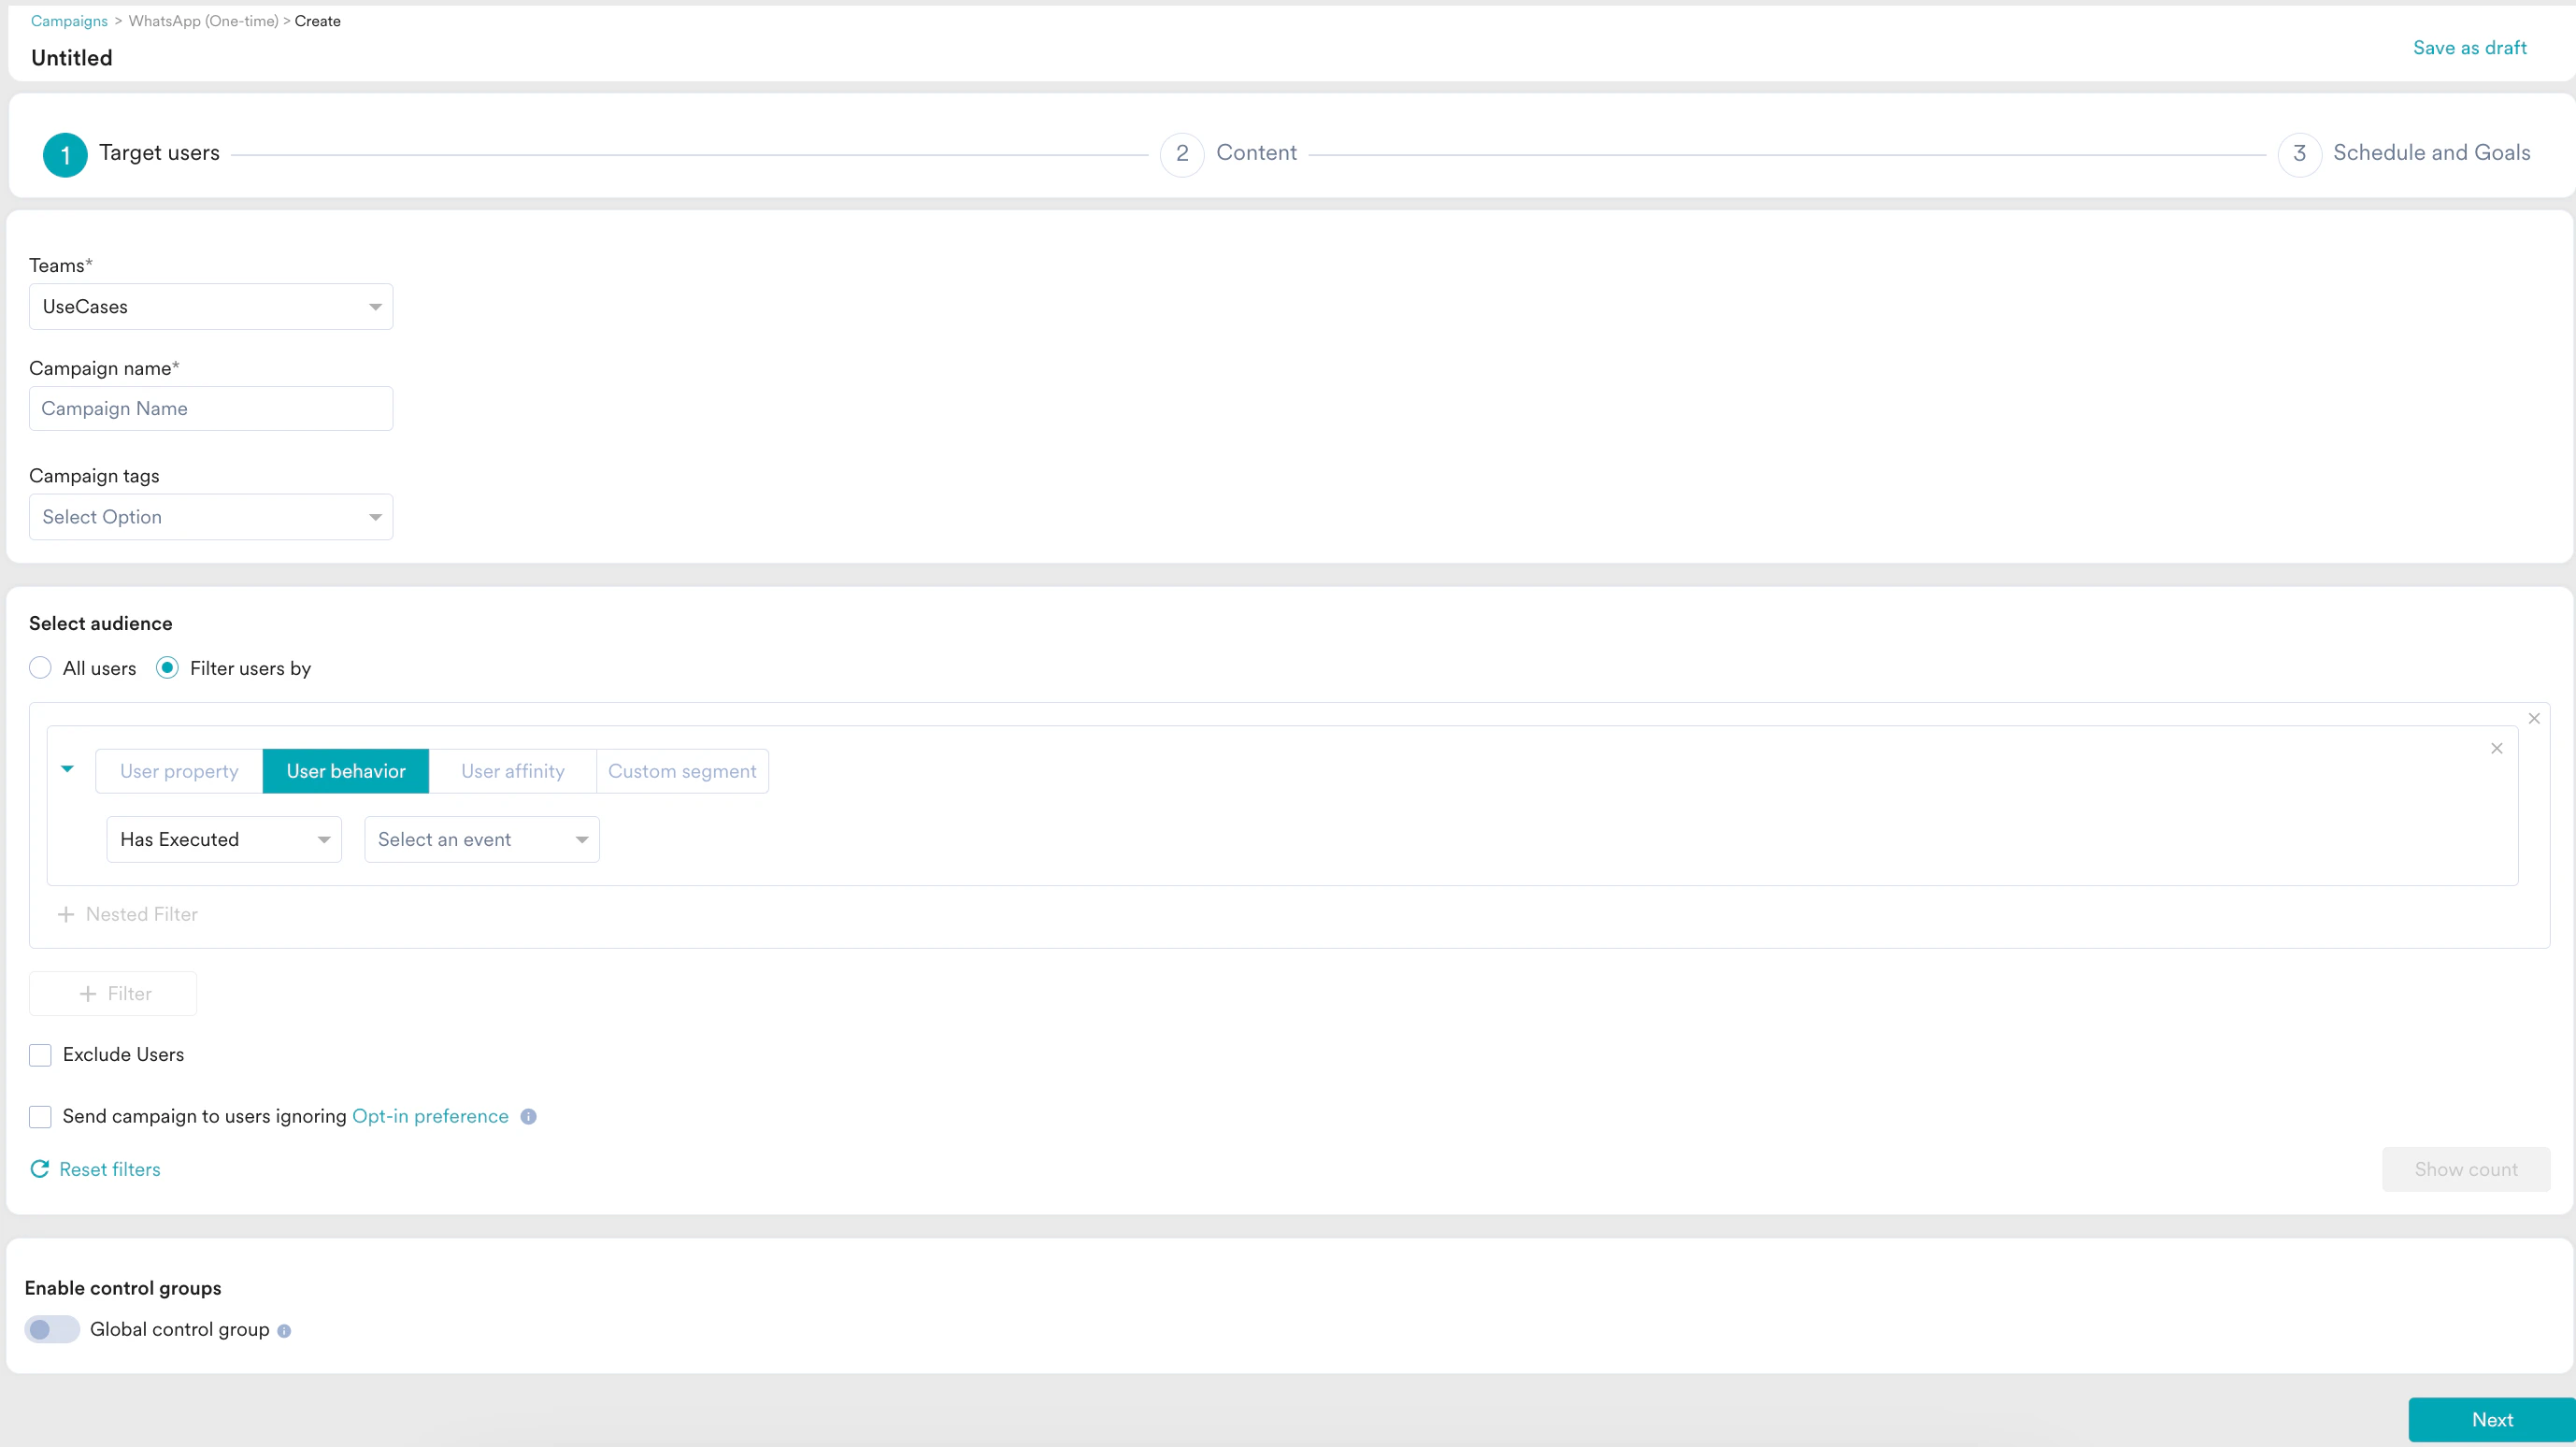
The campaign creation process involves the following three steps:- Target users: Define the target audience for the campaign.
- Content: Define the content of the campaign to be sent.
- Schedule and Goals: Define the campaign’s delivery schedule and goals.
Step 1: Target Users
This section contains the following:Campaign Details
The campaign details section contains the following fields:
| 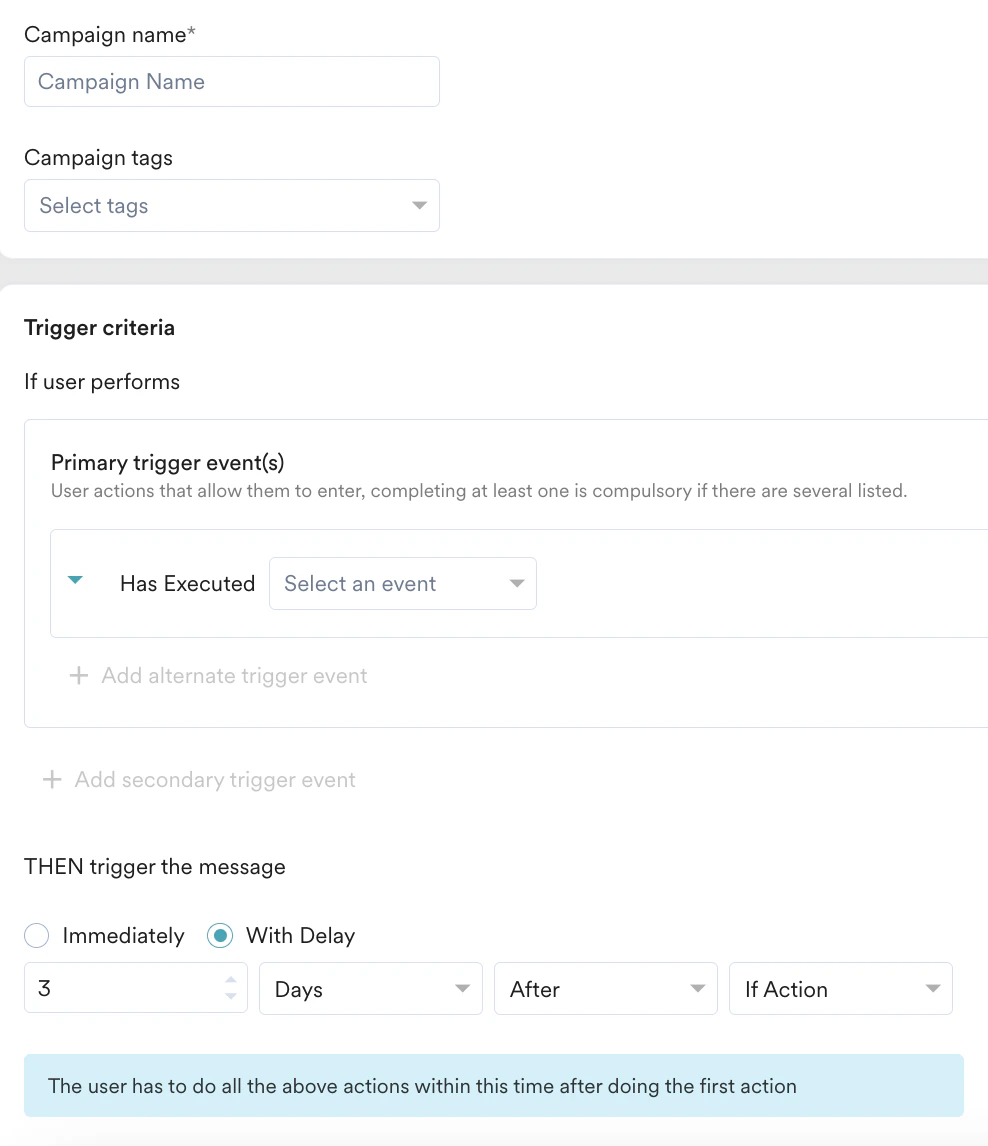 |
Select Audience
This section contains segmentation filters that help you choose the target audience for your campaign. The following options are available:- All Users
- Filter by User Property
- Filter by User Behavior
- Filter by User Affinity
- Filter by Custom Segment
Select this filter option to send the campaign to all app users. When you use this option, you cannot add multiple filters.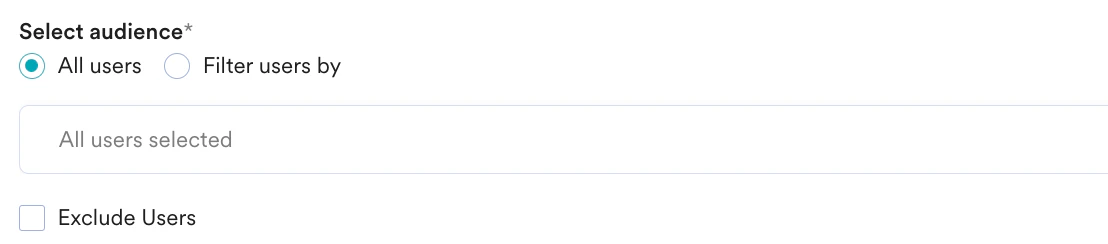




If you have the Portfolio feature enabled, you can create user segments by combining user data and behavior from different apps and websites (Projects) within your workspace. For more information, refer to Segmentation in a Multi-Project Portfolio.
This is an add-on feature. Please contact your MoEngage CSM (customer success manager) or the Support team to enable it for your account.
- Create Multiple Filters: You can create and combine multiple user property rules, user activity rules, and custom segment rules to create a complex user segment using this option.
- Click + Filter.
- Click AND or OR.
- Select the attribute or event and define the filter conditions.
- Exclude Users: Select this checkbox to define the filter criteria for users to be excluded from the campaign.
- Send campaign to the users ignoring Opt-in preference: Select this option to send campaigns to all users in the target segment ignoring their opt-in preference. This ensures full compliance with messaging regulations and prevents unwanted communication. For more information, refer to Prerequisites.
- Reset filters: Click this option to reset the segmentation filters.
- Show count: Click this button to display the total number of users who are currently in the configured segment.

Campaign Audience Limit
This feature empowers you to control campaign reach and expenditure by capping the number of users who receive it based on engagement metrics like sends, impressions, and conversions. It allows you to set total, daily, or instance-level limits to campaigns. For more information, refer to Campaign Audience Limit.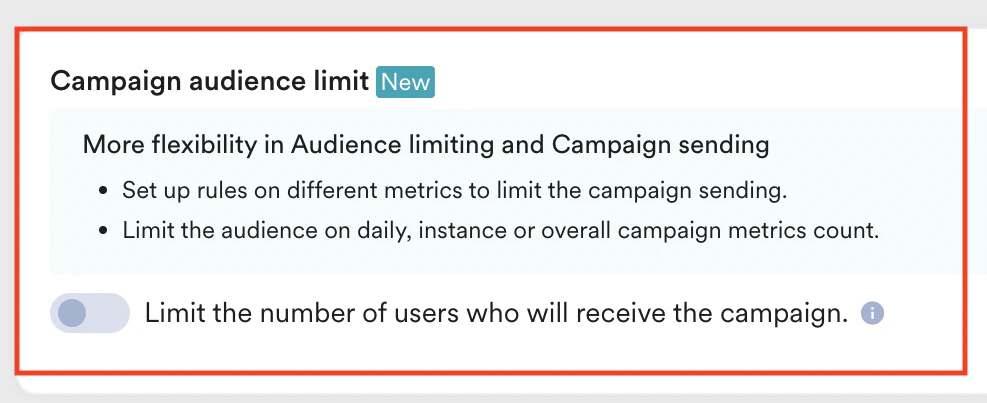
Control Groups
In the Enable control groups section, turn the Global control group toggle on to not send the campaign to all the users in the control group. For more information, refer to Global Control Group.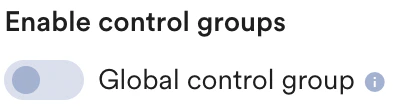
Step 2: Content
This section describes how to add content to the WhatsApp campaign.- Select the sender.
- Search or select one of the templates from the drop-down. For more information, refer to WhatsApp Templates.
- Customize the content as defined in the template.
Personalization in WhatsApp
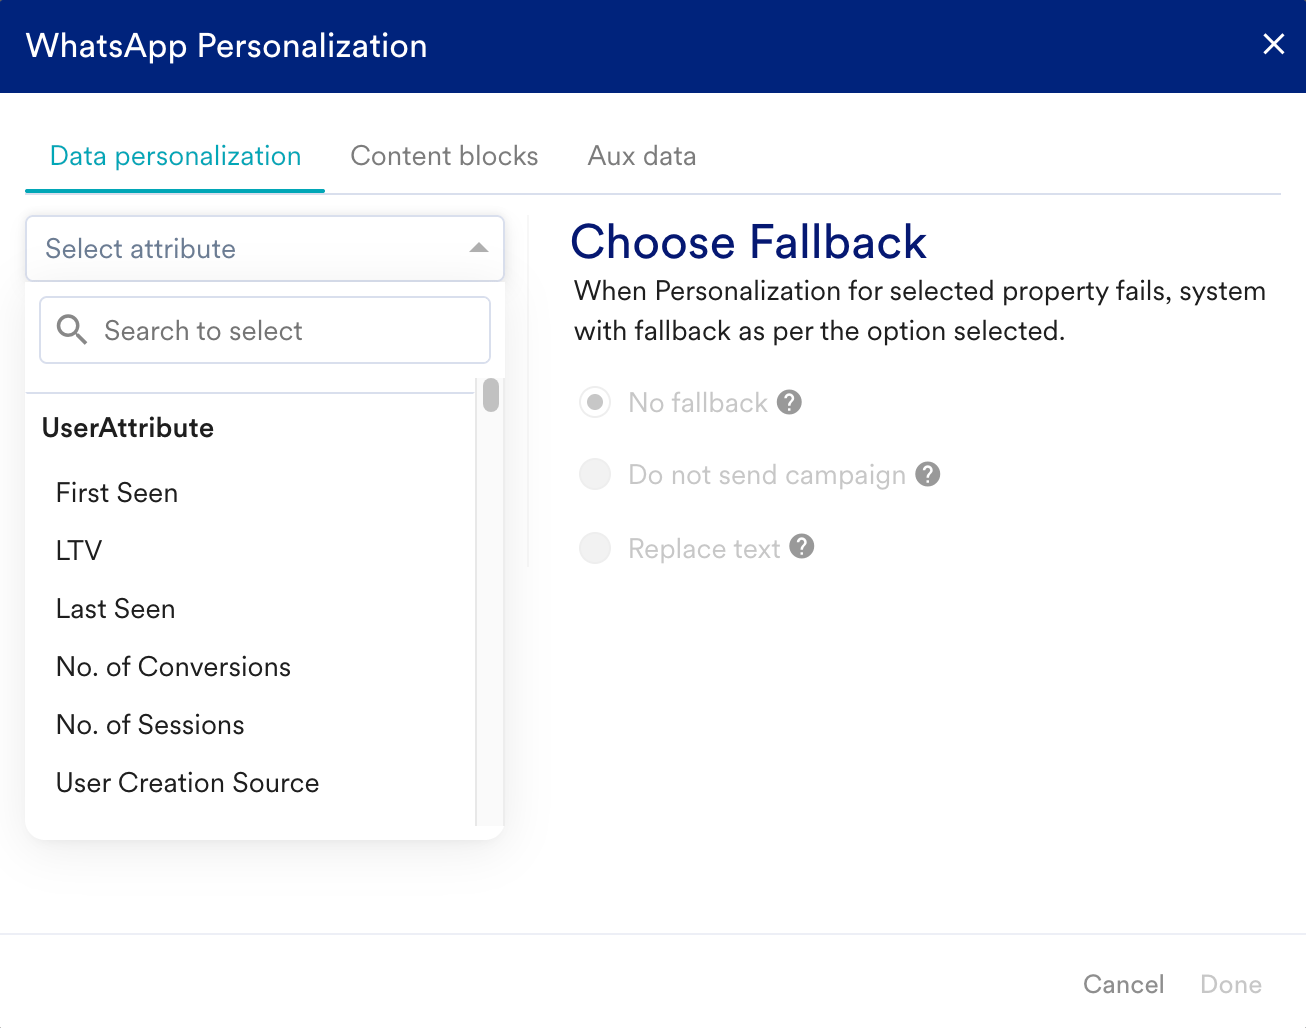
To personalize the content of your WhatsApp campaign,- Enter @ in the fields appearing under the Content section. The fields vary based on the selected sender and template.
- The WhatsApp Personalization pop-up window is displayed, where Data personalization, Content blocks, and Aux data can be personalized.
Click Tracking
You can also track clicks on links in your WhatsApp messages. MoEngage supports click tracking for the following link types:Placeholder Links in the Message Body
You can track links in the body if they have been defined as placeholders in your WhatsApp Template by turning on the Shorten and track URL for toggle, as shown in the following image: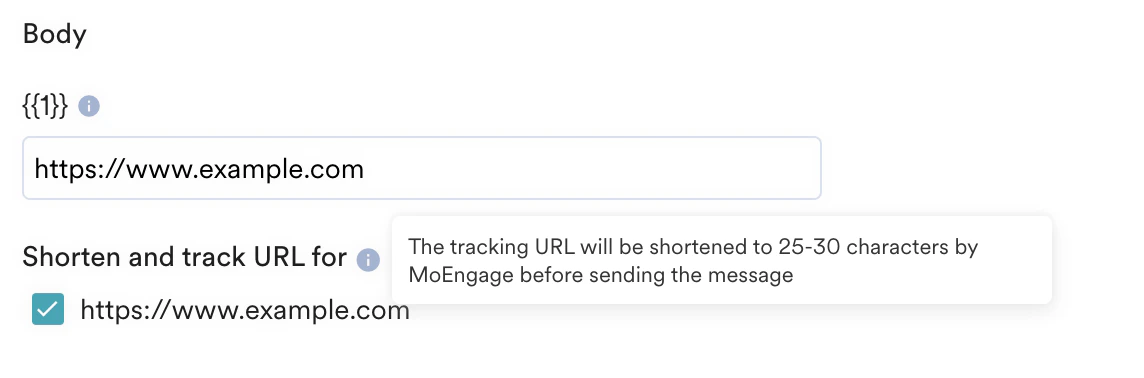
URL Shortening - Things to Note
The following points are to be noted for URL Shortening:- Shortened Links expire in fourteen days and cannot be tracked after expiry. When a customer opens a link beyond its expiry, they see a “This link is no longer active” message.
- If user and event properties are used in the shortened links, the attributes’ names must abide by the following:
- They must not contain spaces.
- If the attributes contain links, their values should not contain http:// or https://. These can be added before the attribute to shorten the link.
- Special characters such as apostrophes and commas are not supported in shortened links.
- Multiple JINJA operations are not supported in links that are to be shortened. For example, using a Content API link in a Product or vice versa (in a link that is to be shortened) is not supported.
Dynamic Link Tracking
To use dynamic link tracking:- The template you submit for WhatsApp partner approval must have this URL: https://ux.mnge.co. The ‘x’ in the URL refers to the MoEngage Data Center (DC). MoEngage hosts each customer in a different DC. You can find your DC number (value of X) and replace the value of ‘X’ in the URL by referring to the DC mapping here.
- Create a template in MoEngage with the following configuration:
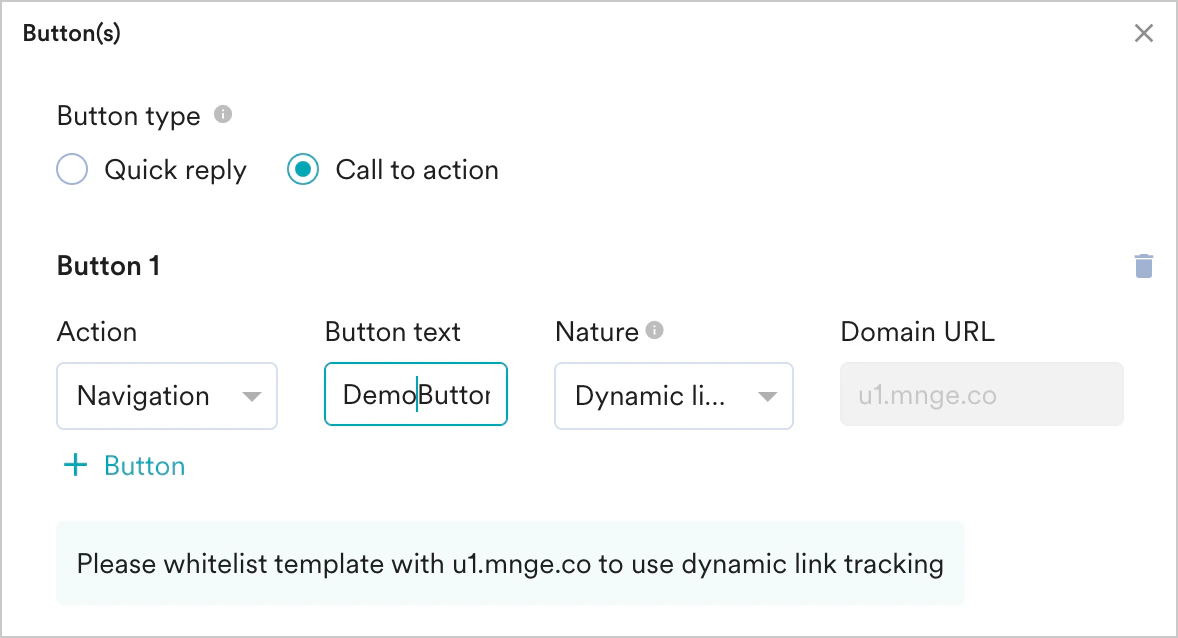
- When creating a campaign, add the URL desired. Links will be shortened automatically.
Adding UTM Parameters
Adding UTM Parameters
If the UTM parameters are enabled in the general settings, the UTM parameters toggle for the current WhatsApp campaign is turned on. For more information, refer to Setting Up General UTM Parameters at Account Level.You can set UTM parameters for campaigns individually. The changes you make in the UTM parameters for a campaign override the general settings. The changes are applicable only to the specific campaign you are creating or editing, and they do not impact the general settings. For more information, refer to Adding UTM Parameters to Campaign.
Test Campaign (optional)
Test Campaign (optional)
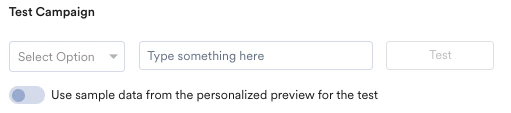
Test campaigns enable previewing the campaign on a test device to ensure that your notification is conveyed in the manner that you desire.You can test the campaign you created by selecting any of the following options and providing the value for the attribute chosen for your test user:
- Unique ID
- Email ID
- Mobile Number (Registered With MoEngage)
- Mobile Number (External/Not Registered with MoEngage)
- Google Advertising identifier
- iOS Identifier For Advertising
- Device Push Token
-
Custom Segment
Step 3: Schedule and Goals
This section contains the following:- Delivery Schedule: Choose when the campaign should be delivered to your users and the periodicity of delivery.
- Conversion Goals: Choose the conversion goals and revenue metrics to be tracked for the campaign.
- Delivery Controls: Choose the advanced delivery control options such as throttling, frequency capping, and expiration settings for the notification.
Delivery Schedule
One Time
One Time
- As soon as possible
- At specific date and time
Choose this option to send the campaign immediately to the target users.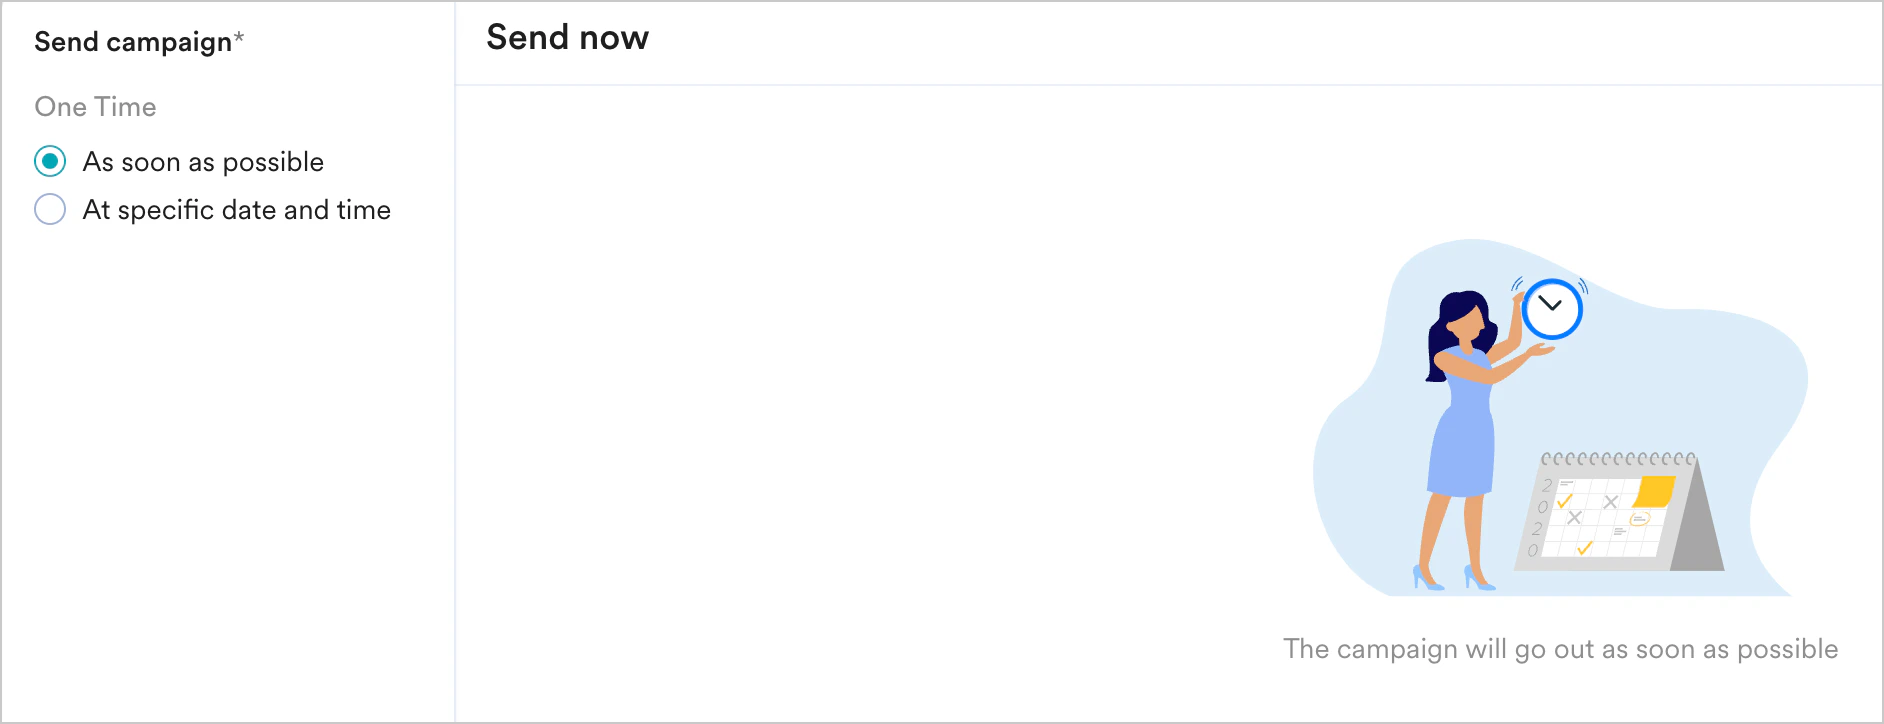

Periodic
Periodic
Choose this option to send the campaign periodically on a specified date and time. The following fields are available in this section: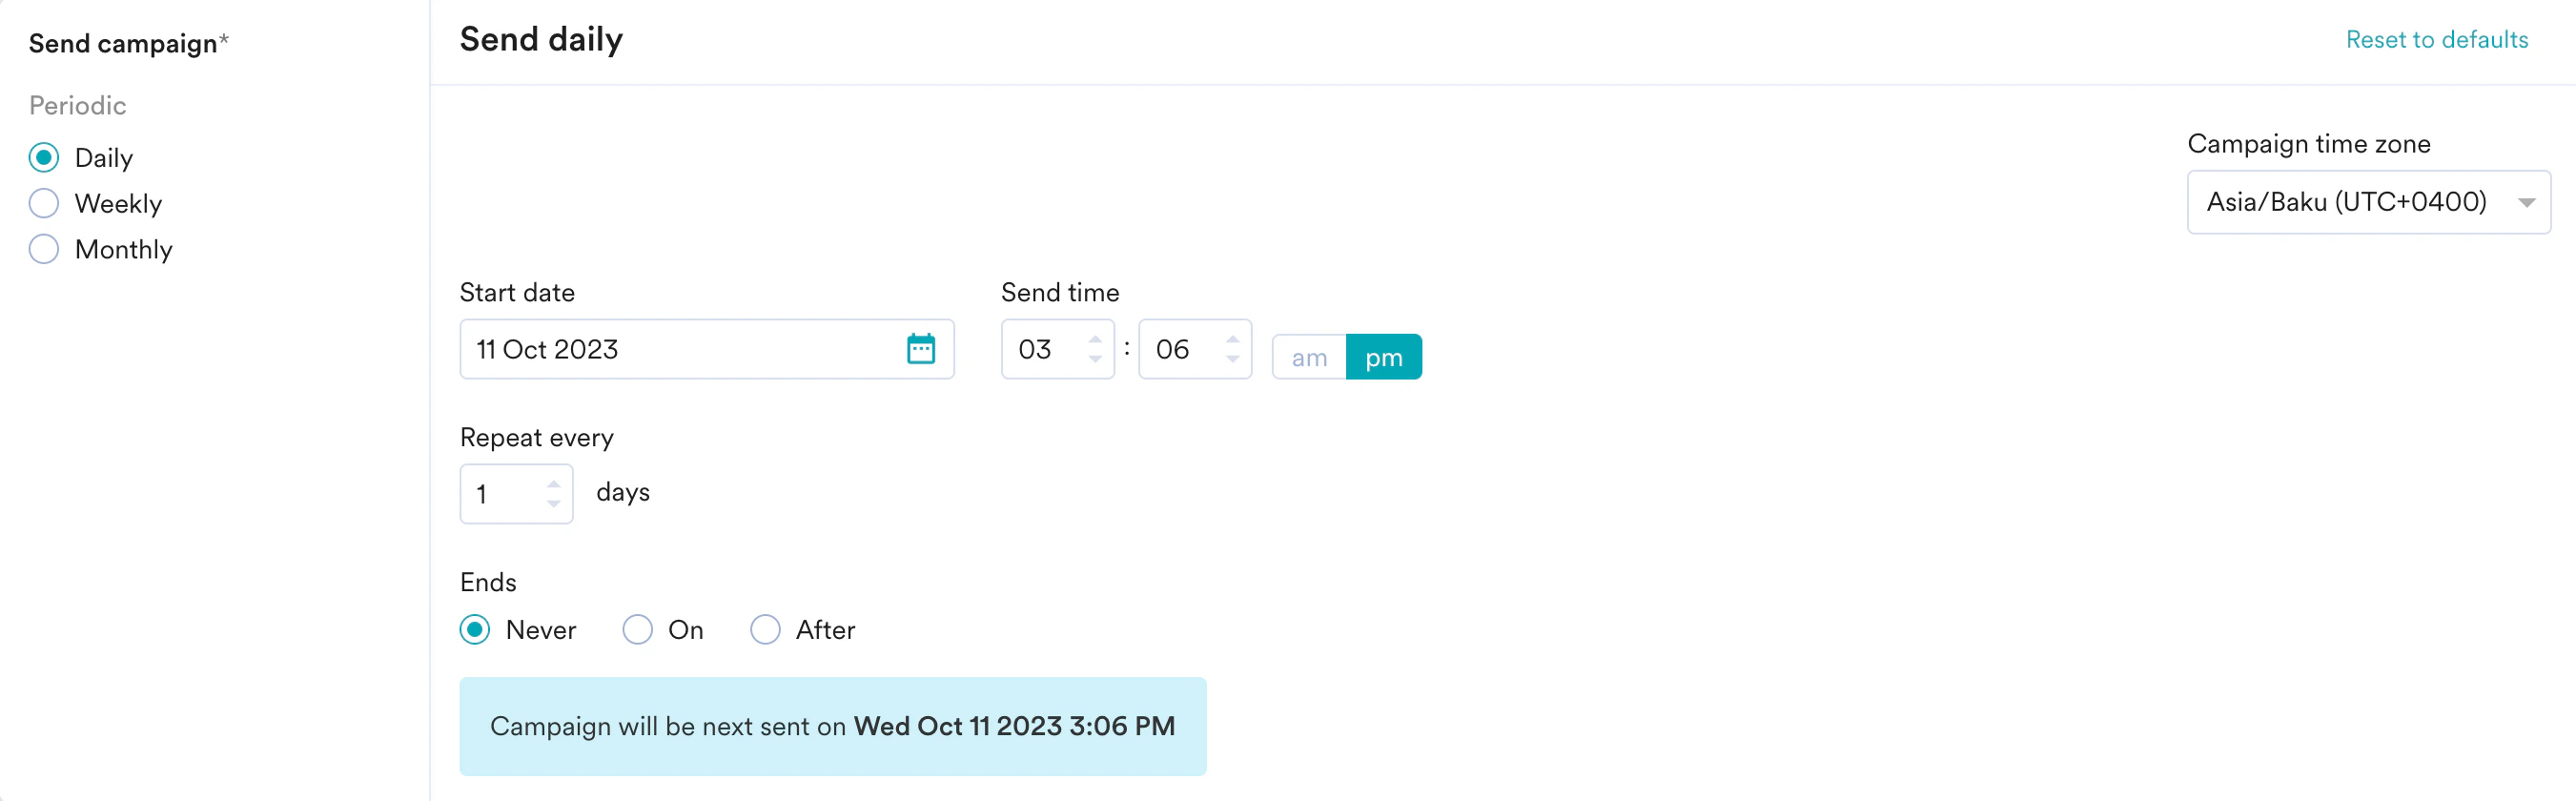
- Campaign time zone: The timezone in which the campaign should be sent.
- Start date: The date on which the campaign should be sent.
- Send time: The time at which the campaign should be sent. Select am or pm depending on the time of day.
- Periodic: The periodicity of the campaign. You have the following options: Daily, Weekly, and Monthly.
- Ends: The date on which the campaign ends. The following options are available:
- Never: The campaign is scheduled to run daily.
- On: The campaign ends on the date specified in the End Date field.
- After: The campaign ends after the number of occurrences specified in the occurrences field.
Event Triggered
Event Triggered
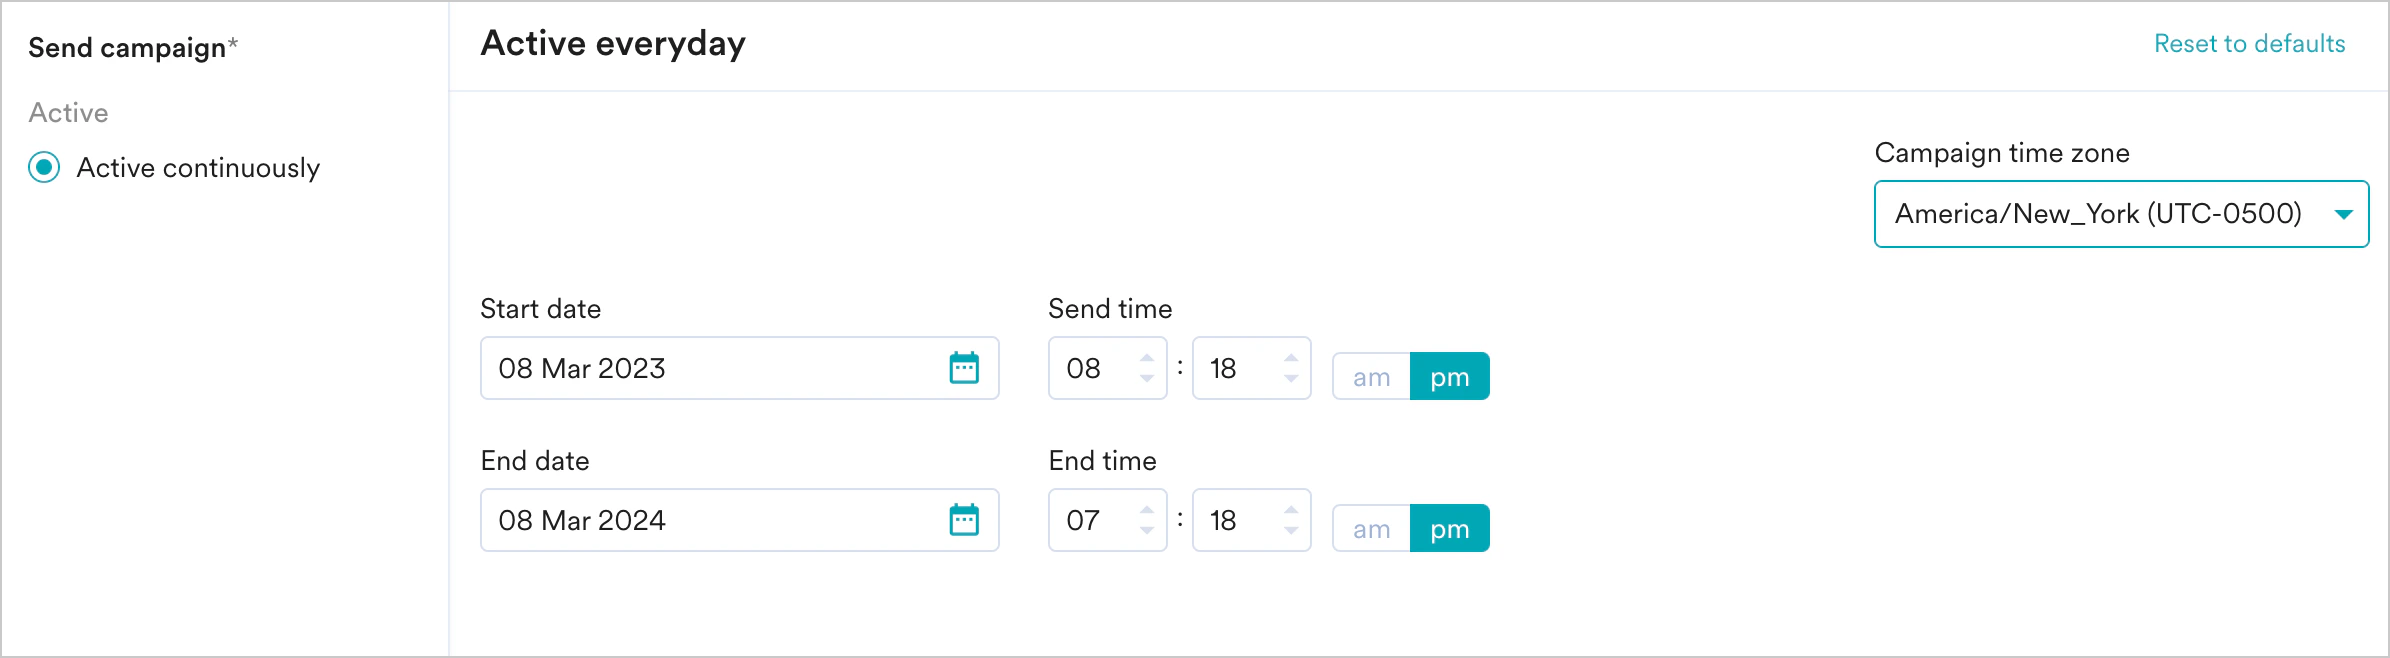
Choose this option to engage the right users (through segmentation) at the right time (through event triggering). The Active continuously option is selected by default under Send campaign and the following fields are available in this section: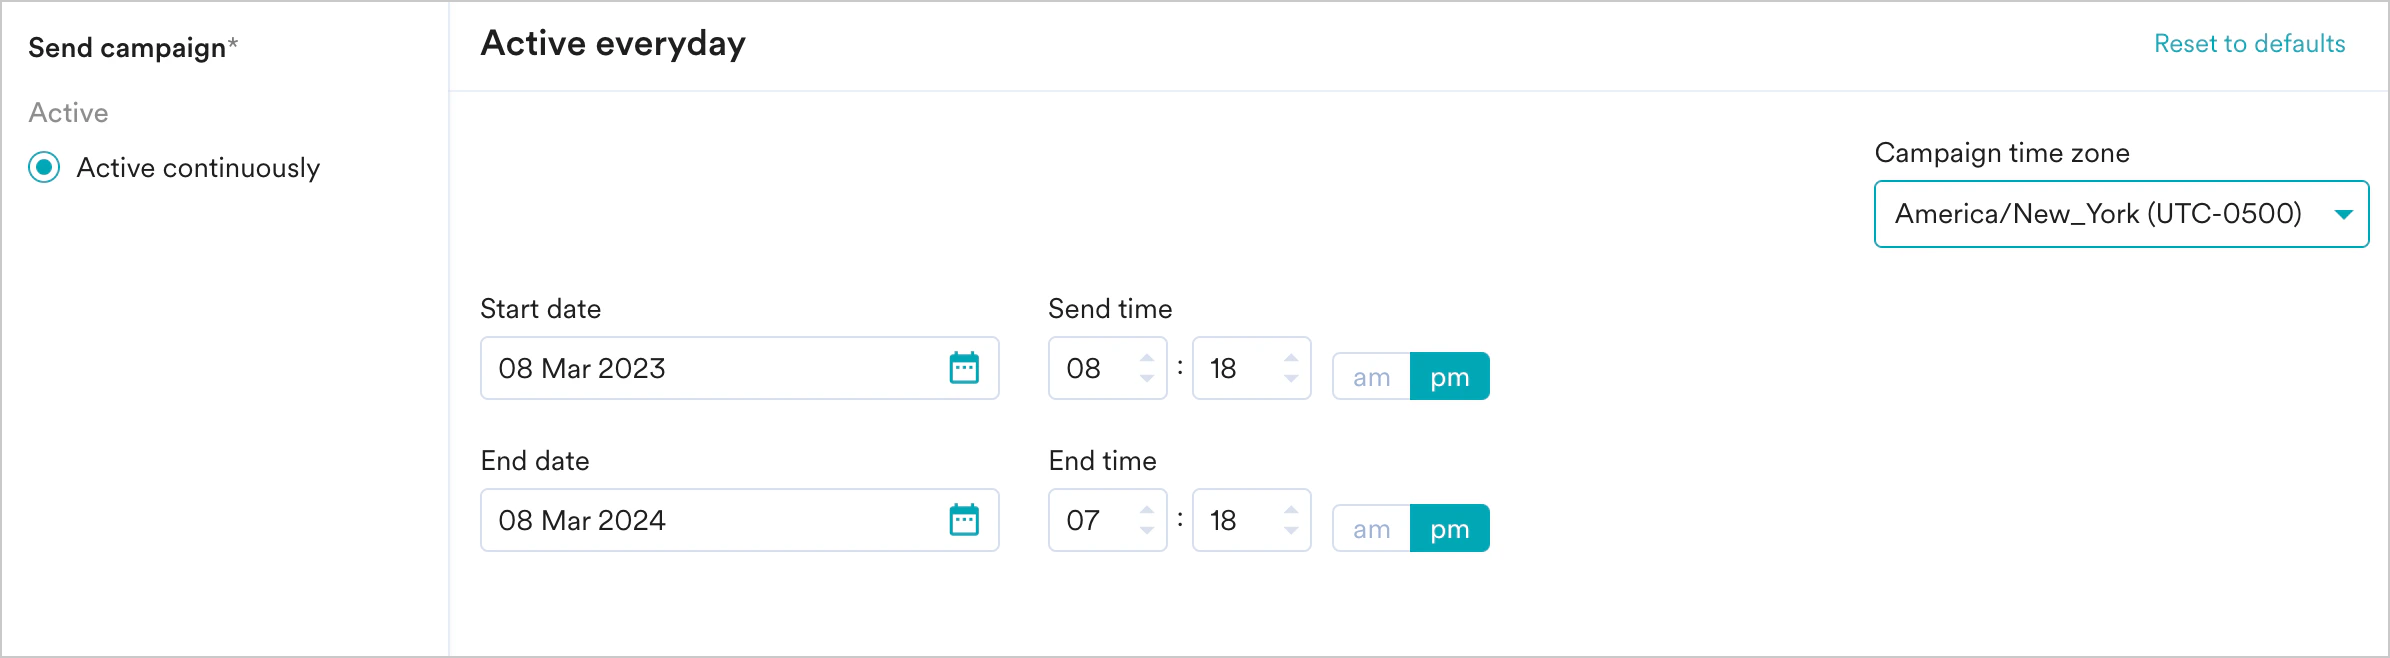
- The event property/attribute being used to create these types of triggers (like the flight_time example) is in a valid date-time format. If it is not in a date-time format, the string should have data in one of the supported formats. If the selected attributes do not contain data in any of these formats, the campaign won’t be sent to your users.
- The date/time value from the attribute is greater than the time at which the trigger condition is fulfilled.
- The date/time value from the attribute is less than 30 Days + the time at which the trigger condition is fulfilled. For example, if your trigger condition is fulfilled at date D, your notification will be sent only when the attribute value is less than D+30.
-
The intelligent delay optimization (With Delay) does not work for campaigns sent on relative timing.
Conversion Goals
You can add conversion goals to track the business metrics for your campaigns. You can track a maximum of five conversion goals. You can choose any app event as a conversion goal activity and set more than one conversion goal. The first goal will be treated as a primary goal. For example, if you want to track the number of customers who have purchased an iPhone after your campaign was sent. (Event: Purchase event, Product: iPhone). Your conversion goal setup might be similar to the following image: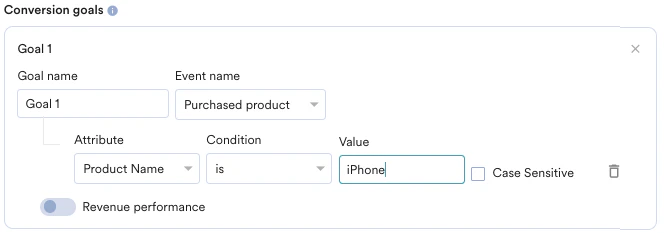
- How many users have viewed the product page?
- How many of them added that product to the cart?
- How many of them made a successful order?
Tracking Revenue Performance (Optional)
Tracking Revenue Performance (Optional)
| With MoEngage, you can track the revenue generated by your campaigns. For example, you can track the revenue generated by your product after sending a communication. To track revenue performance, enable the Revenue performance toggle for the conversion goal for which you want to track the revenue. In the example here, to track revenue for orderSuccessful events, you must enable the Revenue performance toggle. | 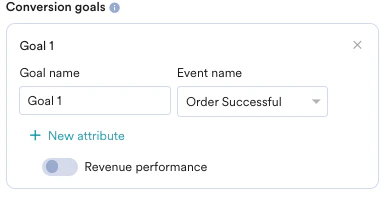 |
| After choosing the goal, you can select the numeric attribute that captures the order’s total monetary value. In this example, cartValue contains the total order value. You can choose the currency in which your monetary value is being reported. | 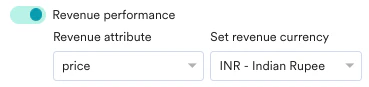 |
| Set Attribution window: You can set an attribution window (a time period or window that is calculated since the user has received/clicked the campaign, for which you want to attribute the conversion goals to a specific campaign.) The default duration is set for 36 hours while the maximum attribution window can be set up to 10 days. In the example below, the attribution window is set to 5 hours. |  |
Delivery Controls
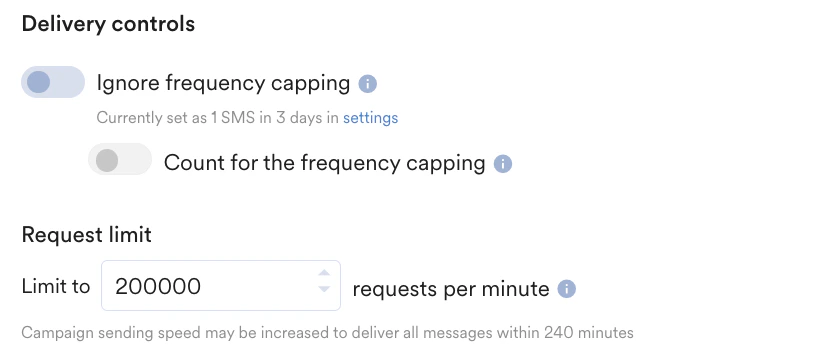
- Delivery Control for One Time, and Periodic Campaigns
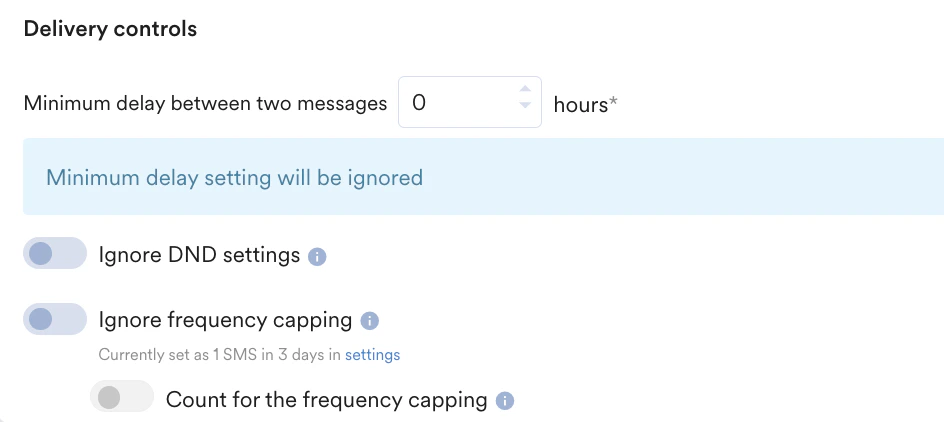
- Delivery Control for Event Triggered Campaigns
This section contains the following options:Frequency CappingThis section contains the following options:
- Ignore frequency capping: Enable this toggle to ignore the frequency capping limit for this campaign. For more information, refer to Frequency Capping.
- Count for the frequency capping: Enable this toggle if you want this connector to be counted for frequency capping limit.
- Request limit: Set the request limit to send the Connector campaign notifications. The minimum throttling of message requests is 10000 per minute. For more information, refer to Throttlling.